What the 100ml Bed Cleaner is used for
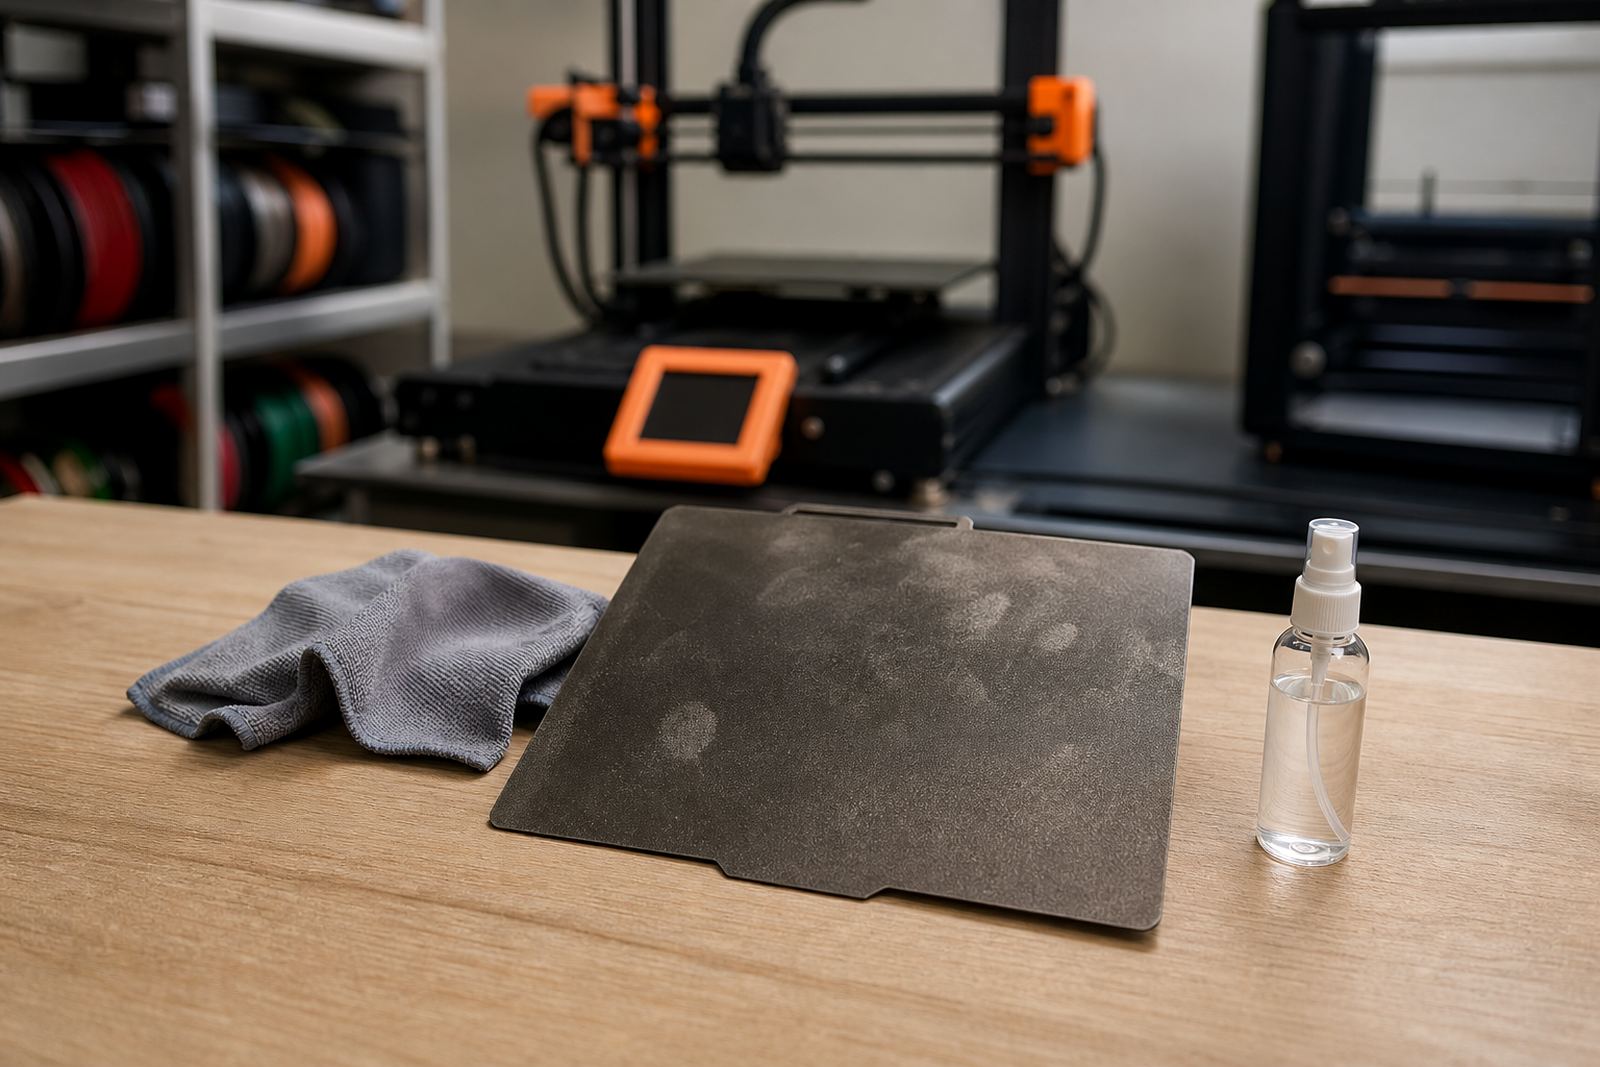
This bed cleaner is a small-format cleaning solution made for the pre-print routine. It is used to clear away oils from hands, dust from the workshop, and leftover film from previous prints before a new job starts. On PEI, spring steel, glass, and other common build surfaces, a clean plate gives more consistent adhesion and fewer first-layer faults.
It is a practical item for makers in Centurion, school labs in Pretoria East, and print farms that need a quick clean between jobs. If you are running short print runs, switching materials during the day, or checking bed levelling on a fresh plate, this bottle keeps the surface ready without much fuss. No power, gas or warm-up is needed, so it fits neatly into any print station.
- Removes oils and light residue before printing
- Suitable for regular maintenance between jobs
- Useful for homes, classrooms and production benches
- Works as part of a standard bed prep routine
Sizes and bottle details
The 100ml size is intended for individual workstations, test benches and small print rooms where a compact bottle is easier to store than a bulk container. It is simple to keep beside the printer, in a tool drawer, or in a school supply cupboard without taking much space. The small bottle is also useful for travelling technicians and makers who need to clean a plate on site.
Because it is a smaller format, it suits users who want controlled use and less waste. For larger setups, the 100ml bottle can form part of a replenishment system alongside other consumables, especially where several printers are active each day. In humid coastal areas such as Durban or Gqeberha, having a bottle close at hand helps you clean surfaces more often when dust and moisture start affecting adhesion.
- Pack size: 100ml
- Compact enough for one printer or one work bay
- Easy to store with spares, nozzles and tools
- Handy for schools, makerspaces and field support
Where it suits best
This cleaner suits most FDM and similar 3D printing setups where the build surface needs routine cleaning. It is especially useful when you are printing on PEI, magnetic sheets, or removable plates that collect skin oils quickly. If a plate has started to lose grip, the cleaner is often the first thing to check before changing slicer settings or replacing parts.
It works well in:
- Home workshops and garage print stations
- School labs and maker classrooms
- Small businesses producing sample parts
- Print farms that need repeatable first layers
In Gauteng, where dust and workshop handling can leave a fine film on the bed, regular cleaning is part of keeping prints stable. It is also useful where load-shedding interrupts long print sessions, since a quick wipe before restarting can prevent a failed first layer after a stoppage. That saves time, filament and frustration.
How to use it before a print run
Use the cleaner on a cool build surface before starting a print. Apply it sparingly to a clean cloth or wipe, then clean the plate evenly and allow it to dry fully before heating the bed. A dry surface is important, especially on textured or smooth PEI, because leftover moisture can affect adhesion and surface finish.
For best results, keep the cleaning routine consistent. Many users clean before the first print of the day, after removing a part that left marks, and whenever fingerprints show on the surface. If you are changing from one material to another, such as from general-purpose filament to a more demanding part, clean the bed first rather than trying to force a dirty plate to perform. That small step can prevent edge lift and corner curl.
- Clean on a cool plate first
- Wipe evenly and let it dry fully
- Repeat after heavy handling or residue build-up
- Use before first layers, not after the bed has heated
Care, storage and servicing notes
The bottle should be stored upright in a cool, dry place away from direct sun and open flame. In workshops that get hot during summer or in rooms with poor ventilation, keep it with other consumables and away from the printer power supply. The bottle is intended for routine use, so avoid leaving it uncapped on the bench where dust can settle into it.
For servicing, the main check is simple: if a plate starts showing inconsistent grip even after cleaning, inspect the build surface, bed levelling and sheet condition. The cleaner handles residue, but it cannot fix a warped plate or a worn surface. If your school lab or print farm is running many jobs, a scheduled cleaning routine is a better option than waiting for prints to fail. That approach also makes it easier to train new users.
What to check when ordering
Before placing an order, check the type of build surface you are using, the size of your print area, and how many printers need regular cleaning. This helps you decide whether one 100ml bottle is enough for a single setup or whether you need more stock for a shared lab. If you are fitting a new plate or replacing a magnetic base, it is a good time to add cleaning supplies to the same order.
Useful checks include:
- Plate material, such as PEI, glass or magnetic spring steel
- How often you print each week
- Whether the cleaner will be used at home, in a school, or in a production room
- Any need to pair it with bed care training or adhesion troubleshooting
For clients in Centurion, Pretoria, Johannesburg and beyond, the product is easy to include in standard consumables planning. It is one of those small items that makes a noticeable difference when you want clean first layers and less rework.
Key facts
| Product | 100ml Bed Cleaner |
|---|---|
| Use | Removes oils and residue from 3D printer build surfaces |
| Pack size | 100ml bottle |
| Suitable surfaces | PEI sheets, build plates, magnetic print surfaces and glass |
| Power or gas needed | None |
| Best use | Before printing, during routine bed maintenance |