


Choosing The Right Adhesion Method For Your Printer
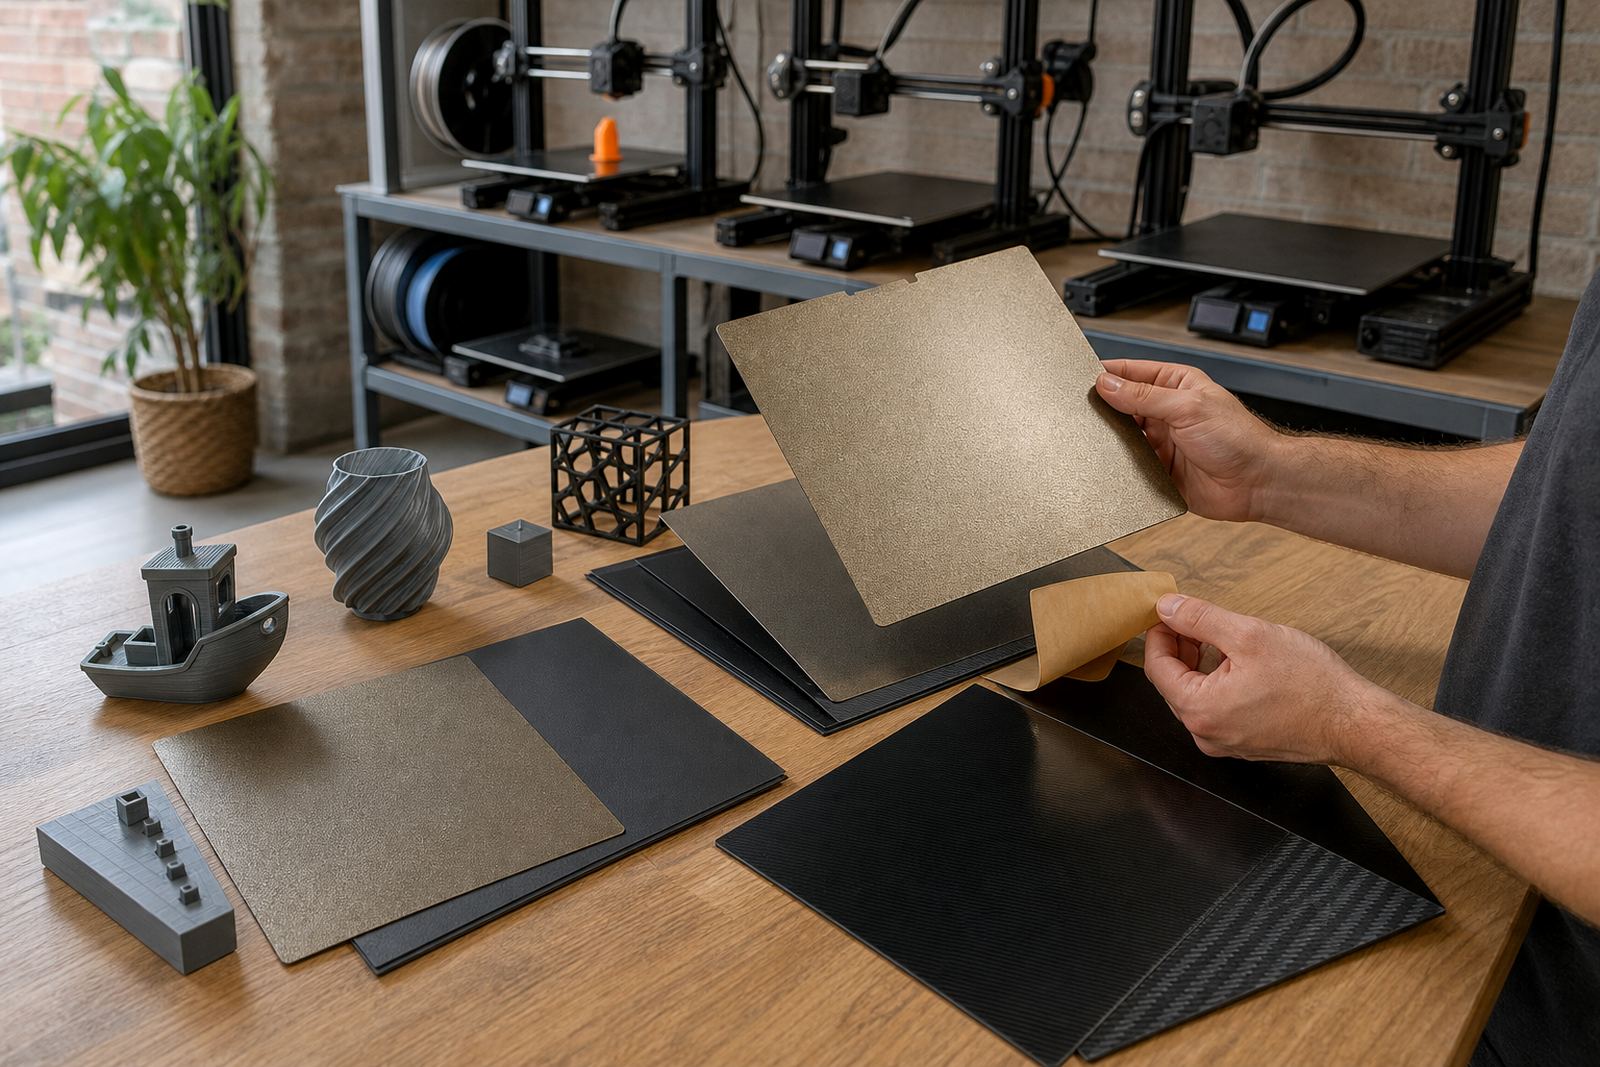
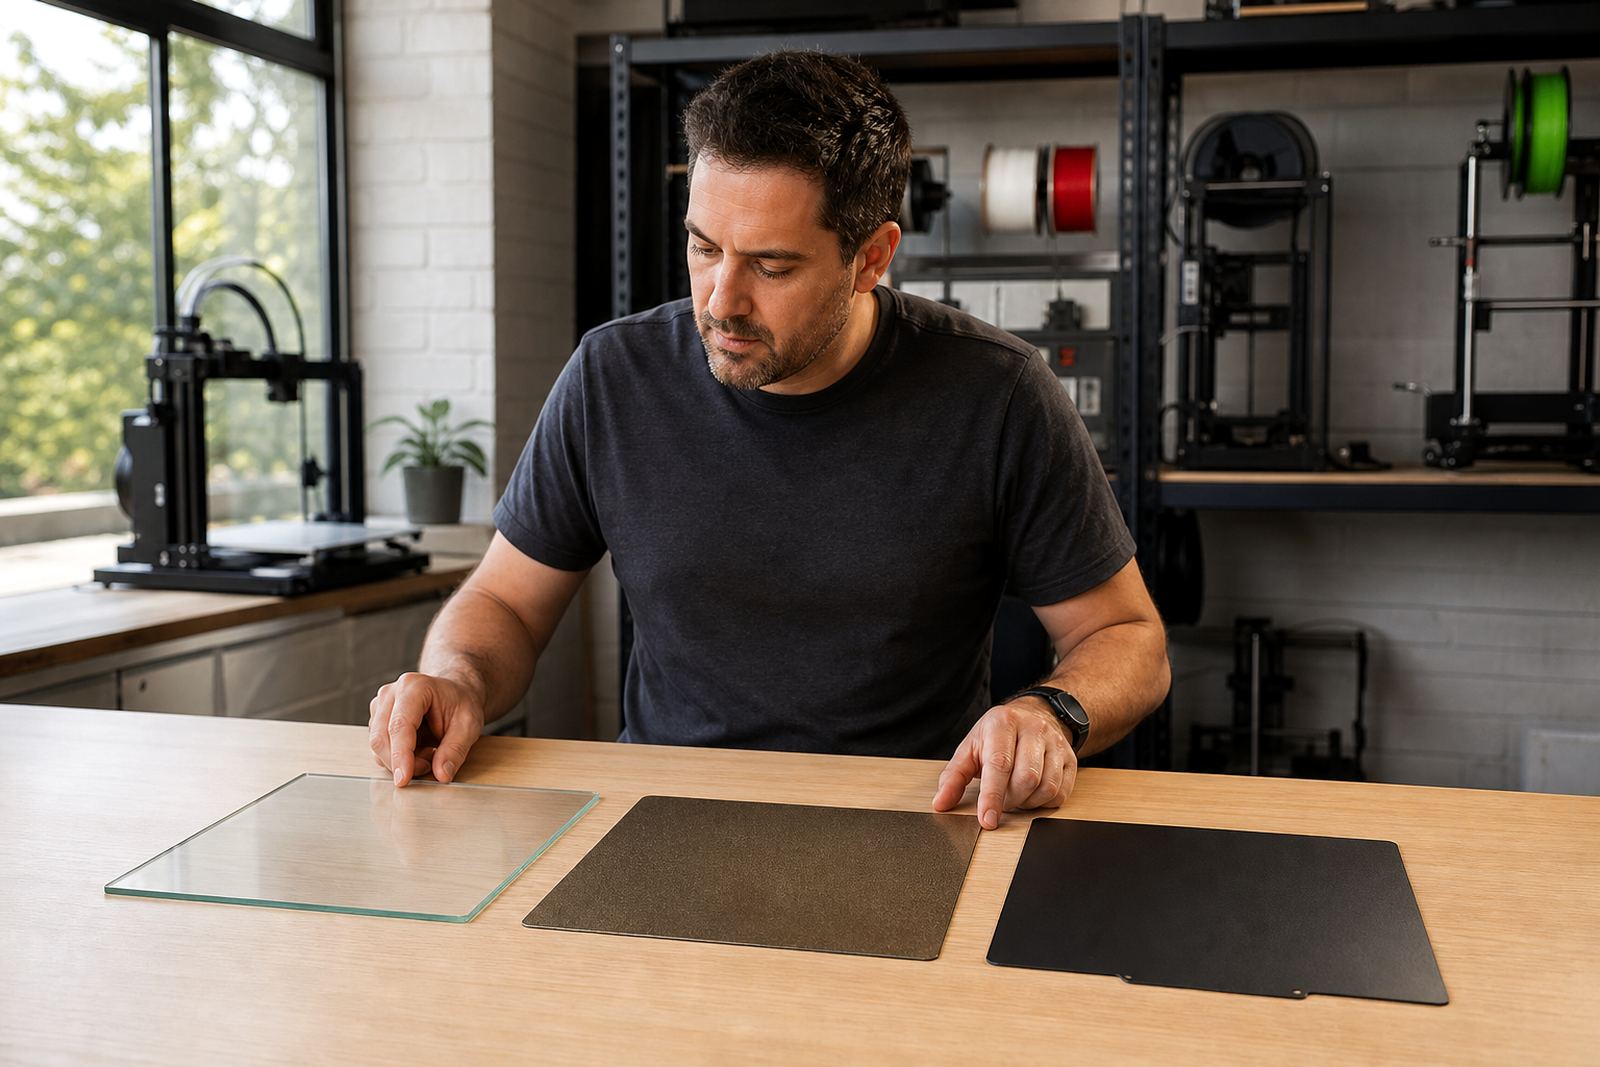
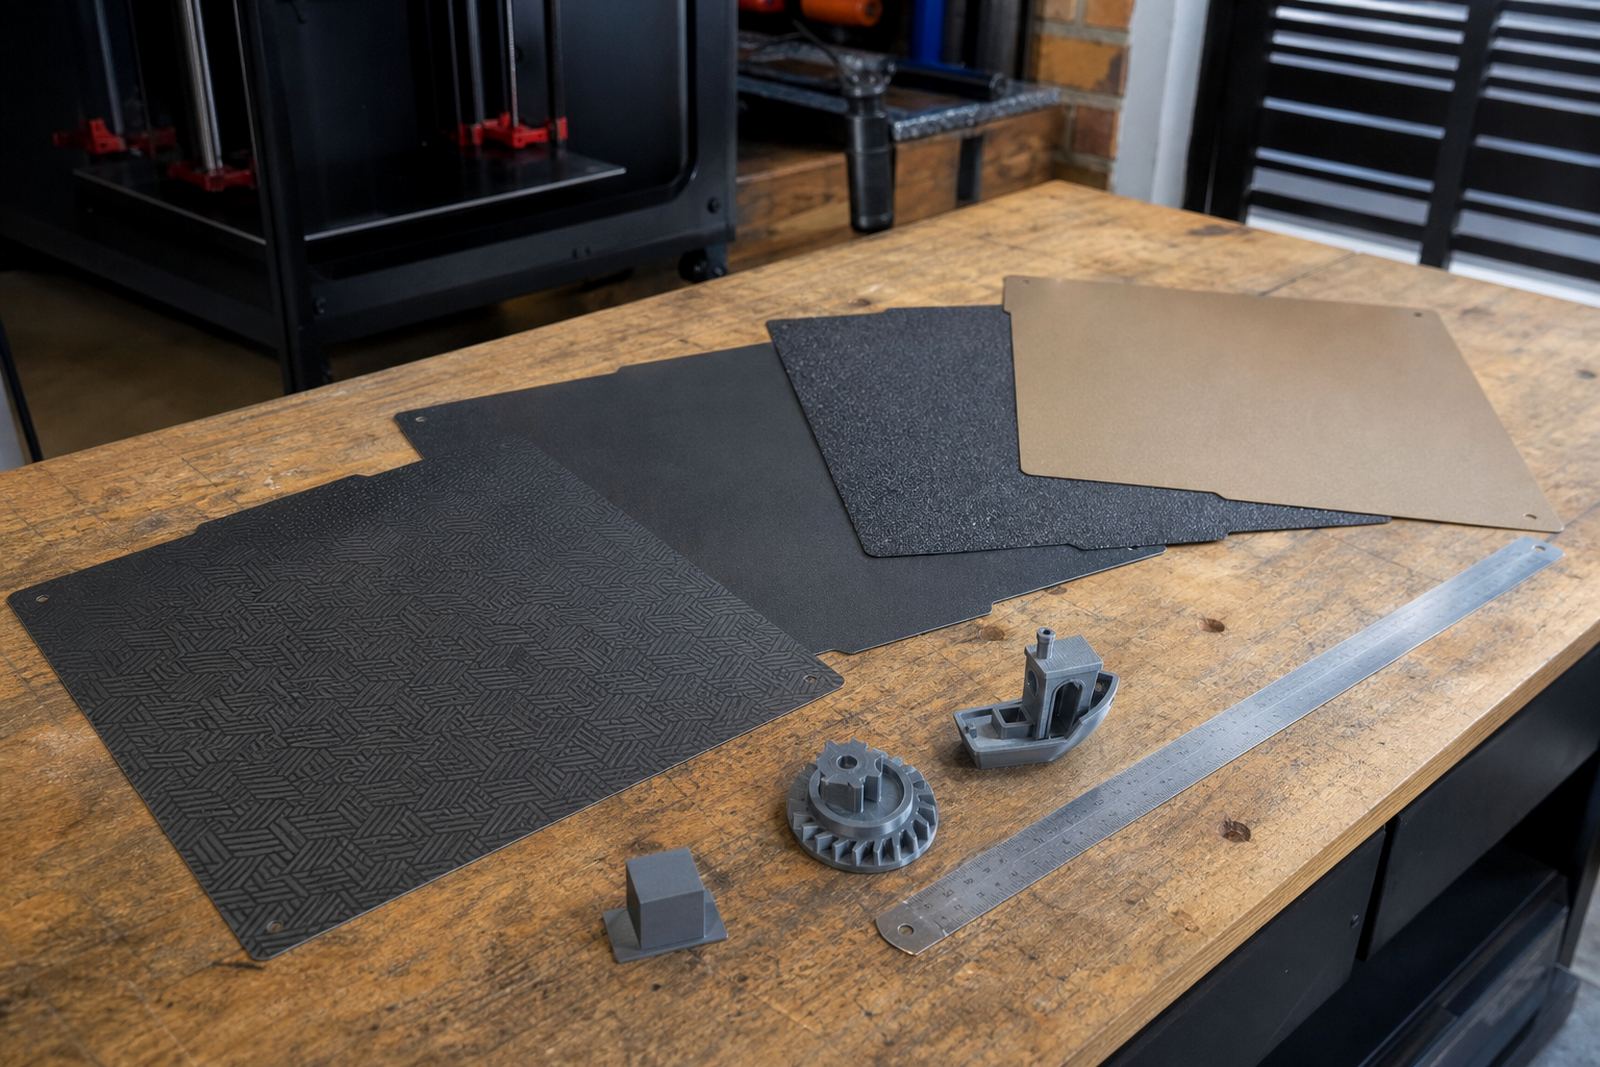
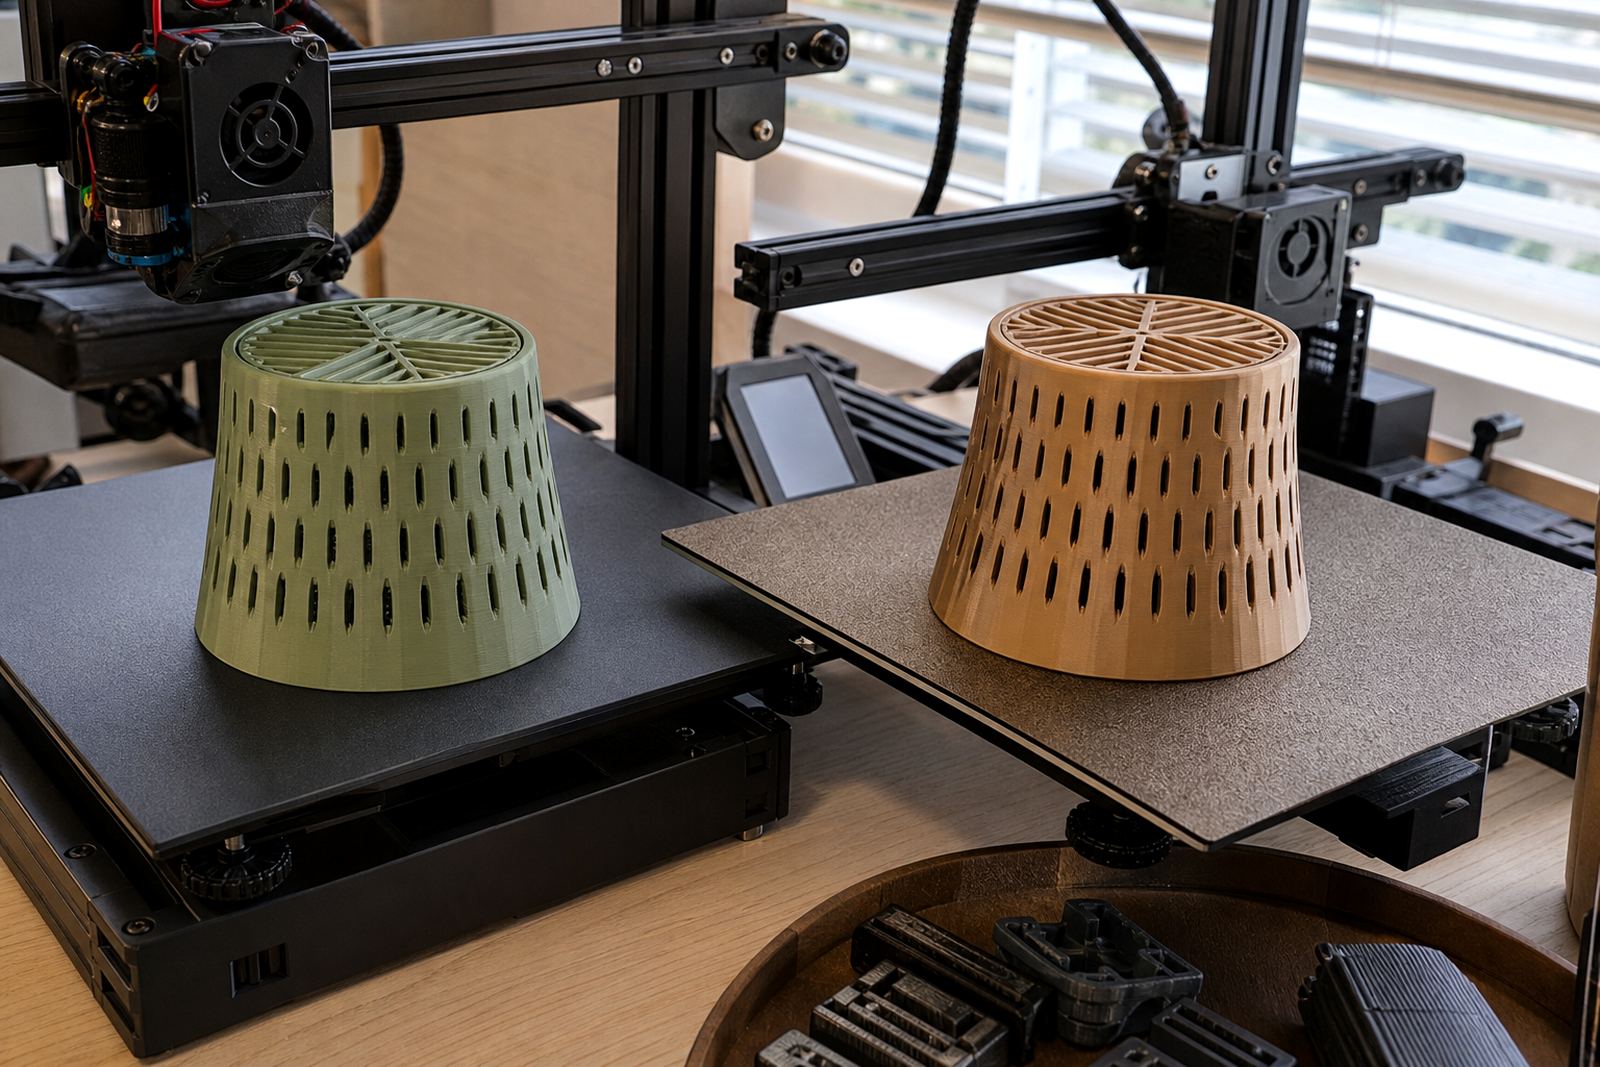
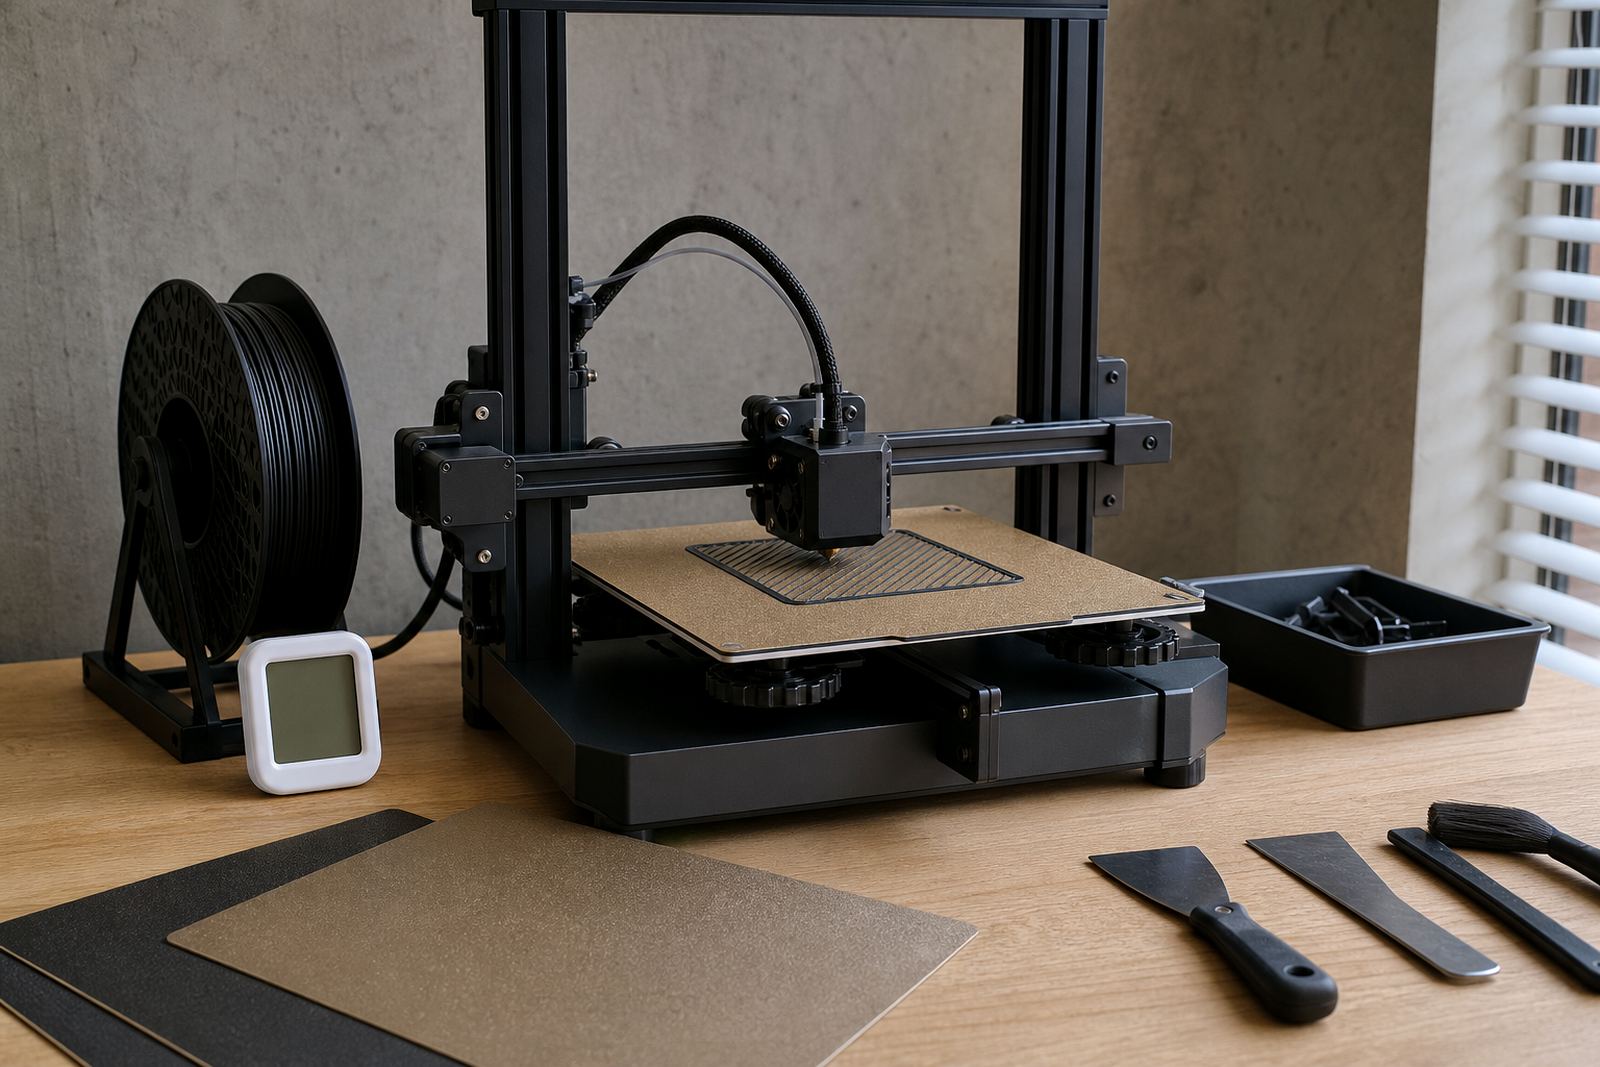
Not every printer needs the same surface, and not every filament behaves the same way. A smooth PEI sheet may suit small detailed parts, while a textured surface can help with larger parts or materials that need a firmer grip. If you print daily, the right choice depends on bed size, nozzle temperature, part shape and how often you swap jobs.
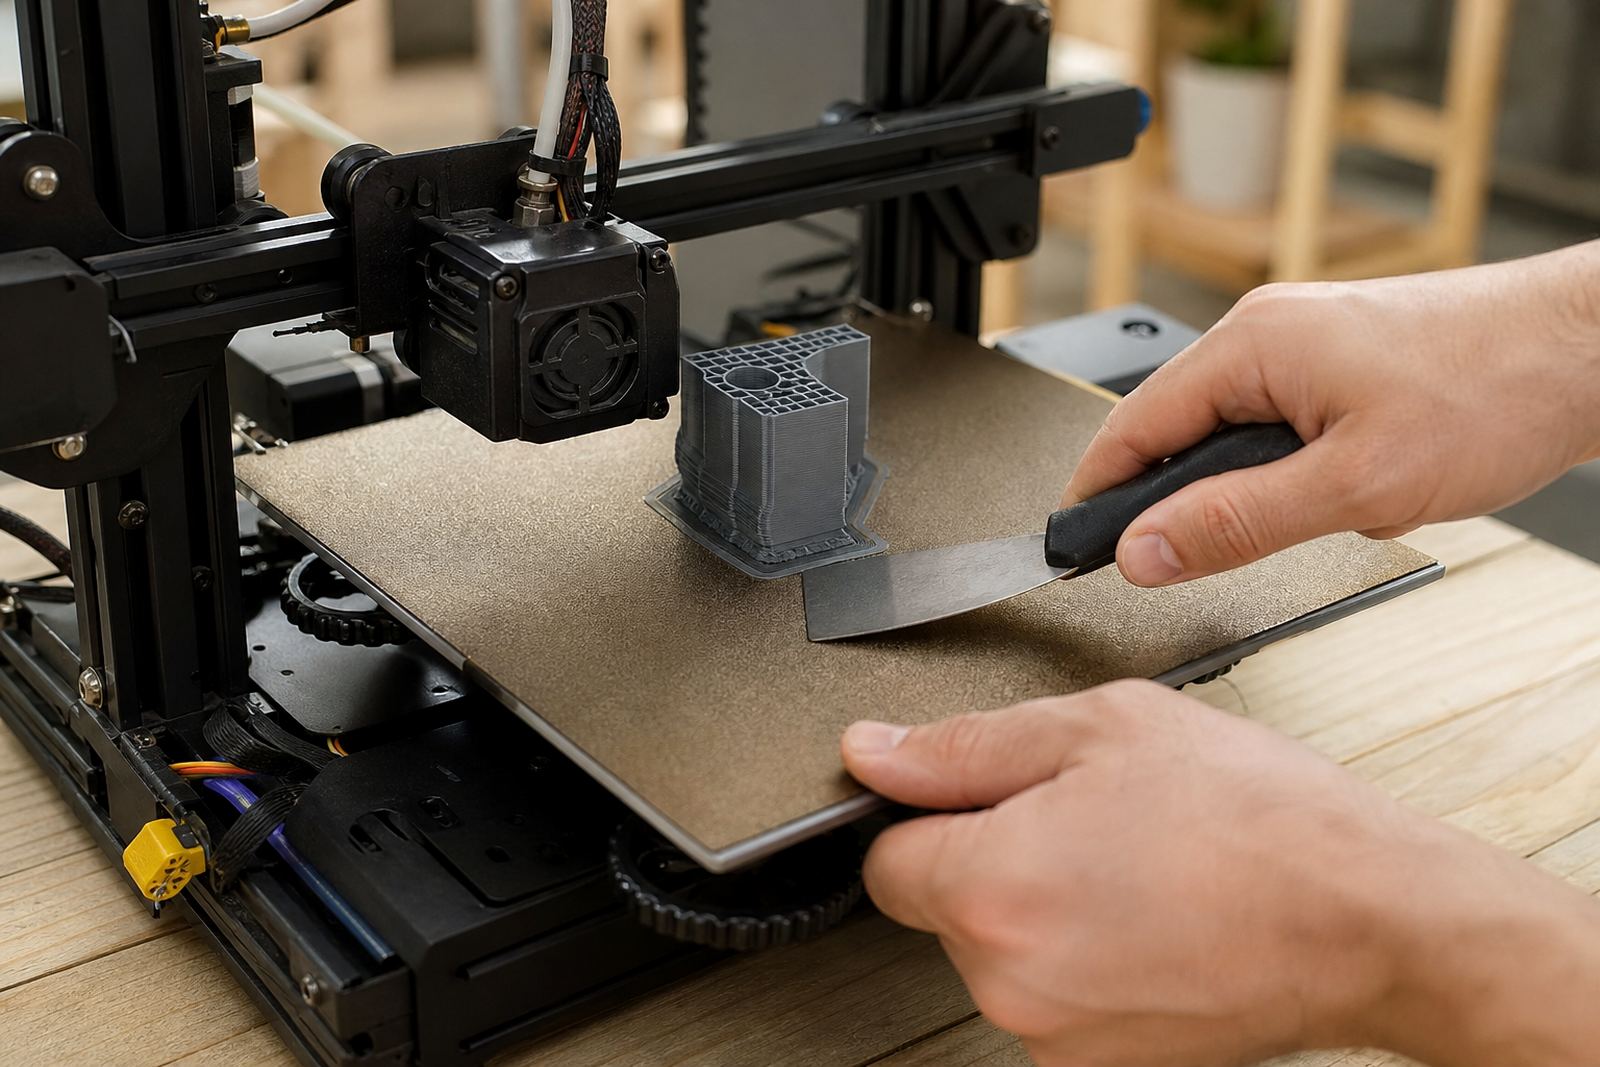
For users in Centurion, Pretoria and Johannesburg, the biggest decision is usually between easy release and strong hold. If parts are lifting at the corners, you may need better surface prep or a different plate finish. If prints are sticking too well, the release side of the sheet or a cleaner bed routine can save time and reduce damage.
- Choose by material, not only by printer model.
- Check whether your bed is flat enough for the full print area.
- Match the surface to your most common part size and shape.
- Plan for replacement before the coating wears out.
PEI Sheets, Build Plates And Magnetic Bases
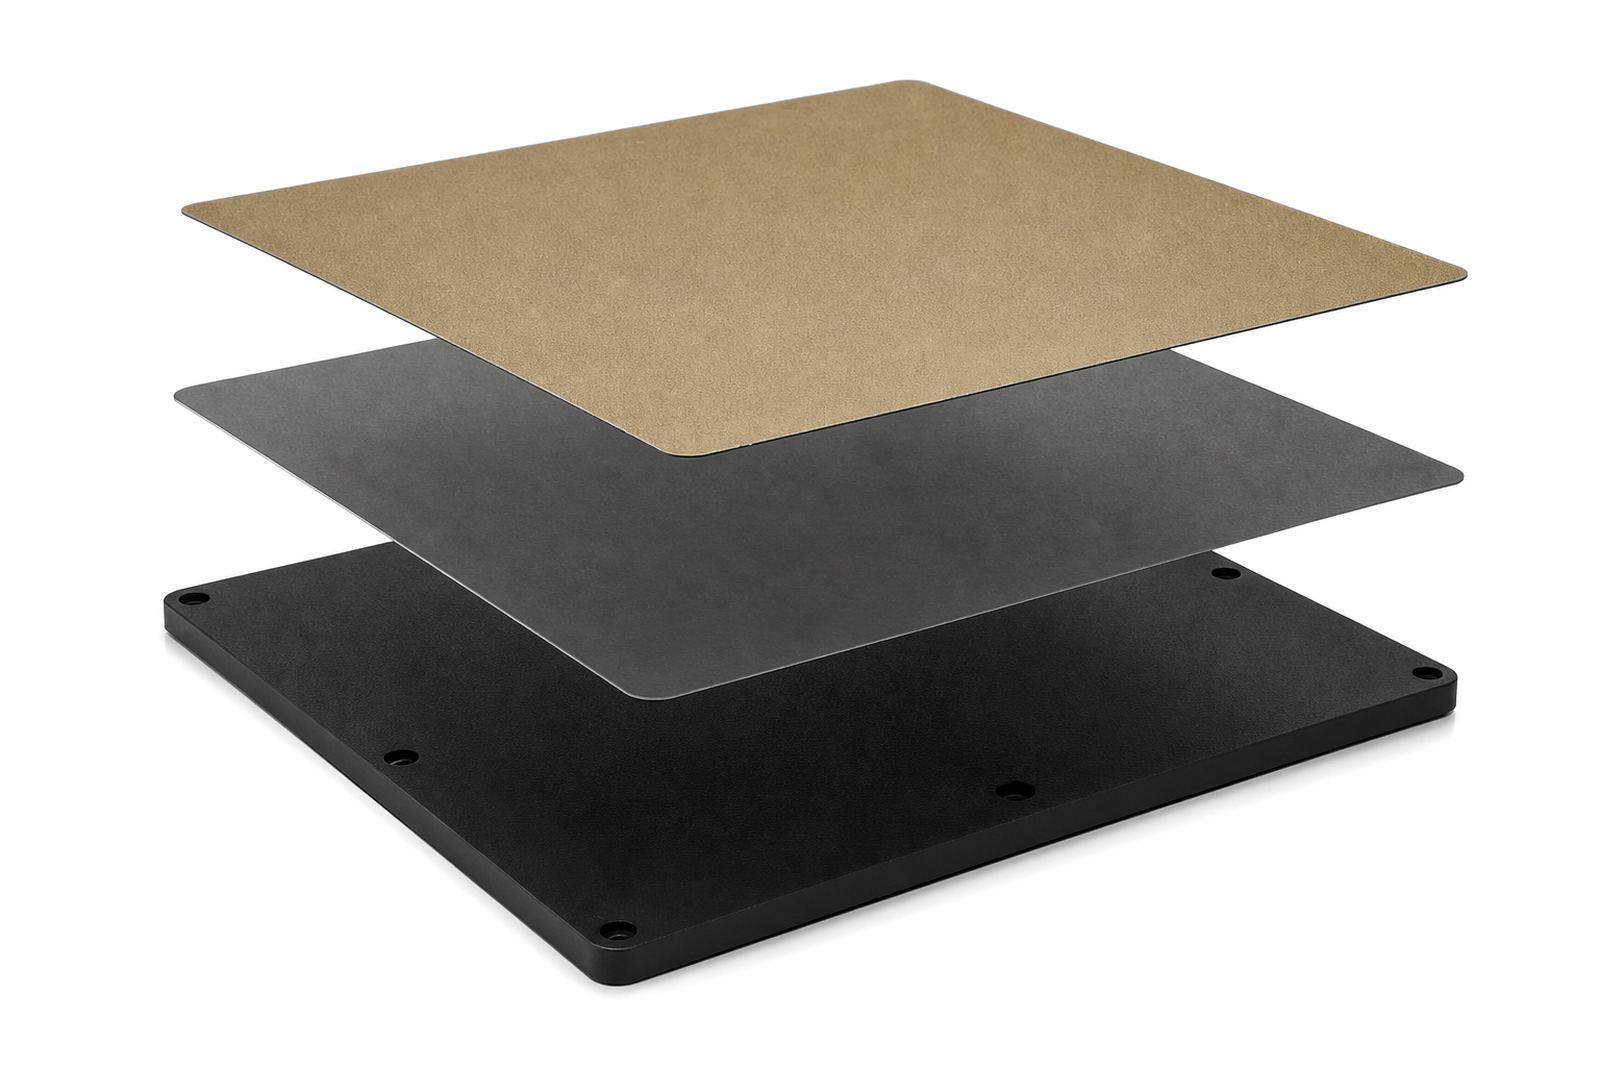
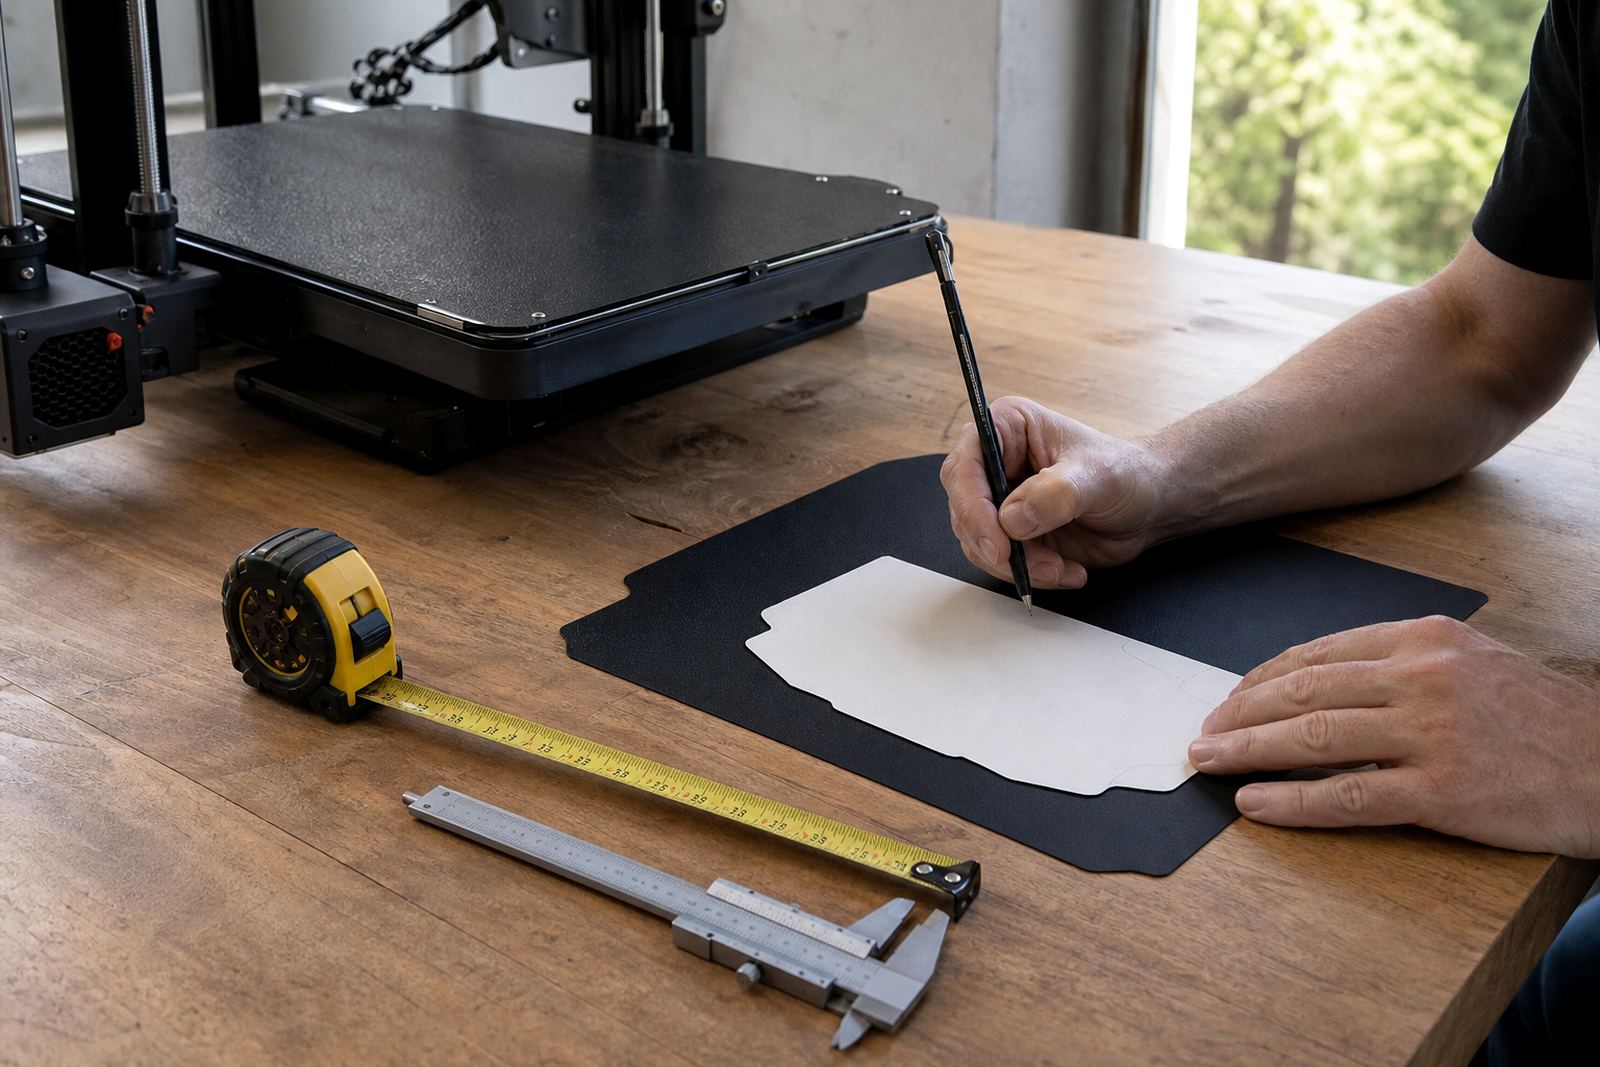
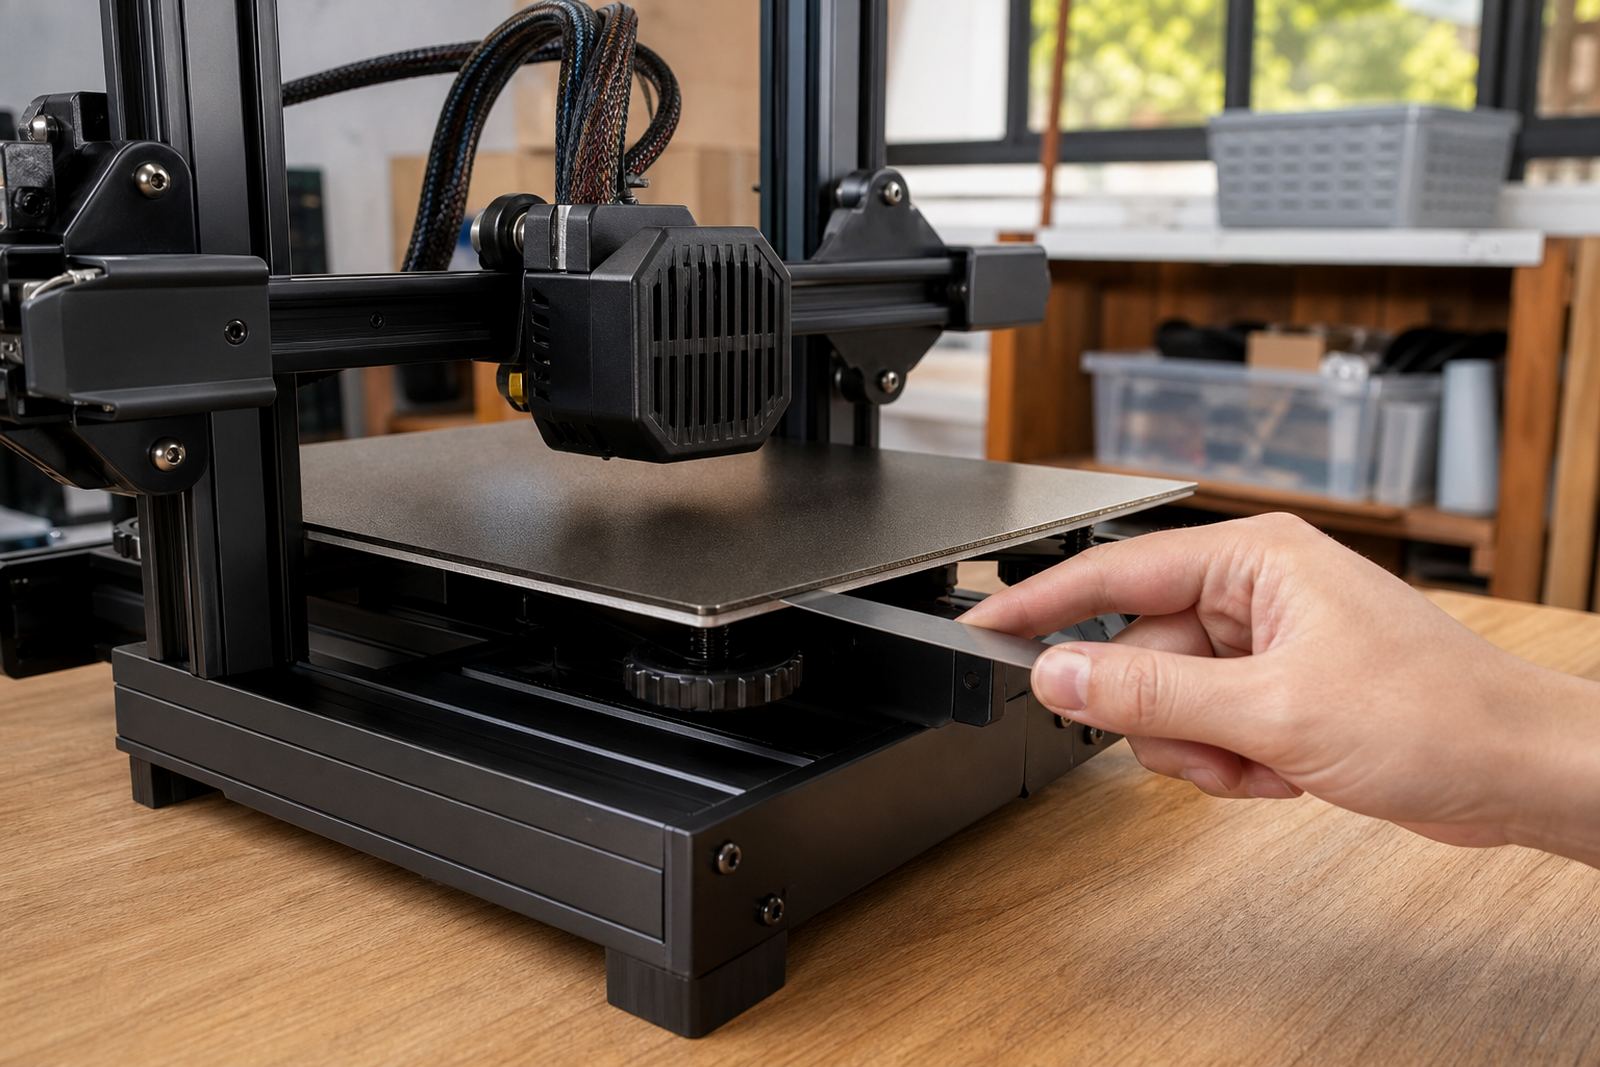
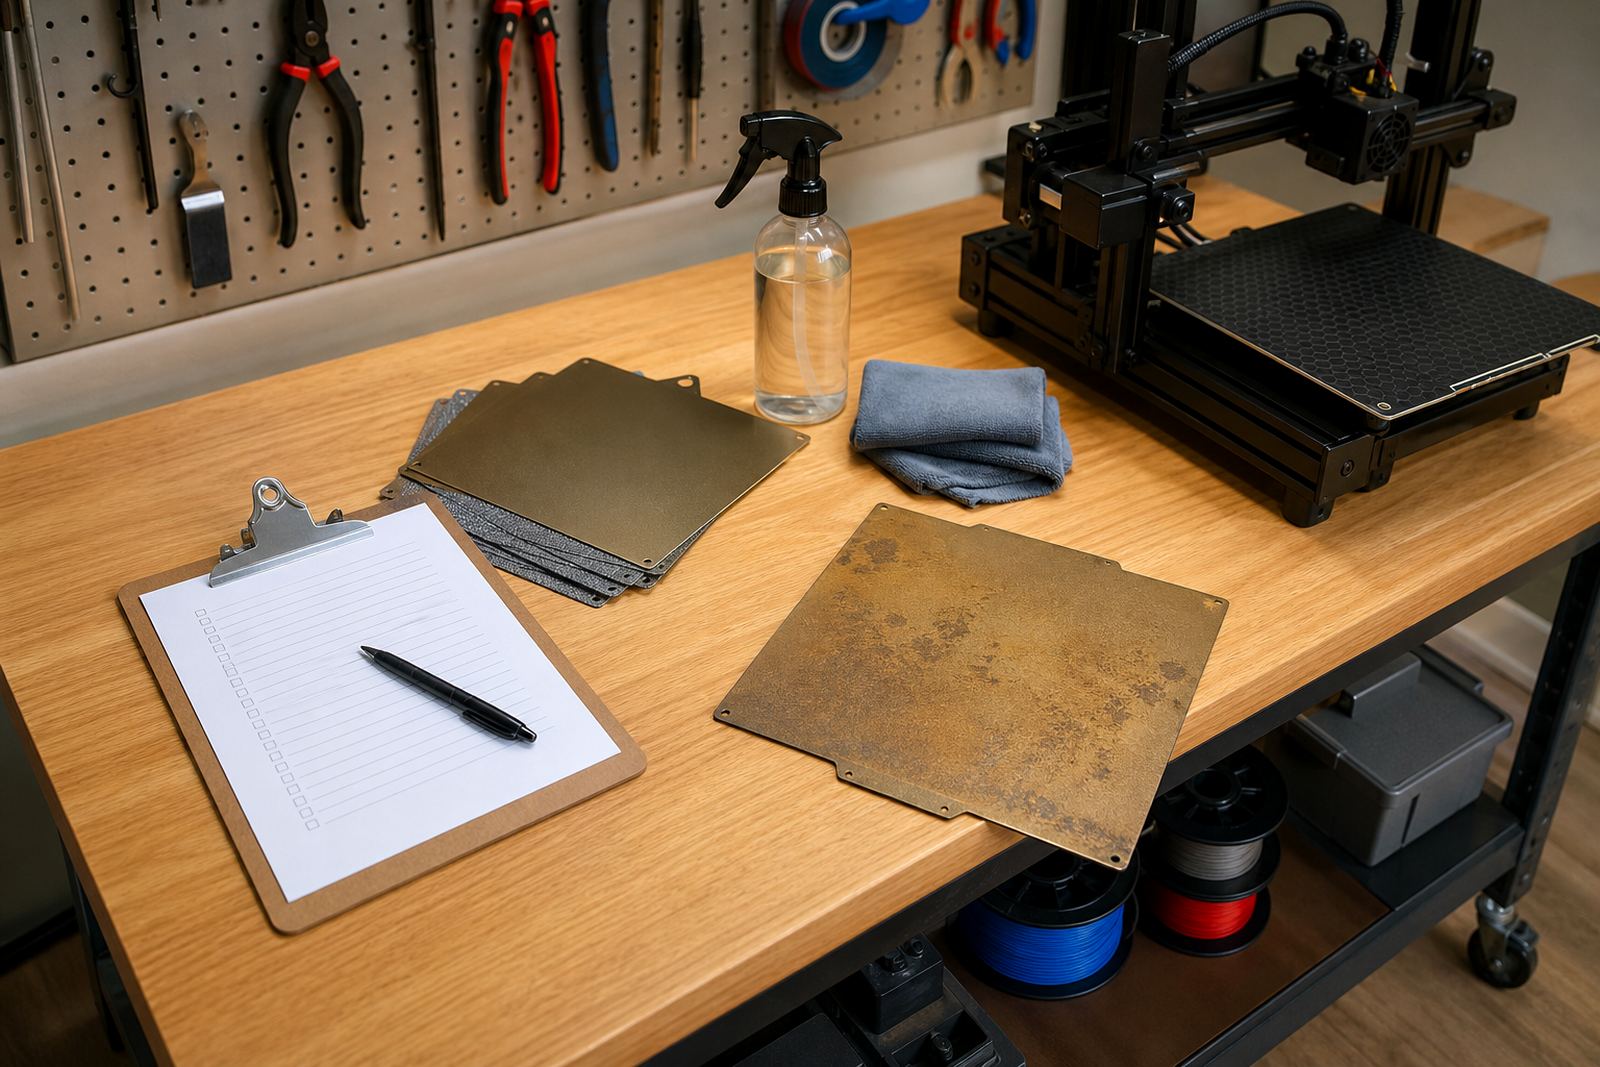
PEI sheets are popular because they give reliable adhesion with less fuss, but they still need the right backing plate and a clean fitting. A magnetic base makes plate changes faster, which is useful for schools, shared labs and print farms with more than one operator. The main point is to keep the full stack level, secure and properly aligned.
In Gauteng, dust and dry air can build up on surfaces quickly. Near the coast, humidity can affect storage and handling, so keep spare sheets in a clean dry place. If you run a farm in Midrand or Cape Town, standardising the plate type across machines also helps with repeat results and faster staff training.
- Use a magnetic base only if the printer bed is in good condition.
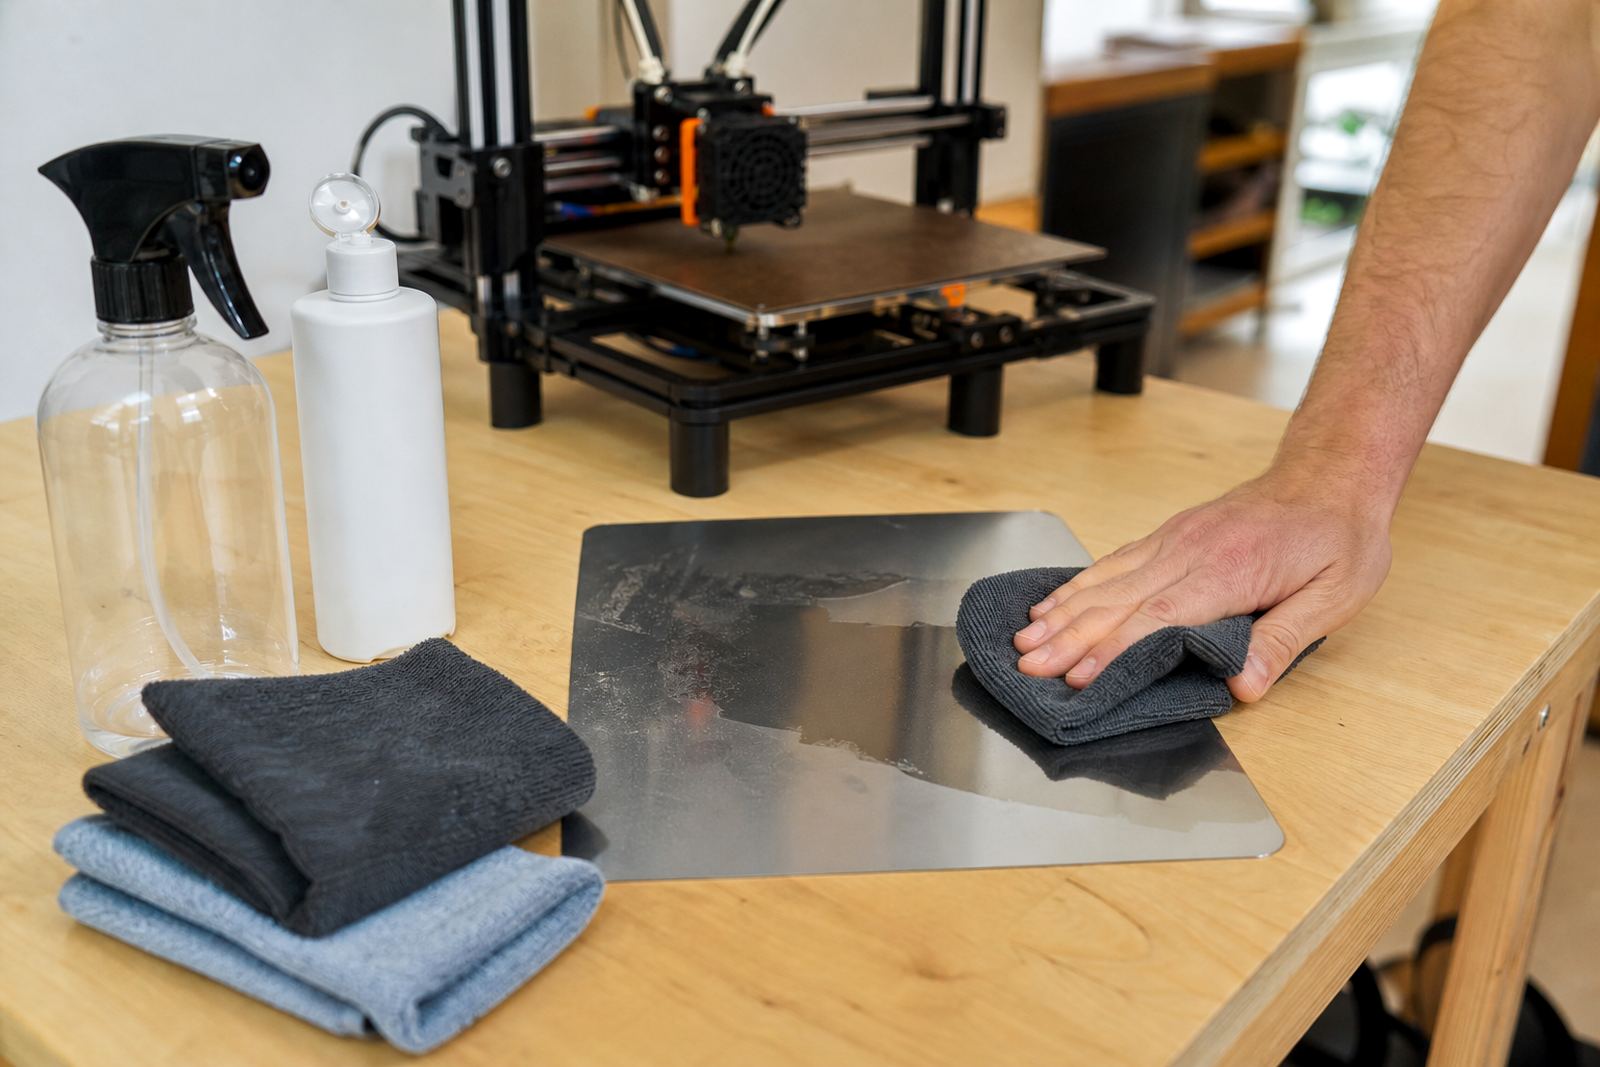
- Wipe surfaces with a method that removes grease without leaving residue.
- Store spare sheets flat to avoid bends and stress marks.
- Replace any plate that shows hot spots, damage or uneven grip.
First Layer Setup That Prevents Lifting
Most adhesion problems start in the first layer. Bed temperature, nozzle height and print speed all matter, and a small error can cause lifting or edge curl. If the first layer is too high, the filament will not bond properly. If it is too low, you may scrape the sheet and shorten its life. A steady first layer is worth the extra minute.
For municipal or school environments where printers are shared, make a simple setup checklist and keep it by the machine. That way the operator can confirm the basics before starting a job, even during load-shedding or after a power cut. A quick restart without checking the bed often leads to wasted filament and more cleaning.
- Level the bed before blaming the surface.
- Print the first layer slower than the rest of the job.
- Keep the nozzle and plate clean between prints.
- Use a brim when a part has a small contact area.
When To Use Adhesion Aids And When Not To
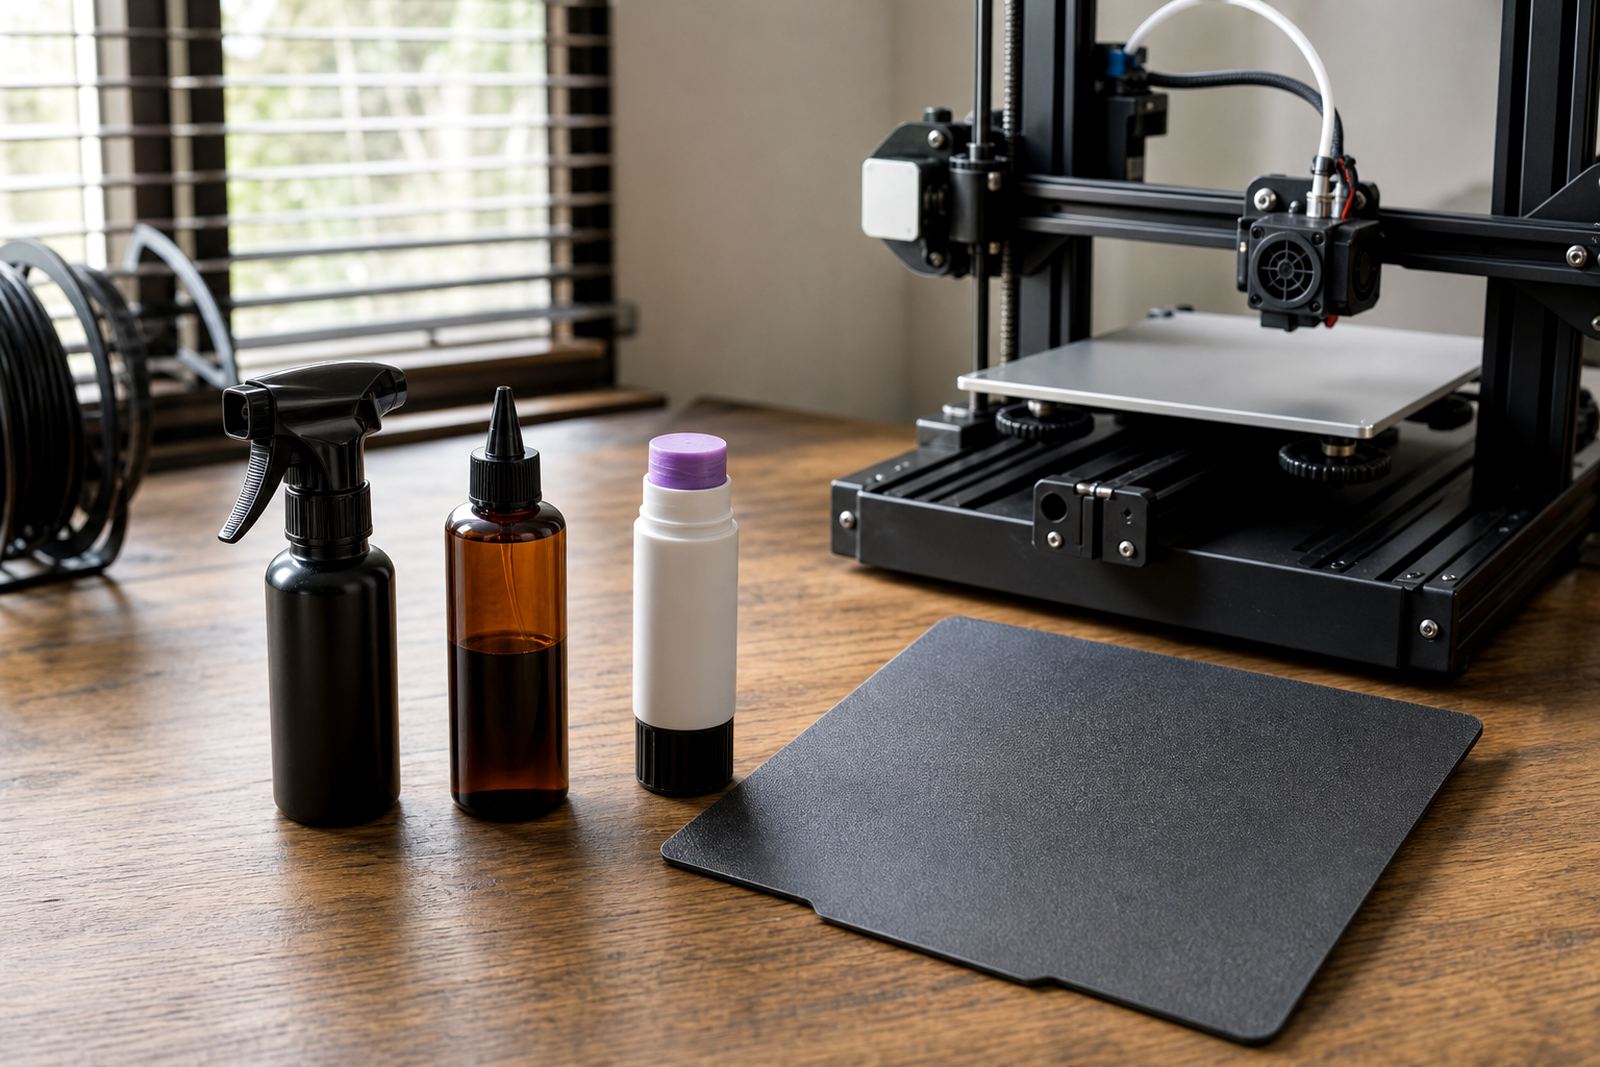
Some prints need extra help, but more is not always better. Adhesion aids can support difficult materials, warped parts or very small contact points. They are also useful when a machine is being used by multiple people and the setup changes from one print to the next. Still, if you are adding adhesive every time, the underlying issue may be bed flatness, temperature or surface wear.
We usually suggest solving the base problem first, then using an aid only where needed. That keeps the plate cleaner and makes bed care easier over time. For schools and training spaces, it also helps learners understand why prints fail and what to adjust before adding another product to the process.
- Use aids for problem prints, not as a permanent fix for every job.
- Recheck flatness after changing plates or magnets.
- Keep a record of which settings work with each filament type.
- Clean off old residue before trying a different method.
Bed Care For Farms, Schools And Shared Workshops
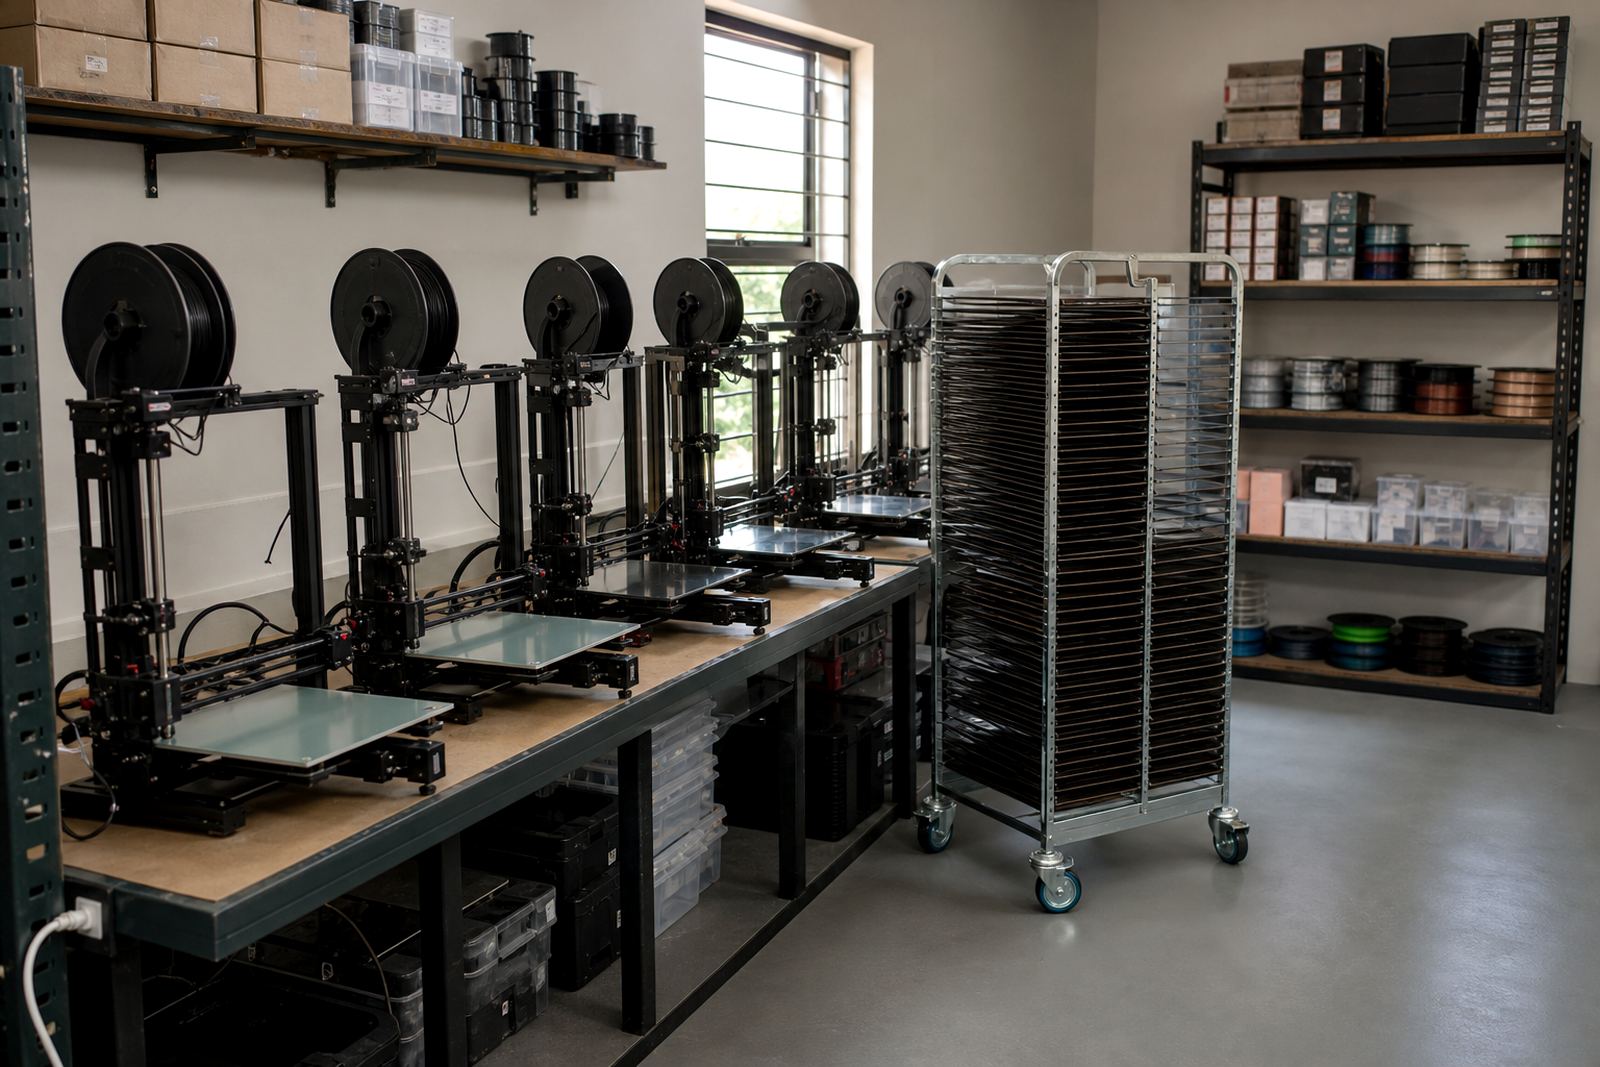
Shared equipment needs a routine. In a print farm, the goal is repeatable output. In a school lab, the goal is safe use and simple maintenance. In both cases, bed care should be easy enough for different operators to follow without guesswork. That means checking the surface, keeping spare parts ready and replacing worn items before they fail in the middle of a run.
Our guides also cover practical planning for multi-printer spaces across Pretoria, Durban, Bloemfontein and Gqeberha. When the same plate style is used across machines, staff can move from one unit to another without re-learning the process. That saves time and cuts down on setup mistakes.
- Create a cleaning schedule for daily, weekly and monthly checks.
- Keep a stock of spare sheets, magnets and consumables.
- Train users to spot wear before it becomes a failure.
- Standardise settings where possible across the full fleet.
How To Use These Guides With Your Next Order
These guides are here to help you make a better choice before you buy, fit or replace a part. If you are unsure which build plate, PEI sheet or magnetic base suits your machine, use the guidance here to narrow the options by size, surface, material and daily workload. That is usually faster than trying random fixes after a bad run.
When you are ready, use the enquiry form on our contact page and tell us what printer you have, what material you print most and where the machine is based. Whether you collect in Centurion or need supply to another part of South Africa, the same practical checks apply. Good adhesion starts with the right surface, and the right surface starts with clear information.