Classroom-ready surfaces for shared printers
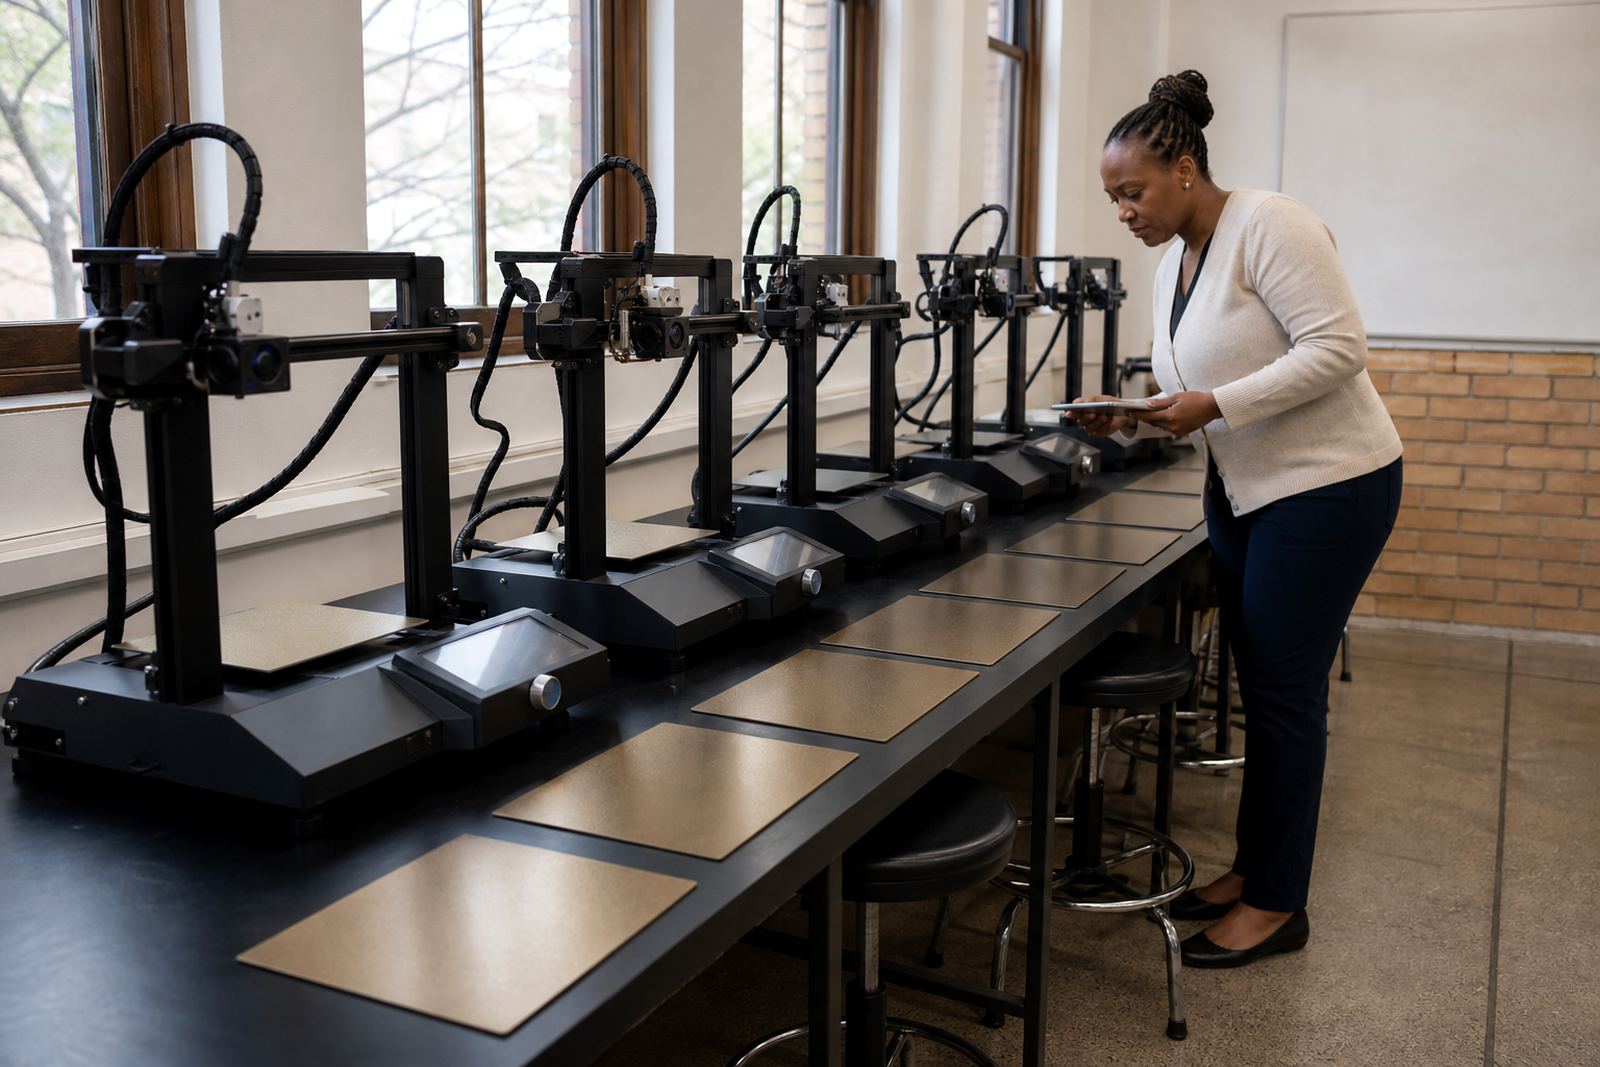
School labs need hardware that can handle many hands, repeated use and a wide range of filament choices. We help you select build plates and PEI surfaces that are practical for learners, with a focus on repeatable first layers, simple cleaning and parts that can be replaced without taking a printer out of service for long.
For schools, the best setup is usually not the most complicated one. It is the one that gives reliable adhesion, does not need constant adjustment, and can be explained to a Grade 8 learner in a few minutes. We plan around the realities of a lab: limited time, rotating classes, load-shedding interruptions and teachers who need clear routines rather than guesswork.
- Standard and custom size build plates for common classroom printers
- PEI sheet fitting for smoother release and easier part removal
- Magnetic base fitting where quick plate changes are needed
- Bed adhesion products matched to PLA, PETG and other common filaments
What we include in a school lab setup
A proper school lab setup starts with checking the printers you already have, then matching each machine to a sensible surface system. We look at bed size, plate condition, bed flatness, learning level and how many classes will share the equipment. If the lab has mixed printers, we can standardise the surfaces so the team is not trying to manage different methods for every unit.
We also help schools decide what should be fixed in place and what should stay replaceable. In a busy lab, that can save time and reduce wear. If your machines are used by several teachers or by learners on a timetable, we plan a setup that is straightforward to maintain between lessons, not just on day one.
- Bed flatness check on each printer before fitting
- Surface refresh or replacement where existing beds are worn
- Custom cutting for unusual plate sizes
- Basic handling notes for teachers and lab assistants
How the setup process works
We keep the process simple. First, you share the printer models, bed sizes and the number of units in the lab through the enquiry form. If needed, we ask for photos of the current plates and any problem areas such as warped corners, poor corner grip or spots where prints keep lifting. From there, we recommend a surface plan that fits the school budget and the level of use.
Next, we confirm the fitting method and the maintenance routine. Some schools need a full swap to PEI sheets, while others only need a few replacement plates and a clearer cleaning routine. Once approved, we prepare the items and arrange collection or dispatch through our South African coverage areas, including Gauteng, the Western Cape, KwaZulu-Natal and the Free State. Turnaround depends on the size of the order and whether custom cutting is needed, but standard school orders are usually handled within a practical, short lead time.
- Step 1: share printer details and lab usage pattern
- Step 2: assessment of plate condition and adhesion needs
- Step 3: recommendation, pricing and approval
- Step 4: fitting, handover and maintenance guidance
Maintenance intervals that keep class time on track
School labs work best when maintenance happens on a schedule, not only when something fails. For most shared classroom setups, we recommend a light cleaning routine after each teaching block, a full surface check every 2 to 4 weeks, and a more detailed review at the end of each term. If a lab is used daily, especially for technical subjects or robotics clubs, the interval can be shortened to suit the print load.
Coastal schools in places like Durban or Gqeberha often need a little extra attention because humidity can affect adhesion and storage. Inland schools around Pretoria, Johannesburg and Bloemfontein may deal more with dust and temperature swings between morning and afternoon classes. We factor that in when recommending cleaning products, storage methods and when to replace consumables. A small amount of routine care goes a long way, and it avoids wasted filament and lesson time.
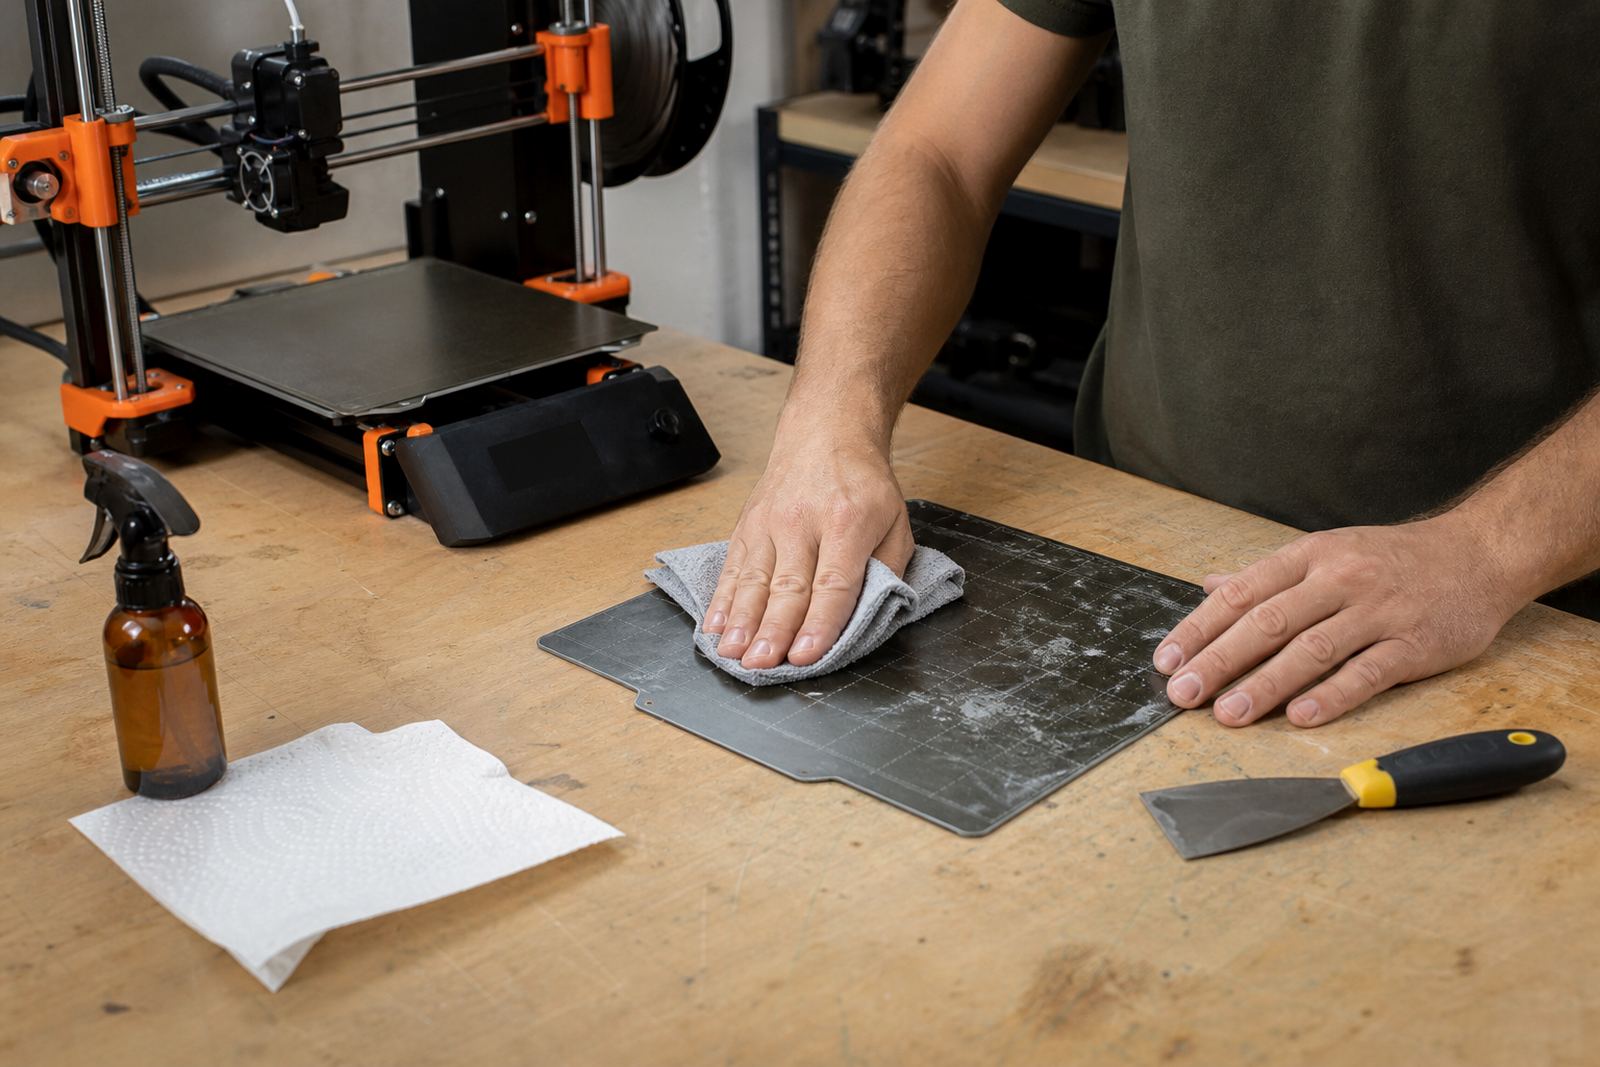
- After each class block: wipe down the plate if needed
- Every 2 to 4 weeks: inspect adhesion, corners and wear
- Each term: review the full lab setup and replacement plan
- After load-shedding interruptions: re-check bed heat and first-layer setup
Pricing approach for schools and departments
We quote based on the number of printers, the plate sizes needed, whether the lab needs custom cutting, and the type of fitting work involved. Schools often prefer a staged approach, starting with the most used machines first and then rolling out the rest in a second phase. That keeps the budget manageable and makes it easier to train staff before the full lab is converted.
Where possible, we group items so the school gets a cleaner price per machine. We can also price consumables supply and maintenance support as a separate line, which helps with procurement and annual planning. If your school works through a purchase order process or needs a clear motivation for the principal or district office, we can structure the quote around the teaching value, maintenance savings and replacement cycle.
- Quoted per printer or per lab, depending on the project size
- Separate pricing for fitting, cutting and consumables
- Options for phased rollouts across multiple classrooms
- Clear replacement planning for annual budgeting
Training for teachers, technicians and learner teams
A good setup still needs people who know how to use it. We include practical training for teachers, lab assistants or learner tech teams so they can handle everyday tasks with confidence. That includes how to recognise poor first layers, when to clean the bed, how to remove parts without damaging the surface, and what to do after a failed print.
We keep the guidance simple and repeatable. The aim is not to turn every staff member into a printer technician, but to give them enough knowledge to keep lessons moving. For schools with after-hours clubs or makerspaces, we can also help define a handover routine so the next user finds the machine in the same state it was left in. That matters when several people share the same lab and not everyone has the same level of experience.
- Basic plate care and cleaning methods
- Adhesion troubleshooting for common classroom filaments
- Safe part removal and surface protection
- Short handover routines for shared use
Key facts
| Base | Centurion, Gauteng |
|---|---|
| Coverage | Pretoria, Johannesburg, Cape Town, Durban, Bloemfontein and Gqeberha |
| Typical plate sizes | 220 x 220 mm, 235 x 235 mm, 256 x 256 mm and custom sizes |
| Surface options | PEI sheets, magnetic bases, replacement build plates |
| School use cycle | Daily, weekly or term-based maintenance plans |
| Turnaround | Short lead time for standard school orders, longer for custom cutting and larger lab rollouts |