Start with the surface, not the stain
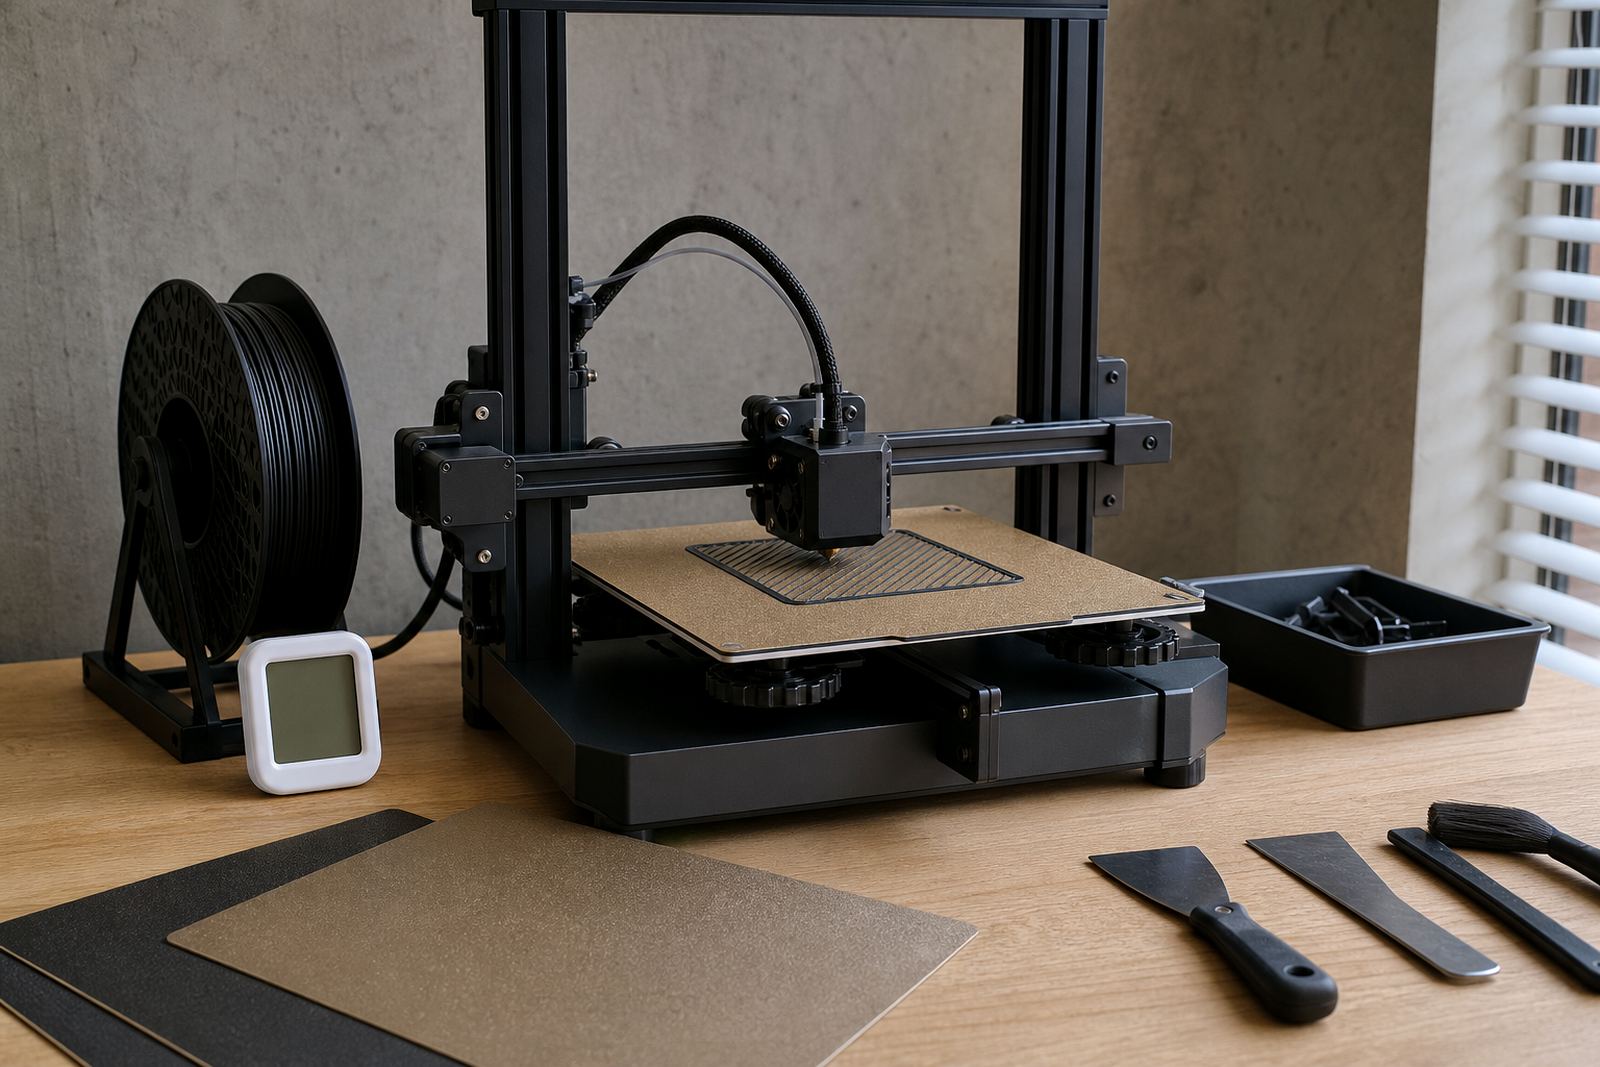
Before you reach for a spray bottle, identify the build surface. A smooth PEI sheet, textured PEI, spring steel plate, glass plate and coated surface all respond differently to cleaning. What works on one bed can dull another, leave a film behind or reduce grip on the next print.
For most daily maintenance, a light wipe is better than a heavy soak. On a busy print farm in Centurion or a school lab in Pretoria East, that usually means removing dust, fingerprints and old release residue before it builds up. If you print often, it is worth keeping one routine for quick cleaning and another for a deeper refresh.
- Check the manufacturer guidance for the plate material
- Let the bed cool before cleaning
- Use a lint free cloth or clean paper towel
- Avoid abrasive pads unless the surface is made for that level of scrubbing
If a plate is scratched, warped or showing patchy adhesion even after cleaning, the issue may be mechanical rather than chemical. Bed flatness, nozzle height and first layer settings all play a role.
Use the lightest cleaner that gets the job done
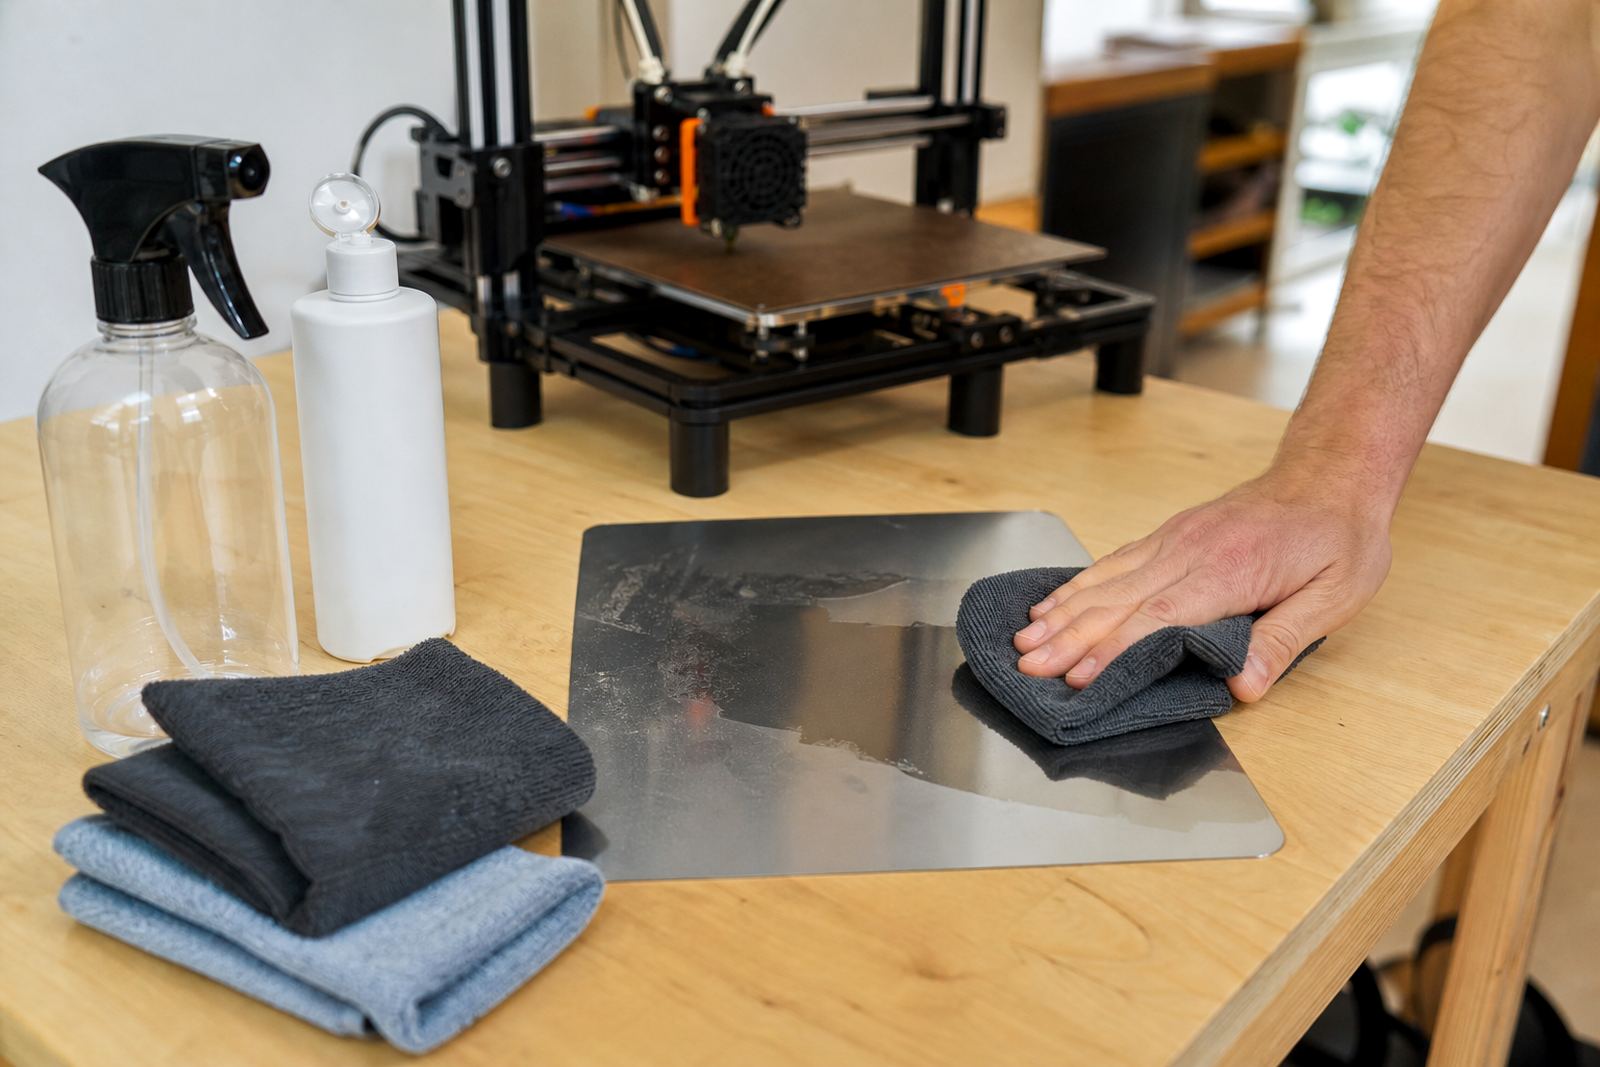
For everyday maintenance, a mild cleaner is usually enough. Many users rely on warm water with a small amount of dishwashing liquid for a proper wash, followed by a clean rinse and full dry. For quick wipes between prints, a small amount of isopropyl alcohol can help remove skin oils and light residue. Use it sparingly, especially on coated surfaces and some PEI sheets.
Skip harsh solvents unless the plate maker specifically allows them. Strong thinners, acetone and aggressive degreasers can soften adhesives, damage coatings or leave a surface too slick for reliable first layer grip. In coastal areas like Durban and Gqeberha, humidity can also make residue behave differently, so a surface that looks clean may still need a proper wash once a week.
- Warm water and mild soap for regular deep cleaning
- Isopropyl alcohol for light wipe downs on compatible surfaces
- Microfibre cloths for final drying
- Fresh gloves or clean hands after washing the plate
Do not use fabric softener on cleaning cloths. It can leave a film on the bed and that film is hard to see but very easy to print over.
A simple cleaning routine for most makers
If you want a routine that works for home printers, classrooms and small production runs, keep it consistent. Clean the bed at the same point in your print cycle, not only when something goes wrong. That makes it easier to spot changes in adhesion and surface wear.
Here is a practical routine that suits many South African users, whether you are printing in Johannesburg, Bloemfontein or Cape Town.
- Remove the build plate if your machine allows it
- Allow the bed to cool fully
- Wipe away loose dust and filament scraps
- Wash with warm water and mild soap when residue starts to build
- Rinse well and dry completely before reinstalling
- Finish with a light alcohol wipe only if the surface type allows it
- Run a first layer test after cleaning, especially after a deep wash
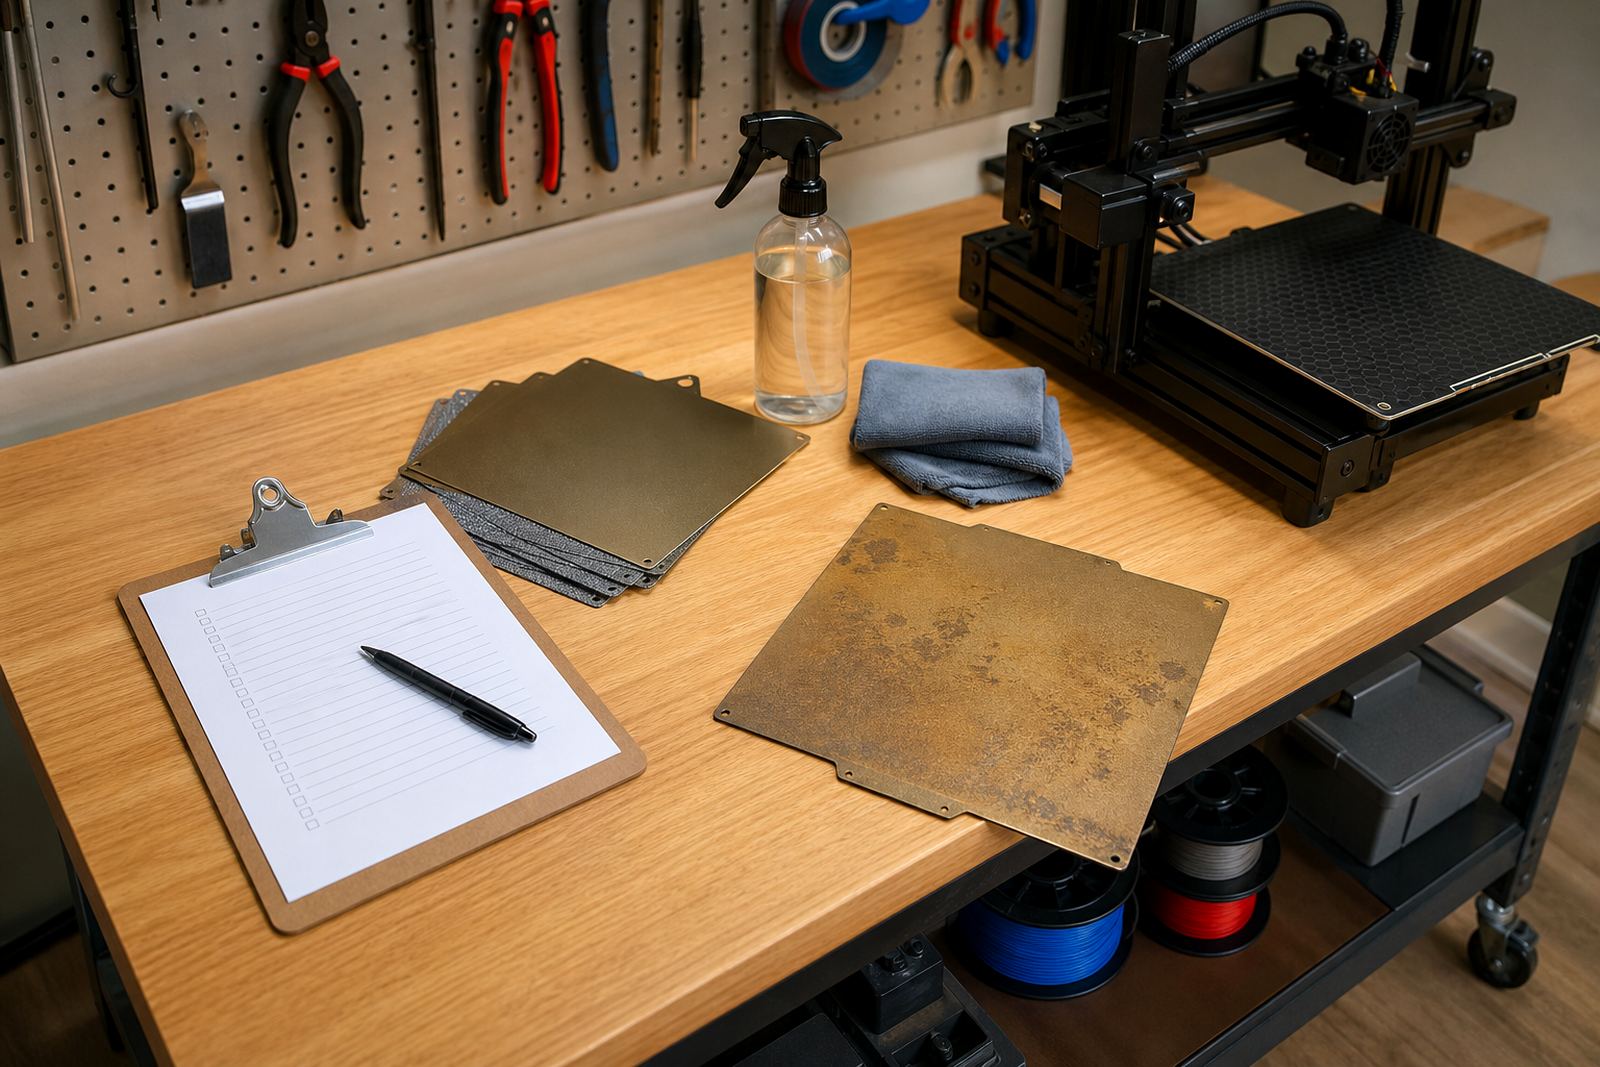
For print farms, assign the same routine to each machine and keep a simple log. If one bed starts needing more frequent cleaning than the others, it usually points to nozzle ooze, handling habits or a local wear issue on that plate.
Know when the bed is too dirty, not too cold
Many first layer problems get blamed on temperature when the real issue is contamination. Finger oils, dust from cardboard packaging, glue residue from previous experiments and old release agents can all stop a print from bonding properly. If the nozzle is close enough and the temperature is correct but the filament still lifts, the cleaner may be the missing step.
Look for signs that the bed needs more than a quick wipe. Uneven sheen, sticky patches, visible fingerprints and random corner lift are common clues. On schools and shared makerspaces, the biggest problem is often too many hands on the same plate.
- Random edge lift after a print that used to stick well
- Filament sticking in some areas and failing in others
- Cloudy or greasy patches on the surface
- More stringing or squish on the first layer than usual
When a bed is repeatedly dirty after only a few prints, review handling and storage. A clean plate that is put down on a dusty table will pick up grit fast, and that grit can cause permanent marks over time.
Protect PEI and magnetic systems from unnecessary wear
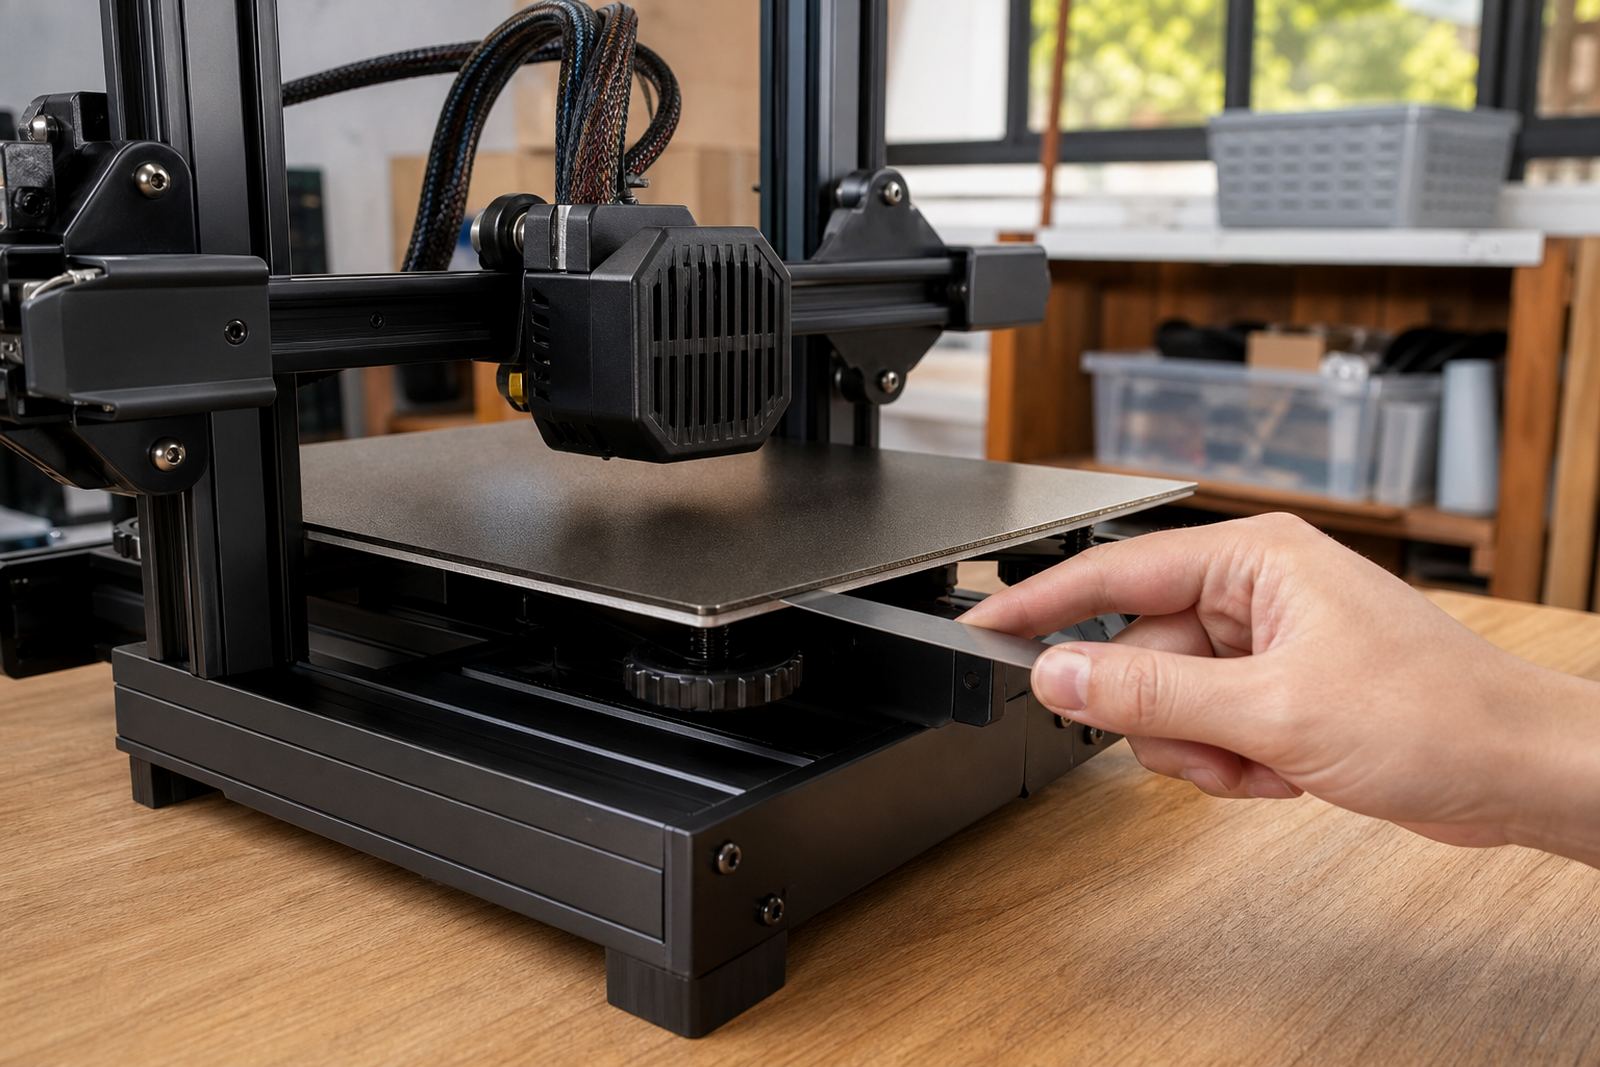
PEI sheets and magnetic bases give good results, but only if they are treated with care. Scraping with sharp tools, dragging the plate across a metal frame and cleaning with the wrong chemical can shorten the life of the surface. If you use a spatula, keep it flat and work slowly once the plate has cooled.
Magnetic bases also need attention. Dust, adhesive overspray and metal debris can affect alignment and holding strength. If the plate feels uneven when you reinstall it, remove any debris before the next print. In humid areas and coastal workshops, stored plates should be kept dry and flat, not leaned against a wall where moisture can collect on one edge.
- Lift the plate straight off, do not twist it
- Store cleaned plates flat where possible
- Keep the magnetic base free of dust and scraps
- Avoid scraping at one spot repeatedly
If the surface has lost its texture or no longer grips even after a proper clean, it may be time for a replacement plan rather than another wash. That is especially true on print farms where downtime is costly.
Build a checklist for schools and production teams
A shared printer setup works better when everyone uses the same checklist. This is useful for school labs, community workshops and businesses with multiple machines. The goal is to keep prints consistent, even when different people handle the equipment during the week.
Keep the checklist short enough that people will use it, but specific enough to prevent guesswork.
- Was the bed cooled before cleaning?
- Was the correct cleaner used for the surface type?
- Was the plate dried fully before reinstalling?
- Was the first layer tested after the clean?
- Was any wear, warp or damage noted?
A good checklist also helps with stock planning. If you can see that a batch of plates needs cleaning more often than usual, you can order replacement sheets, train users on better handling, or schedule a surface refresh before the problem spreads.
When to ask for help with bed adhesion
If cleaning does not solve the issue, the problem may sit elsewhere in the setup. Nozzle wear, uneven gantry movement, poor bed levelling, incorrect filament settings and temperature swings from load-shedding can all affect the first layer. The cleaner is only one part of the process.
That said, a proper inspection can save a lot of trial and error. Bed flatness checks, PEI fitting, magnetic base fitting and adhesion troubleshooting are often the quickest route back to predictable prints. For users in Centurion, Pretoria, Johannesburg, Cape Town, Durban, Bloemfontein and Gqeberha, the aim is the same: a clean surface, a level bed and consistent grip.
If your team is unsure what cleaner to use, or if a surface has started acting differently after months of use, it is worth reviewing the whole bed care routine rather than changing one setting at a time.