Start With the Room, Not the Plate
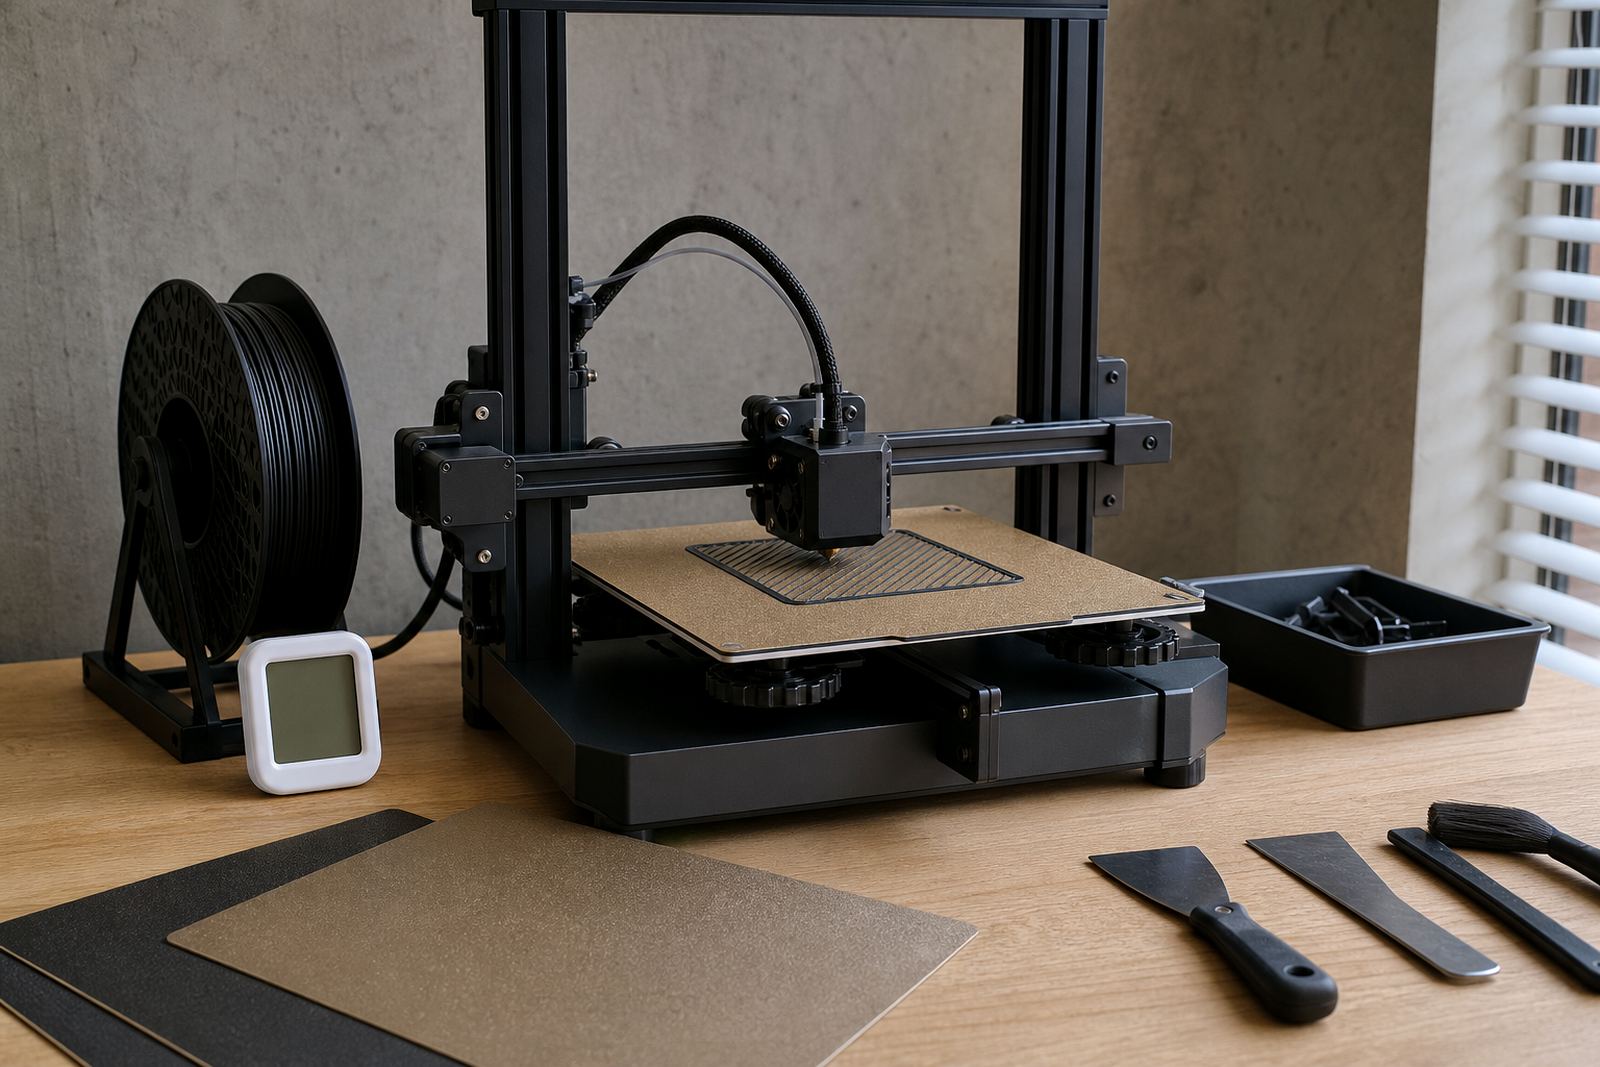
Before changing slicer settings or swapping surfaces, check the room around the printer. In Centurion and Pretoria a garage can be chilly in June, while in Durban the same setup may sit in damp air most mornings. Those conditions change how fast the bed reaches temperature, how the filament lands, and how long the first layer has before it cools too quickly.
Give the printer a few minutes to settle after a cold start. A build plate that feels clean can still behave differently if the workshop is cold, dusty, or full of moisture. Keep windows shut during windy days, and avoid placing the machine near open doors, wet concrete floors, or direct sun. Small changes matter more than most people expect.
- Check room temperature before a long print run
- Keep the printer off the floor where dust collects
- Let the bed heat fully before loading the job
- Wipe down the plate after handling with bare hands
Winter Prep for Cold Beds and Slow Warm-Up
Winter usually means slower recovery after each print and a greater chance of edge lift on larger parts. In places like Johannesburg and Bloemfontein, a bed that is set correctly in summer may need a little more care in winter. The aim is steady warmth and a clean, even surface, not chasing higher temperatures for no reason.
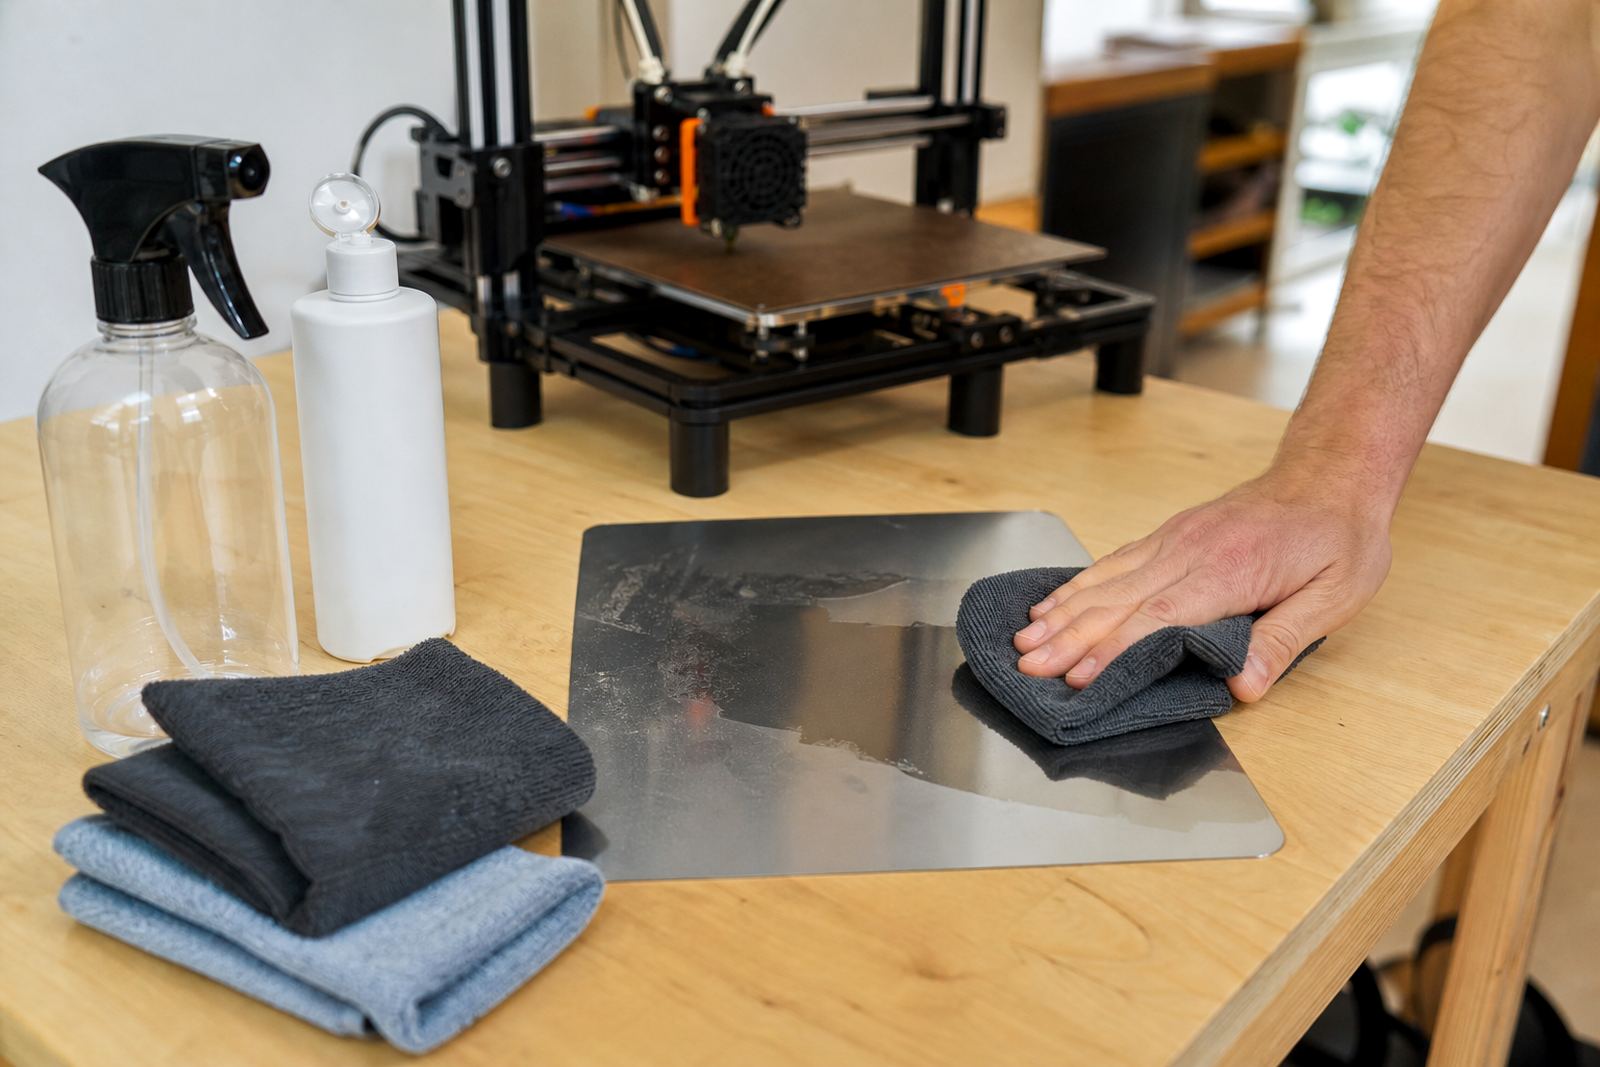
Start by cleaning the plate with a suitable method for the surface type. If the plate uses PEI, remove any skin oils and old residue before the next print. If the bed has just been fitted or replaced, check that it is flat and seated properly. A small warp near the corners can cause trouble on long parts, especially when the workshop is cold and the first layer contracts faster than expected.
For winter jobs, heat soak the bed a bit longer than usual. Then inspect the first layer across the full width of the plate, not only the centre. If one side looks lighter or the nozzle seems a touch high in one area, stop and correct it before wasting filament.
- Clean the plate before every serious print
- Allow extra heat soak time in cold rooms
- Check corner grip on wide or long parts
- Confirm bed flatness after moving the printer
Summer Heat and Fast First-Layer Softening
In summer, heat can help adhesion but it can also make some setups behave too aggressively. A room in Pretoria East or Midrand may warm up quickly by late morning, and the bed may hold heat well enough for the first layer to spread more than intended. That can cause ridges, over-squish, or a rough finish under the part.
Watch the first few layers closely after lunch time prints. If the machine sits near a sunny window, the frame and plate may be warmer than your normal starting point. That is where small corrections help. A slight Z offset change, a cleaner surface, or a gentler first layer speed can make a bigger difference than increasing heat. It is worth noting that some operators chase a hotter bed when the real issue is over-adhesion on a clean plate.
Keep a simple note of what works on hot days. Many workshops find that the same part needs different settings in December than it does in July. A quick record on the machine or a label by the printer saves a lot of repeat test prints.
- Watch for over-squish on hot afternoons
- Keep printers out of direct sunlight
- Adjust first layer speed before raising heat too far
- Record the settings that work in summer
Humidity Control for Coastal and Rainy Season Printing
Humidity is a common cause of repeat adhesion problems, especially in Durban, Gqeberha and Cape Town. Moist air can affect both the filament and the surface prep, and sometimes the plate seems fine while the filament is the real problem. If a print is popping, stringing or leaving a dull first layer, check the workshop air as well as the bed.
Keep filament sealed when not in use and dry it when needed. A clean plate on its own will not fix damp material. For PEI sheets and similar surfaces, avoid touching the print area with wet hands or a damp cloth. If the workshop has high moisture, wipe the plate and let it dry properly before starting the job. In wet weather, even a small amount of residue can change the way the first layer grabs the bed.
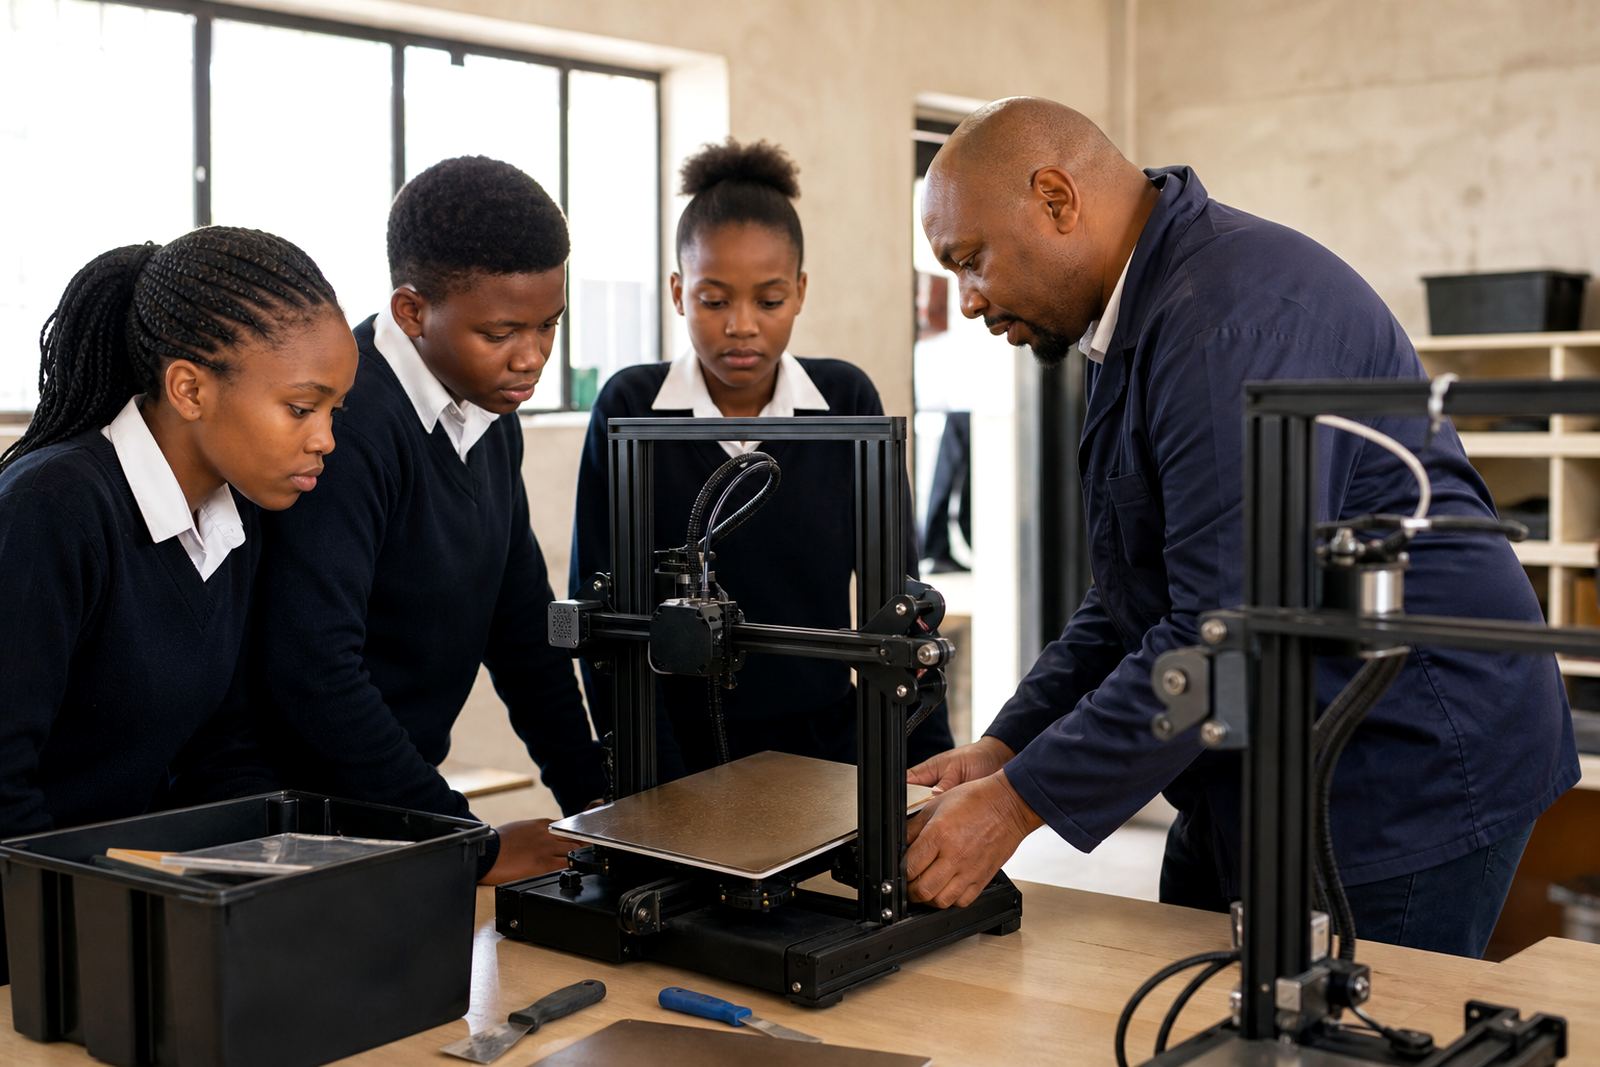
If the printer is in a school lab or shared production space, make humidity checks part of the daily routine. This is especially useful for print farms where many operators use the same machines through the week.
- Store filament in sealed containers
- Dry moisture-sensitive material before critical jobs
- Let the plate dry fully after cleaning
- Keep a humidity check in the daily startup routine
A Simple Bed Prep Routine for Every Season
A clear routine is better than guessing. Whether you are running a single machine at home or a row of printers in a small production space, the same sequence helps keep adhesion consistent. Clean the surface, check the bed, confirm the temperature, then test the first layer. That order saves time and stops small faults from becoming wasted runs.
Use the same approach every time and only change one variable at once. If you adjust the nozzle gap, do not also change bed heat and print speed on the same job. That makes it harder to see what fixed the issue. Keeping notes is especially useful for schools, makerspaces and farms that hand machines over between users.
- Clean the build surface
- Check plate fit and flatness
- Heat the bed fully
- Run a small first-layer test
- Change one setting at a time
When to Refresh the Surface or Replace the Plate
Sometimes the problem is not the season. If the surface has lost its grip, the coating is worn, or the plate no longer sits flat, seasonal tweaks will only go so far. Look for signs like patchy adhesion, shiny worn spots, repeated corner lift, or a plate that needs more and more help to hold a part in place.
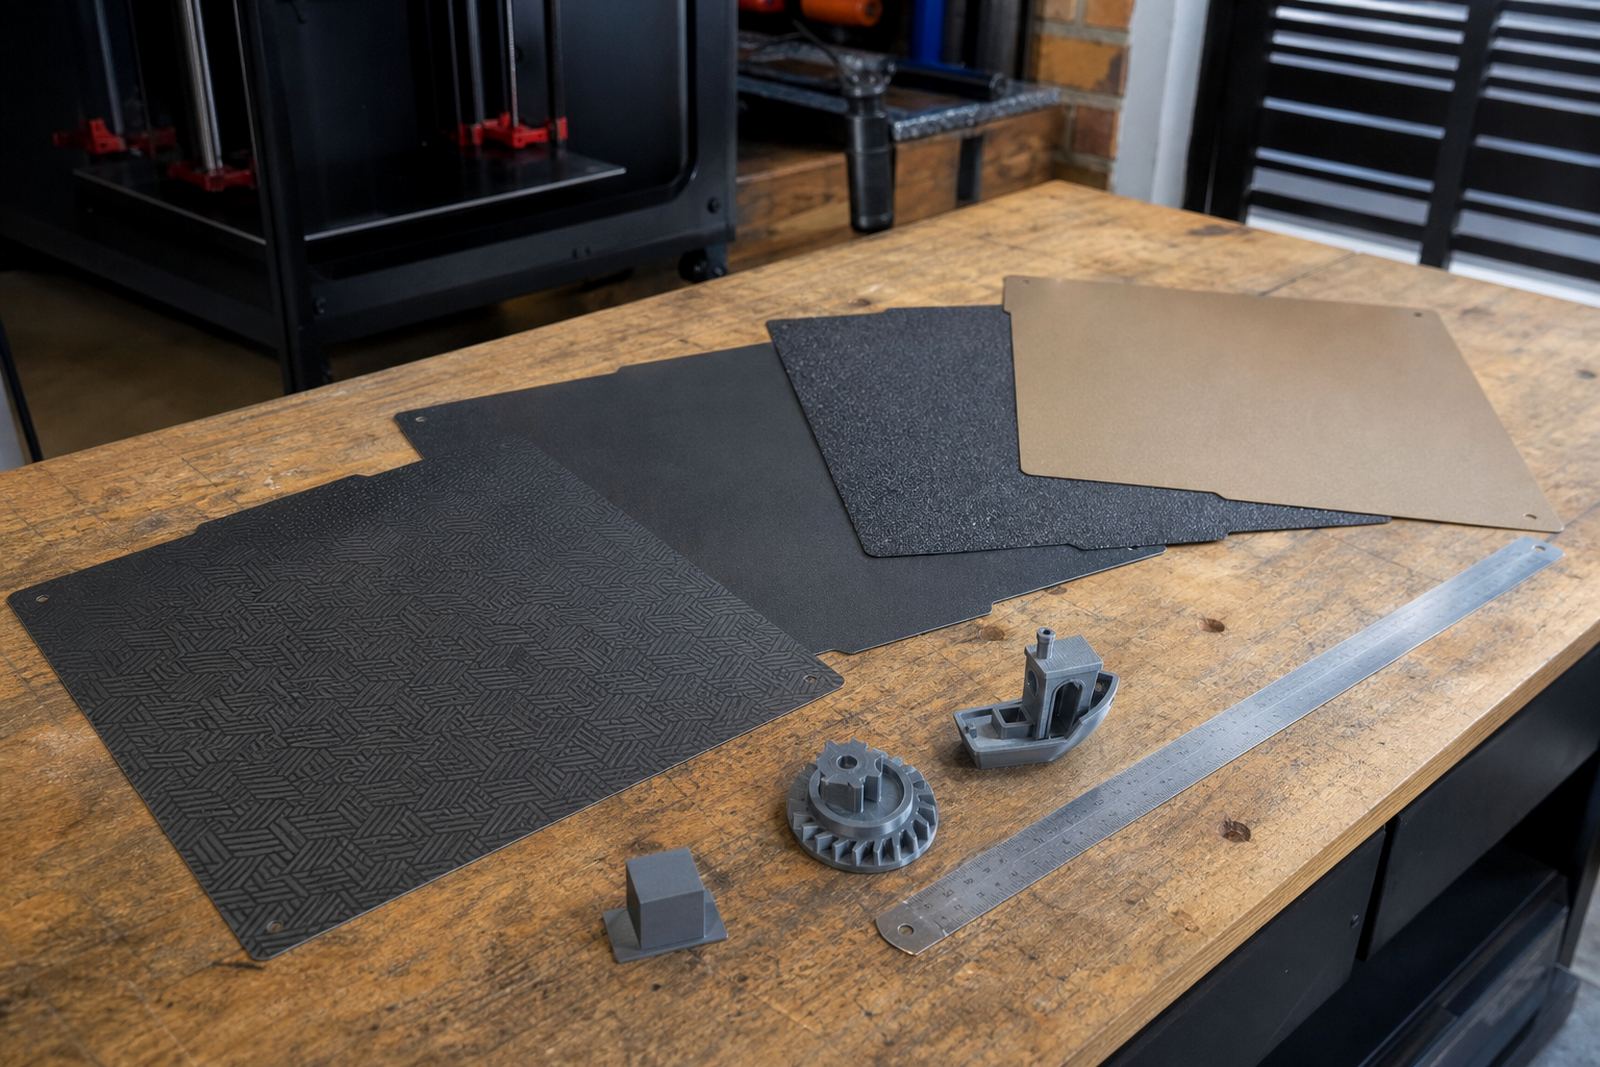
That is the point to consider a surface refresh, a PEI sheet fitting, or a replacement plan for busy printers. For schools and print farms, standardising the plate type across machines can reduce confusion and cut downtime. In Centurion and across Gauteng, many teams prefer to plan these changes before the busy season starts rather than waiting for failures in the middle of a run.
If you need help with installation, bed flatness checks or adhesion troubleshooting, use the enquiry form on the contact page and we can talk through the setup for your printer and your workload.