What Makes Up a Magnetic Plate System
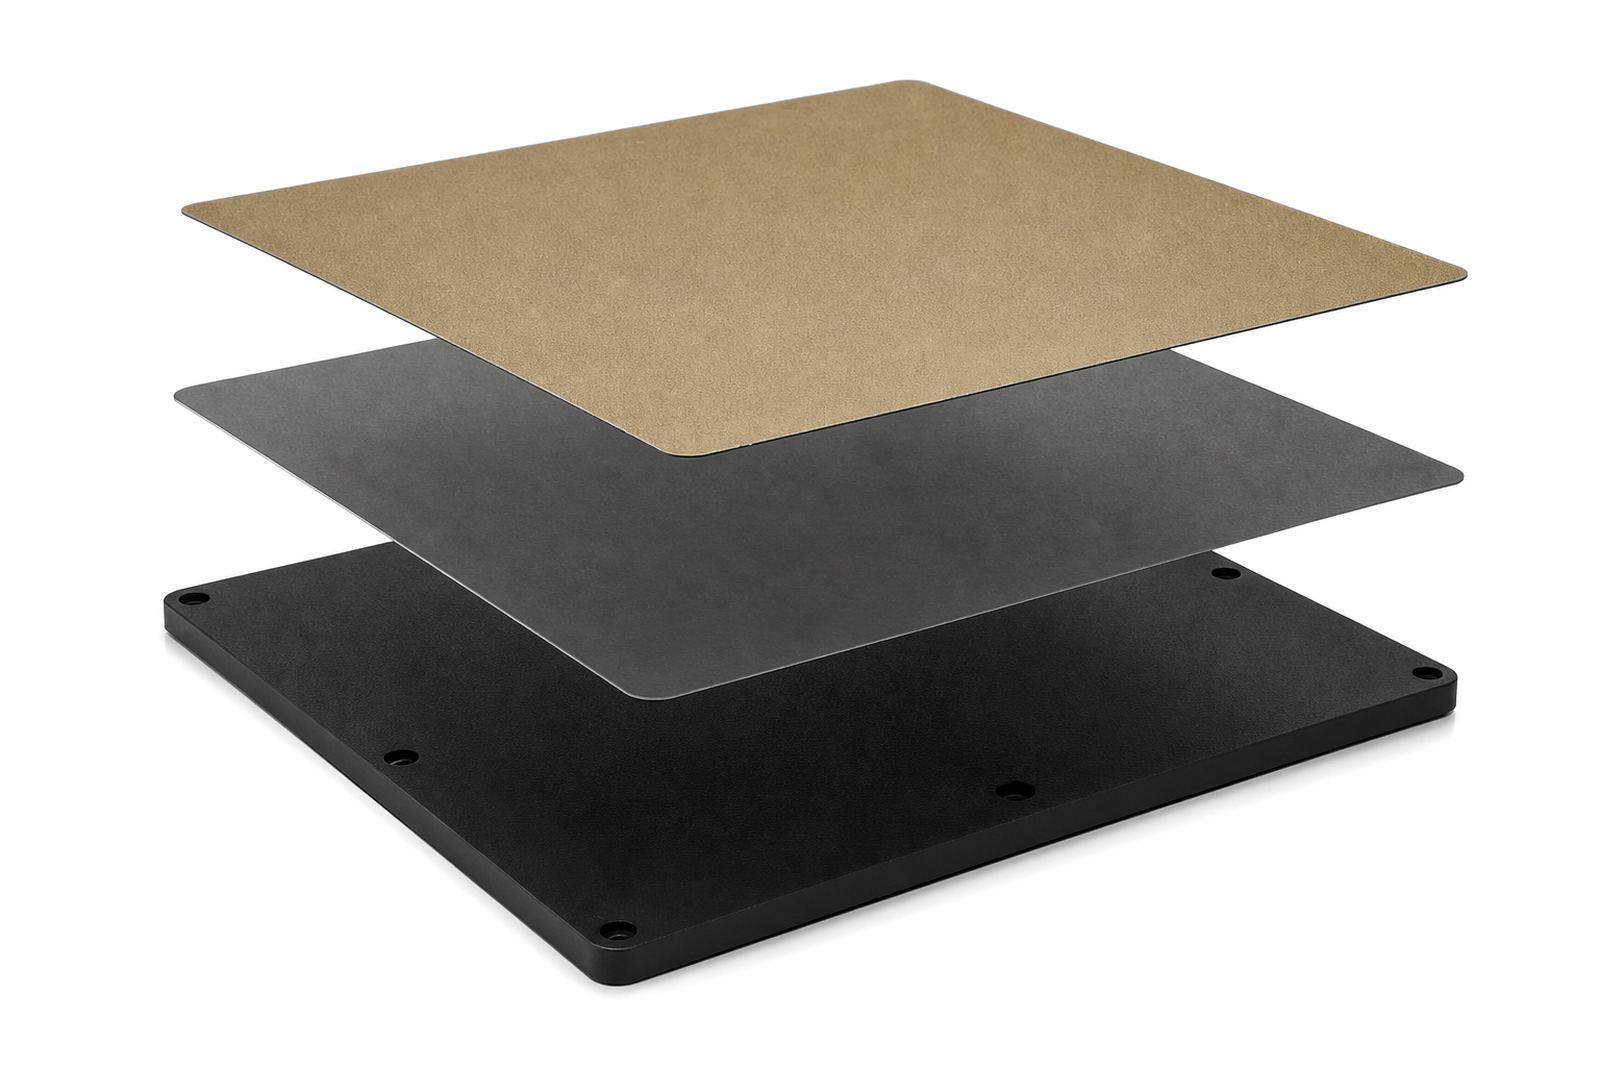
A magnetic system has three main parts: the printer bed surface, the magnetic base, and the removable build plate that sits on top. The base is fixed to the machine, the plate lifts off for part removal, and the surface layer on the plate is what the print first grips onto. In practice, all three need to work together or you will see lifting corners, uneven first layers, or a plate that does not sit properly after a few heat cycles.
For South African users, the details matter. A school lab in Pretoria may run a few machines for short teaching sessions, while a print farm in Johannesburg or Cape Town may keep beds hot all day. That means wear shows up differently. On some machines the issue is dust from workshop use, on others it is heat from long runs, or humidity near the coast that affects storage and cleaning. The right setup is not just about sticking a magnet under the bed and hoping for the best.
How to Check the Bed Before You Fit Anything
Before fitting a magnetic system, check the bed for flatness, damage and contamination. A warped heater plate will cause problems even with a good magnet and a clean PEI sheet. If the surface has glue residue, old tape, burnt filament or scratches, sort that out first. On some machines the whole bed can be slightly dished or raised at the corners, which means the centre may print well while the edges fail.
- Check the bed with a straight edge across the width, length and diagonals.
- Look for high spots, dents, rust or peeling coatings.
- Clean off oils, dust and old adhesive before fitting.
- Confirm the bed heater reaches temperature evenly, especially on larger machines.
- Make sure clips, screws or cable paths will not interfere with the magnetic base.
If you are running multiple printers in a school lab or a farm, test each machine separately. Small differences in bed height can change first layer results more than most people expect.
Choosing the Right Magnetic Base and Plate Thickness
The magnetic base must handle the print temperature without losing grip, and the top plate must be stiff enough not to bow during printing. Thinner plates heat faster and are lighter, which helps on smaller beds, but very large beds may need extra stiffness. The magnet also needs proper alignment so the plate does not creep during long prints or when the machine vibrates on a light stand.
For general use, many users want a balance between fast warm up, easy part release and repeatable fitment. A PEI surface can work well for PLA, PETG and many common materials, but the setup still needs the right temperatures and surface care. If you are printing larger parts for jigs, brackets or classroom models, consistency matters more than a single good test print. A plate that is slightly out of square or too flexible can give you mixed results from one corner to the next.
Step by Step Fitment for a Clean First Install
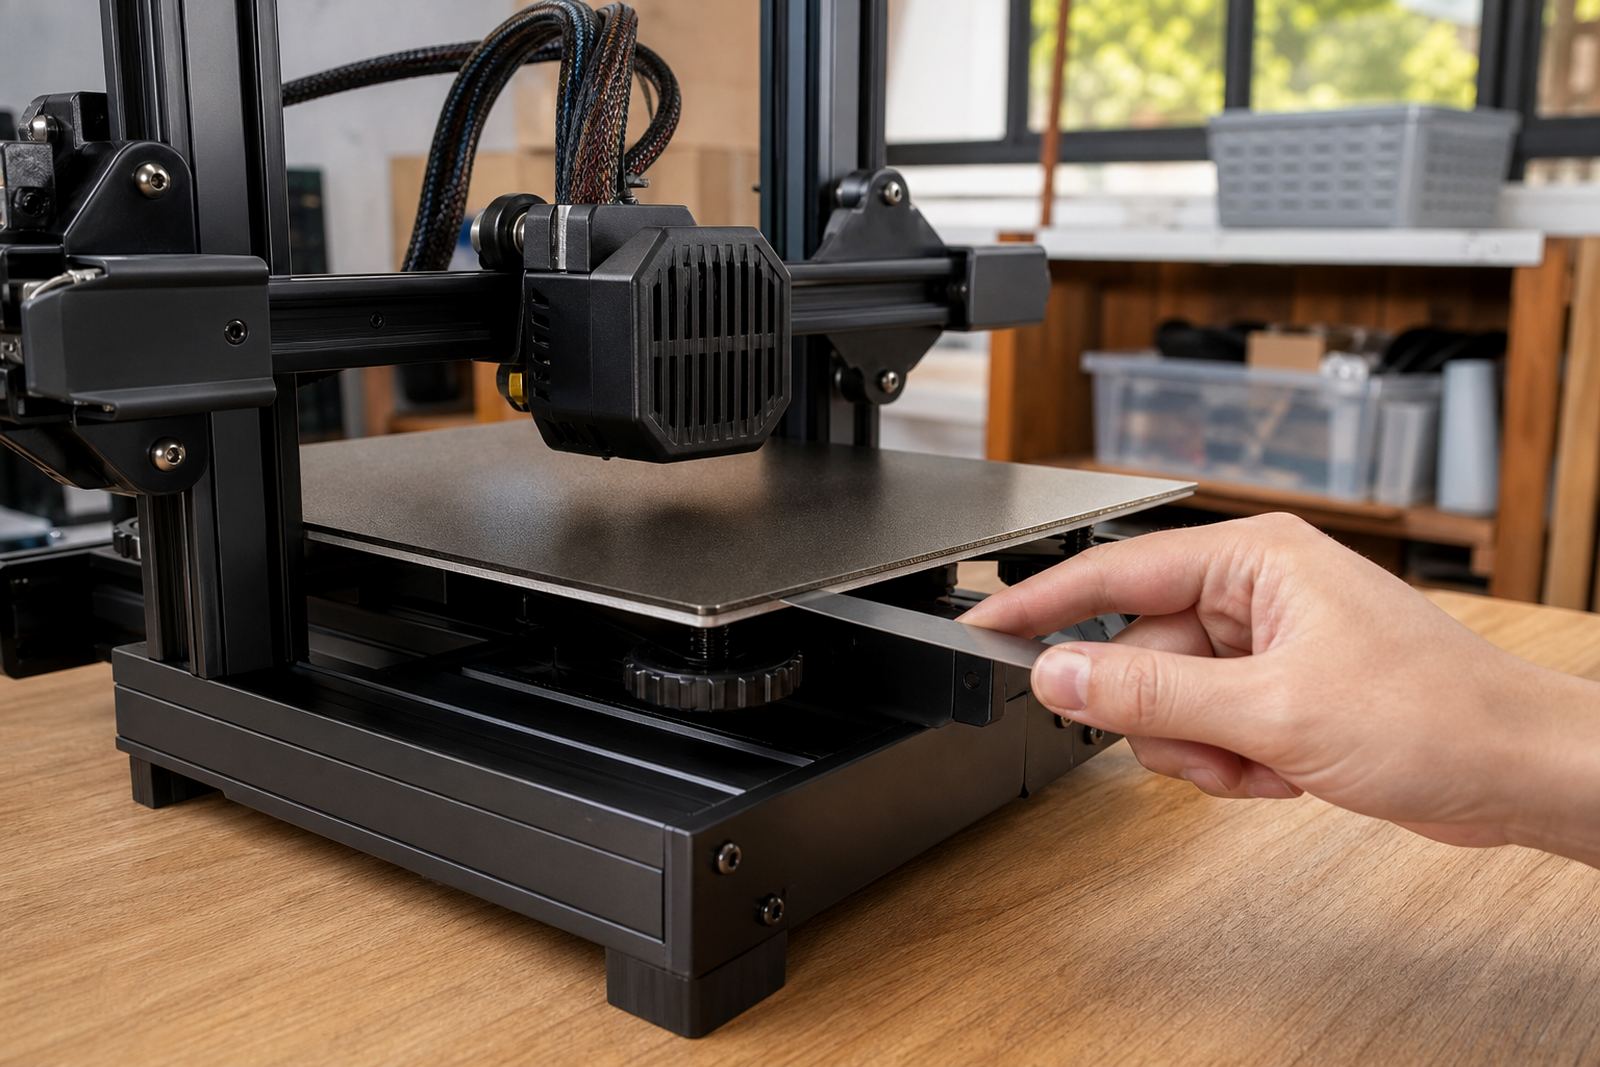
Fitment is where many problems start, so it pays to go slowly. The bed must be cool, clean and level before the base goes on. Use firm pressure across the entire surface so the adhesive bonds properly, then leave it alone long enough for the bond to settle. On heated beds, avoid rushing the first print after installation. Heat cycling too soon can shift the base before it has settled.
- Switch off the machine and let the bed cool fully.
- Remove dust, grease and old adhesive with a suitable cleaner.
- Dry-fit the base to confirm clearances and cable movement.
- Apply the magnetic base carefully and press it down evenly.
- Let it cure before heating the bed for normal use.
- Place the build plate and confirm it sits flat, with no rocking.
For teams in Centurion, Midrand or Pretoria East doing their own installs, a slow first fit is cheaper than replacing a failed base later. If there is any doubt, do a bed flatness check before moving on to printing.
Using PEI Sheets and Other Surfaces the Right Way
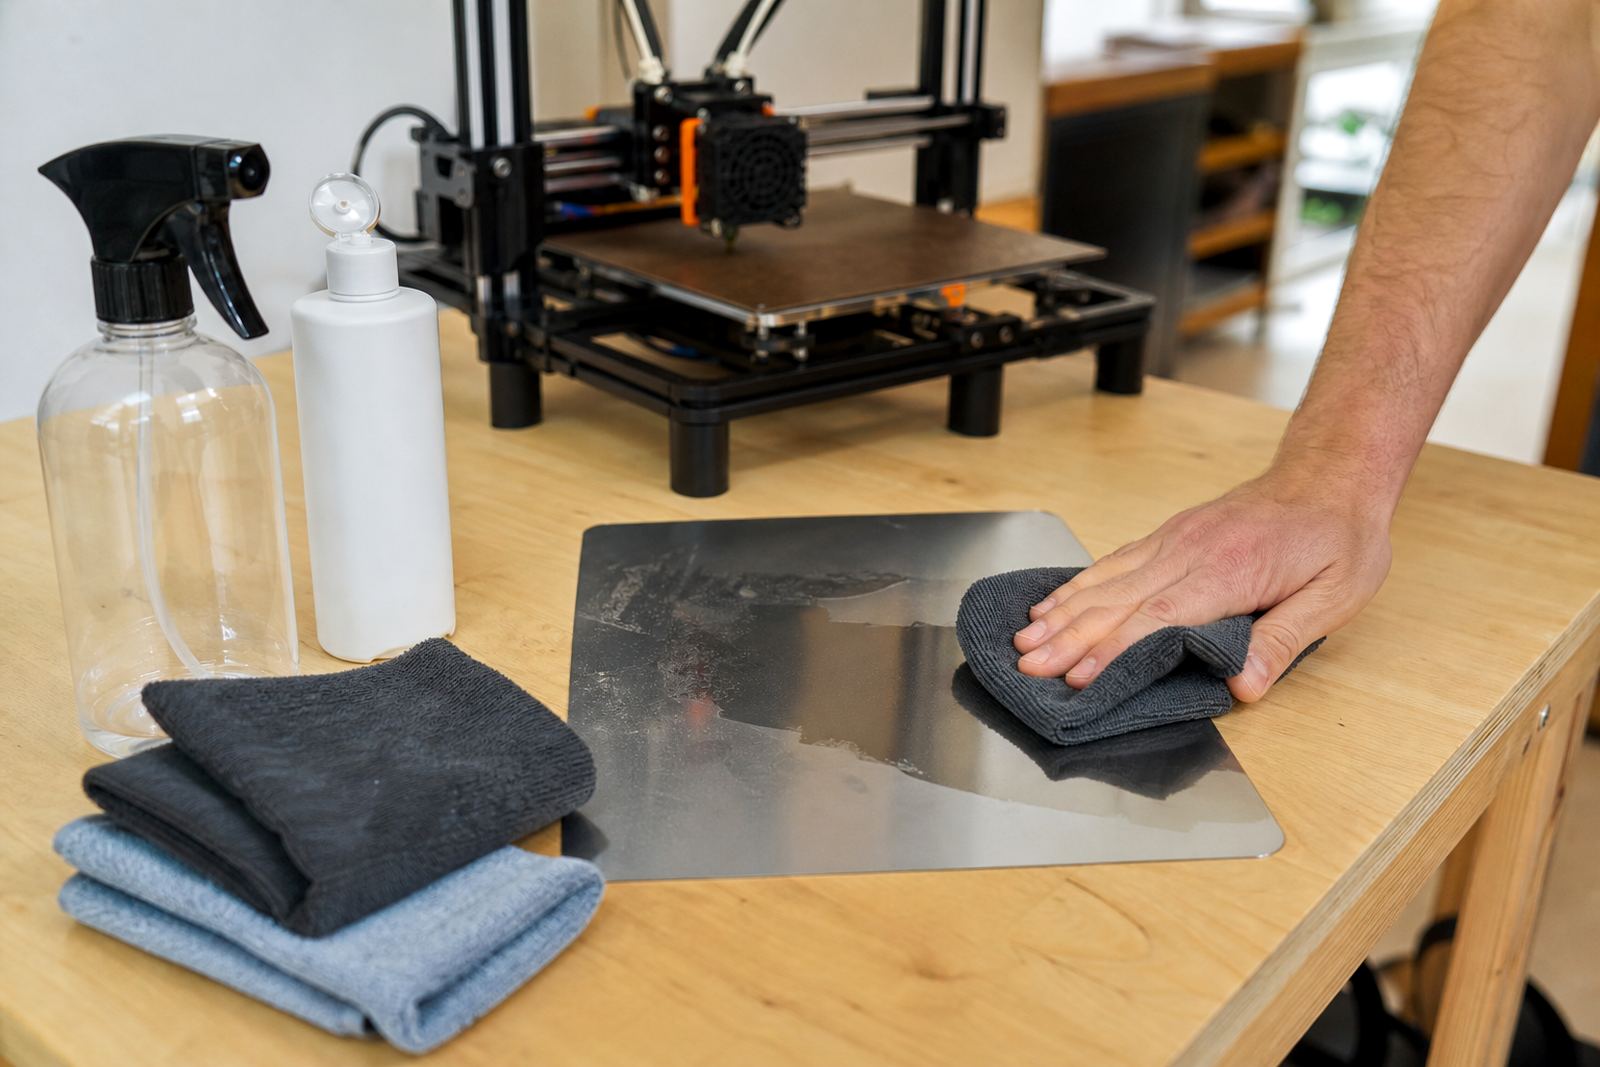
The top surface is what the filament actually sees, so its condition makes a big difference. PEI sheets are popular because they give reliable grip when clean, and parts usually release once the plate cools. That said, even a good sheet needs the right handling. Fingerprints, aggressive scraping and poor cleaning can reduce grip quickly. In humid places like Durban or Gqeberha, moisture on the surface can also affect the first layer if the plate is handled straight after washing.
Do not guess on surface care. Use a routine and keep it simple.
- Wipe the plate before each run with a clean, lint free cloth.
- Avoid oily hands on the print area.
- Use a mild cleaner only if needed and dry the plate fully.
- Let the bed cool before removing parts, then lift gently.
- Replace the surface when the texture is worn smooth or patchy.
For schools and print farms, surface refresh planning is worth doing in advance. It avoids last minute failures during a lesson, order run or production shift.
Common Problems and What They Usually Mean
When a magnetic system fails, the symptom often points to the cause. If the plate shifts, the base may be poorly bonded or the magnet too weak for the application. If corners lift, the bed may not be flat, the part cooling may be too high, or the surface may be contaminated. If adhesion is too strong and parts are hard to remove, the surface may be too hot, the first layer may be over squashed, or the material settings may need adjustment.
Here is a practical check list for troubleshooting:
- Plate not sitting flush: check magnet alignment and bed debris.
- Print lifting at edges: check bed flatness and draughts around the machine.
- Uneven first layer: recheck levelling and nozzle height.
- Poor release after cooling: confirm surface type and print temperature.
- Worn adhesion after repeated use: inspect for scratches, polish marks or contamination.
If you are managing several machines, standardise the same plate size, surface type and cleaning routine across the fleet. That saves time and makes faults easier to trace.
How to Keep a Magnetic System in Service for Longer
A good magnetic system should not need constant repair. Keep it clean, store spare plates flat, and avoid bending them by hand. Do not leave a hot plate resting against other metal parts, and avoid dragging parts off with force. In workshops where load-shedding causes repeated stops and starts, let the bed cool naturally before touching the surface, then check the plate before the next run. Heat shock and rough handling shorten the life of both the magnet and the coating.
For schools, makerspaces and print farms across South Africa, the best habit is a simple maintenance cycle: inspect, clean, test, replace when needed. That keeps production moving and makes first layer issues easier to solve before they become wasted filament and lost time.