Start with the way the lab will be used
Before choosing a build plate or PEI sheet, map out how the lab will run in practice. A single class using two printers once a week has very different needs to a packed lab with rotating groups, after-school clubs and a technician managing several machines. In schools, the safest choice is usually a surface that works well with beginners, tolerates repeated handling and does not need constant fine adjustment.
Think through who will remove prints, who will clean the beds and how often the printers will be changed over. If different teachers or learners will use the same machines, the surface should be predictable rather than fussy. You want fewer settings to explain and fewer reasons for first-layer failure when the class is already under time pressure.
- Number of printers in use
- Age and skill level of learners
- How often the beds will be cleaned
- Whether staff can re-level beds regularly
- How much printing happens before or after school
Choose a surface that supports beginner success
For schools, beginner-friendly usually means good initial grip, clean release when the bed cools, and a surface that does not punish small mistakes. PEI sheets are a strong option because they give consistent adhesion for common classroom materials and are easier to teach than more specialised surfaces. Learners can often see the link between a clean first layer and a successful print, which helps them learn the basics faster.
When choosing between smooth and textured finishes, consider what the class will print most often. Smooth surfaces can give a neat underside finish, while textured options can hide small marks from repeated use. If the same bed will be handled by many users, a surface that is less sensitive to fingerprints and small scuffs may save time. In humid coastal areas like Durban or Gqeberha, a reliable surface matters even more because moisture can affect adhesion.
- Strong but manageable adhesion for PLA and similar classroom filaments
- Easy release after cooling
- Simple cleaning with standard lab materials
- Durability under regular student handling
- Clear expectations for staff and learners
Match the build plate to the printer and the class size
The build plate should suit the printer model, bed size and the type of work the school plans to produce. If the plate is too small, learners waste space and struggle to lay out parts. If it is too large or poorly matched, bed levelling becomes harder and first layers can vary across the surface. A good fit helps reduce supervision time, which is important when one teacher is supporting several groups at once.
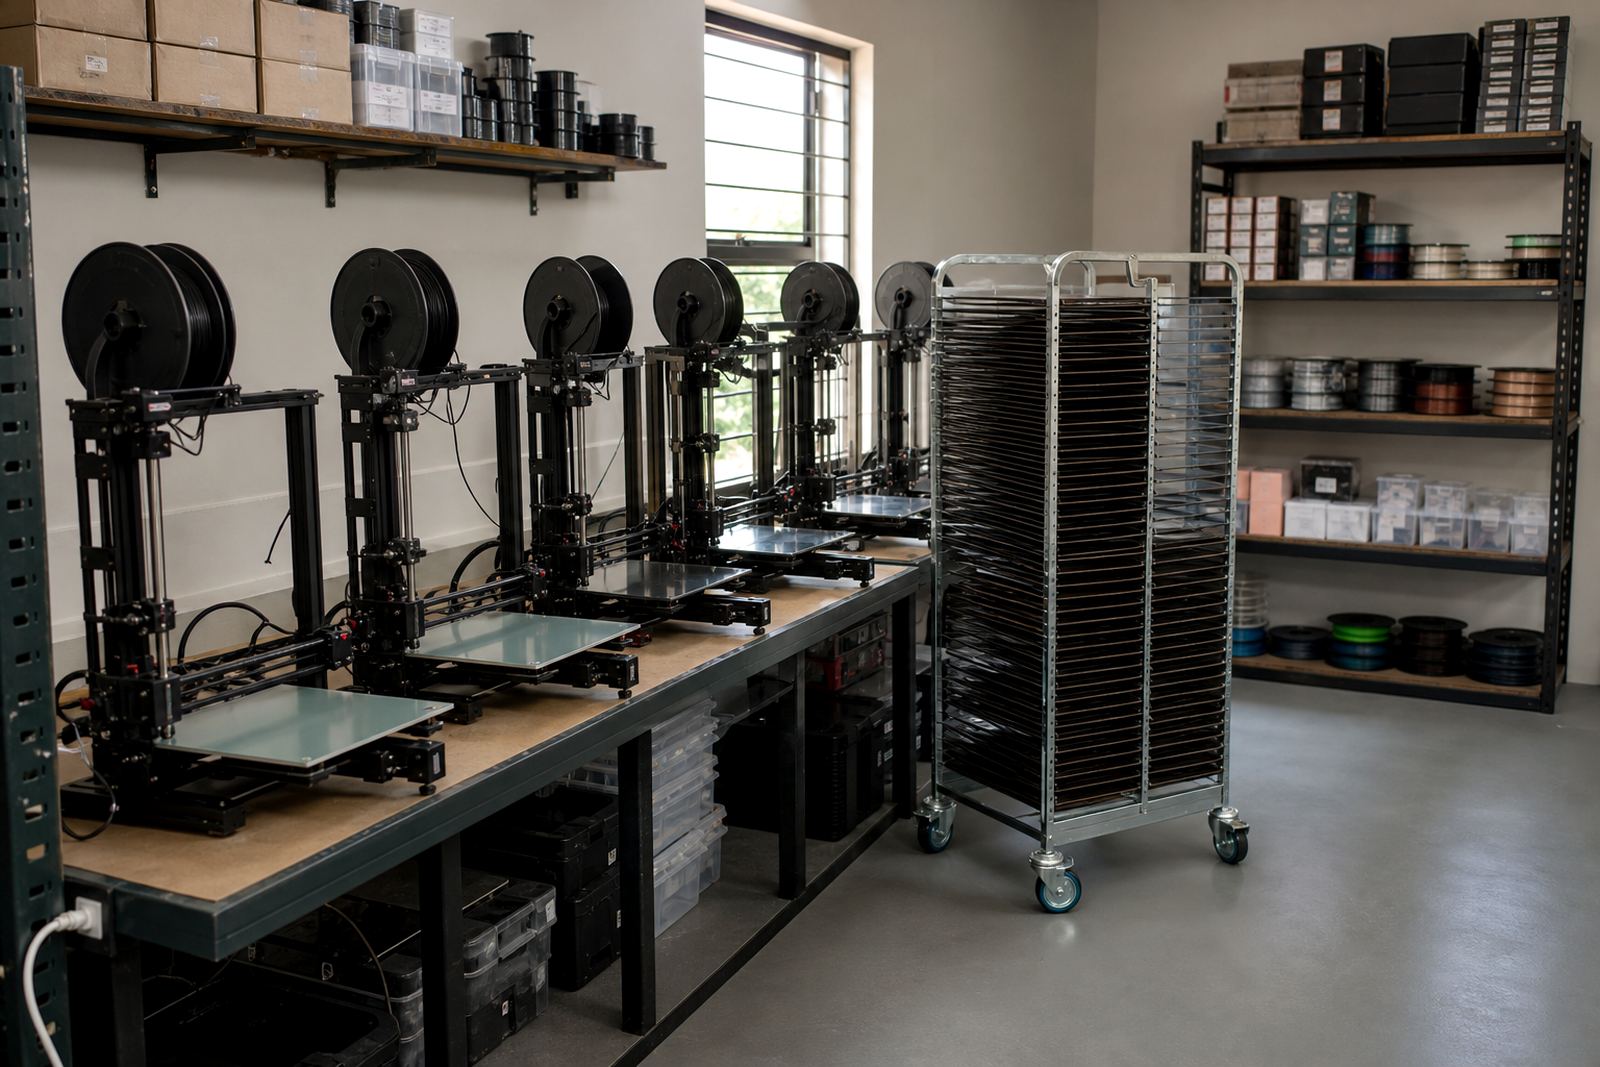
For schools with multiple printers, standardising bed sizes where possible makes life easier. It means fewer spares to keep, fewer fitting mistakes and quicker training for relief staff or volunteers. It also helps when a plate needs replacing, because the team already knows what belongs on each machine. In some labs a magnetic base can help with quick plate swaps, but it still needs correct fitting and a flat underlying bed to work properly.
- Confirm the exact printer dimensions before ordering
- Check whether the bed is heated and how quickly it warms up
- Look at how often plates will be removed and refitted
- Keep one spare plate for busy labs if budgets allow
Plan for school conditions, not just ideal workshop use
School environments bring their own challenges. Power interruptions, shared equipment and limited storage can all affect print quality. If loadshedding is common, the surface should still perform after repeated restarts and preheating. A good bed surface should be easy to clean when dust builds up and should not need special treatment every week. That matters in schools where support time is limited and printers may sit unused between lessons.
Storage also matters. Build plates and PEI sheets should be kept flat, clean and away from rough handling. If the lab is in a coastal town or a room with high humidity, add a routine for checking moisture-related adhesion issues and making sure the bed is fully clean before each print. A simple written process, pinned near the printers, often helps more than expensive extras.
- Keep spare plates flat and protected
- Wipe beds before each session
- Check for dust, glue residue or warped edges
- Teach learners not to scrape aggressively at prints
- Recheck adhesion after power cuts or long idle periods
Build a simple purchasing checklist for procurement teams
When a school is buying for a lab, the best decision is usually the one that can be explained clearly to the finance office, the technician and the teaching team. A short checklist keeps the purchase focused on practical use instead of guesswork. It also helps if the school buys in stages, starting with the printers already on site and then adding extras as the lab grows.
Ask for details on size, surface type, fitting method and replacement planning before signing off. Schools often need products that can be installed quickly and maintained without specialist tools. If a supplier can support plate installation, PEI sheet fitting, flatness checks and adhesion troubleshooting, that reduces the number of people the school has to coordinate. It also makes the lab easier to standardise across more than one room.
- Printer model and bed size
- Surface type required for current filament choices
- Need for magnetic base fitting or plate replacement
- Budget for spares and consumables
- Support for training and setup
Train learners and staff to protect the bed surfaces
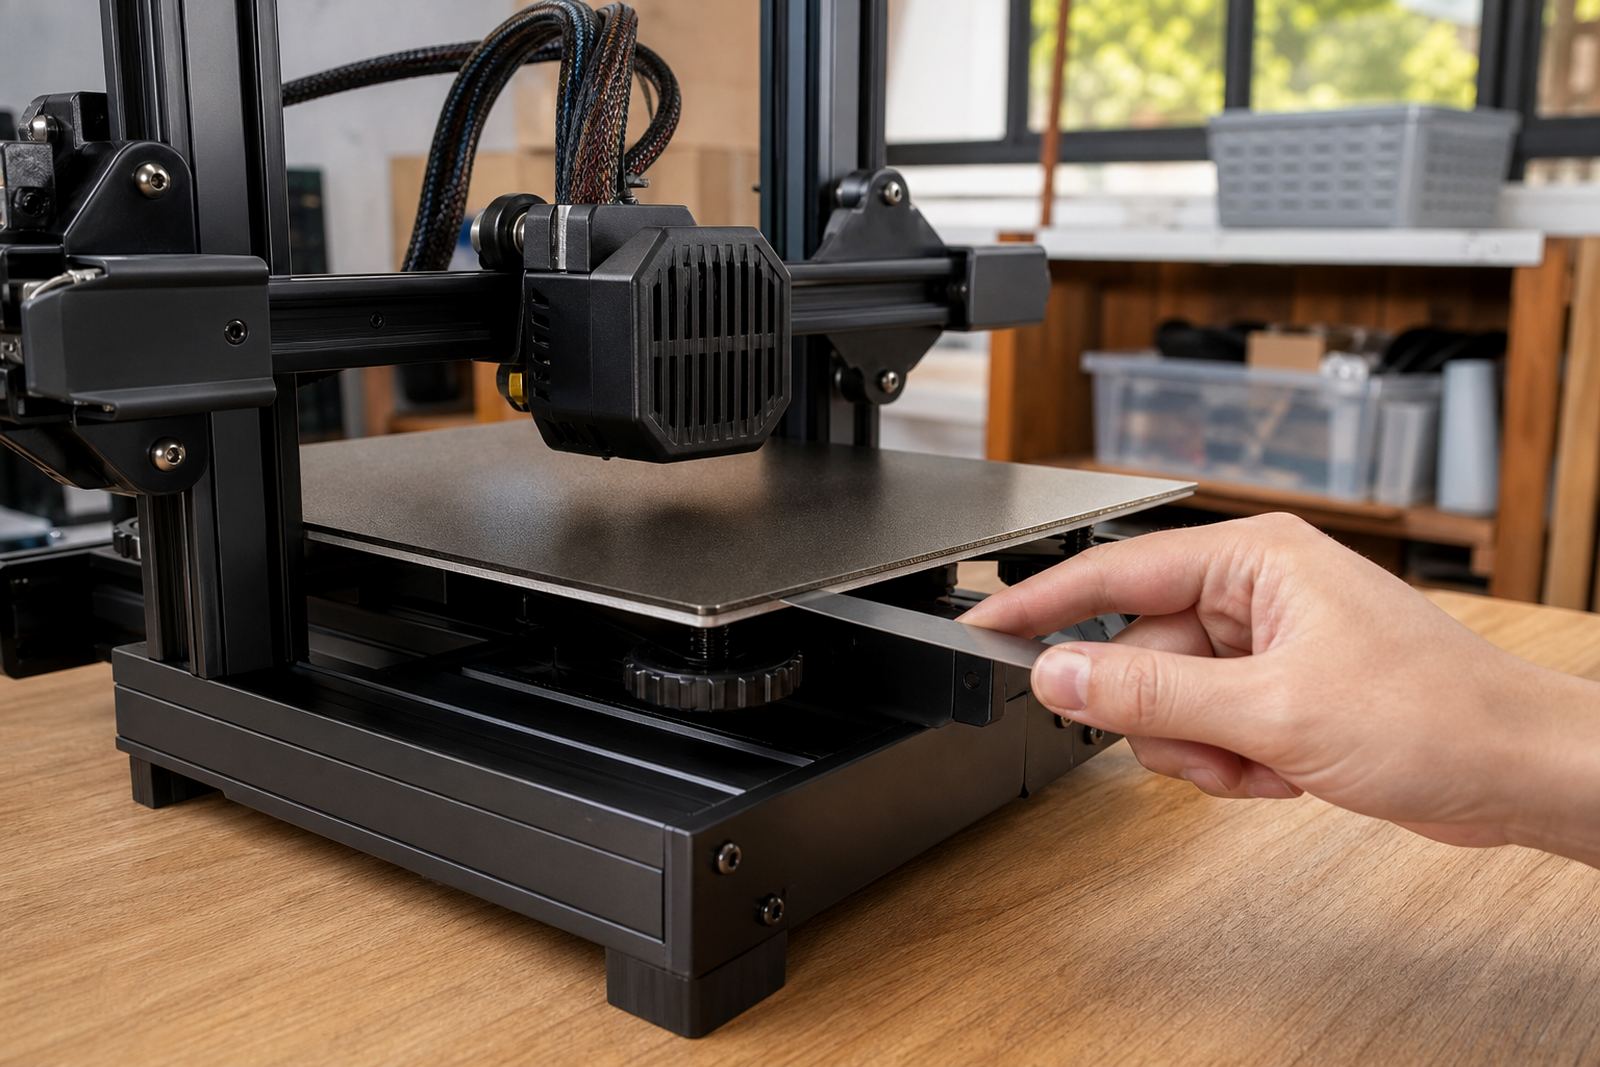
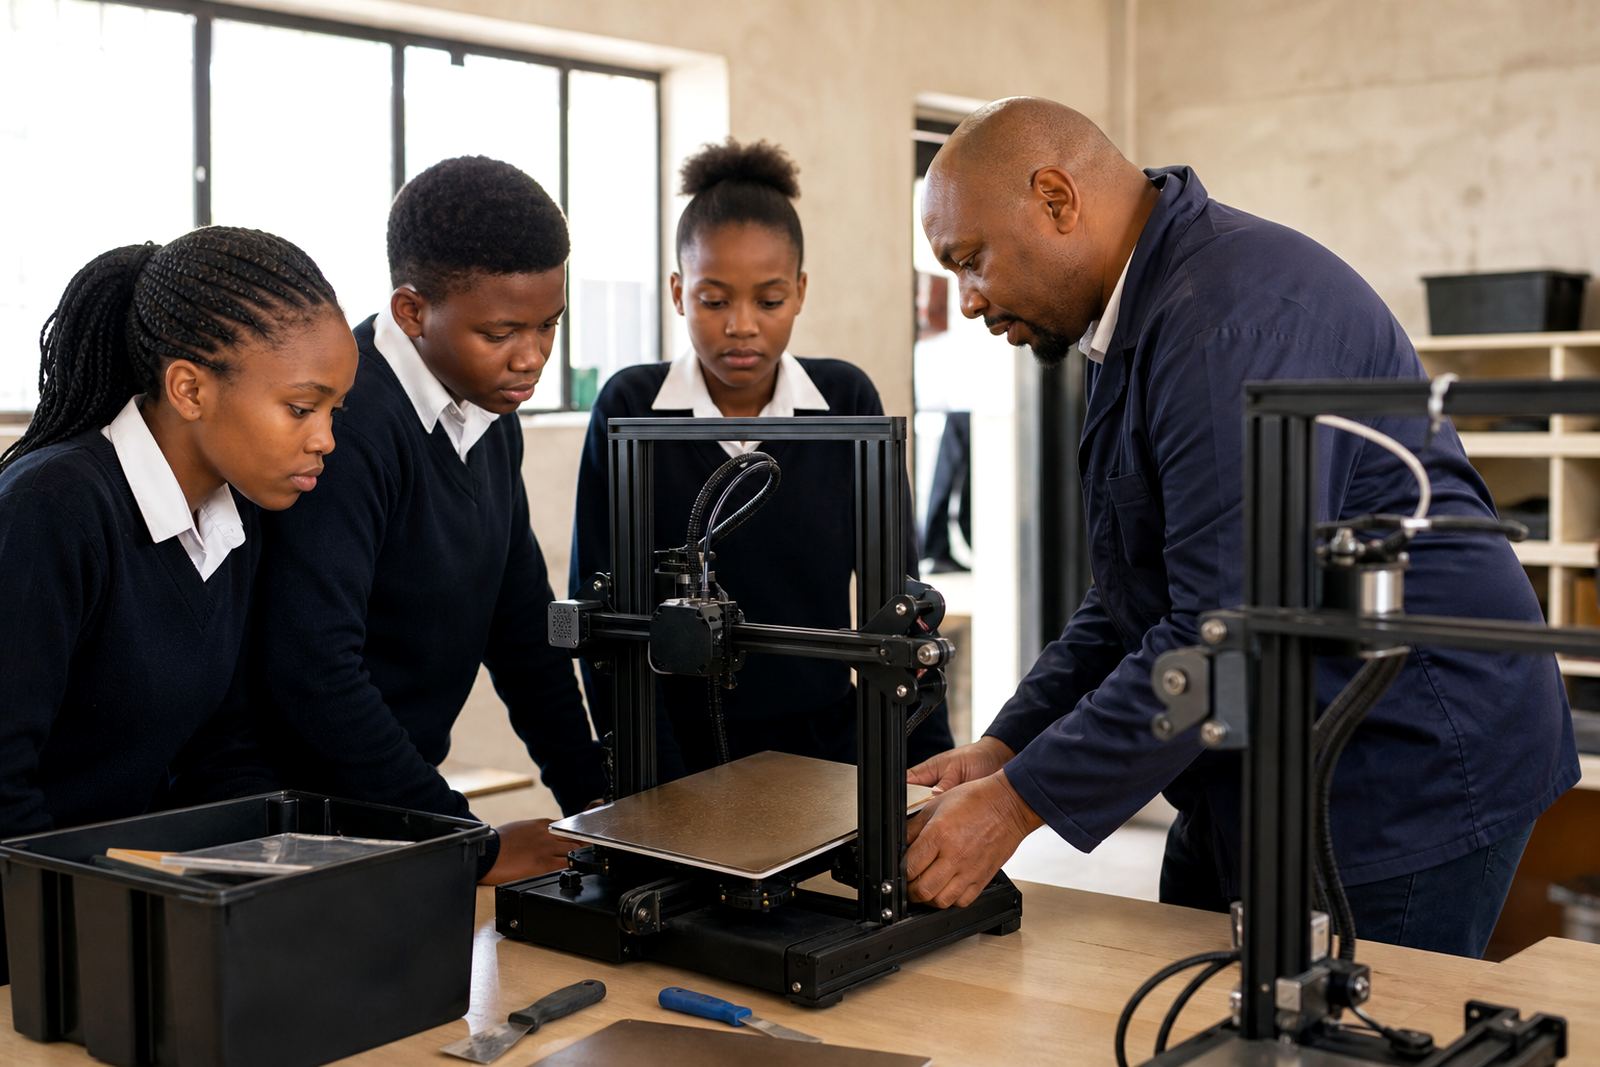
Even the best build plate will wear faster if users are not shown how to handle it properly. A short training session at the start of term can prevent many avoidable problems. Staff should know how to clean the surface, when to wait for cooling before removal, and how to spot early signs of wear. Learners should be shown how to remove prints without gouging the coating or bending the plate.
Bed care training is worth including in any school lab plan because it extends the life of the equipment and builds better habits. Keep the rules simple: clean before use, check level, print, cool, then remove. If a plate starts giving uneven results, log the issue straight away so it can be checked before a class loses time on repeated failures. A little routine saves a lot of frustration, especially in busy terms.
- Do not pry prints off while the bed is hot
- Use gentle cleaning methods only
- Record repeated adhesion problems
- Rotate students through supervised setup steps
- Keep one person responsible for routine checks
A practical buying path for schools in South Africa
A good school lab order does not need to be complicated. Start with the machines already in use, confirm the bed sizes, choose a surface that suits beginners and then add spares for the most active printers. If the school has campuses or satellite labs, standardising products across sites makes training and replacement easier. It also helps with planning when budgets are split across terms or departments.
For schools in Pretoria, Johannesburg, Cape Town, Durban, Bloemfontein and surrounding areas, local support can make the difference between a smooth rollout and a month of avoidable delays. If the goal is to keep a room of learners printing with fewer failures, the buying choice should favour consistency, easy maintenance and clear support for the team that will use it every week.