What the Grip Surface Sheet does on a print bed
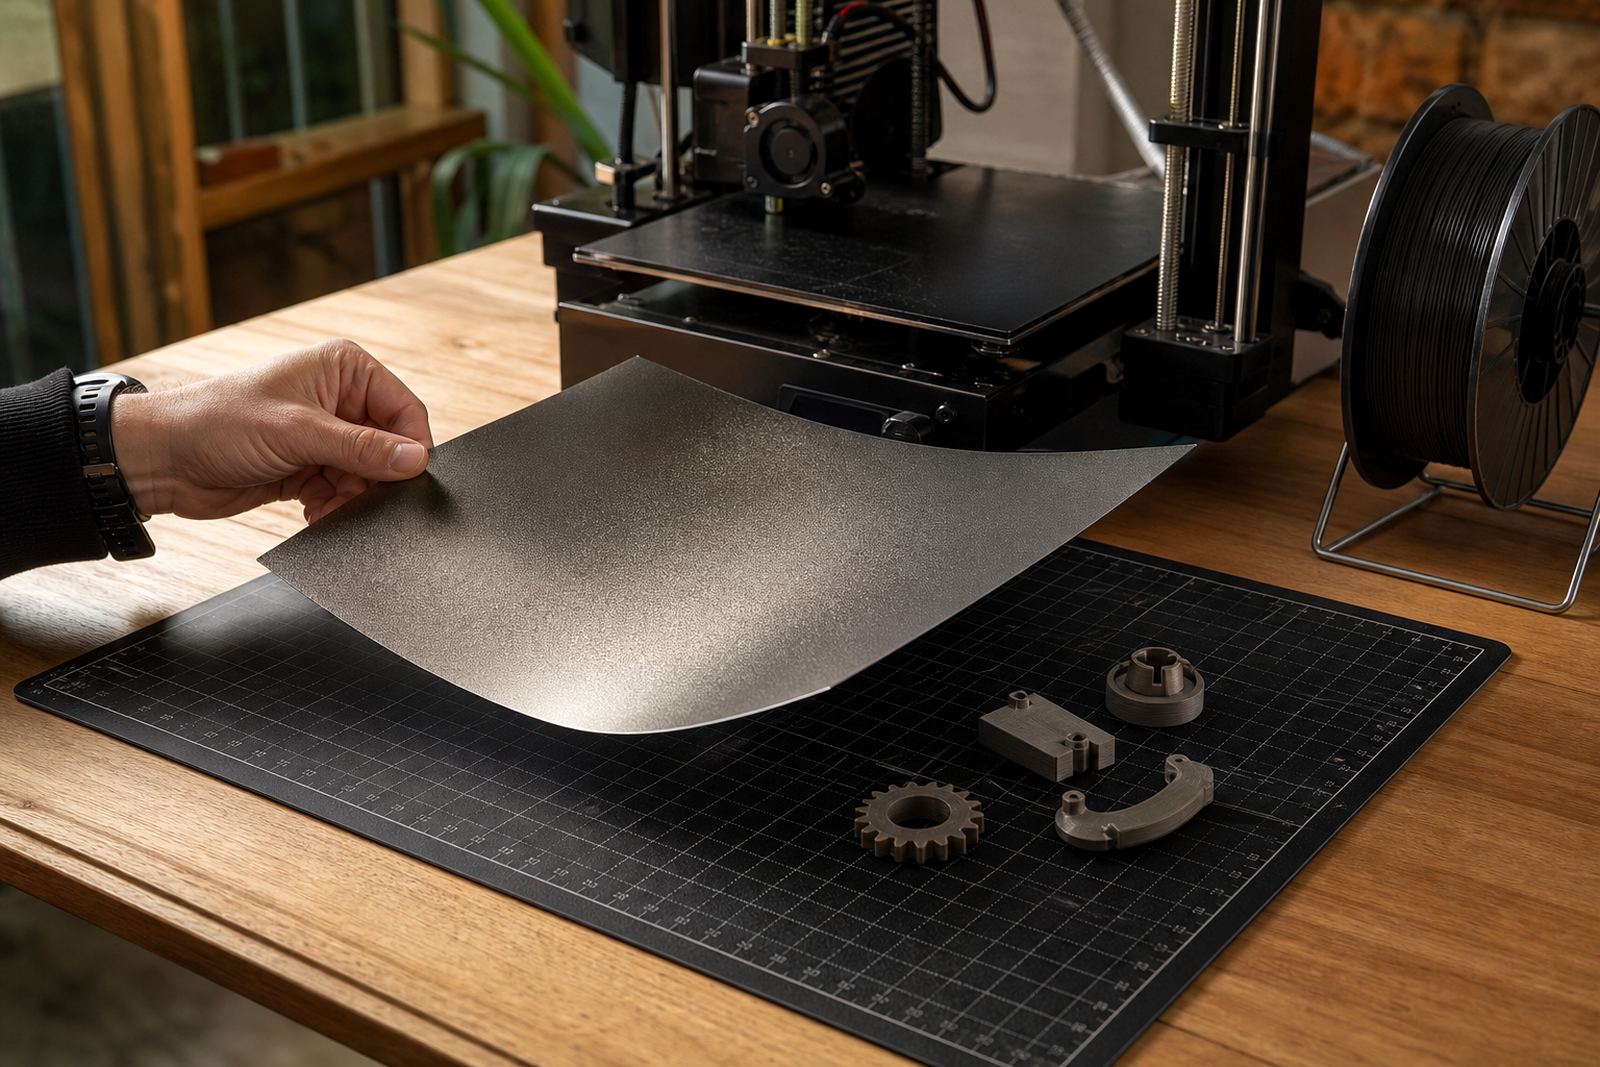
The Grip Surface Sheet is a textured top layer fitted to a 3D printer bed to help the first layer hold while the part is printing. It is aimed at users who want a steady everyday surface for common materials such as PLA, PETG and similar filaments, especially where the bed is used often and needs consistent grip from one job to the next.
The surface has enough bite to keep parts in place during the first layers, but it still releases once the bed cools in many cases. That makes it a practical choice for home makers, schools, repair rooms and small production teams that need reliable results without changing settings for every job. It is a sensible option when you want a working surface that handles daily use and is not overly delicate.
Because it is textured, the underside of the printed part will pick up the surface pattern. For many functional parts this is fine and in some cases useful, since the texture can hide minor bed marks. If you need a smooth glossy base finish, this is not the right sheet. If you need grip first and a clean working routine second, it fits the job well.
Size choices and fitting options for local printers
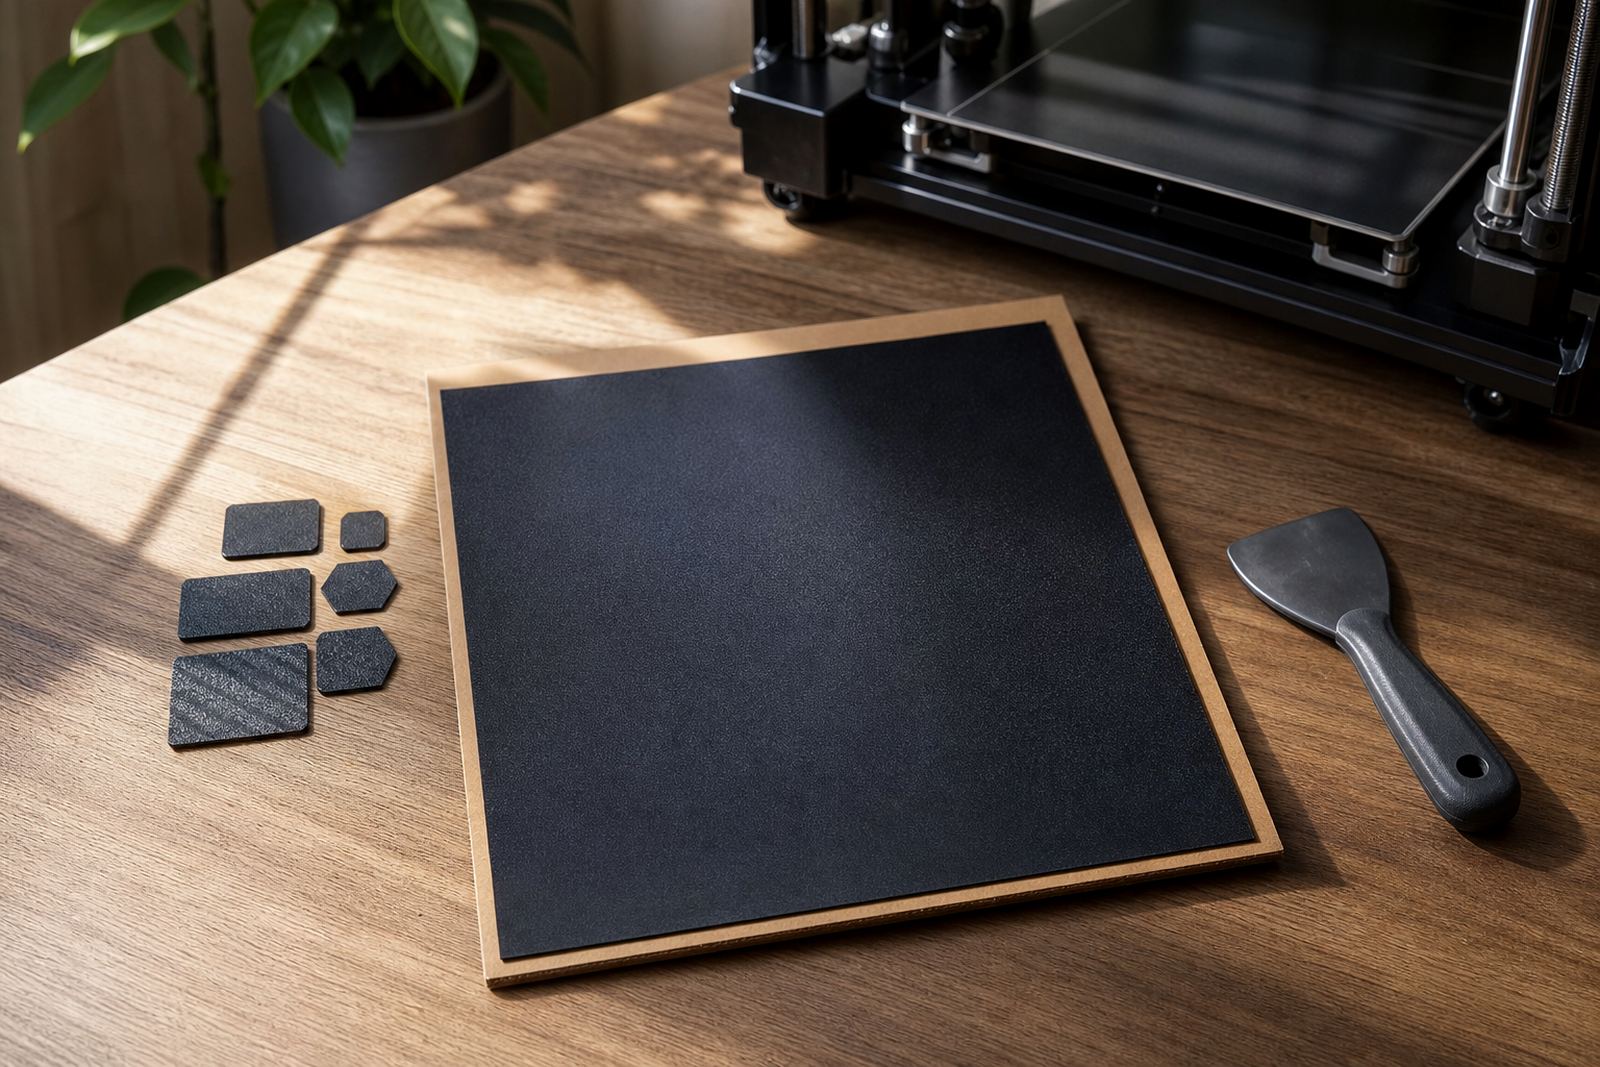
LayerPad supplies Grip Surface Sheet options for a range of bed sizes commonly used in South Africa. Sizes can be cut to suit square, rectangular or custom beds, which helps when you are replacing a worn surface on a benchtop printer or setting up several machines in a farm. Custom cutting is useful too when the bed has an odd footprint or you are working around clips, screws or a magnetic base.
- Standard beds for hobby printers
- Larger beds for production and school lab machines
- Custom cut sheets for unusual frame sizes
- Sheets supplied for direct fit or for fitting over a magnetic base
When ordering, measure the full active build area, not only the glass or metal plate you can see from the top. If your machine has rounded corners or a small border that is not printable, note that as well. A good fit reduces lifting at the edges and saves time during setup, especially when more than one printer is being standardised.
For Centurion, Pretoria and Johannesburg customers, collection or local support can help when a bed needs checking before fitment. For teams in Cape Town, Durban, Bloemfontein and Gqeberha, dispatch works better if the measurements are sent clearly the first time, with a note on the printer model and any mounting features.
Where the sheet suits best in daily use
This sheet is best suited to standard materials and repeat jobs where you want predictable adhesion without constant tinkering. It is a strong match for makers printing brackets, housings, clips, jigs and classroom projects. It is also useful for print farms that run mixed workloads and want a surface that can stay in service through many cycles.
It works well in environments where beds are handled often and printers are shared between users. Schools, maker spaces and small manufacturing rooms often benefit because the surface is straightforward to explain and easy to keep in routine use. If your team has new operators, a grip sheet can reduce the number of failed starts caused by poor first layer contact or a bed that has become greasy from handling.
- Hobby printers wanting a firmer everyday surface
- School labs running supervised printing classes
- Print farms with repeated standard jobs
- Workshop teams making functional parts
- Users in humid coastal areas who need steady bed hold
In humid places like Durban or Gqeberha, a clean and dry bed matters even more. In colder indoor spaces around Gauteng, the same sheet helps when room temperatures vary from morning to afternoon and the first layer needs a little extra consistency. It is not a cure for poor levelling, but it does give you a more forgiving surface once the machine is set correctly.
Installation notes, power needs and setup checks
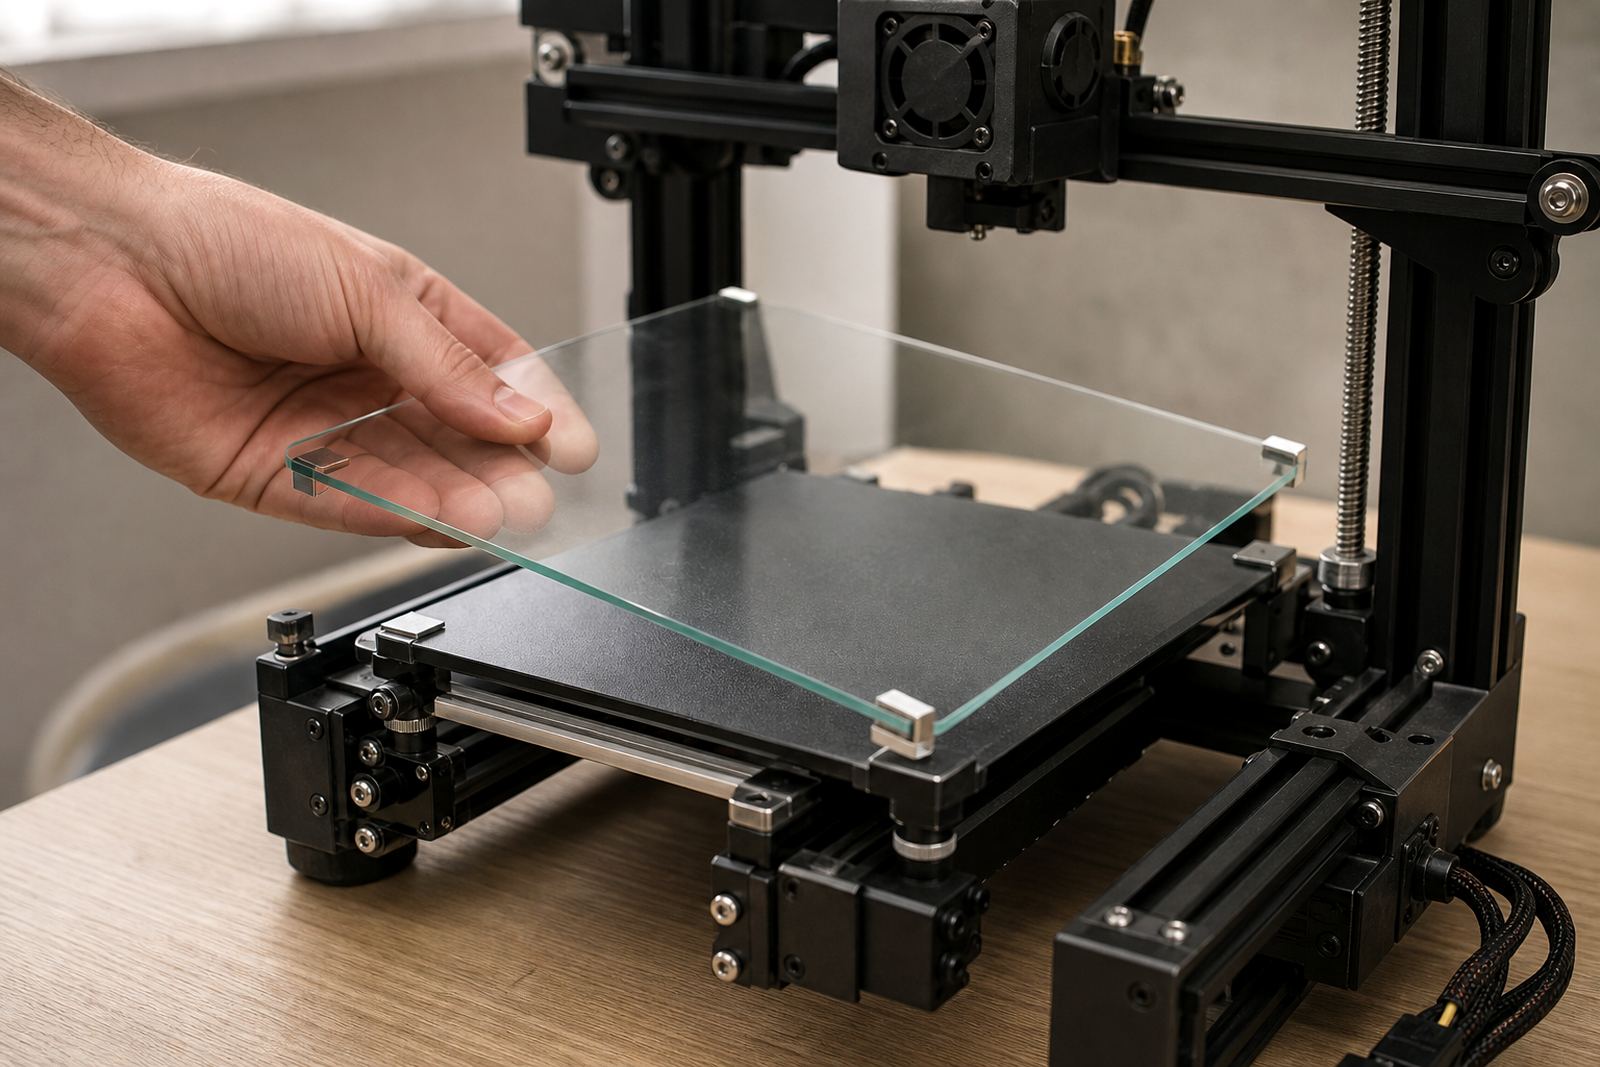
The Grip Surface Sheet itself does not need power or gas. It is a passive bed surface, so once it is fitted there are no running costs other than normal printer use. Installation is usually done on a clean, level bed surface and can be paired with a magnetic base if the machine uses one. If the bed is warped or badly worn, check that first because a good surface cannot fully correct a poor plate underneath.
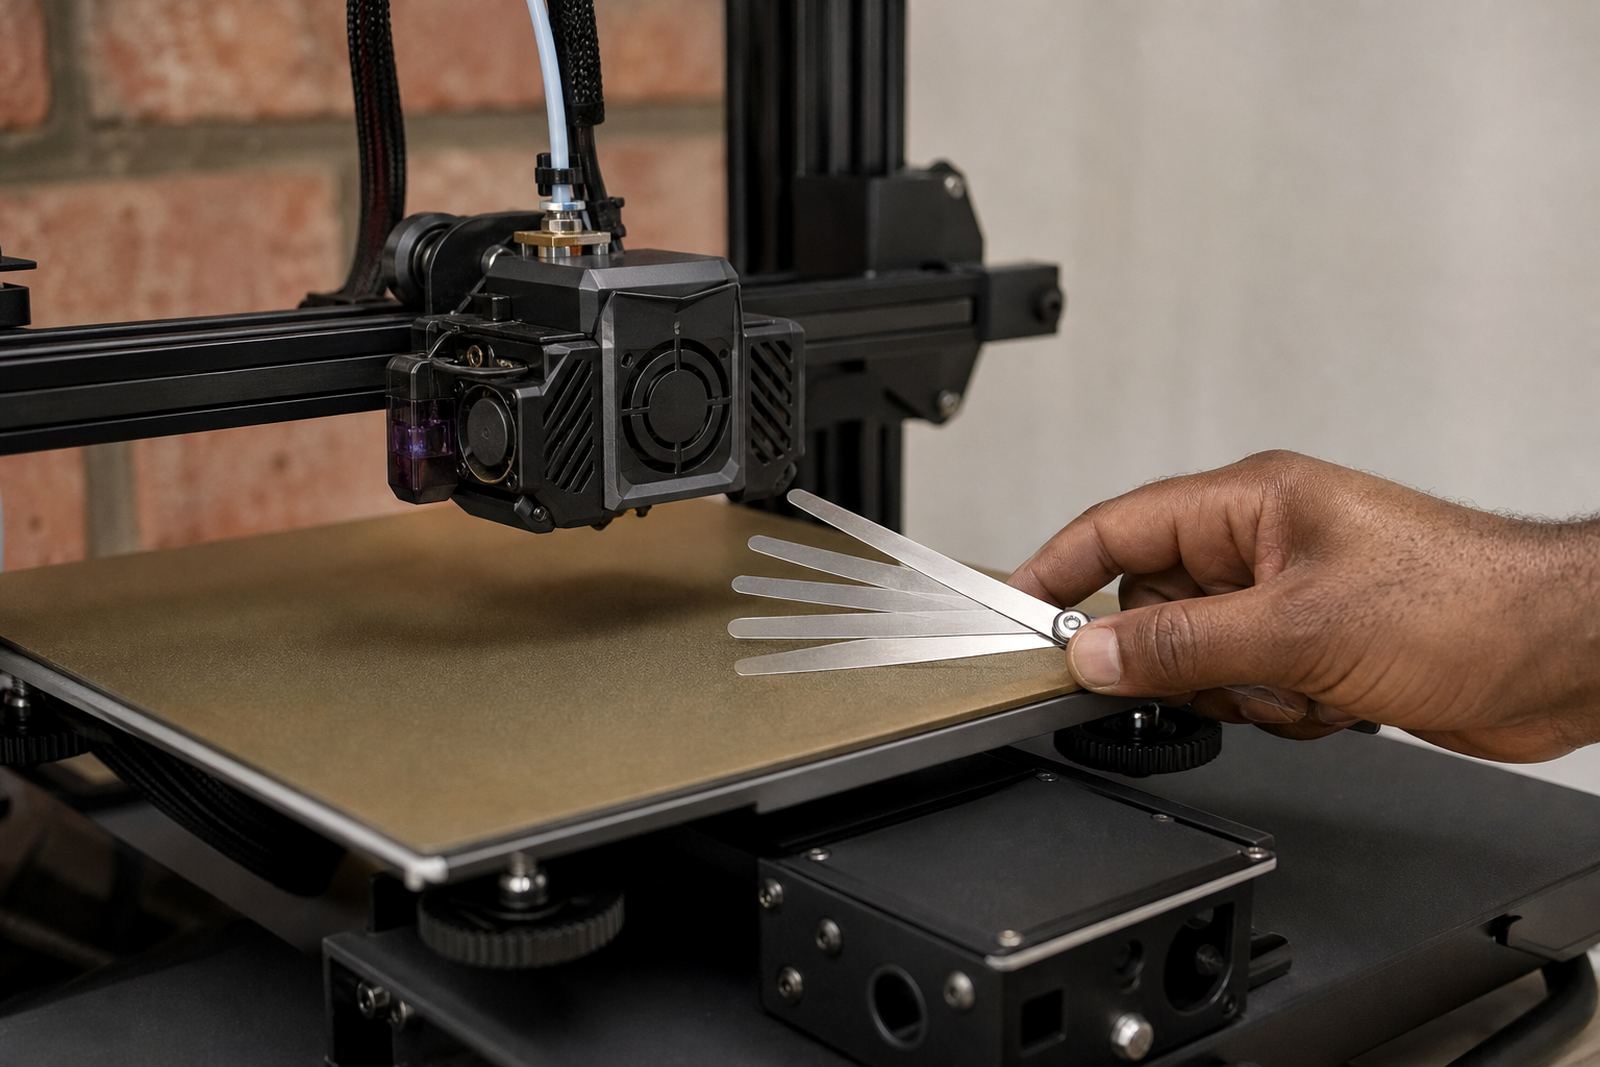
Before fitting, make sure the bed is free of dust, glue residue, old filament and oil from fingers. A quick clean with a suitable surface cleaner and a lint free cloth is usually enough. If the printer bed is heated, allow it to cool before applying the sheet so alignment is easier. Many users prefer to test the first layer after fitment and make one small Z offset adjustment rather than forcing a full relevel from scratch.
If you are fitting multiple machines in a school or print farm, note the bed size, bed type and whether the edge finish needs trimming. It also helps to record the preferred nozzle height and the materials run on each machine. That makes future replacement planning simpler and saves time when a sheet needs to be swapped.
Care, cleaning and service life in busy workshops
The sheet should be cleaned gently, not scrubbed hard. Wipe it with a soft cloth and a suitable cleaner after the bed has cooled. Avoid sharp tools, abrasive pads and aggressive solvents that can damage the textured layer. If glue or residue builds up, remove it carefully and do not scrape into the surface because that shortens the working life.
Service life depends on print volume, bed temperature, nozzle contact and how carefully parts are removed. In a busy environment the surface will gradually show shine on high use areas, while the grip can become patchy if it is not kept clean. That is normal. When users start pushing prints off before the bed has cooled or parts begin to lift more often, it is time to inspect the sheet for wear.
- Clean only after the bed has cooled
- Do not use metal scrapers on the texture
- Keep oil and dust off the print area
- Check for lifted corners or worn patches
- Replace the sheet when grip drops noticeably
For classrooms and shared workshops, basic bed care training goes a long way. A short routine for cleaning, cooling and part removal can extend the life of the sheet and reduce complaints about failed first layers. It also keeps the printer easier to manage during load-shedding, when you may stop and restart jobs more often than planned.
What to confirm when placing an order
Before you order, check the printer model, bed dimensions and whether you need a straight replacement or a custom cut. If the bed uses a magnetic base, note that too because the fit and thickness need to suit the existing setup. If you are changing from another surface type, it helps to say what is already on the machine so the right fit and finish can be matched.
Also think about the materials you print most often. If you are mainly running standard parts, the Grip Surface Sheet is a practical choice. If you regularly print special filaments or need a very specific surface finish, tell the team what you use so the recommendation matches the job. For farm standardising, keep one sheet type across similar machines where possible. That makes maintenance, spare stock and operator training much easier.
Ordering is smoother when you also note whether the machine sits in a school lab, workshop or production room and whether there are local factors like high humidity, dust or frequent power interruptions. These details help with fitting advice and long term care, and they are useful when you are planning replacements for several printers at once.
Key facts
| Product type | Textured 3D-printer build surface sheet |
|---|---|
| Primary use | Everyday bed adhesion for standard materials |
| Common material fit | PLA, PETG and similar standard filaments |
| Finish | Textured grip surface |
| Installation | Fitted to a clean bed, direct or over a magnetic base |
| Power or gas needs | None, passive surface only |