What the 235 Heater Pad does on a print bed
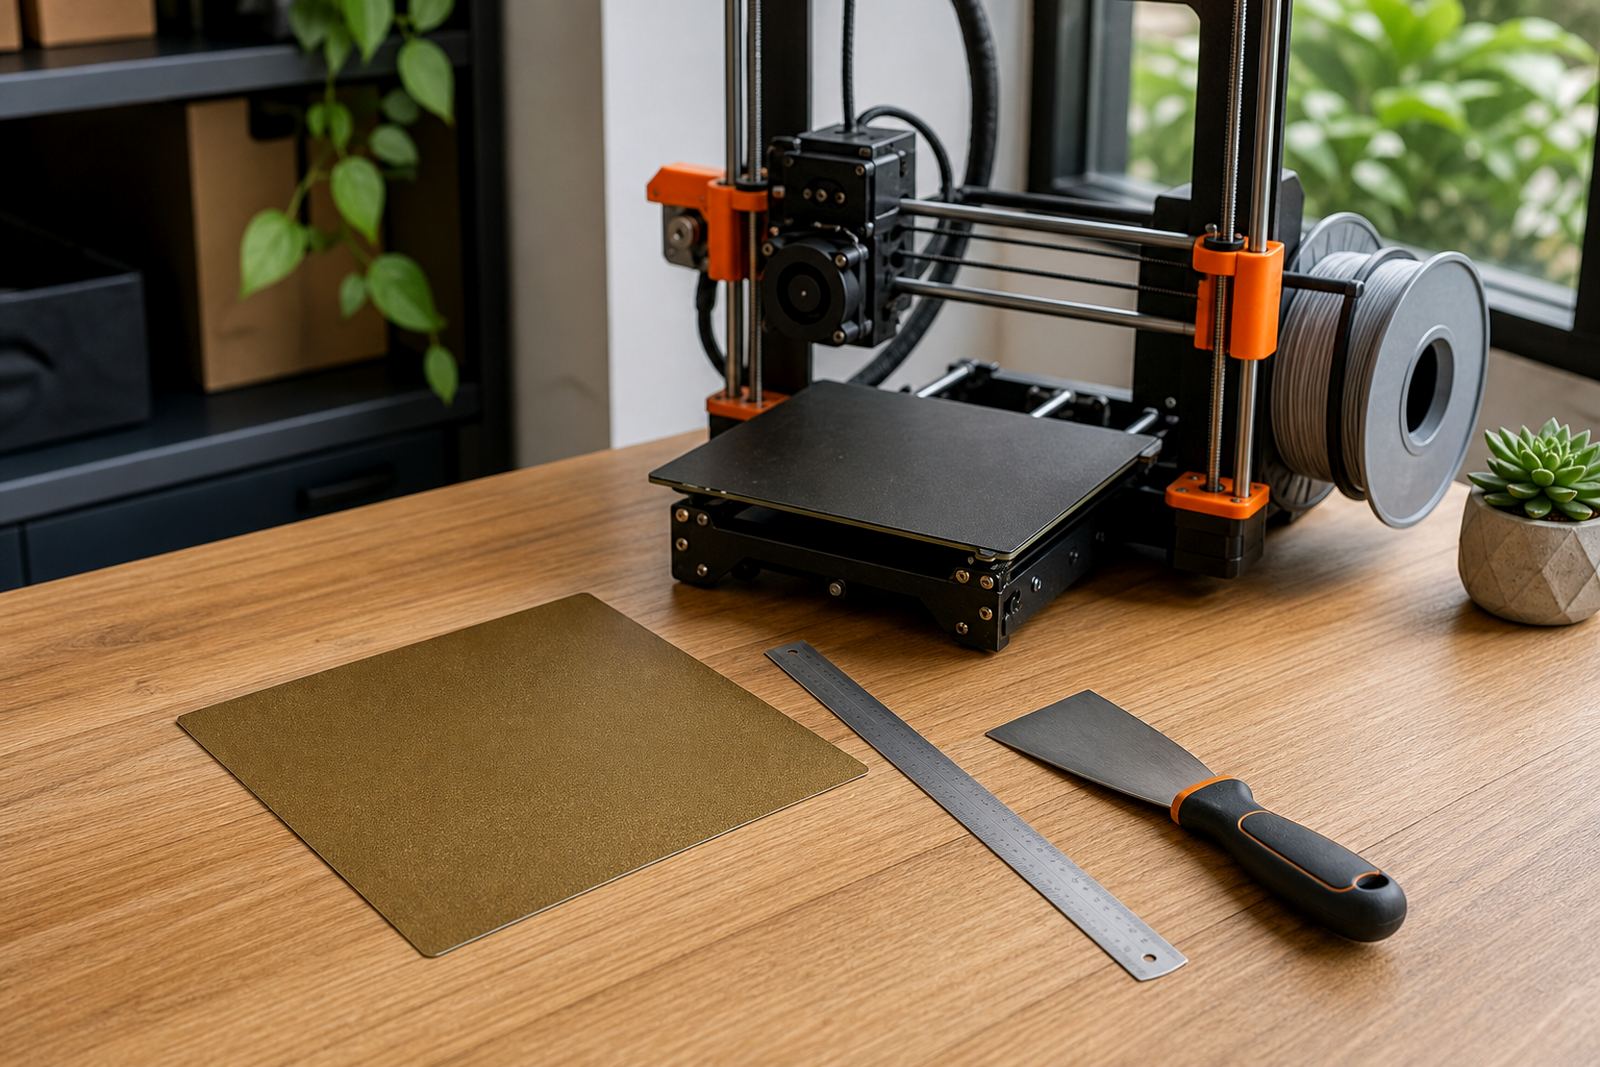
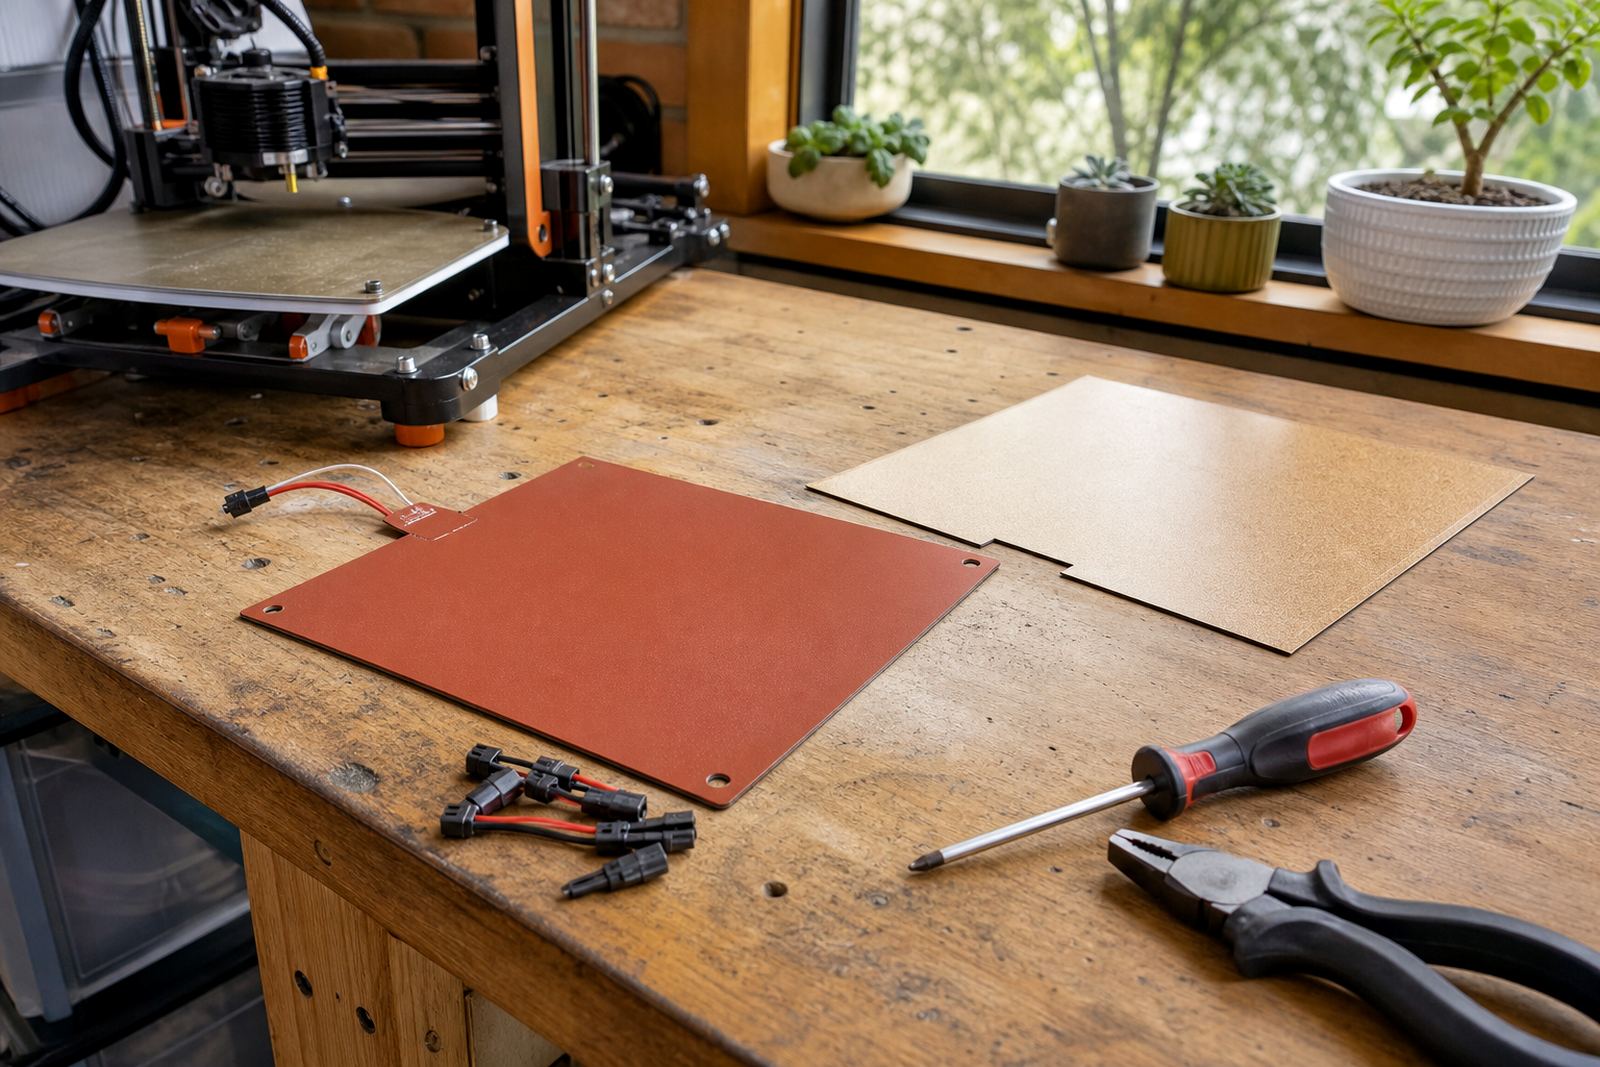
The 235 Heater Pad is used to warm a printer bed or heated platform to a controlled working temperature. It helps reduce cold spots, improves first-layer adhesion and makes the surface more predictable during longer print runs. For users in Gauteng and along the coast, a stable heated bed also helps when workshop temperatures shift through the day or the machine sits in a cooler room after load-shedding.
This is a mid-size heater pad, so it is a good fit for compact custom machines, replacement work on older equipment and maintenance on beds where the original heating element has failed. It is not a general-purpose mat for random use. It should be matched to the bed size, control system and power rating of the machine. If the heating area is too small or too large, you will feel it in uneven bed temps and poor adhesion at the edges.
Used correctly, the pad forms part of a proper heated bed system with a flat surface, firm mounting and a controller that can hold the target temperature without big swings.
Where this heater pad fits best
The 235 size suits machines and project beds that need a moderate heating area, especially where the user wants a cleaner install than a loose under-bed heater. It is often used in repair work, school lab builds and custom enclosures where neat cable routing and repeatable heat are important.
- Custom printer beds built around medium-format frames
- Maintenance replacement on damaged or worn heater assemblies
- Small print farms that need consistent bed performance across multiple units
- School and maker lab projects where learners need a simple, explainable heating setup
- Prototype machines where the bed size may change but the heating zone stays around 235 mm class dimensions
If you are running a print farm in Pretoria, Johannesburg or Cape Town, this kind of heater is useful when you want to standardise settings across machines. That makes it easier to keep adhesion, warm-up time and power draw more predictable from one printer to the next.
Sizes, fit and practical options to confirm
Before ordering, check the exact heated area you need rather than guessing from the frame size. The pad should cover the active print zone with enough overlap for mounting, but not so much that it crowds belts, brackets or edge clips. A pad that is too small leaves cold borders. One that is too large can be awkward to mount and harder to insulate properly.
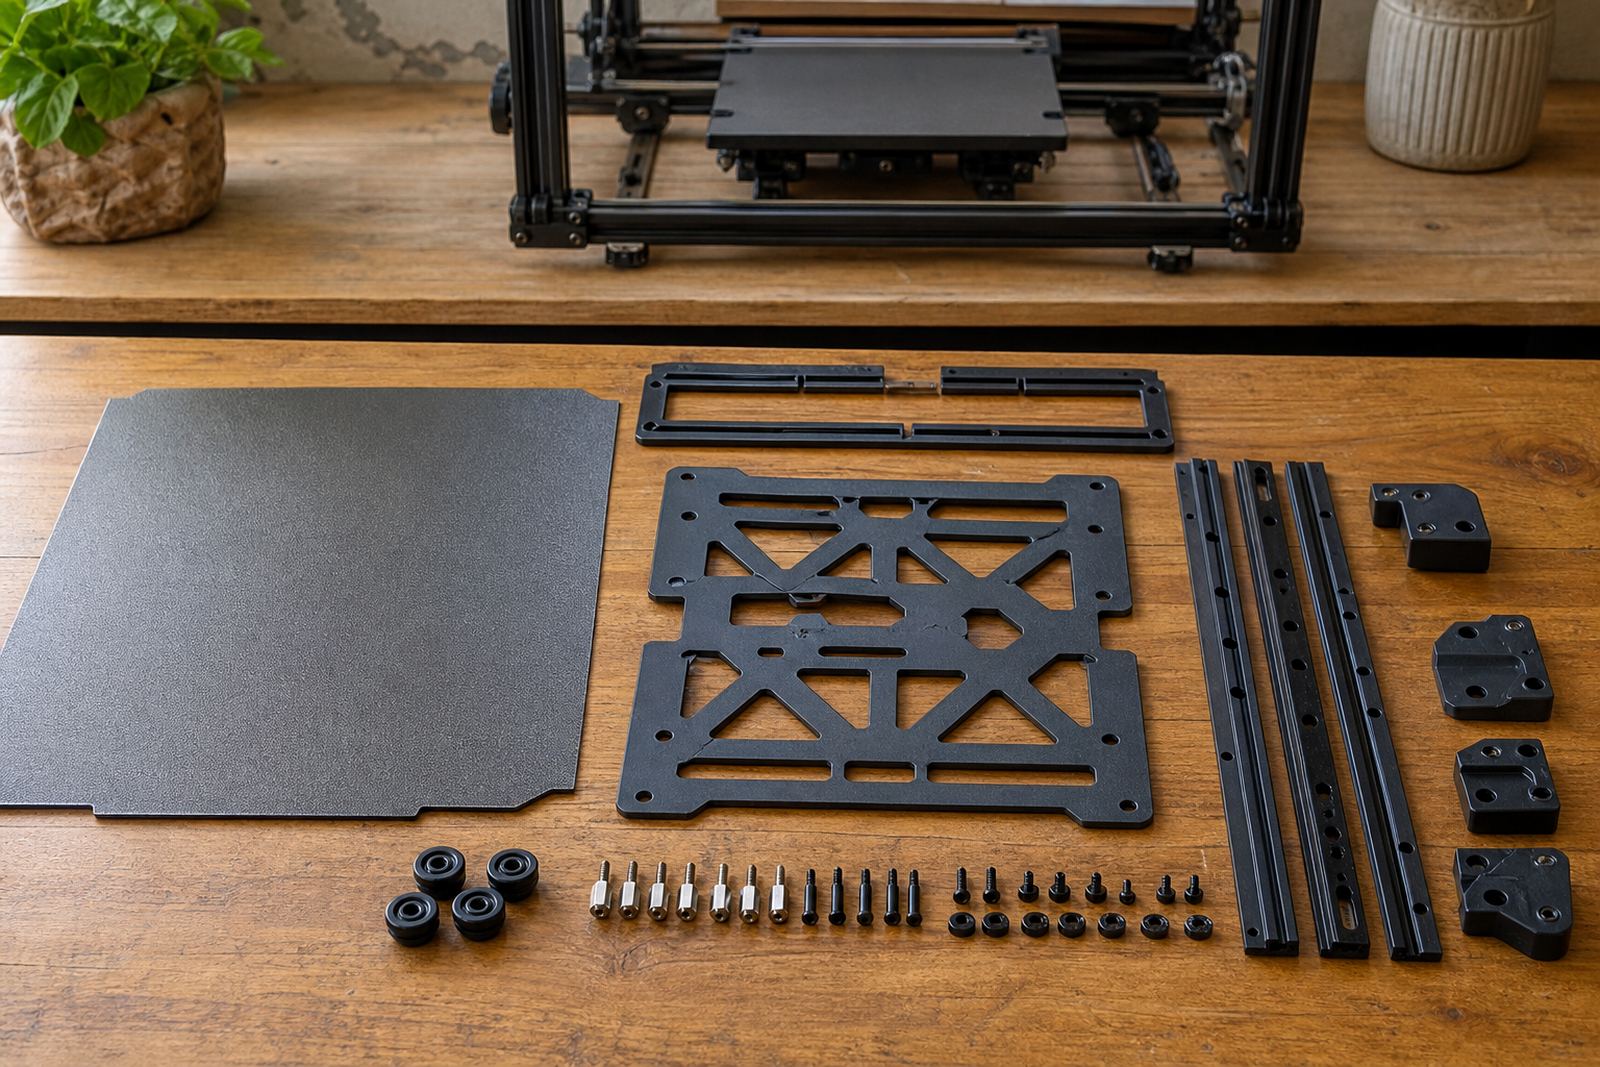
For this product, buyers usually need to confirm the bed length and width, the available mounting depth under the plate and whether the machine uses a rigid bed or a removable build plate. You should also note whether the installation needs a single heat zone or if the build surface has separate sections. On some custom machines, even a few millimetres matter because cable entry points, thermistor placement and insulation layers all compete for space.
- Bed length and width in millimetres
- Mounting method and available underside clearance
- Target operating temperature range
- Controller or thermostat type already fitted
- Power supply voltage available on site
- Whether you need lead length or termination changes for your setup
If the machine is going into a school lab or a shared workshop, it is worth checking who will be servicing it later. A neat install now saves time when a replacement is needed after a term or a production run.
Installation, wiring and power needs
The heater pad must be installed on a clean, flat surface with secure contact and proper insulation underneath where required. Poor contact can cause heat loss and make the centre warm faster than the edges. That is a common cause of bed adhesion complaints that are blamed on the sheet, when the real issue is the heater install.
Power needs depend on the machine design and controller, so the pad must be matched to the correct supply and switching setup. It should not be wired into a system that cannot handle the current draw. In South African workshops, especially where power interruptions are common, it is smart to plan for restart behaviour after load-shedding so the bed comes back on safely and does not overshoot after power returns.
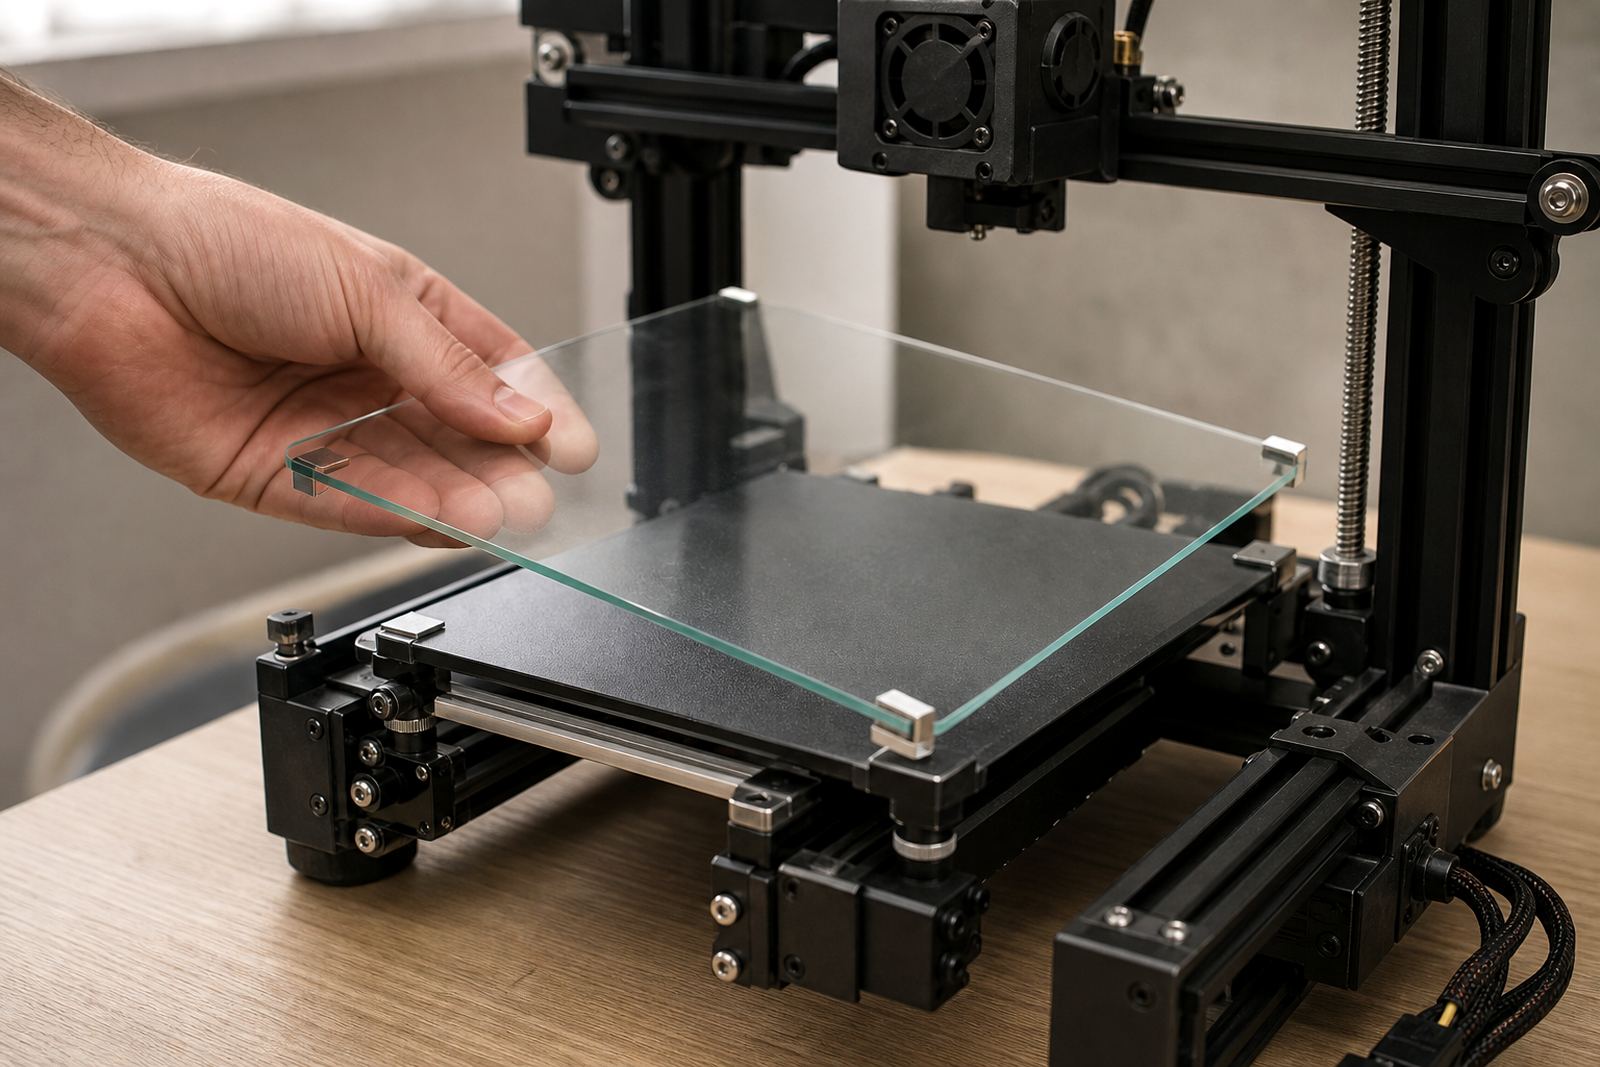
For a proper fit, allow for the heater lead path, strain relief and a safe exit point that will not rub against moving parts. If the build uses a magnetic base or removable surface, confirm that the heater is still evenly coupled to the plate below. A badly routed wire can fail long before the heating surface itself.
- Use a proper controller or thermostat rated for the load
- Keep wiring away from motion paths and sharp edges
- Check earthing and insulation on metal-framed machines
- Test warm-up time before putting the printer back into service
Care, servicing and working life
The heater pad itself needs very little daily attention, but the surrounding system does. Check for loose fasteners, damaged insulation, worn cable sleeves and signs of hot spots around the edges. If the bed starts taking longer to reach temperature, that can point to a supply issue, a weak controller or a pad that is no longer transferring heat evenly.
For print farms and school labs, a scheduled inspection is worth the effort. Add the heater pad to your monthly bed check along with surface condition, plate flatness and connection security. In coastal areas like Durban or Gqeberha, humidity can also affect terminals and fixings over time, so keep the underside dry and clean. Dust buildup and adhesive residue should be removed before they become a heat trap.
If the machine is used heavily, plan replacement before the heater becomes unreliable. Waiting for total failure often means lost jobs, poor first layers and extra time spent re-leveling the bed after repairs.
What to check before you place an order
Ordering the right heater pad is mostly about measurement and matching. If you send the wrong size or power details, the installation becomes messy and the results are inconsistent. Have the machine information ready before you submit an enquiry through the contact page.
- Exact bed size in mm and the active heated area you need
- Voltage and current requirements of the existing system
- Controller type, thermostat or relay arrangement
- Mounting style, including whether the pad sits under aluminium or another plate
- Lead length and cable exit direction
- Any special fitment needs for custom builds or replacement work
If you are standardising several printers at once, send the same set of measurements for each unit so the team can compare them side by side. For schools and shared maker spaces, that makes future spares planning much easier. It also helps avoid having one machine running a different heat profile from the rest.
Key facts
| Product type | Mid-size bed heater pad |
|---|---|
| Use | Custom build projects, maintenance replacements and heated bed upgrades |
| Heated area | 235 mm class sizing for matched print beds |
| Compatible setups | Rigid beds, custom frames and service replacements where the dimensions suit |
| Power requirement | Matched to the controller and supply rating for the machine |
| Installation notes | Secure mounting, proper wiring, insulation and temperature control required |