What the A4 PEI Sticker does on a printer bed
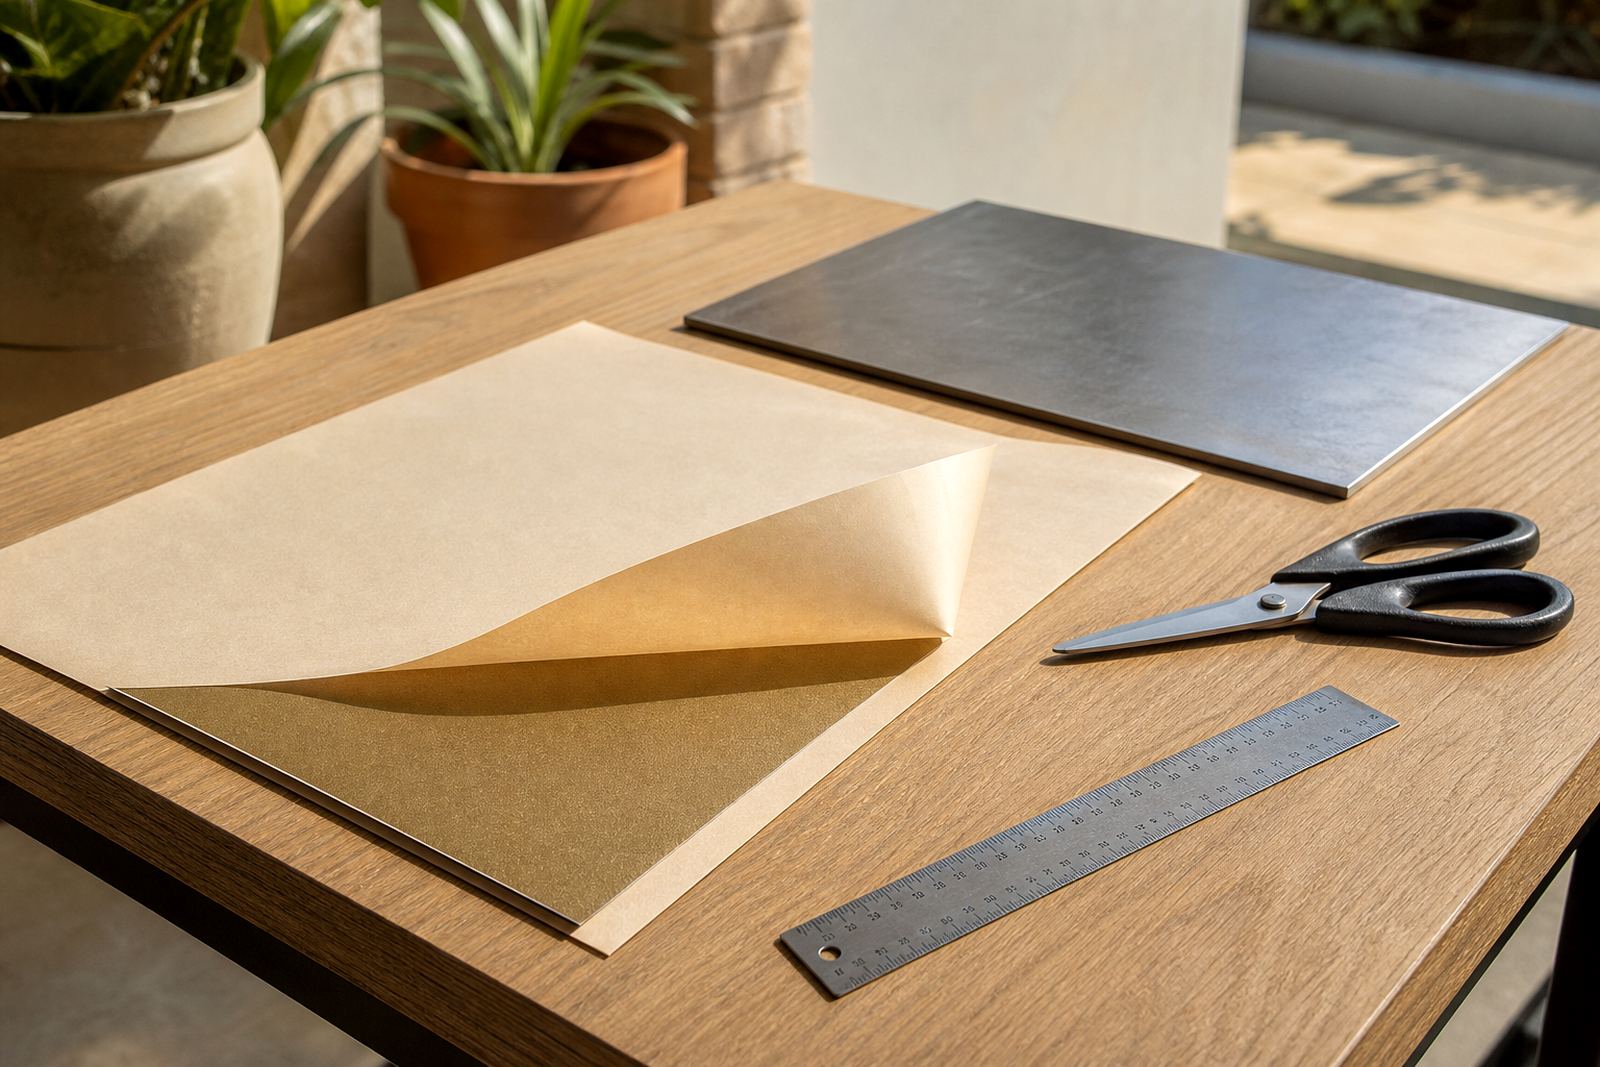
The A4 PEI Sticker is a pressure-sensitive PEI sheet that bonds to a flat build plate and gives the printer a spring steel style printing surface without needing a full replacement plate. It is useful when the machine has an older bed, a non-standard size, or a platform that has worn smooth after years of use.
PEI works well because it grips when hot and releases more easily when the bed cools. That helps with PLA, PETG and many everyday print jobs. For schools, makerspaces and small farms in Centurion, Pretoria East or Johannesburg, it is a practical way to bring an older machine back into service instead of replacing the whole setup.
This product suits users who want a tidy, durable surface and are happy to cut and fit it to size. It is also a good option where the printer bed dimensions are unusual, or where a damaged coating has left the bed patchy and unreliable.
Sizes, format and what comes in the sheet
The A4 format gives you a generous working area that can be trimmed to suit the bed. That makes it handy for printers with beds that fall below A4 size, as well as machines with awkward corners, clips or screw heads that need careful marking before fitting. For larger beds, the sheet can still be used on a sectioned surface or for smaller build areas on a multi-printer setup.
Because it is adhesive backed, there is no separate magnetic base included unless you are fitting one as part of a broader bed upgrade. The sheet is intended for flat, clean surfaces and should be applied to metal or another suitable rigid plate. It is not a drop on solution for a warped bed, so a flatness check matters before fitting.
- A4 size adhesive PEI sheet for cut-to-fit installation
- Suitable for rigid, flat build plates
- Can be trimmed with a sharp blade and straight edge
- Works well for replacement tops on older printers
- Useful for custom machines and uncommon bed shapes
Where the A4 PEI Sticker suits best
This product suits hobby printers, school labs, technical colleges and print farms that need a dependable surface without changing the whole machine. It is especially useful where the original coating has peeled, gone glossy, or stopped holding first layers properly. In coastal areas like Durban and Gqeberha, it is also handy where humidity and day to day use make bed prep more important.
For print farms and schools, it can be used as part of a standardisation plan. If every machine is running a different bed size or an older platform, a cut-to-fit PEI sheet can make maintenance simpler and reduce the time spent adjusting first layer settings. That can save a fair bit of fiddling during busy production weeks.
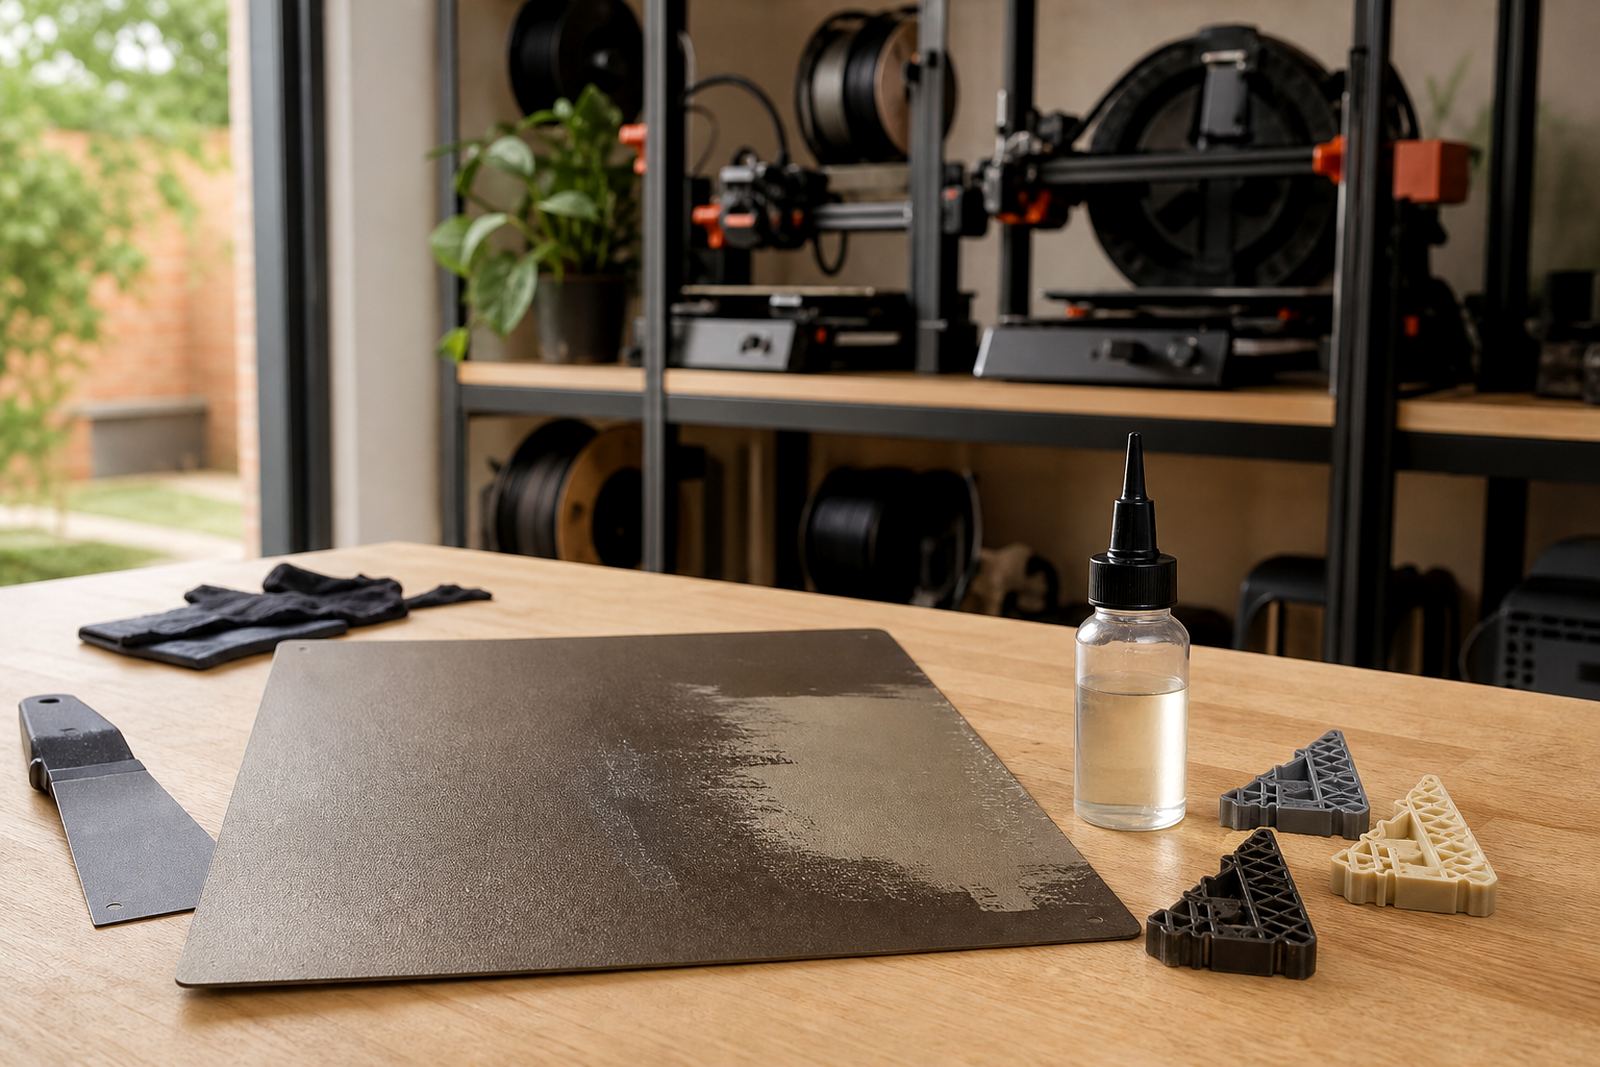
It is a good fit for PLA, PETG, ABS and similar filaments when the bed temperature and surface prep are set correctly. On some materials, a little extra release agent or a light adhesion aid may be needed, especially if the room is cold or the model has a small base area.
Installation steps and power needs to plan for
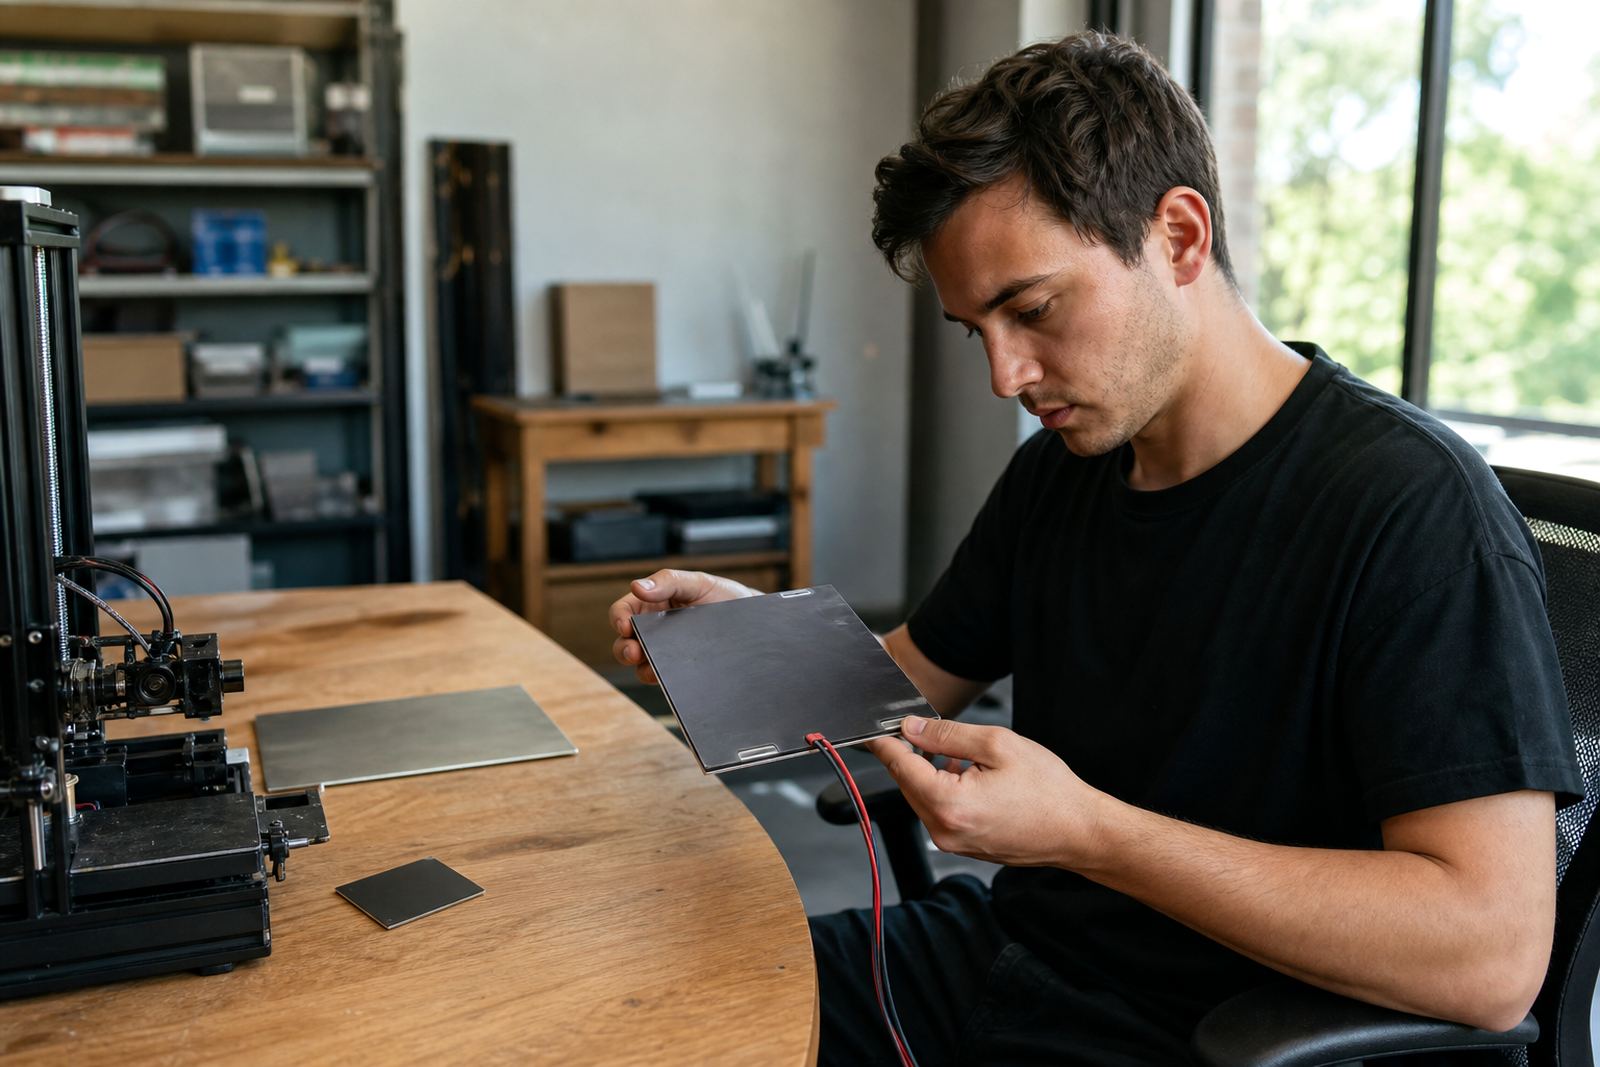
Fitting the sheet is straightforward, but it needs care. Clean the bed fully, check for burrs or raised spots, and make sure the surface is flat before any adhesive touches it. Once the backing is removed, line up the sheet carefully and press it down from one edge to the other so you do not trap air. A roller or soft cloth helps, though a clean hand pressure is usually enough on smaller beds.
The sheet itself does not need power or gas. It is a passive surface, so the only power involved is the printer heating the bed as normal. If you are fitting it in a lab or workshop with load-shedding planning, you do not need to budget for extra power beyond standard printer operation. What matters is a stable, level install and a bed that can still heat evenly after the sheet goes on.
- Clean the surface with isopropyl alcohol or a suitable degreaser
- Check bed flatness before fitting
- Trim only after a dry test fit
- Leave no dust or fibres under the adhesive layer
- Re-level the bed after installation and before the first print
Care, cleaning and service life
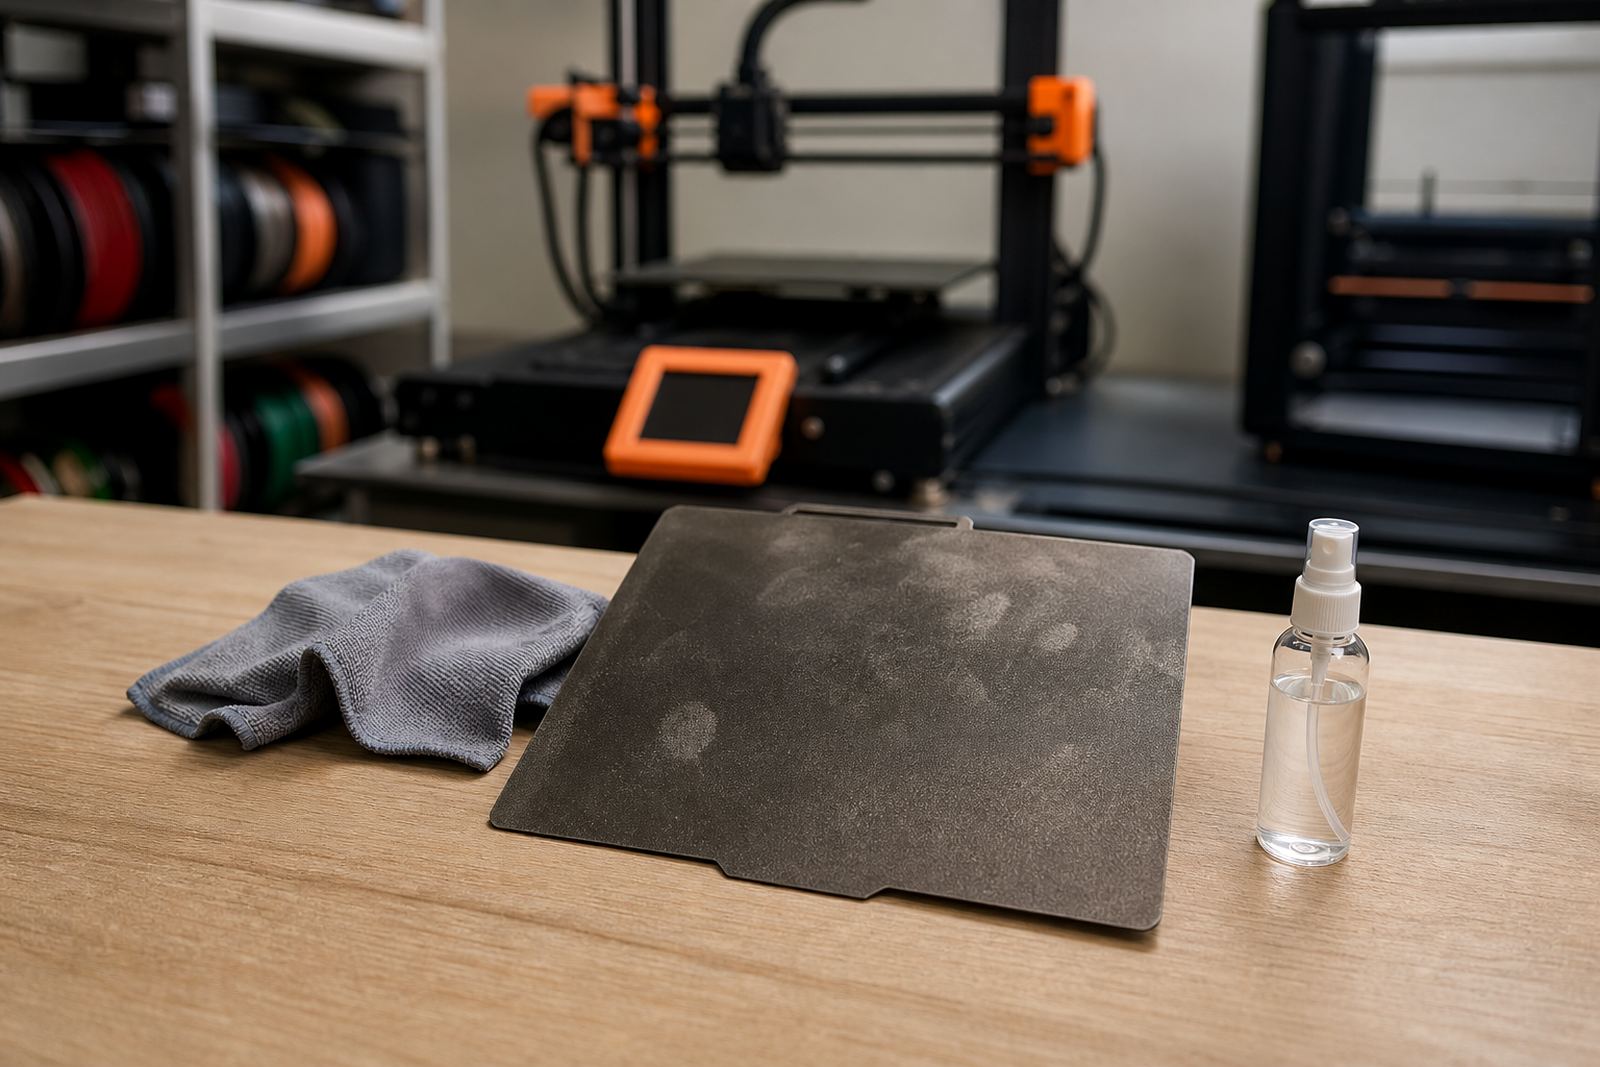
PEI needs regular cleaning to keep first layers consistent. For most workshop use, wipe the surface with a lint-free cloth and a suitable cleaner after prints cool down. Avoid scraping with sharp tools and avoid rough abrasives, because they shorten the life of the sheet and can make the finish uneven.
If the sheet starts to lose grip, the problem is often contamination before it is wear. Oils from hands, old glue, filament residue or dust from sanding can all affect adhesion. A careful clean usually sorts it out. If the surface has deep marks, bubbles or lifting edges, it may be time to replace it rather than try to patch it up.
In humid areas or during rainy season, store spare sheets flat and covered. That helps prevent curling at the corners. For schools and shared labs, a simple cleaning routine after each class keeps the surface in better shape and reduces arguments over why the next print is failing. It sounds simple, but it really does save time.
What to check before you order one
Before ordering, measure the full printable area of the bed, not just the outer frame. Check whether clips, screws, probe points or raised fasteners will interfere with the sticker. If the bed is badly worn or not flat, deal with that first because the adhesive sheet will follow the bed underneath it and poor base prep leads to poor results.
Also confirm the filament mix you use most often, because that affects how much release you need and how often the surface will need cleaning. For a print farm, it helps to note every machine model and bed size in one list so replacements can be cut the same way each time. A bit of planning here avoids wasted material and messy repeat jobs later on.
- Measure the actual flat bed area in millimetres
- Check for clips, sensor points and screw heads
- Confirm whether the bed is flat enough for adhesive fitting
- Match the surface to your usual filament types
- Decide if you need one sheet for a single printer or several for a farm
Key facts
| Product type | Cut-to-fit adhesive PEI build surface |
|---|---|
| Format | A4 size sheet for trimming to the required bed area |
| Use case | Older printers, uncommon bed sizes and replacement surfaces |
| Typical filaments | PLA, PETG, ABS and similar common materials |
| Installation | Adhesive backed, applied to a clean rigid flat plate |
| Maintenance | Wipe clean after use, avoid abrasive tools and check for contamination |