What the Plate Shim Pack does on a printer bed
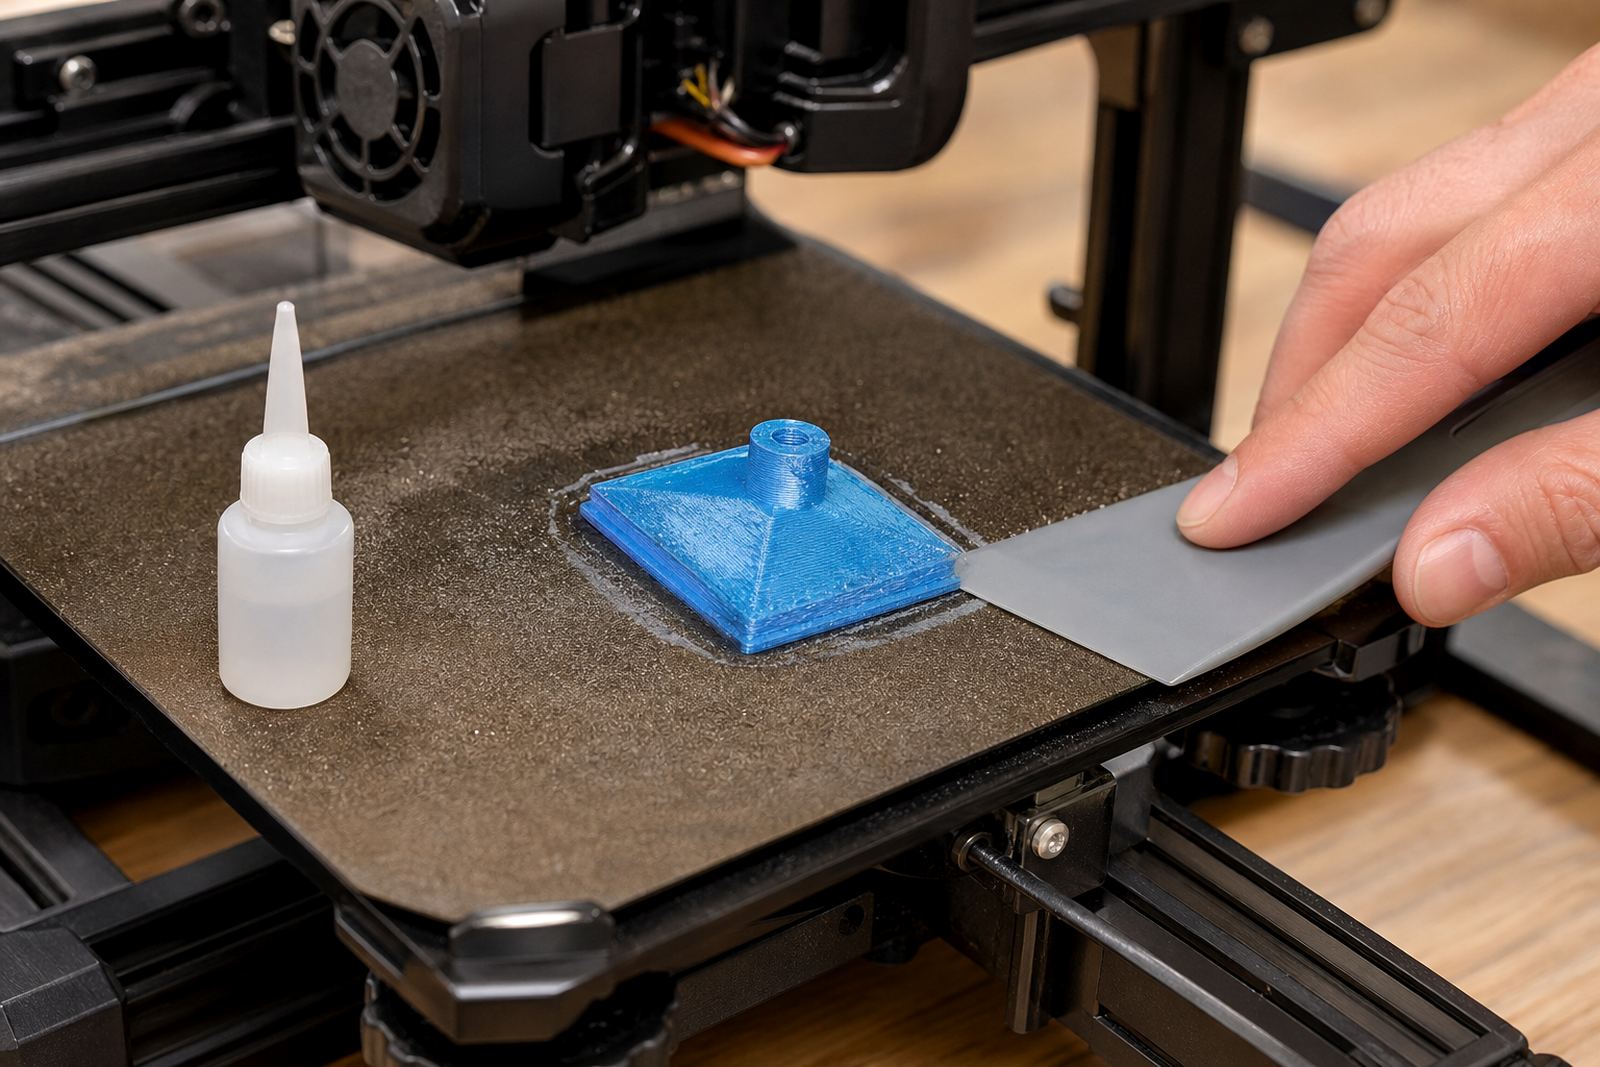
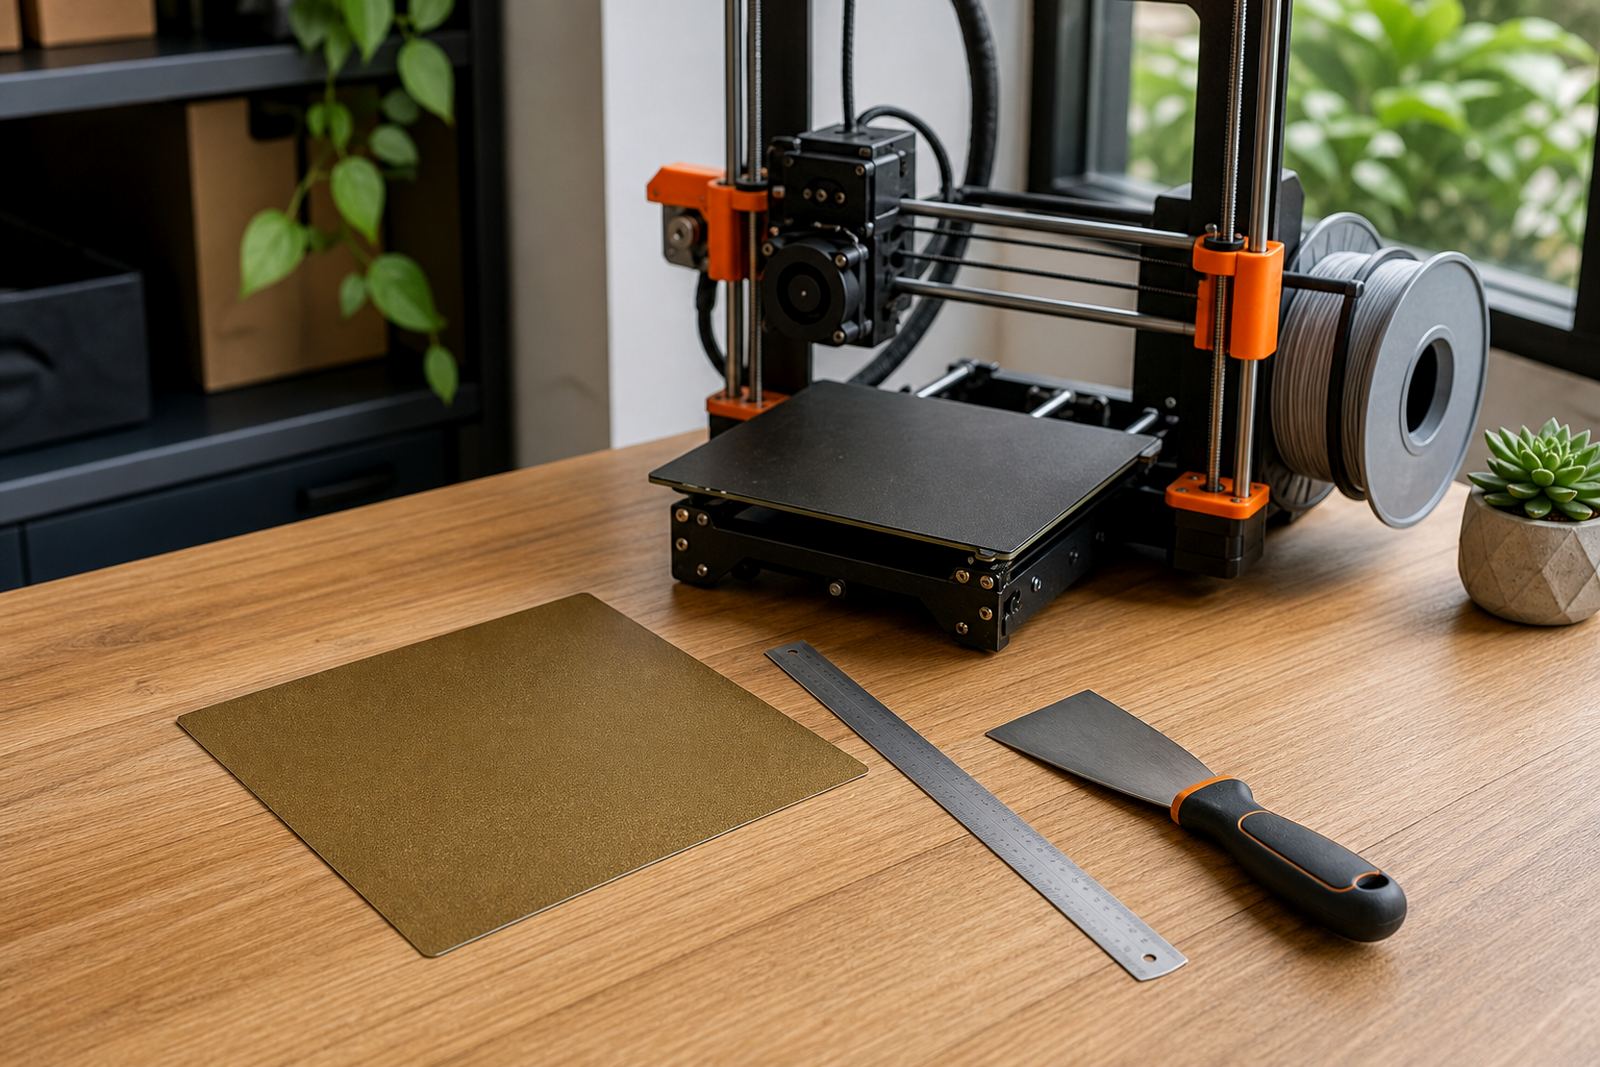
A Plate Shim Pack is used when a bed is close to level but not quite even enough for consistent adhesion across the full plate. It sits between the machine surface and the build plate mounting points so you can correct small low spots, slight twist, or minor mounting tolerance issues. That makes it useful on printers that are printing well in the centre but lifting at the corners, or showing one side that needs a little more nozzle clearance.
This is not a heavy repair part. It is a fine adjustment tool for setup and repeatable maintenance. On schools, print farms and workshop machines, a small shim pack can save time during commissioning because you can make measured corrections instead of forcing the bed to compensate through probe offsets alone. It also helps if a replacement plate is fitted and the old setup no longer sits quite right, especially after transport or frequent removal for cleaning. A bit of patience here pays off later, because the first layer tells you quickly if the bed is honest or not.
Shim sizes and pack options
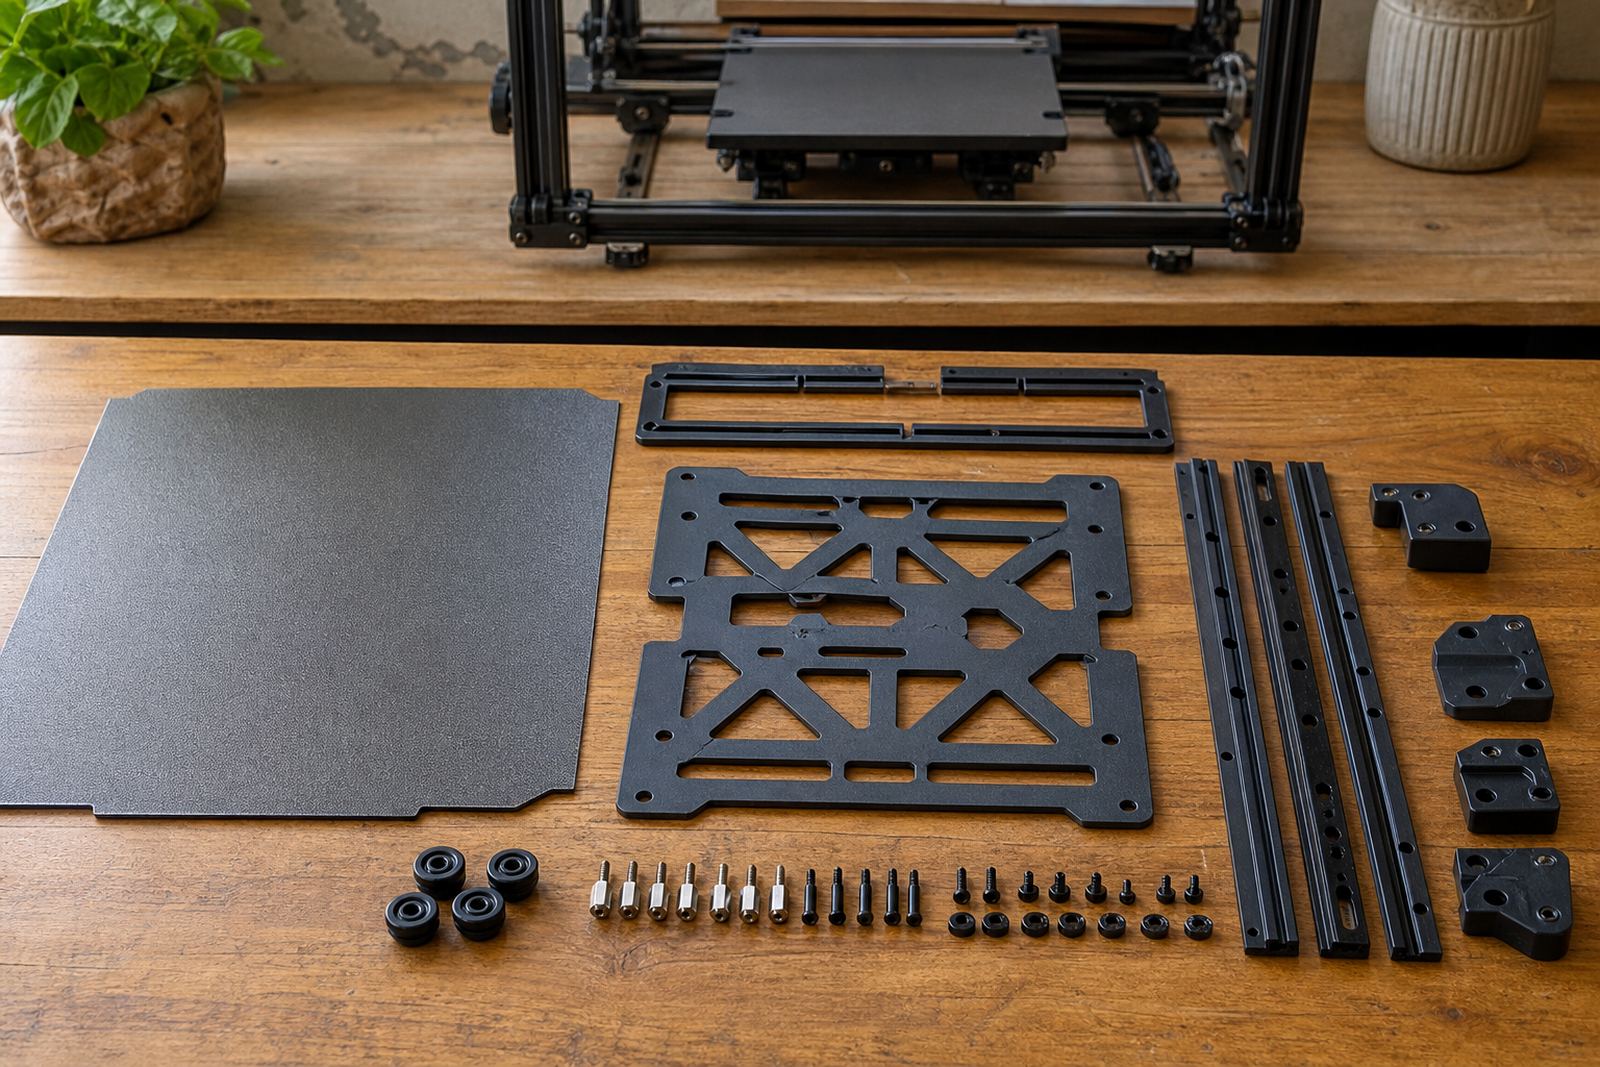
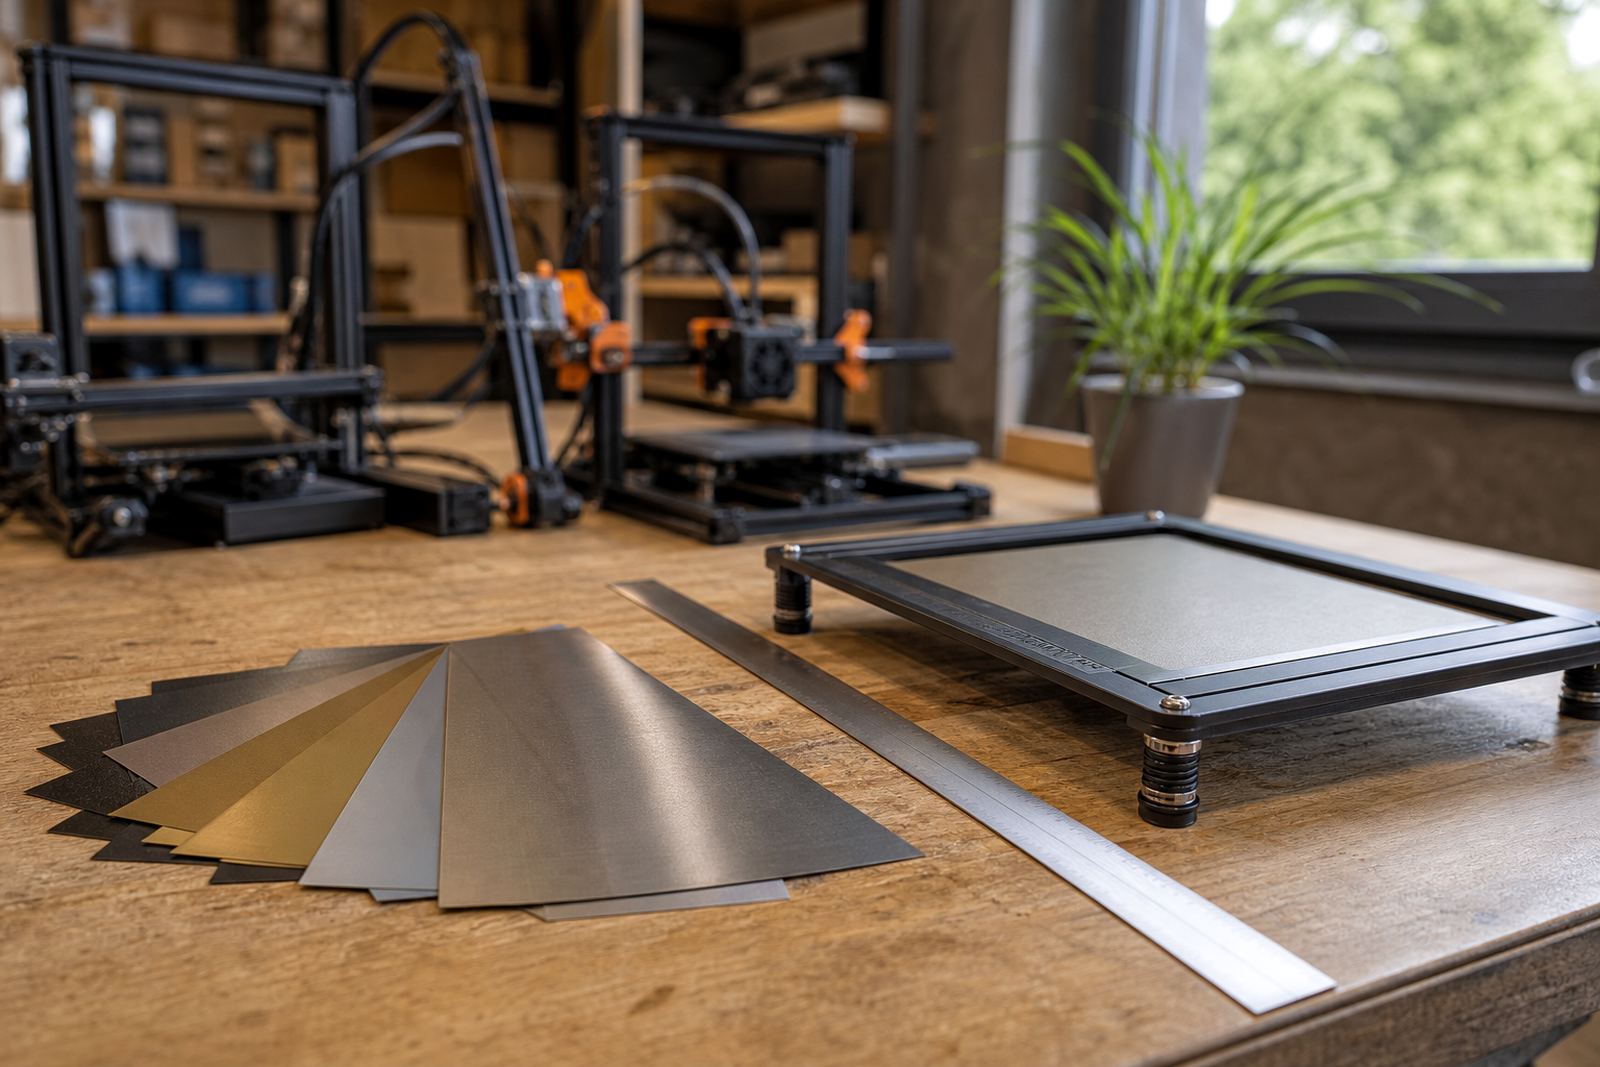
The pack is supplied in thin, usable increments so you can stack or place pieces only where needed. That allows fine correction without introducing a new high point. The exact size mix depends on the printer and the mounting pattern, but common shim thicknesses are chosen for light correction work rather than major levelling.
- Thin correction shims for minor bed irregularities
- Small format pieces for corner and mount point adjustment
- Stackable layers for measured height changes
- Suitable for flat plate systems, magnetic bases and fixed beds
For larger machines and farm standardising, the same method can be used across multiple units so the setup process stays consistent. In practice, that means one technician can document the shim positions and repeat the result on the next printer without guesswork. If the bed needs more than a light correction, a bed flatness check should come first so you are not masking a bigger issue.
Where the Plate Shim Pack suits best
This product suits hobby printers, school lab machines and production units where you need a cleaner first layer but do not want to strip the whole machine down. It is useful when fitting a new PEI sheet, after magnetic base fitting, or when a plate install reveals slight warping in the carriage surface. It is also handy in coastal areas like Durban and Gqeberha where repeated cleaning, humidity and day to day use can make a setup drift a little over time.
In a busy print farm, shim packs are often used during scheduled maintenance to keep all beds behaving the same way. In schools, they help when learners are using different machines and the teaching team wants a predictable surface from one printer to the next. For makers in Pretoria, Johannesburg, Cape Town and Bloemfontein, the benefit is simple: less trial and error, better adhesion and fewer failed starts.
- 3D-printer plate installation and PEI fitting
- Fixed beds with slight unevenness
- Machines that are printing low on one side
- Setups needing repeatable first-layer correction
Installation, power use and workshop requirements
Installing a Plate Shim Pack does not require power or gas. It is a manual fitting accessory used during machine setup, so there is no electrical load and no fuel requirement. You only need normal workshop tools, a clean surface and enough time to test the result properly. On a hot day, keep the bed and shim area clean, because dust and residue can affect how the plate sits.
The fitting process is usually straightforward: confirm the low points, place the shims at the chosen mounting spots, refit the plate and check the nozzle gap across the bed. If the machine uses a magnetic base, make sure the surface is seated flat before tightening or sticking anything down. The aim is a stable and repeatable fit, not a hard clamp that distorts the surface. After fitting, run a test print or probe check so you can see whether the adjustment is enough or if a second pass is needed.
Care, servicing and long term use
Shims need very little care, but the bed around them should be kept clean and dry. Wipe away dust, adhesive residue and oils during regular maintenance. If the machine is used in a school, maker space or shared workshop, check the shim positions when the plate is removed for cleaning or when the build surface is replaced. A shifted shim can change the whole first layer and cause needless rework.
During servicing, inspect the plate for movement, check that the magnetic base remains seated and confirm that the correction still matches the current surface condition. If the printer is moved between rooms or sites, recheck the bed flatness before starting a long job. Small changes from vibration or handling can creep in, so it is worth doing a quick check rather than chasing poor adhesion later. That is especially true on farms where one small fault can repeat across many jobs.
- Keep shims clean and dry
- Recheck after transport or major cleaning
- Confirm the plate still sits flat after fitting
- Replace worn or damaged support surfaces as needed
What to check before ordering
Before ordering, measure the printer bed area and confirm the mount style. Check whether you are correcting a single corner, a side dip or a general low spot, because that changes how many shims you will need and where they should go. It also helps to know whether the machine uses a fixed plate, a removable build plate or a magnetic base, since each setup needs a slightly different approach.
You should also confirm the printer model, plate size and whether the issue appears before or after a PEI sheet fitting. If you are ordering for a school, print farm or multiple machines, standardise the measurement method so the same pack can be used across units. A simple flatness note from the technician saves time later. If there is any uncertainty, a bed flatness check and adhesion troubleshooting step should happen before final fitting so you order the right pack first time.
Use cases for workshops, schools and print farms
The Plate Shim Pack is especially practical where consistency matters. In maker education, it supports learners by reducing setup frustration and helping the machine show proper first-layer behaviour from the start. In production environments, it helps keep output steady across a mixed fleet of printers, which is important when jobs are run back to back and there is not much time for repeat tuning.
For service teams in Centurion and across Gauteng, the pack is a simple item to keep on hand because it solves many small bed issues before they become bigger support calls. It works well alongside plate installation, surface refresh and consumables supply. Used properly, it is one of those quiet tools that makes the printer feel better without drawing attention to itself.
Key facts
| Product type | Thin shim pack for 3D-printer bed correction |
|---|---|
| Primary use | Correcting minor bed irregularities during plate installation and setup |
| Compatibility | Suitable for flat beds, removable plates and magnetic base systems |
| Power or gas required | None |
| Typical use environments | Home workshops, schools, print farms and service benches |
| Maintenance | Keep clean, dry and recheck after transport or surface replacement |