Why Summer Changes First-Layer Grip
When the weather warms up, the build plate does not behave the same way it does in winter. A surface that held fine in June may release too early in January, or it may grab so hard that removal becomes a fight. In Centurion, Pretoria and Johannesburg, summer brings hot afternoons, dry wind, dust, and the stop-start reality of load-shedding too. In coastal towns like Durban and Gqeberha, humidity adds another layer of trouble.
The first layer is always the one doing the hard work. If the nozzle is a little too high, the plate is greasy, or the bed is not level enough, summer will expose it. What looks like a small change in temperature can affect how quickly filament softens, how well it spreads, and how long it stays stuck while the part cools.
That is why bed adhesion is not just about choosing a shiny surface. It is about matching the plate, the cleaning routine, the bed temperature and the room conditions to the kind of printing you do.
Dust, Fingerprints and Garage Jobs
Many South African makers print in garages, spare rooms and school labs. Those spaces are practical, but summer dust gets in quickly. Dust from open roller doors, chalk from classrooms and even fine workshop grit can leave a thin layer on the plate. Add fingerprints from handling a smooth sheet and you have a surface that looks clean but holds poorly.
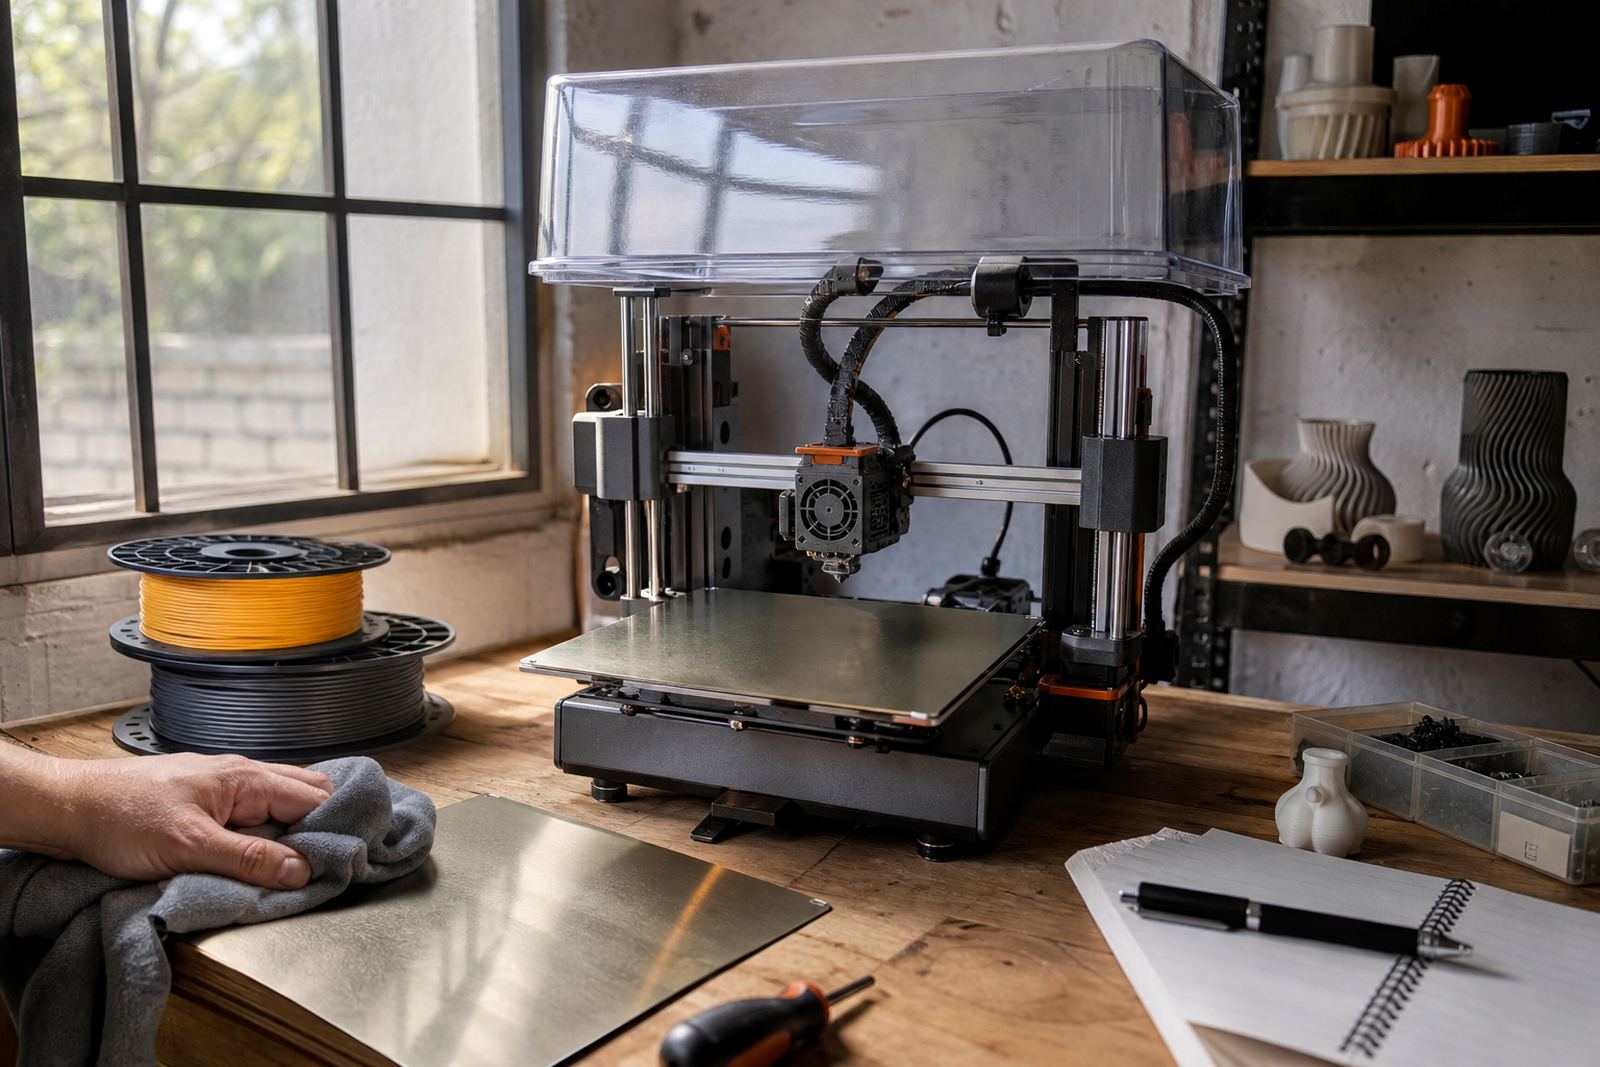
For better adhesion in summer, keep the plate handling simple. Wash it regularly with warm water and a plain degreasing soap, then dry it with a clean cloth. Avoid touching the print area with bare hands. If you need to move the plate between machines or benches, do it by the edges.
- Wipe the plate before each print run if the printer sits in a dusty room.
- Store spare sheets flat, away from sun and sawdust.
- Check for old glue, spray or filament residue before starting a long job.
- If the room is very hot, let the bed cool fully before cleaning so residue does not smear.
Humidity Along the Coast and Dry Heat Inland
Not every summer problem looks the same. In Durban, Port Elizabeth and other coastal areas, moisture in the air can change how materials behave from one day to the next. Some filaments absorb water quickly, and that can make the first layer stringy or bubbly. In Johannesburg and Bloemfontein, the air is drier, but dust and static can be worse, so the plate may need more frequent cleaning.
The answer is not to chase one setting for the whole year. Start with a simple habit: keep notes on what works in your room at a specific time of year. If your adhesion falls off after lunch because the room is hotter, adjust the bed temperature or enclosure use before blaming the sheet.
For schools and shared print farms, consistency matters. One printer near a sunny window and another under a fan will not behave the same. A small change in airflow can lift a corner on a long part, especially on bigger plates.
Choosing the Right Plate for the Job
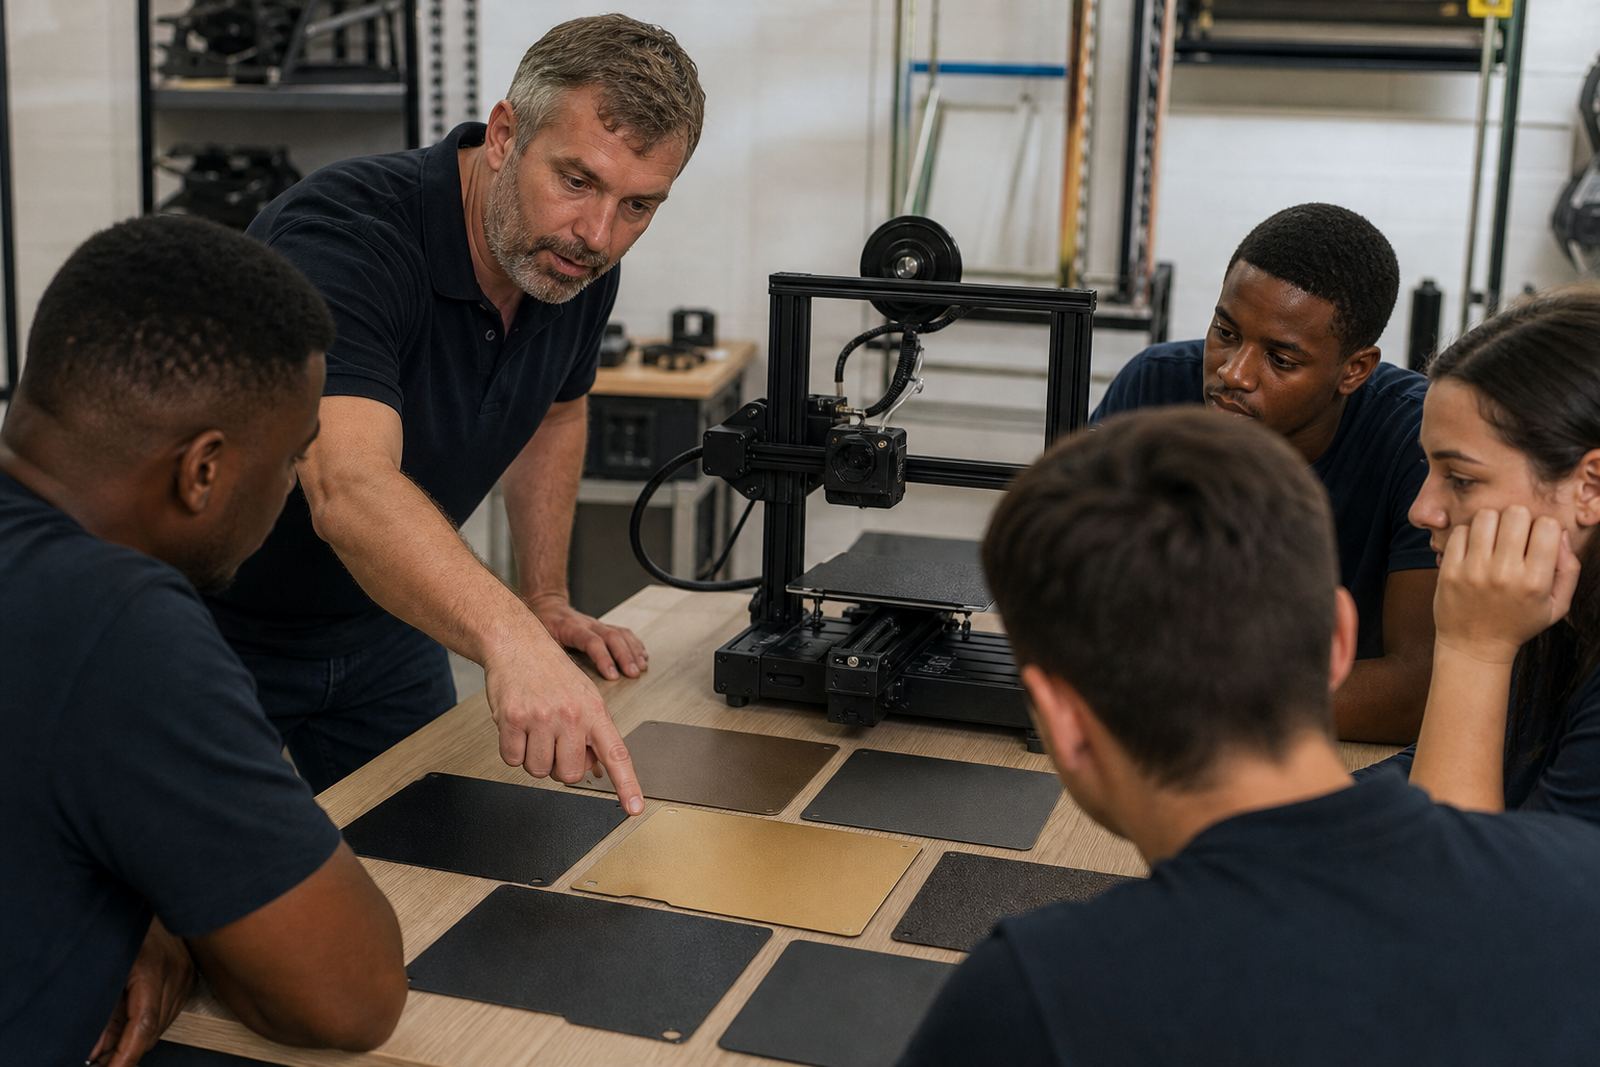
Different parts need different levels of grip. A small teaching sample, a flexible bracket and a long enclosure part do not all want the same surface. That is where a good build plate or PEI sheet helps. The goal is steady adhesion during printing, then clean release once the bed cools down.
In summer, the safest choice is usually the one that gives repeatable results across many prints. If you run a school lab or a farm with multiple machines, standardising the surface across the fleet saves time and reduces failed first layers.
- Use a textured surface where you want reliable grip and easy release after cooling.
- Use a smooth surface when you need a cleaner bottom finish and very careful setup.
- Check that the magnetic base is seated properly before fitting a new sheet.
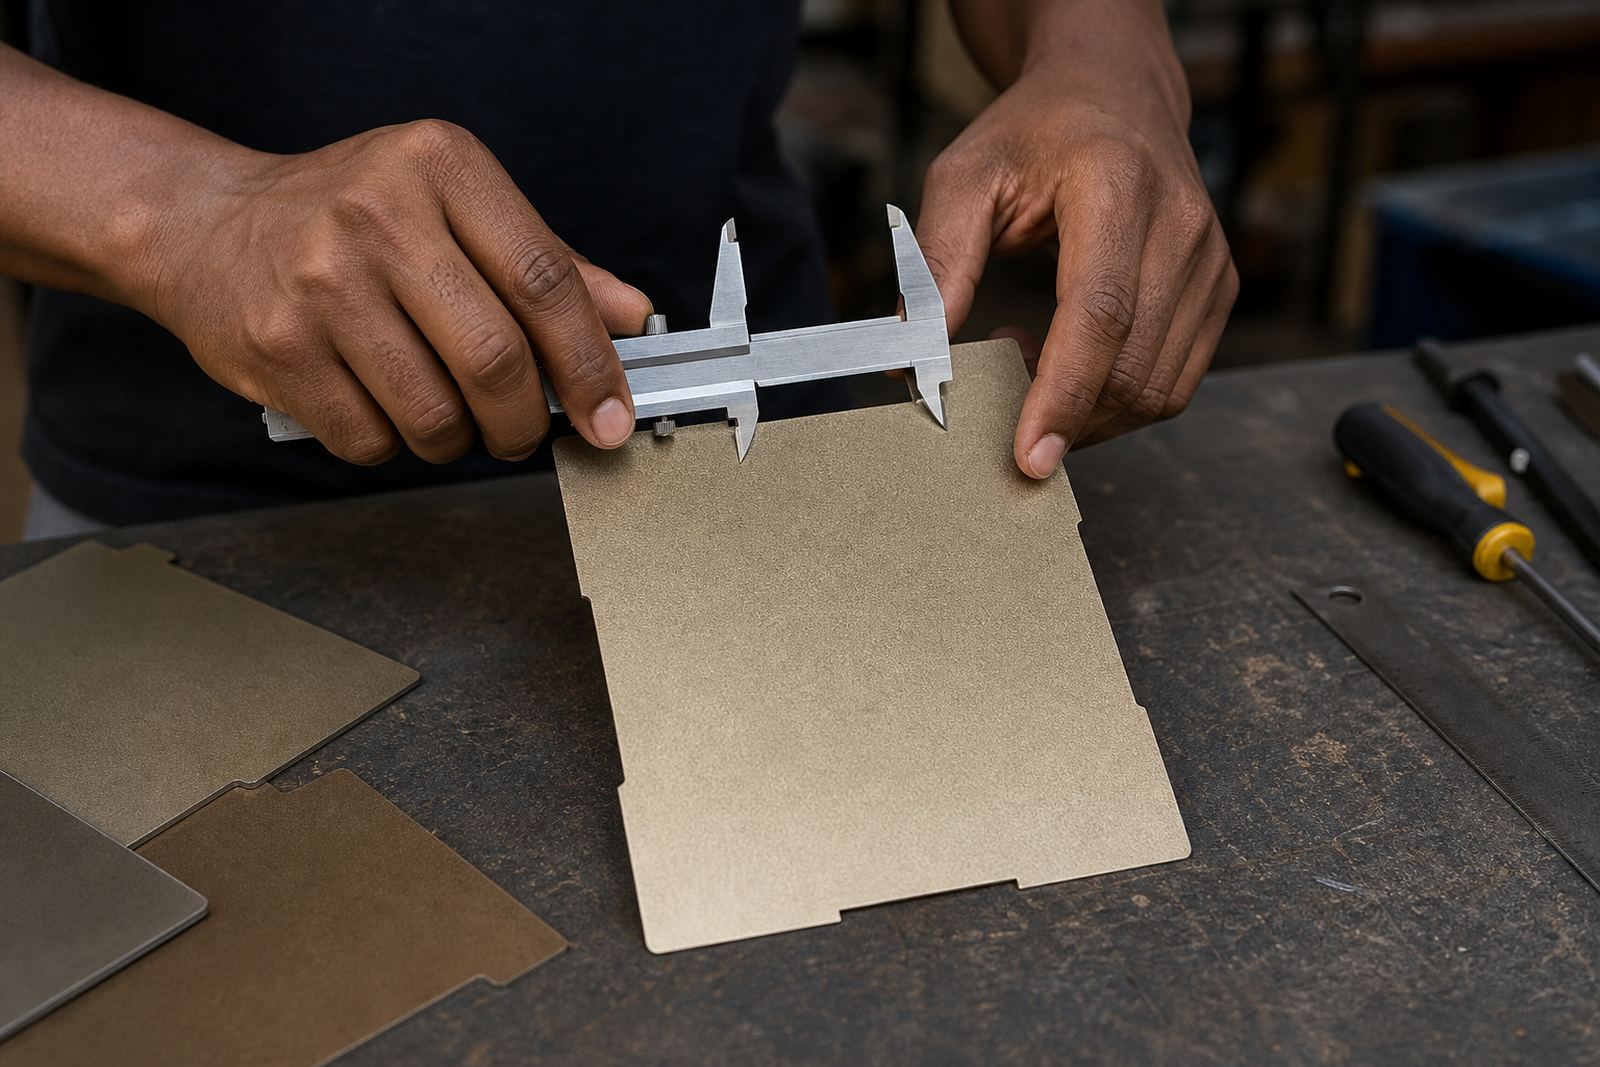
- Replace warped or scratched plates before they start costing time on every print.
For print farms, the real saving is not only better adhesion, but fewer operator decisions. If every machine behaves the same, you can train staff faster and keep material waste down.
Bed Level, Z Offset and Summer Drift
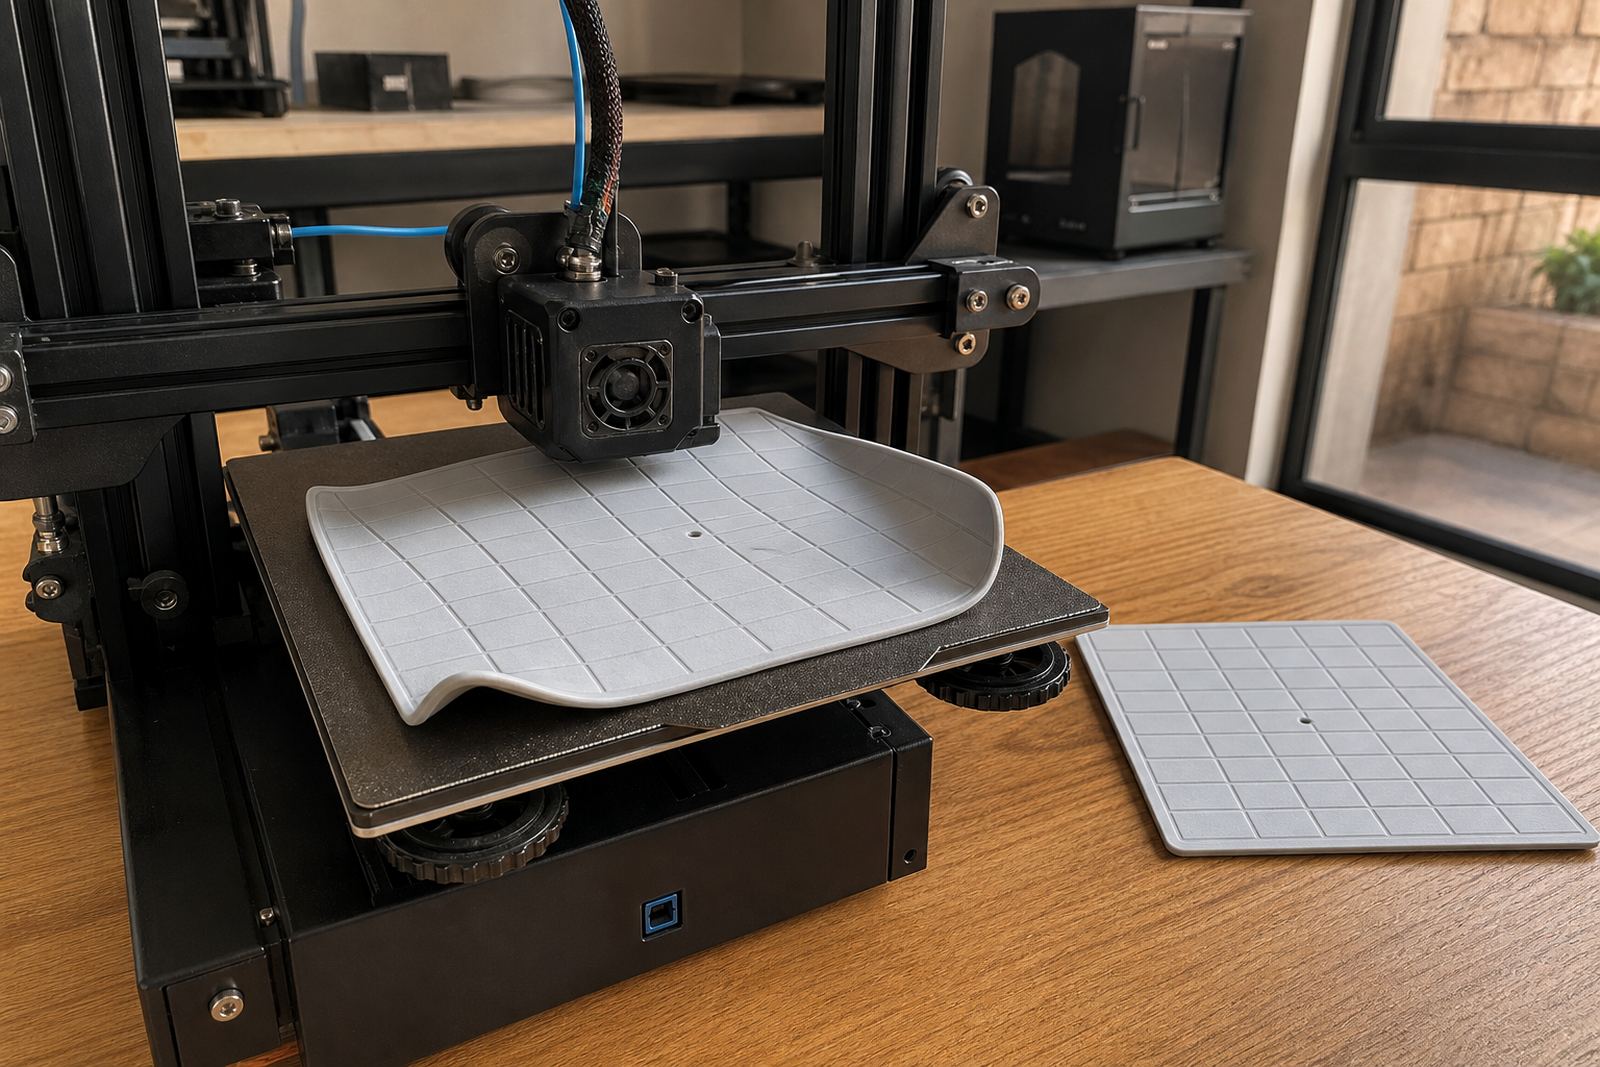
Many adhesion problems are really setup problems. Summer heat can make a printer frame expand slightly, and a machine that was perfect last week may need a small adjustment today. A bed flatness check helps spot high and low areas before they cause trouble. So does a quick Z offset test after moving the printer or changing the surface.
If the first layer is too squashed, the print may stick too well and leave marks. If it is too high, edges lift and corners fail. The sweet spot is a thin, even line that bonds without being crushed. That sounds simple, but in a classroom or busy workshop it needs routine, not guesswork.
Keep a summer checklist near the printer:
- Clean the plate.
- Confirm bed temperature before starting.
- Run a first-layer test after changing filament or sheet type.
- Watch the first two layers, dont leave them unattended.
- Recheck after a power cut or load-shedding restart.
When Power Cuts Interrupt the Print
Load-shedding changes more than timing. If a bed cools suddenly, the part can release early or warp at the corners. When power returns, the printer may continue on a bed that has already shifted temperature. That is why summer adhesion planning should include what happens when the lights go out.
Short interruptions are common in South Africa, especially for schools, small workshops and home garages. If the print is important, consider a bed surface that still gives reliable grip after a pause. For long jobs, let the bed reheat fully before you assume the part is safe. A five minute restart can still cost a four hour print.
It helps to train operators to inspect the corners after every restart. If one edge has lifted, stop early and save the material. Pushing on can turn a small fault into a full failure.
A Centurion Example That Comes Up Every Summer
A small maker lab in Centurion had repeated corner lift on flat classroom parts by mid-December. The printer settings had not changed, but the room was hotter, the door stayed open for airflow and the surface had been handled by many learners. After a bed flatness check, a surface refresh and a proper clean down at the end of each session, the failure rate dropped sharply. The lab also standardised the plate type across all machines so learners could swap jobs between printers without re-tuning every time.
That kind of fix is usually practical rather than dramatic. Better cleaning, a more suitable surface, and a small change to procedure often beat random temperature changes. In a school or print farm, the value is in consistency, not guesswork.
If you are setting up new machines or trying to stabilise a room for summer, start with the basics. Check the bed, keep the plate clean, and make sure the surface matches the material you are printing. Good adhesion is often the result of small habits done the same way every time.