Start With the Printer Bed, Not the Outer Frame
When someone asks for a custom build plate or PEI sheet, the first job is to measure the usable bed, not the outside of the machine. The outer frame can be misleading, because clips, screws, heater cables and carriage parts often reduce the area you can actually use. For a good fit, the plate must sit flat on the heated bed and move freely without catching on the gantry or belt path.
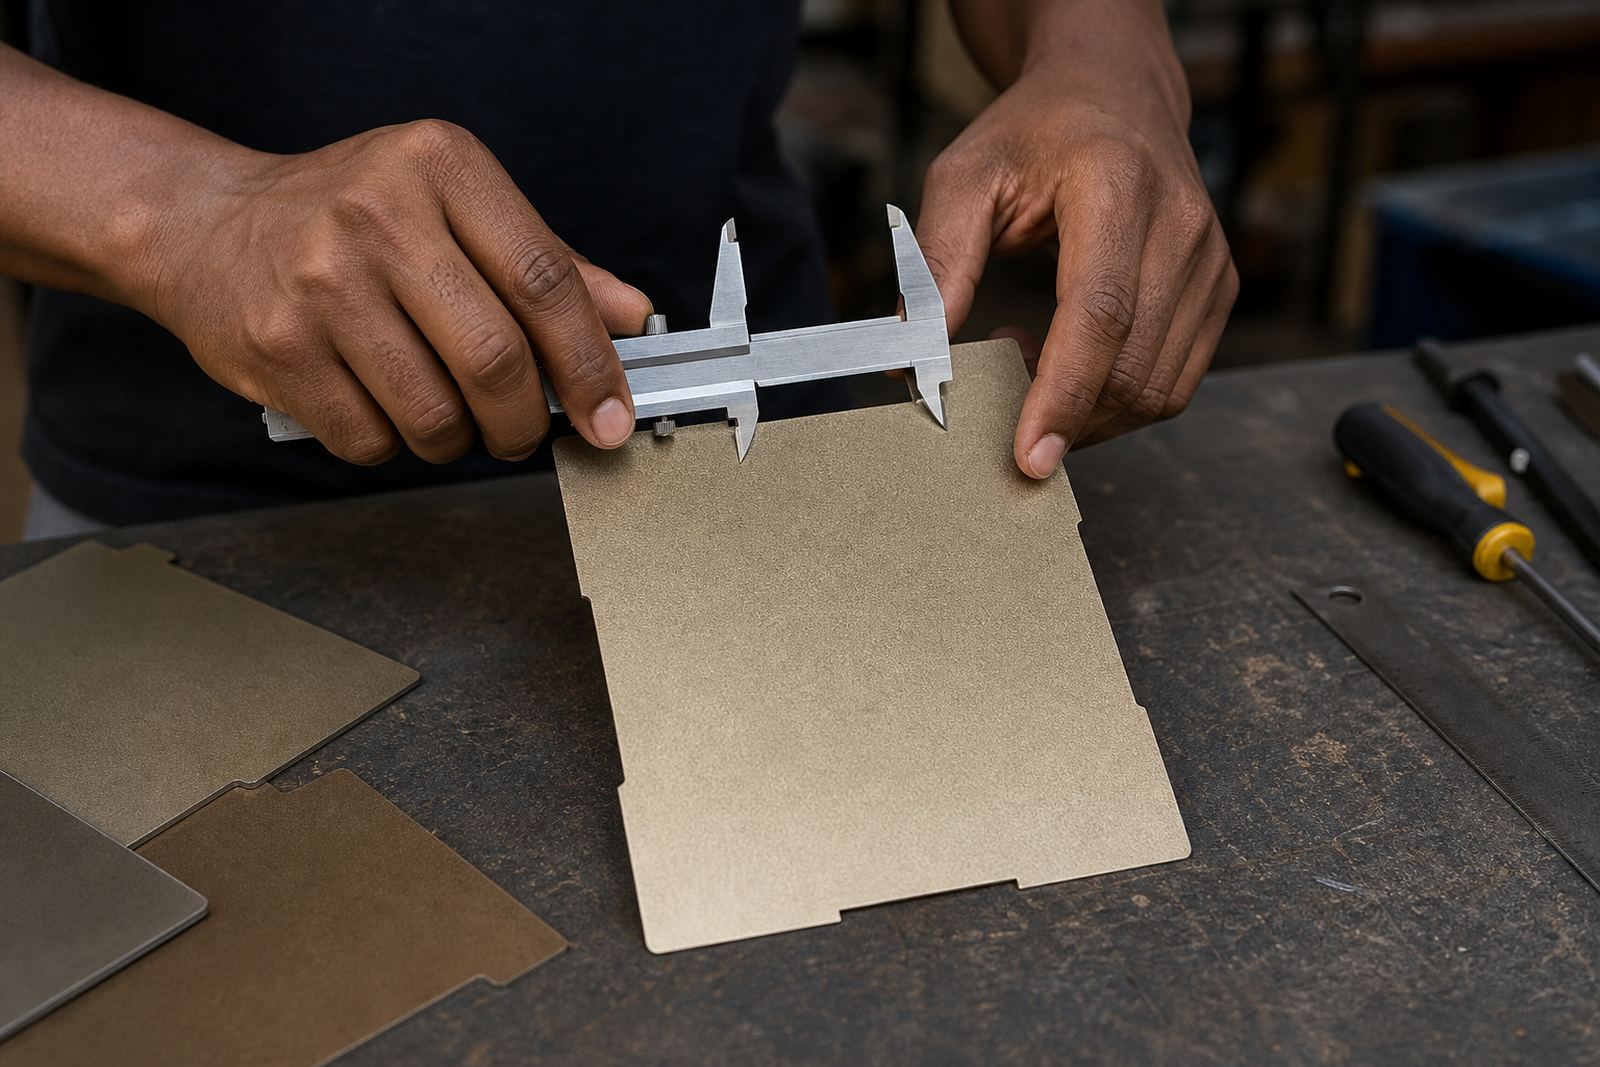
Measure the bed in millimetres. Check the full X and Y area, then note any corners that are clipped, rounded or blocked. If your printer has a magnetic base, include the exact footprint of the magnetic sheet as well. A plate that is 2 mm too wide can lift at one edge, while one that is too short may shift during long prints. That is how a simple job turns into wasted filament and time.
Measure the Flat Area You Can Really Use
The most useful number is the flat printing area, not the advertised size on the box. Many machines need a margin around the edge for safe travel, especially if the nozzle homes close to the corners. If your slicer uses a smaller print profile than the physical bed, follow the smaller number. That keeps the plate clear of clamps and stops the nozzle from scraping the edge.
- Measure left to right across the usable area in millimetres.
- Measure front to back from the first safe point to the last safe point.
- Note whether the bed is rectangular, chamfered, rounded or irregular.
- Check for any bed clips, sensor probes or screws that sit above the surface.
If the bed has a textured finish or a factory sticker underneath, mention that too. It can affect how a magnetic base sits and whether a PEI sheet bonds cleanly. On some printers, the usable area shrinks slightly once the cable strain relief is taken into account, so it helps to measure with the bed at the centre position and again near the front. Thats a small step but it avoids a lot of back and forth.
Thickness, Corner Shape and Edge Clearance Matter
Custom sizing is not only about width and length. Thickness matters because it changes the nozzle height, bed levelling and magnetic grip. A thin sheet may heat quickly but can be harder to remove, while a thicker build surface can give better handling and long term durability. If you are replacing a plate on a school lab machine or a print farm unit, keep the thickness consistent across all beds so the profiles stay simple.
Corner shape also matters. Some beds need square corners, some need a small radius, and others need a clipped corner for a cable exit or sensor cut-out. If your printer has a front lip, ask for enough clearance so the plate can be lifted without forcing it over an edge. A plate cut too tight can be awkward to remove after a long print, especially in a warm room where the surface has expanded a touch.
- Plate thickness in mm
- Corner radius or clipped corner size
- Any cut-outs for sensors, clips or cable paths
- Required clearance for easy removal
PEI Sheet Sizing Needs a Clean Surface Below It
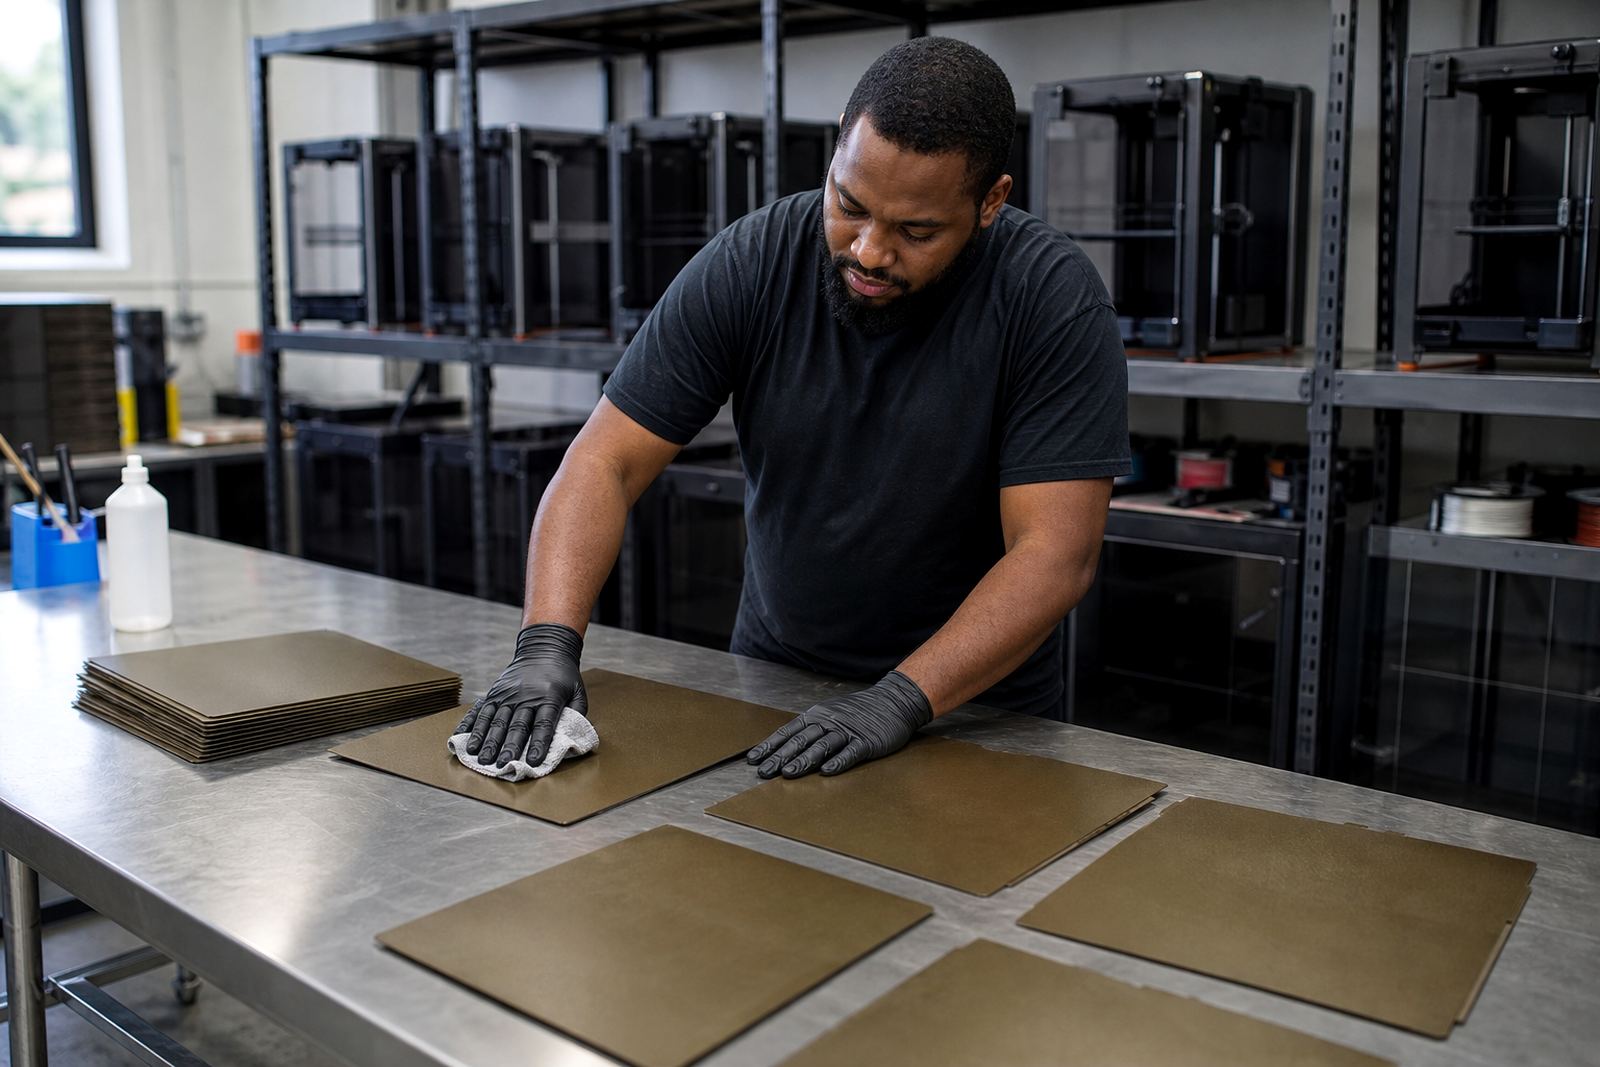
When ordering a PEI sheet, the smoothness of the base matters as much as the top layer. The metal plate beneath must be flat, clean and free of raised scratches or glue lumps. If not, those marks can show through and affect adhesion. A sheet that fits on paper but not on the actual plate will fail at the corners first, then on larger prints.
It helps to confirm whether you need a self adhesive PEI sheet, a magnetic flexible sheet, or a replacement plate with PEI already fitted. Each option has different tolerances. Self adhesive sheets need very accurate sizing because they cannot be shifted once laid down. Magnetic systems are a bit more forgiving, but the base still needs accurate trimming. If you are working in coastal areas such as Durban or Gqeberha, it is worth planning for humidity too, since damp storage can affect the backing and the first bond to the plate.
Bring the Right Details Before You Order
The best custom order starts with clear notes. Photos help, but they should support the measurements not replace them. A good photo of the bed with a ruler across it can save a lot of guesswork. If you have an older printer, or a machine that has been modified for tougher materials, mention that as well because the nozzle paths and edge tolerances can change.
Useful details to record before placing the order:
- Printer make and model
- Usable bed size in X and Y
- Plate thickness required
- Corner shape and any cut-outs
- Whether the bed is magnetic, glass or metal
- Any current problem such as lifting, curling or uneven adhesion
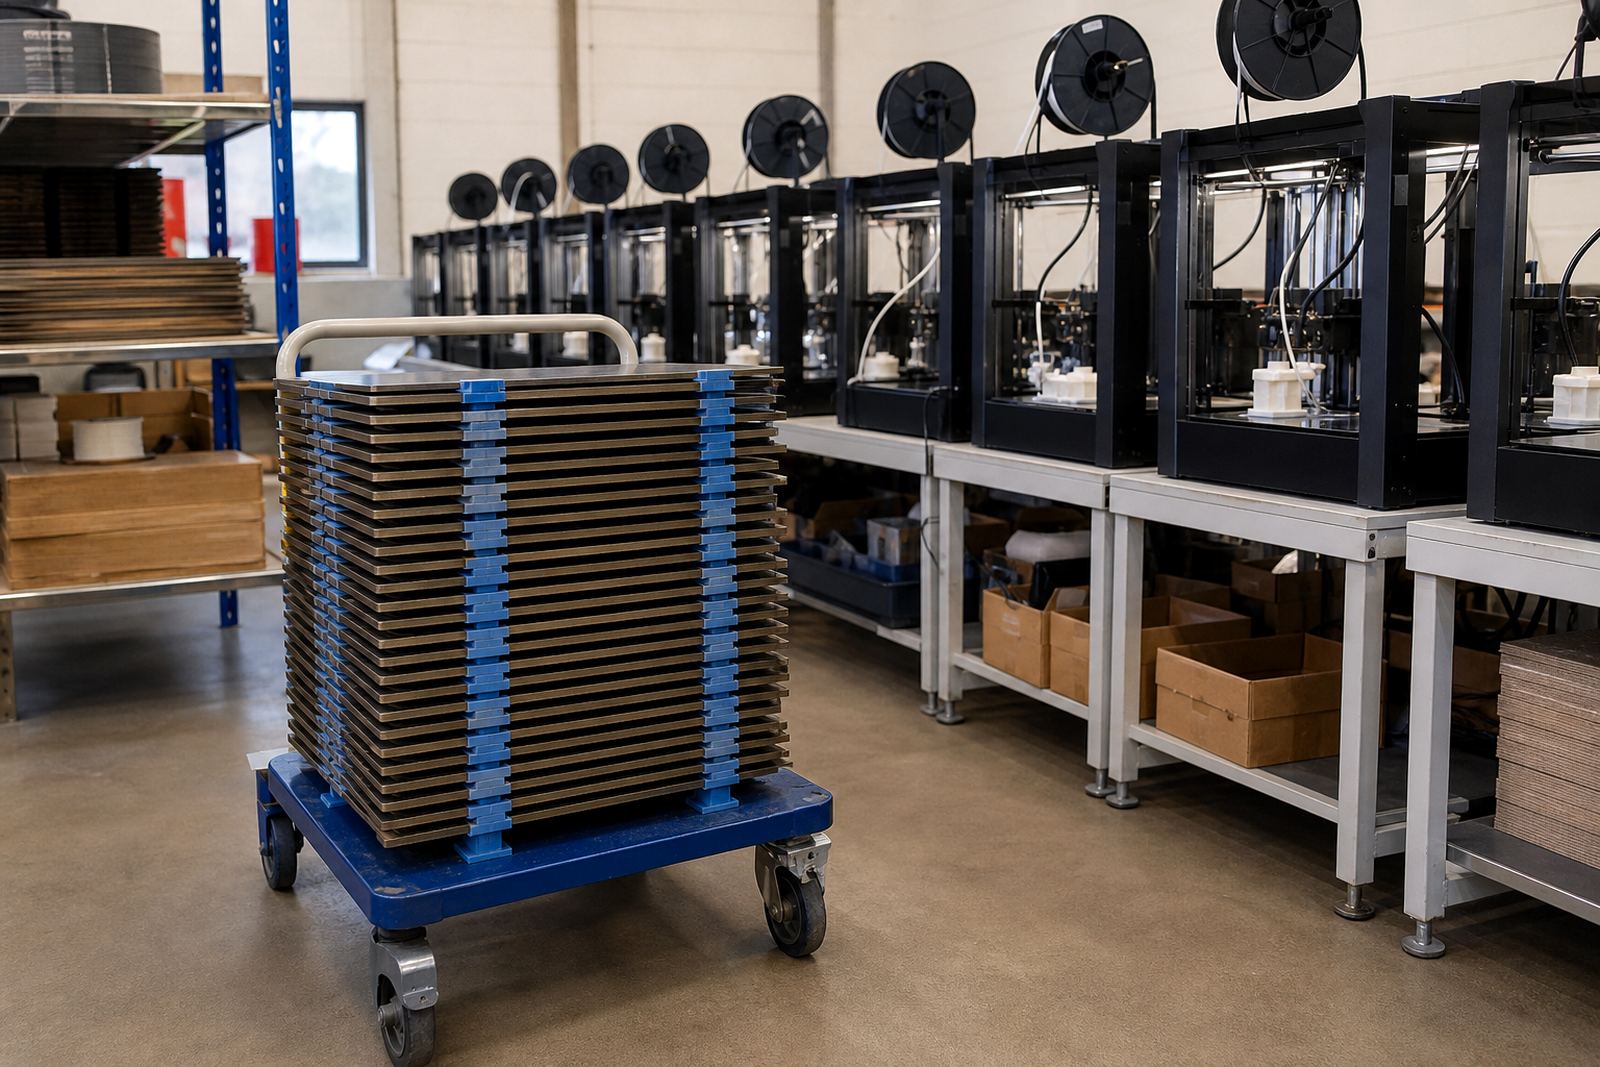
For schools and print farms, standardising these details across several machines makes maintenance easier. It also keeps replacement planning simple when one plate wears out before the others. If a class set of printers all use the same cut size, the team can swap parts quickly and keep production moving during load-shedding windows.
A Pretoria East Example: One Bed, Three Small Mistakes
A common local example comes from a workshop in Pretoria East that runs a mixed set of printers for prototypes and student projects. The team measured the outer frame, not the usable bed, and the first custom plate arrived 4 mm too wide. The second issue was a rounded corner that had not been noted, which meant the plate sat proud on one side. The third mistake was ignoring the magnetic base thickness, so the nozzle height had to be reset after fitting.
Once the bed was measured properly, the replacement fit cleanly and the machines were back on schedule. That is the practical value of careful sizing: less trial and error, fewer failed first layers, and less time spent stopping a print because the plate is rubbing on a clip. In a busy environment, that can save a full day of output. It also keeps the bed surface looking tidy instead of chewed up from repeated forcing.
When to Ask for Help With Replacement Planning
If you are unsure about the measurements, ask for help before the plate is cut. That applies whether you run one home printer or a small farm with multiple beds to keep in rotation. A quick check can prevent the wrong size, and it can also flag other issues such as a warped base, loose magnets, or a need for a surface refresh instead of a full replacement.
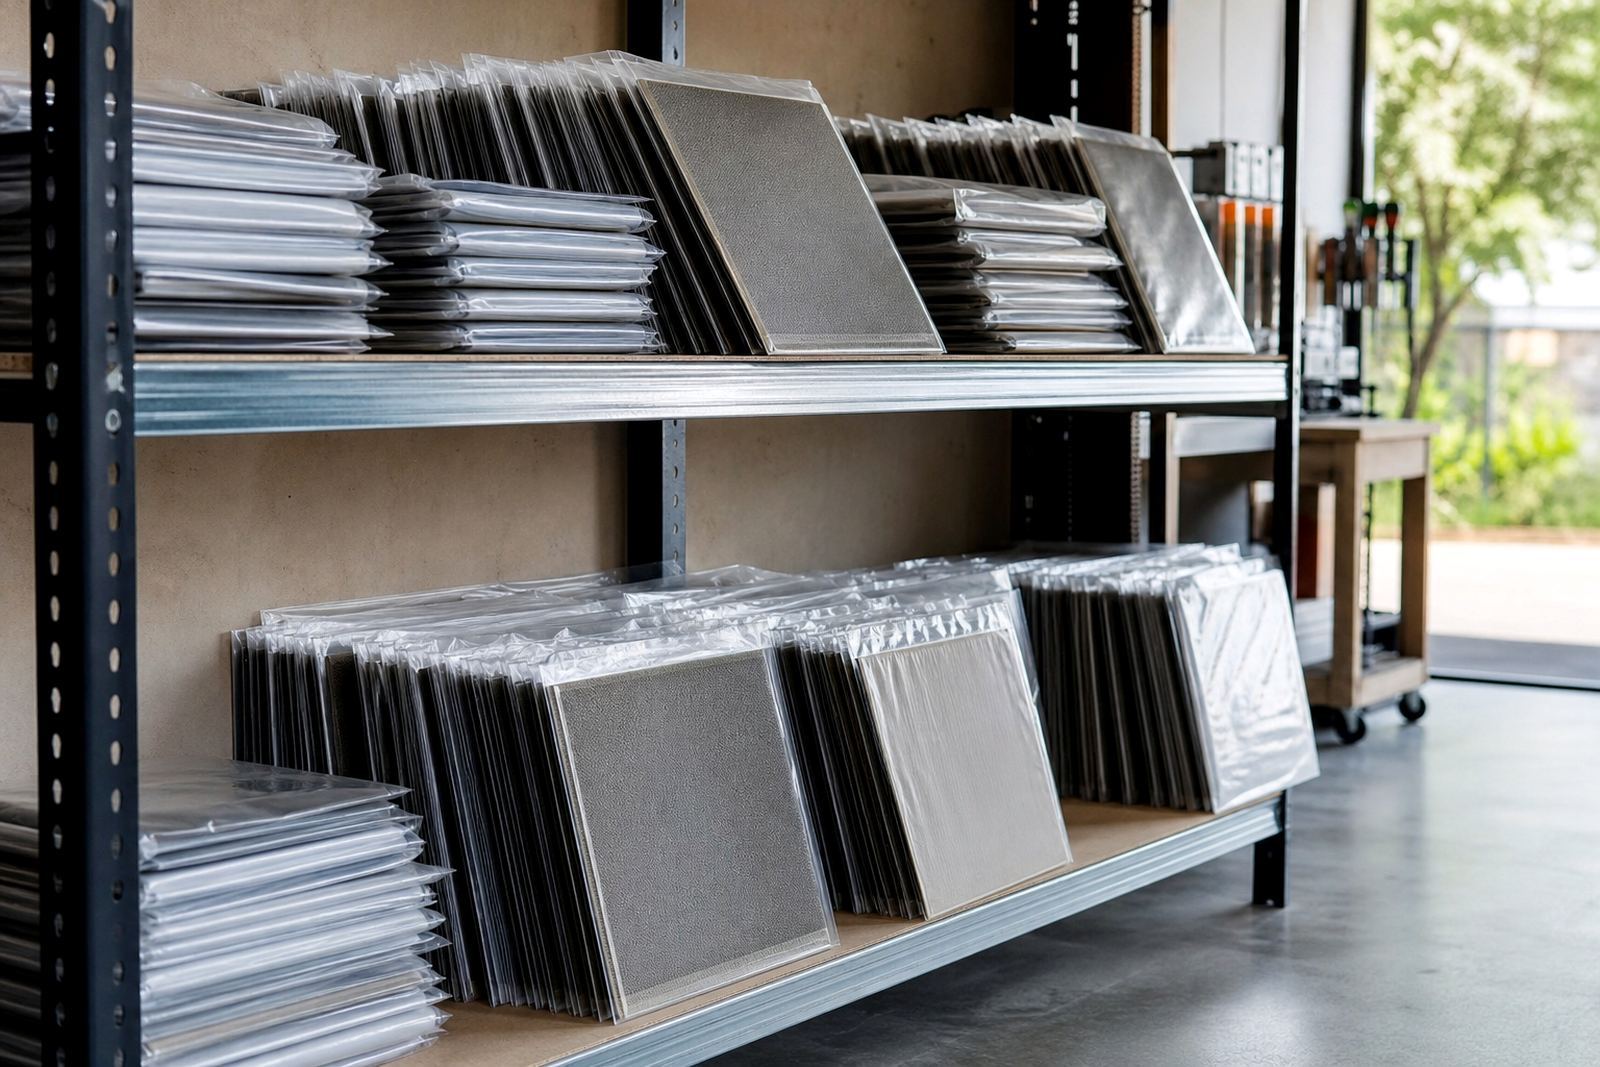
Custom sizing works best when the plate is matched to how the printer is used. A hobby machine may only need a single replacement, while a school lab or production room may need a repeatable size with spare stock on hand. The right measurements keep adhesion stable, make cleaning easier and reduce downtime. In practice, that is what good sizing is really about: a plate that fits first time and keeps fitting after many prints.