Why winter changes first-layer behaviour
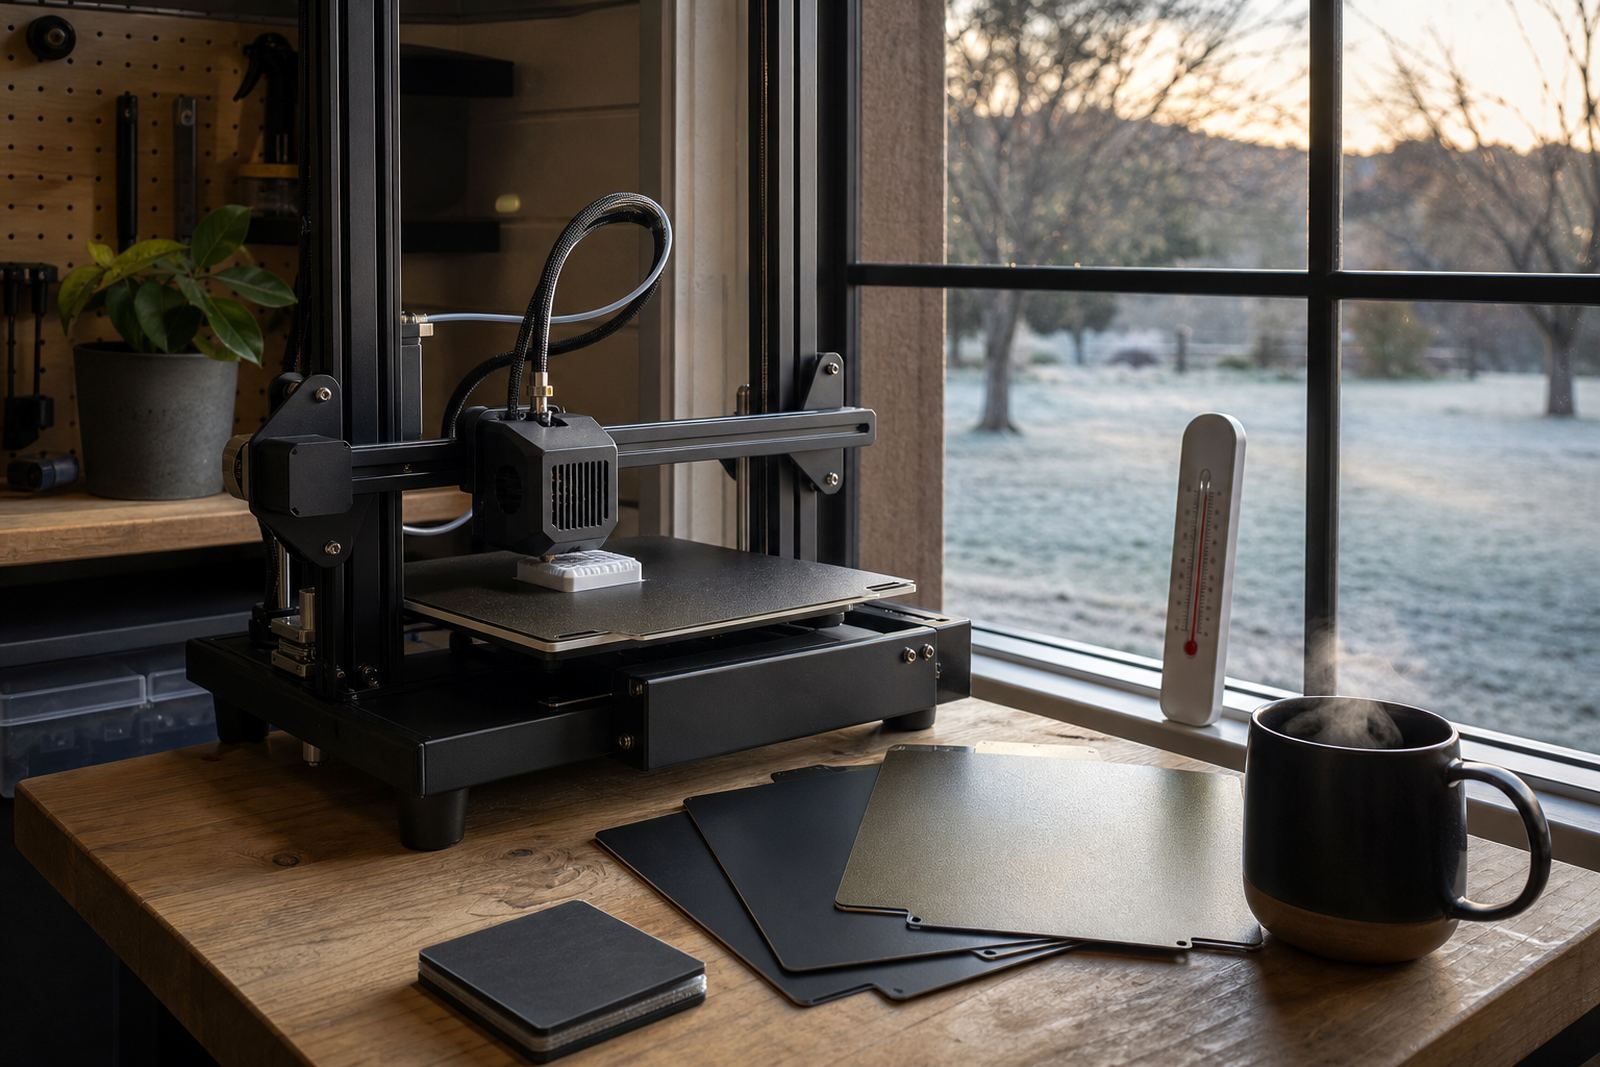
In winter, the problem is often not the printer itself but the room around it. A build plate that worked well on a mild afternoon can behave differently at 7am in Centurion when the room is cold, the filament is stiff, and the bed has not yet reached a steady working temperature. That first layer then has to fight against more than just gravity. It is also dealing with uneven heating, cooler air movement and sometimes a damp surface from overnight condensation.
For users in Gauteng, the western parts of Cape Town, or any coastal workshop with cool mornings and sea air, the effect can show up as corners lifting, poor line bonding, or the nozzle dragging at the start of a print. In winter, small changes matter more than many people expect.
Start with a dry plate and a clean hand
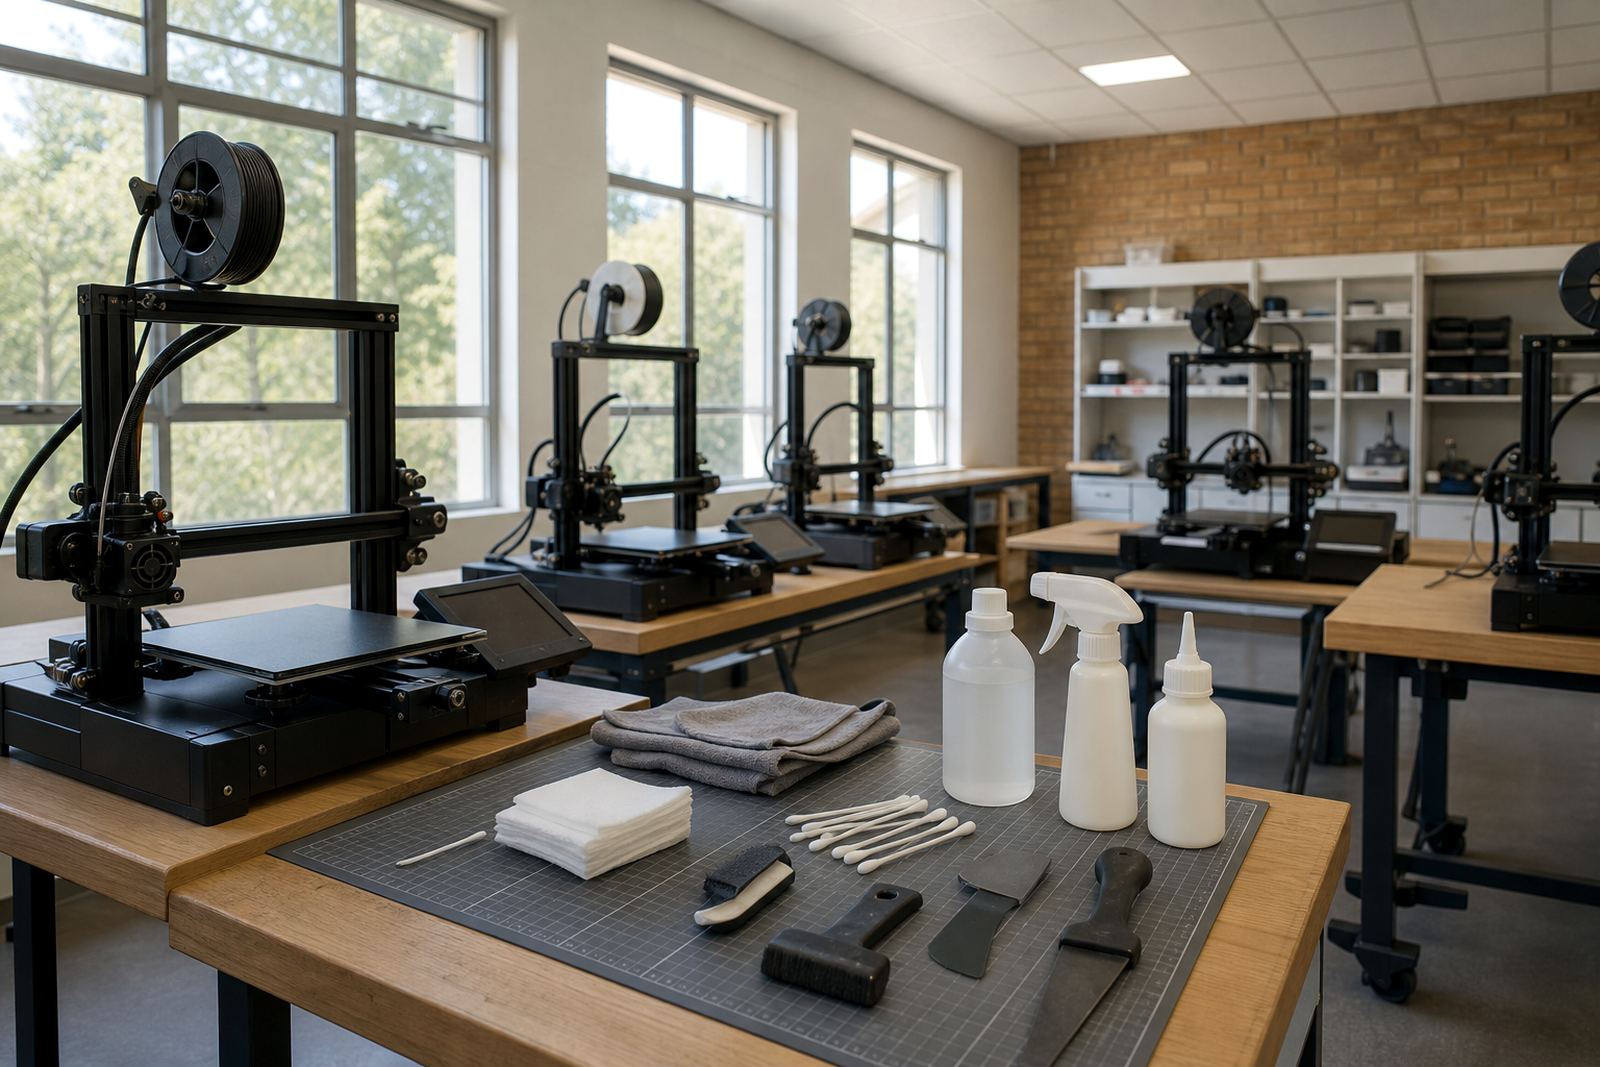
Before you touch levelling or temperatures, look at the plate itself. Oils from fingers, dust from the workshop and leftover adhesive can all reduce grip. A plate that is clean to the eye may still carry a thin film that affects adhesion, so it helps to wipe it down properly before every serious print run. Use a cleaner that suits the surface, then let it dry fully before heating the bed.
On colder mornings, moisture can settle on the plate as soon as it comes out of storage or after a night shift in the printer room. If the plate feels cool and slightly clammy, give it time to reach room temperature first. Rushing that step can leave a fine layer of condensation and the first layer may lift at the edges.
- Handle plates by the edges where possible.
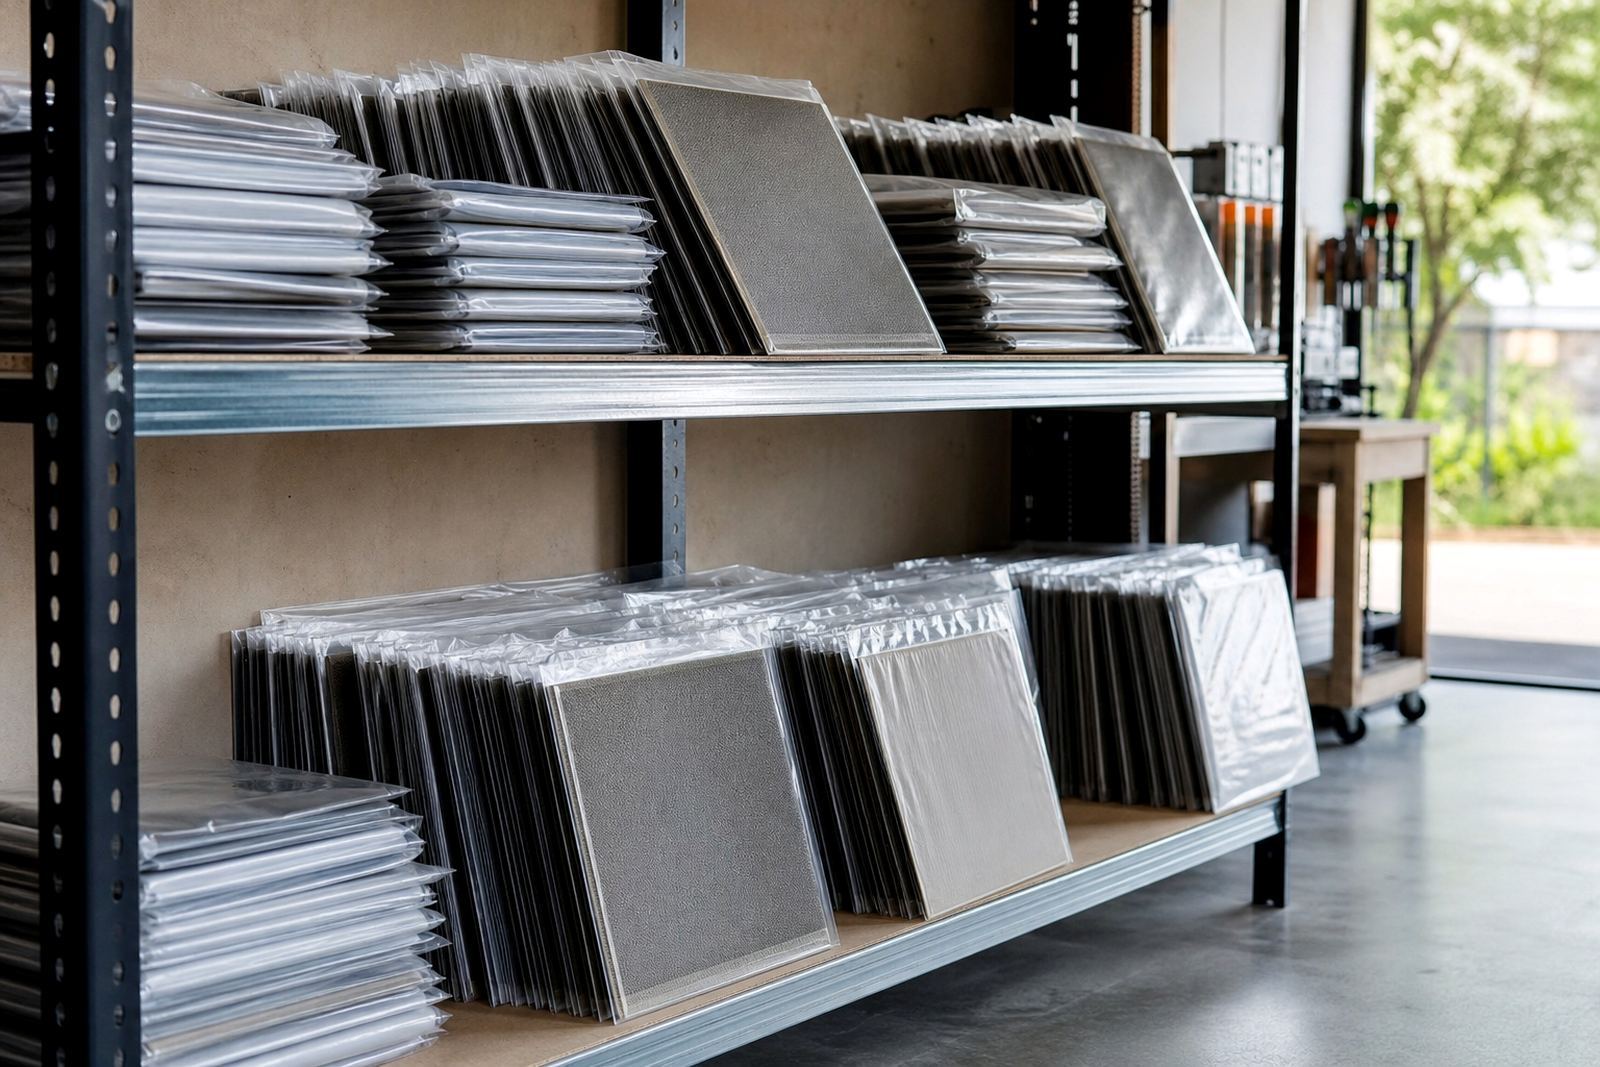
- Store spare sheets flat in a dry cupboard, not against a cold wall.
- Check for old adhesive, dust and fingerprints before each print session.
- If the room is very cool, preheat the bed before the final clean down.
Levelling checks that matter more in the cold
Winter makes small levelling errors more obvious. If one side of the bed is slightly lower, the first line can lose contact before the rest of the print has a chance to bond. That is why a quick visual check is not always enough. A proper bed flatness check, plus a careful first-layer test, is worth doing when temperatures drop and a machine starts missing adhesion in the same spot again and again.
In print farms and school labs, this often shows up after a power cut or after the machine has been moved for cleaning. On a cold morning, even a half-turn of the bed adjuster can make a noticeable difference. Take a little extra time on the first machine, then use those settings as your base for the rest. It saves more time than chasing failed jobs later.
- Check the bed in the same state you will print in, meaning hot not cold.
- Watch the nozzle gap at all four corners and in the centre.
- Confirm that the plate is seated properly on the magnetic base.
- Run a small test print after any adjustment, not a full build.
Bed temperature, chamber heat and room drafts
Adhesion in winter is often tied to how quickly the bed can stabilise. A bed set too low may not grip the first layer well enough, while one that is too hot can soften the base of the print and cause it to spread unevenly. The right temperature depends on the material, but winter usually calls for more careful observation of the first few lines, not just a higher number on the display.
Drafts from open doors, extractor fans or a busy workshop can cool one side of the print before the other. If the printer sits near a loading bay, a corridor or a window, that can make a simple job behave like a test piece. In winter, even a passing breeze can matter. If possible, keep the machine away from direct airflow and give the bed a few minutes to settle before starting the job.
When to refresh the surface instead of forcing it
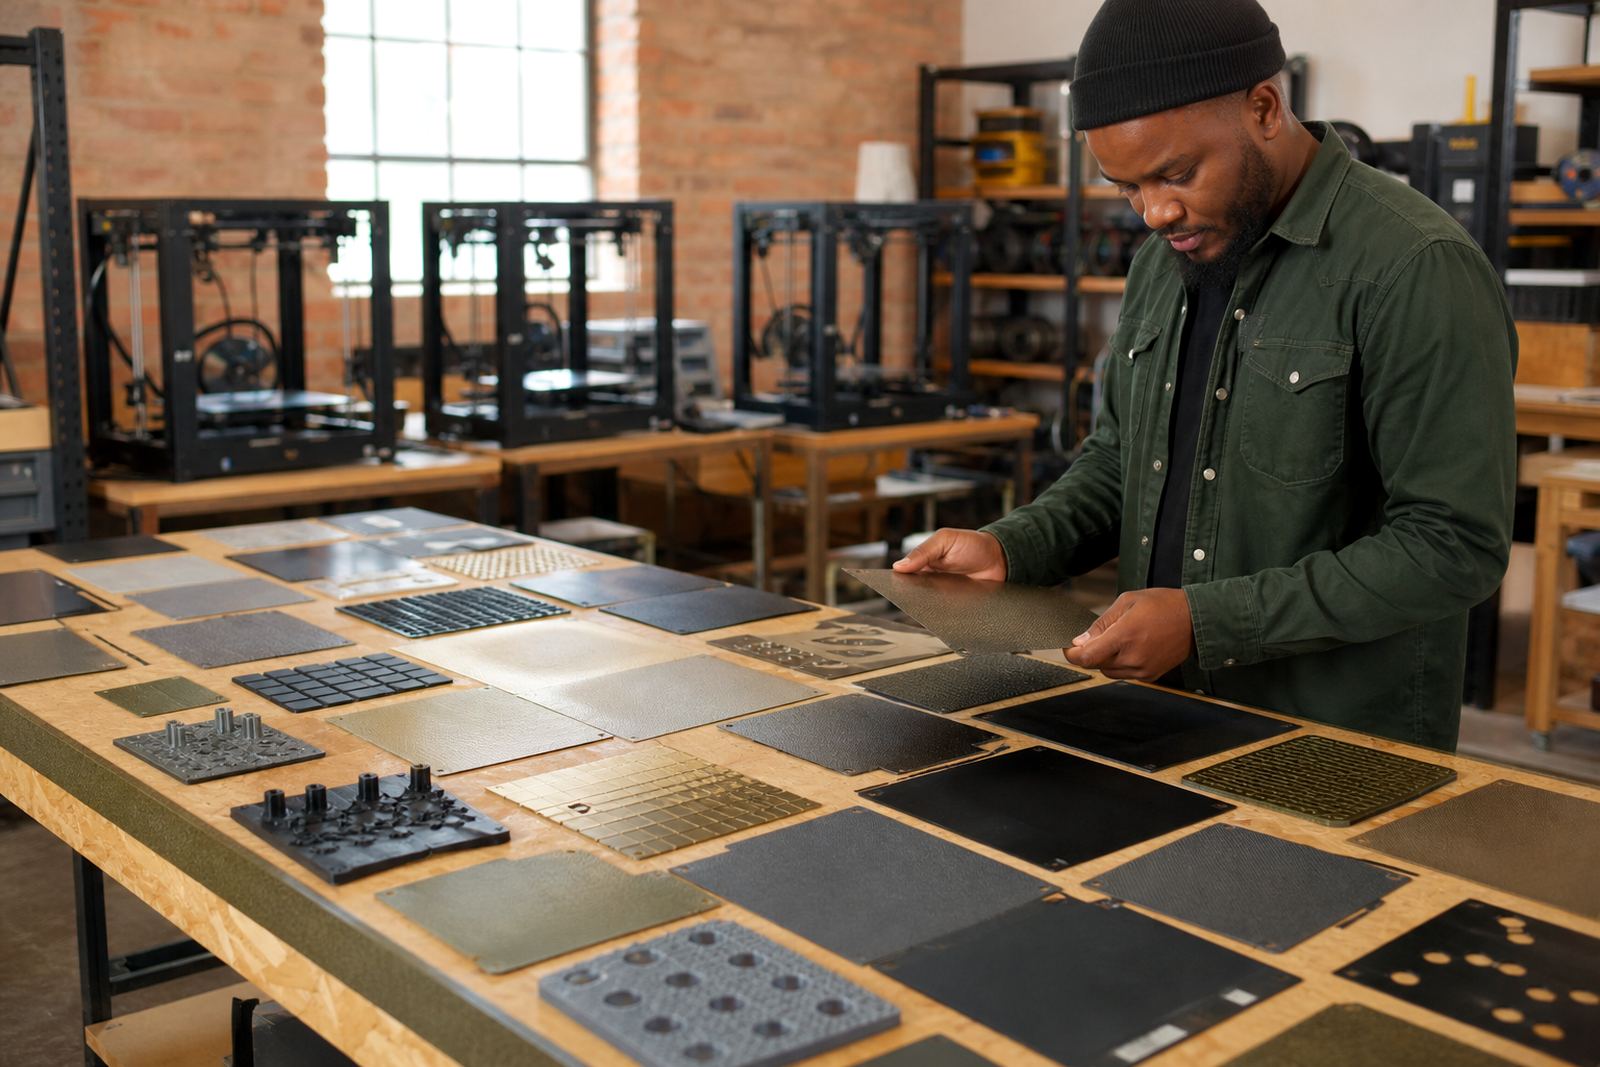
Some build plates are still physically fine but no longer hold the first layer as they should. If you have cleaned the surface, checked levelling and confirmed temperatures yet adhesion remains patchy, the surface may need refresh work rather than another retry. That can mean a replacement PEI sheet, a new magnetic base, or a proper surface refresh where the existing plate still has life left in it.
This is common in schools and smaller maker spaces where the same plate is used across many projects. Over time, repeated scraping and cleaning can change the surface feel. Winter just makes the weakness more visible. If a plate has become shiny in the wrong places, or the adhesive now fails in the same corner every week, it may be cheaper to address the surface than to keep losing filament.
- Look for glossy patches, scratches, or areas that no longer grip evenly.
- Check whether the magnetic layer has lifted at the edges.
- Replace worn consumables before the whole print profile starts to drift.
- Keep a spare plate ready for busy months when turnaround matters.
A Pretoria winter example from a small print room
A small print room in Pretoria East might start the day with a bed that heated correctly, but the first test print still lifts on one corner. The cause is often simple: a cold room, a plate that was handled early, and a slight levelling gap that was not obvious the day before. After a proper clean, a full hot-bed check and a tighter first-layer setup, the same machine can go from unreliable to steady without changing the whole profile.
That is the practical side of winter adhesion. You do not always need a major overhaul. Often, you need better sequence and better habits. Warm the bed, check the surface, confirm the gap, then start the print. In winter that order matters more than usual, and it helps whether you are running one machine at home or several units in a small farm.
Keep winter printing consistent across teams and sites
For larger setups, winter is a good time to standardise routines. If one operator wipes the plate, another checks levelling and a third starts the print straight away, results will vary. Set one method for all users so the first layer is handled the same way every time. That is especially useful for schools, shared labs and print farms where several people touch the same equipment during the week.
Simple team rules make a real difference:
- Use the same cleaning method for every plate.
- Record the bed temperature that works best for each material.
- Check the first layer before leaving the machine unattended.
- Replace worn parts before winter turns a small issue into a daily fault.
Good adhesion in winter is mostly about discipline. Once the room is cold and the air is dry, a printer will show every small mistake. The good news is that the fix is usually practical, repeatable and not expensive if you catch it early.