Start With the Bed, Not the Filament
For beginners, bed adhesion is often the difference between a smooth print and a failed one. Before changing temperatures or slicer settings, check the surface your part is trying to grip. A clean, flat bed with the right finish gives you a far better starting point.
In South African homes and workshops, you also have to account for dust, power interruptions and humidity. In Durban for example, coastal moisture can affect how a bed behaves from one day to the next, while a print farm in Centurion may need repeatable settings across several machines.
- A good build plate gives the printer a consistent surface to work on.
- A PEI sheet helps many common materials stick well without constant adjustments.
- Bed cleaners and simple adhesion aids help when the material or room conditions change.
Choosing Between a Build Plate and a PEI Sheet
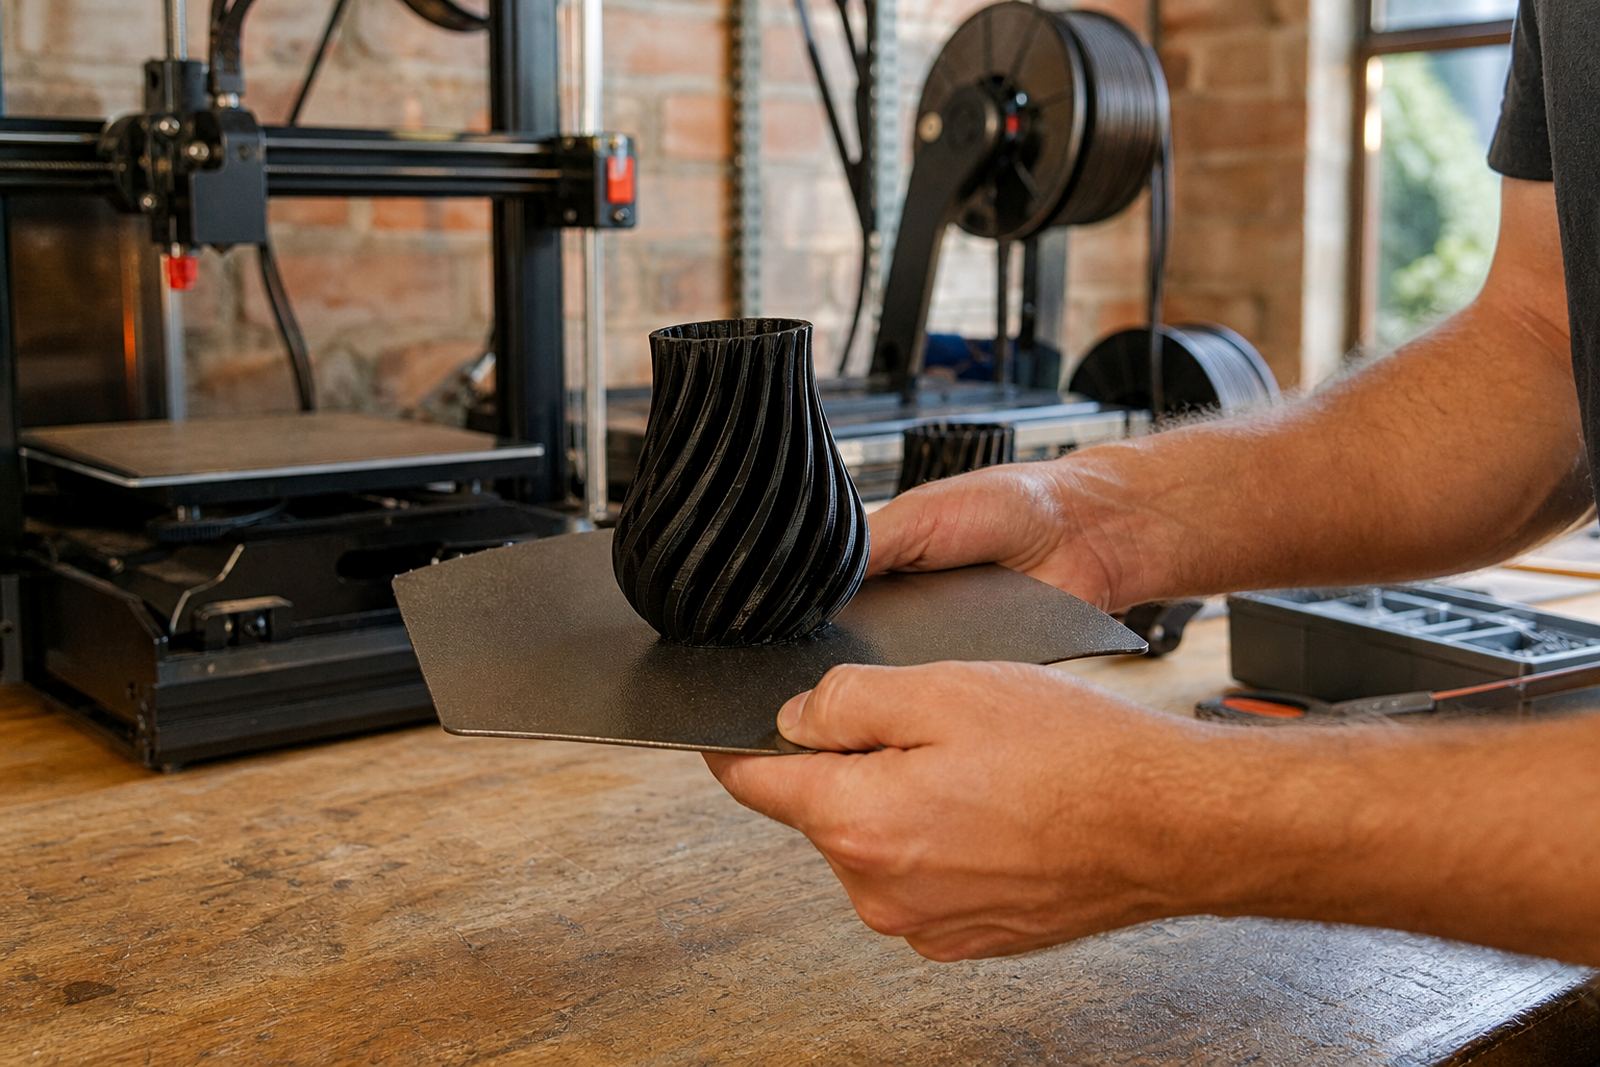
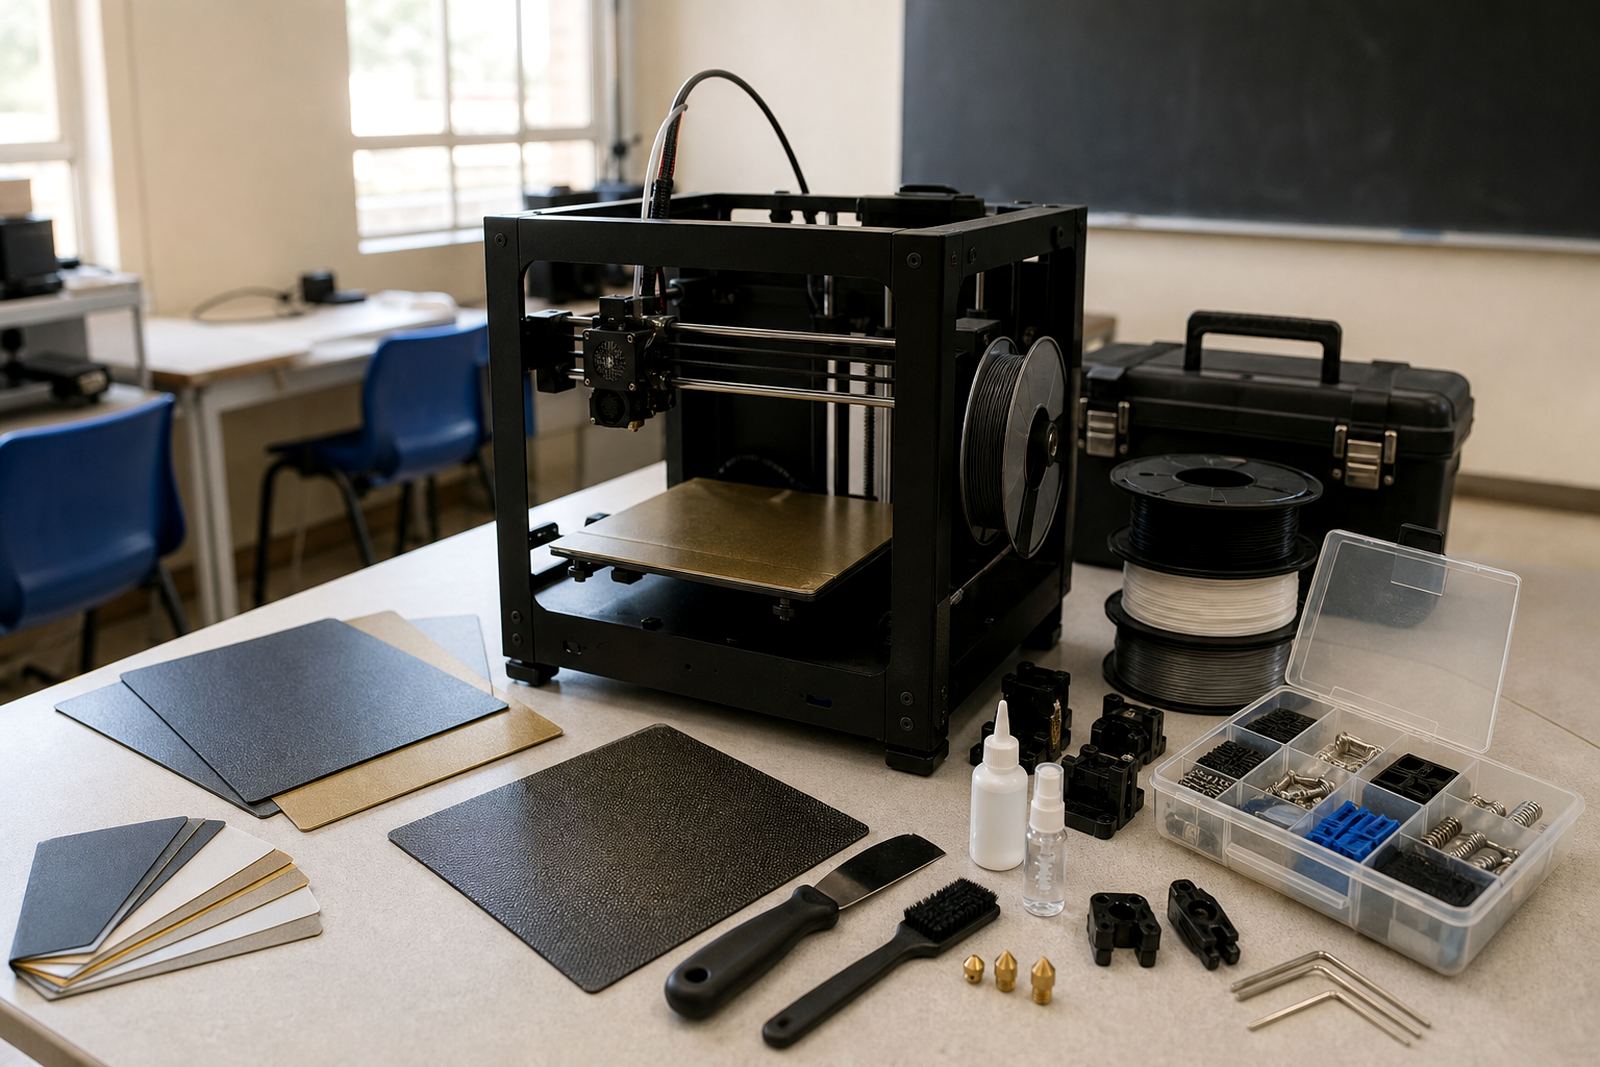
A build plate is the base surface your print sits on. A PEI sheet is one of the most common working surfaces used on top of a plate or magnetic base. Beginners usually want something that is easy to clean, easy to remove parts from, and forgiving enough for everyday printing.
For school labs and first-time users, the safest route is often a surface that gives good grip for PLA and similar materials without needing lots of trial and error. If you are printing larger parts, or switching between small and big jobs, a stable plate with a proper fit matters just as much as the surface itself.
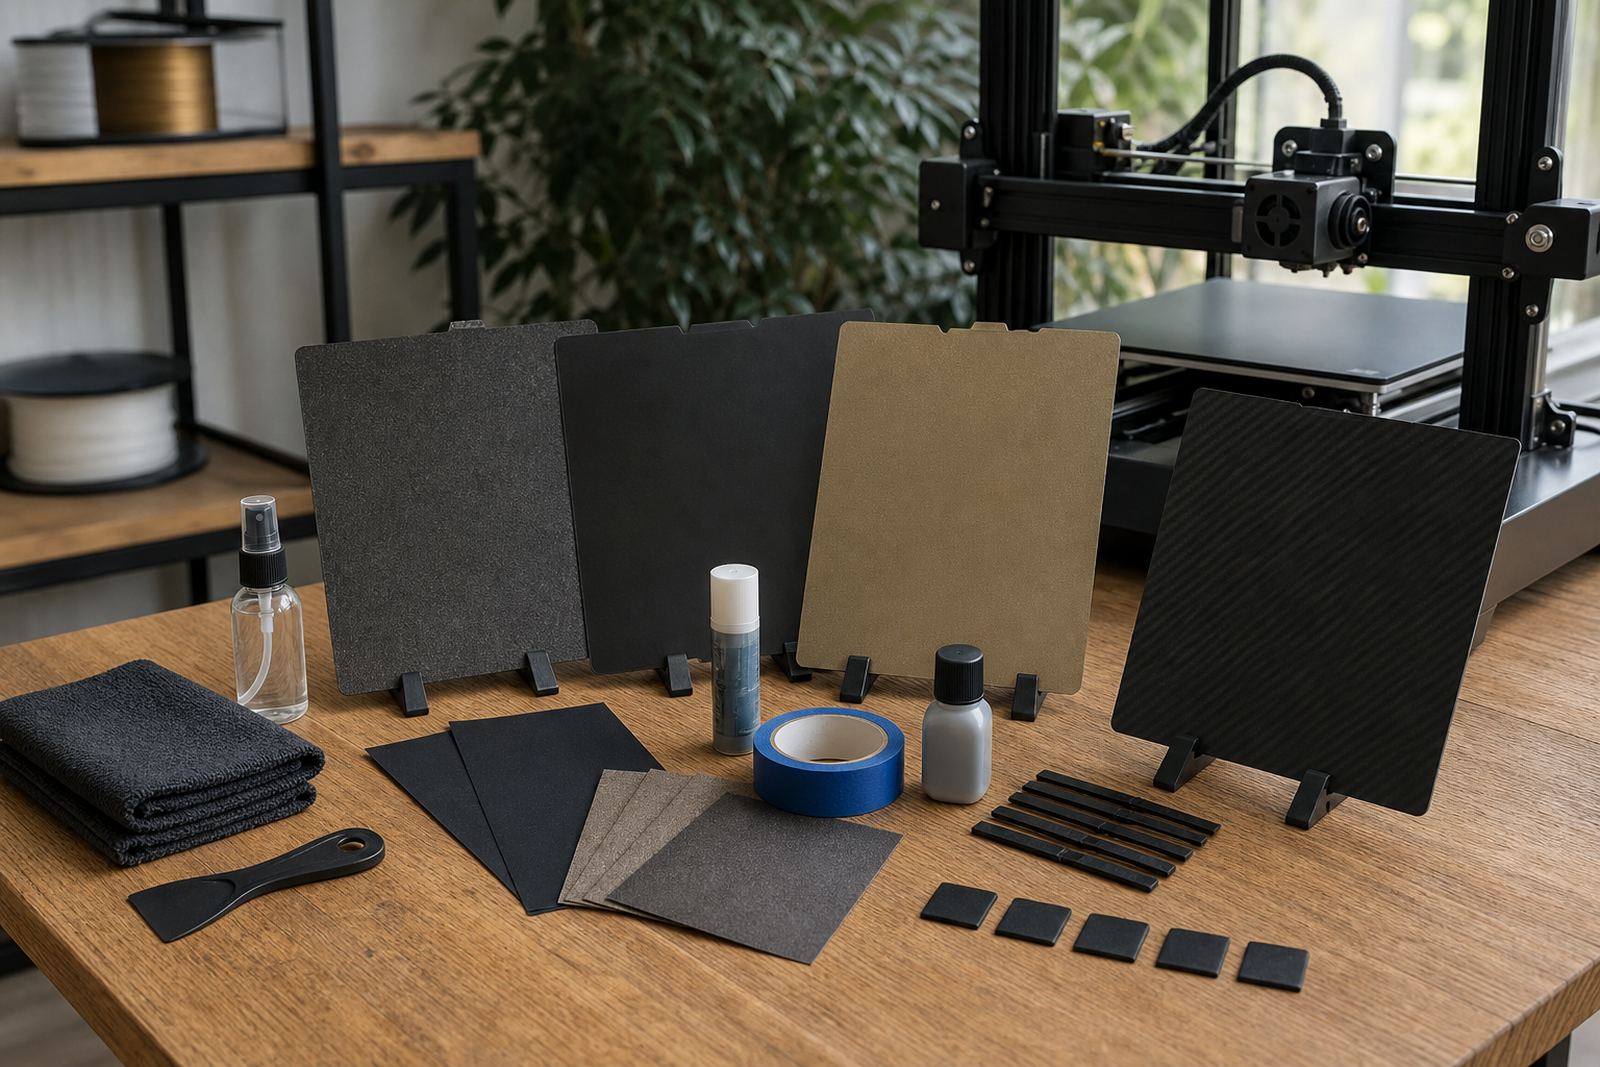
- Use a smooth finish when you want easy part release and a neat bottom surface.
- Use a textured or grippy finish when you need stronger hold during the print.
- Check size carefully, because even a small mismatch can cause edge lift or poor contact.
What Clean Beds Actually Need
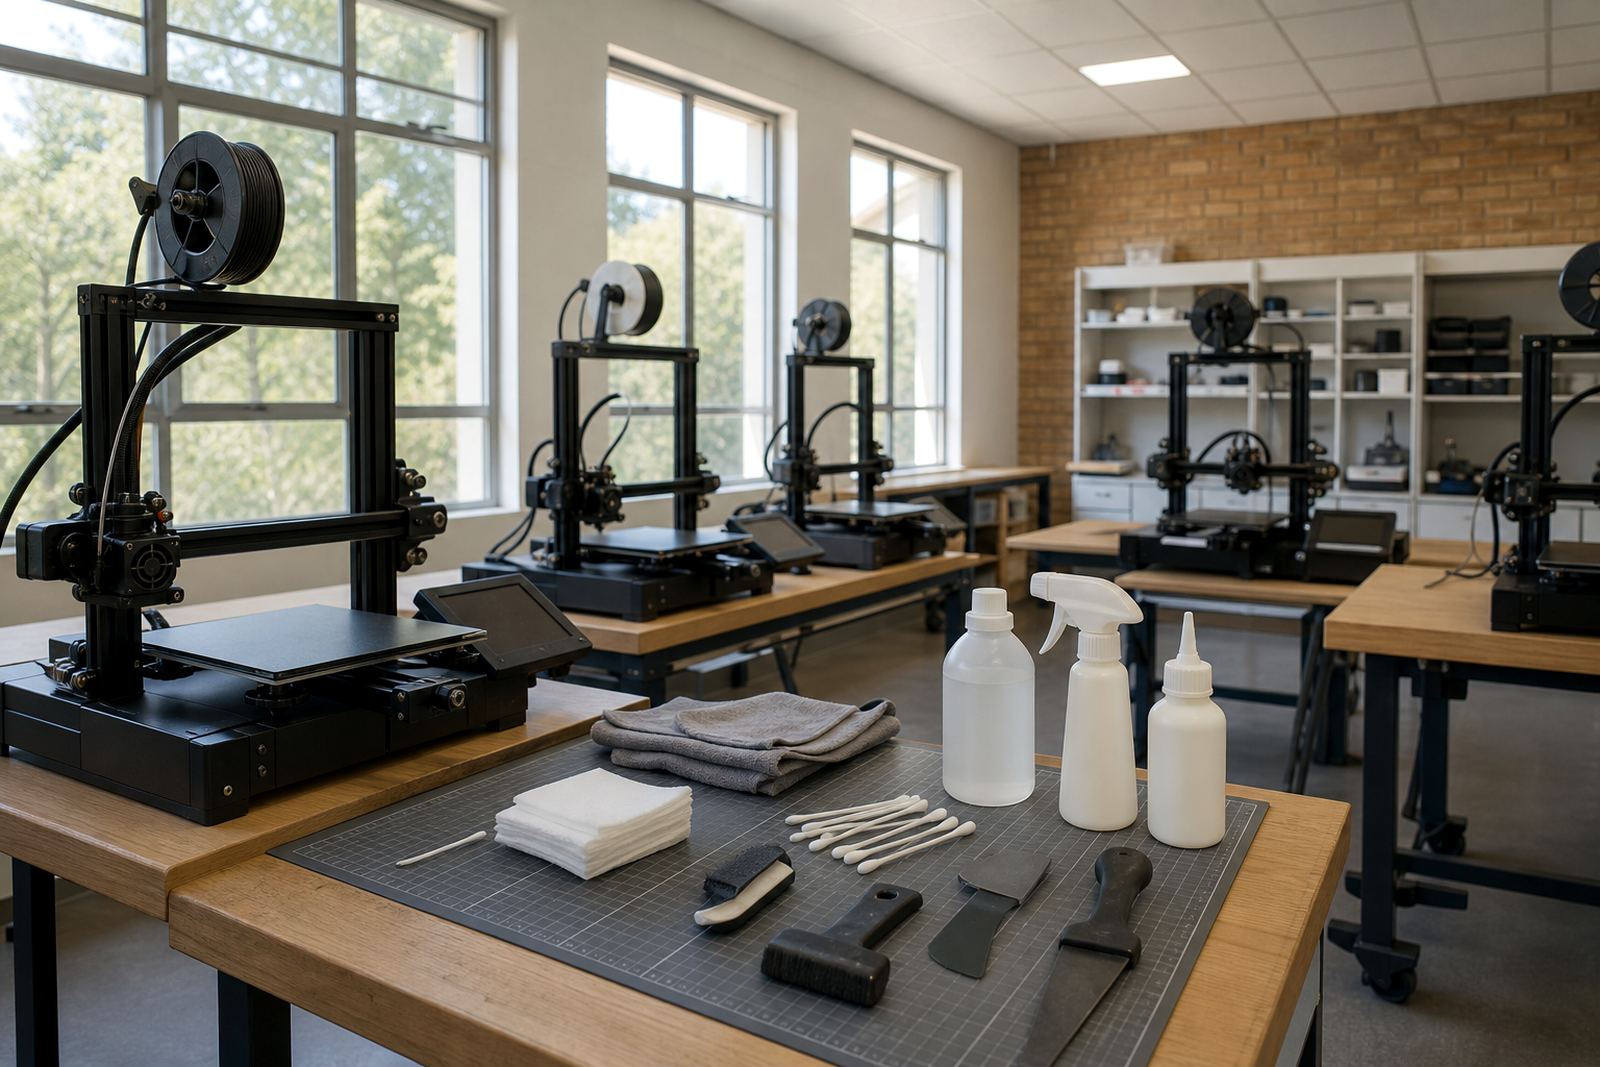
Many first-layer problems come down to dirt, skin oils or leftover adhesive. A bed can look fine and still perform badly if it has a thin film on it. For beginners, the cleaning routine should be simple enough to repeat before each print session.
Alcohol wipe-downs are common, but the important part is consistency. If a surface has old residue, clean it properly rather than adding more adhesive over the top. That only builds up layers and makes results less predictable. A tidy bed also makes it easier to spot wear and tear before it becomes a problem.
- Wipe the surface before a long print or after handling it with bare hands.
- Remove old glue, spray or tape residue instead of layering over it.
- Check for scratches, warping or loose edges on removable sheets.
When Bed Adhesion Help Makes Sense
Some prints need a little more help, especially tall parts, small contact points or materials that like to curl. Adhesion products are not there to cover up a poor setup. They are there to support a sensible setup when the job really needs it.
In practice, beginners should think of adhesion help as a tool, not a crutch. If a part keeps lifting at the corners, it may need better bed levelling, a warmer bed, or a cleaner surface before any extra product is added. On a busy school lab printer in Pretoria East, for example, a simple adhesion routine can keep students printing instead of restarting jobs all morning.
- Use adhesion help for small footprints, high parts or tricky materials.
- Do not rely on it to fix a badly fitted plate or a bent bed.
- Choose products that are easy to clean off when the print is done.
Simple Setup Tips for South African Beginners
The best beginner bed setup is one you can repeat every day. That means a plate that fits properly, a sheet that matches the printer, and a routine that makes sense for your space. If load-shedding interrupts a print, the bed surface should still be easy to recover from once power comes back.
A small garage workshop in Johannesburg may need quick changeovers, while a classroom in Bloemfontein may need a tougher setup that different learners can use without constant supervision. The goal is the same: fewer failed first layers and less time spent redoing jobs.
- Keep one cleaning method and use it every time.
- Mark down the settings that work for each material.
- Replace worn surfaces before they start causing random failures.
A Local Example: Getting the First Layer Right in Centurion
A beginner in Centurion who is printing labels, brackets or small teaching aids does not need a complicated bed system. A correctly sized plate, a suitable PEI sheet and a clean surface are often enough to get reliable results. If the printer is shared by a family or a school group, the setup should also be easy to maintain between users.
That is where practical support matters. Plate Installation, PEI Sheet Fitting, Magnetic Base Fitting and Bed Flatness Check all help make the system easier to use. For print farms and school labs, Farm Standardising and School Lab Setup keep different machines closer to the same working standard, which saves time and removes guesswork.
If you are not sure what your printer needs, start with the surface, then move on to the rest. It is a simple order, but it works well for beginners.