Why garage dust causes first-layer failures
A garage is not a cleanroom, and most South African garages pick up more than just dust. You get tyre residue, sanding powder, mower debris, engine oil mist and sometimes a light salty film if you are close to the coast. That mix settles on build plates and PEI sheets, then it breaks the bond between the nozzle and the surface.
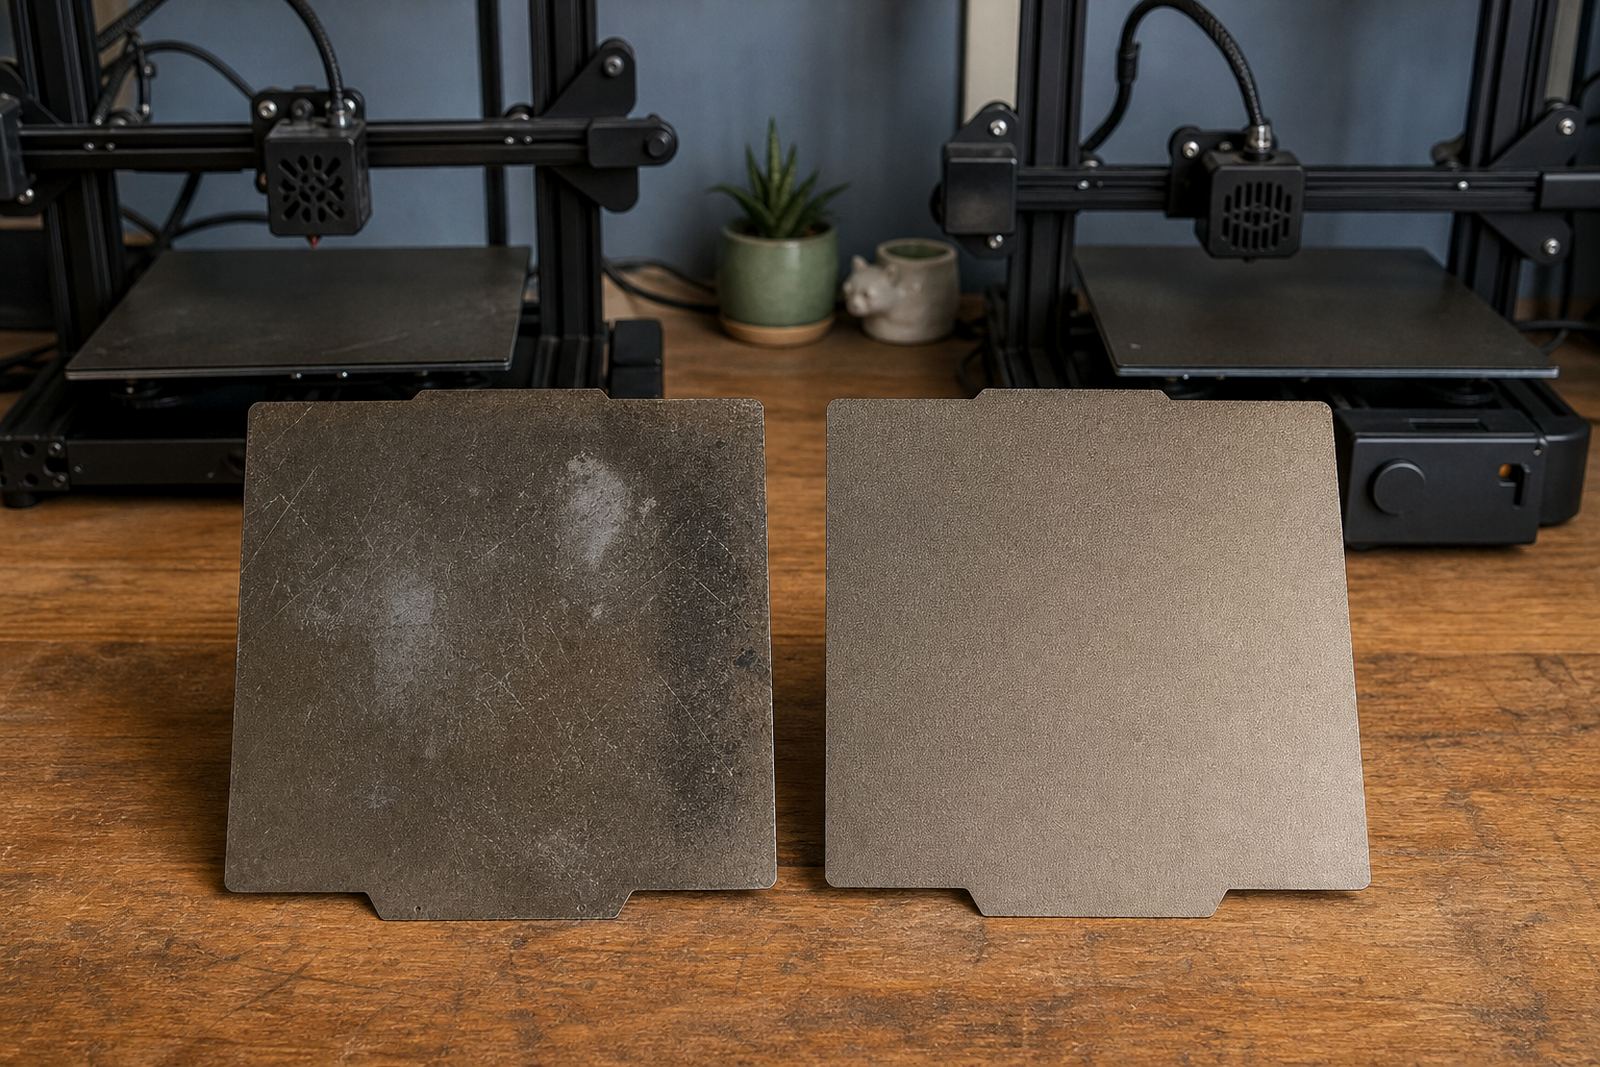
The problem is not always obvious. A plate can look clean enough, but a thin layer of oil or dust changes the way melted filament spreads. The result is usually corner lift, patchy grip or a first layer that looks glossy in some spots and dull in others.
- Dust from drilling, grinding and sanding settles on the bed between prints.
- Oil from hands, tools and machinery leaves a slippery film.
- Humidity in places like Durban can make contamination cling longer.
- Temperature swings in Centurion garages can also change how the first layer behaves.
The cleaning routine that actually works
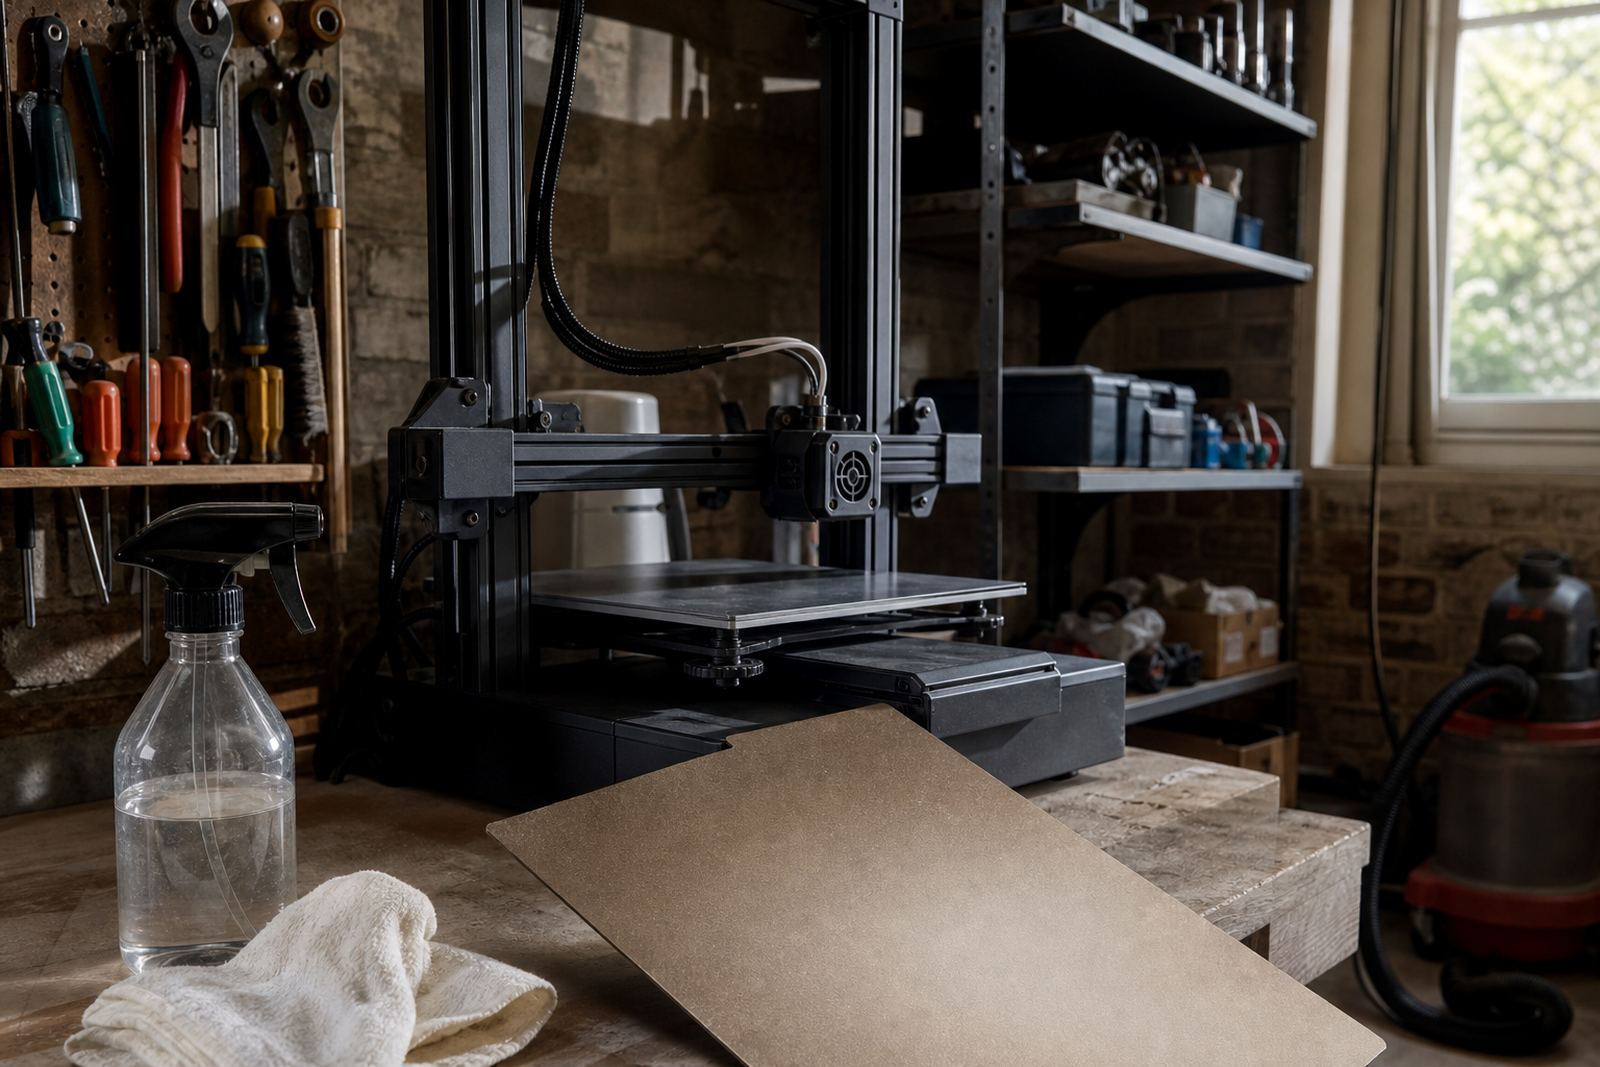
For garage printing, a quick wipe is often not enough. You need a repeatable routine that removes dust first, then grease. Start by brushing off loose debris, then use a clean lint-free cloth with warm water and a mild degreasing cleaner if the plate allows it. Finish with a proper drying step so no streaks remain.
If you touch the bed after cleaning, you undo some of the work. Hold plates by the edges and keep a separate cloth for the print surface only. On shared workbenches, this matters even more because the same hands that handled tools may have already picked up oil from compressors, lubricants or vehicle parts.
- Remove loose dust before any liquid cleaner goes on the surface.
- Use fresh cloths, not the rag used for machines or floor spills.
- Let the plate dry fully before heating the bed.
- Re-clean after any sanding, spray painting or lubrication work nearby.
Matching the surface to garage use
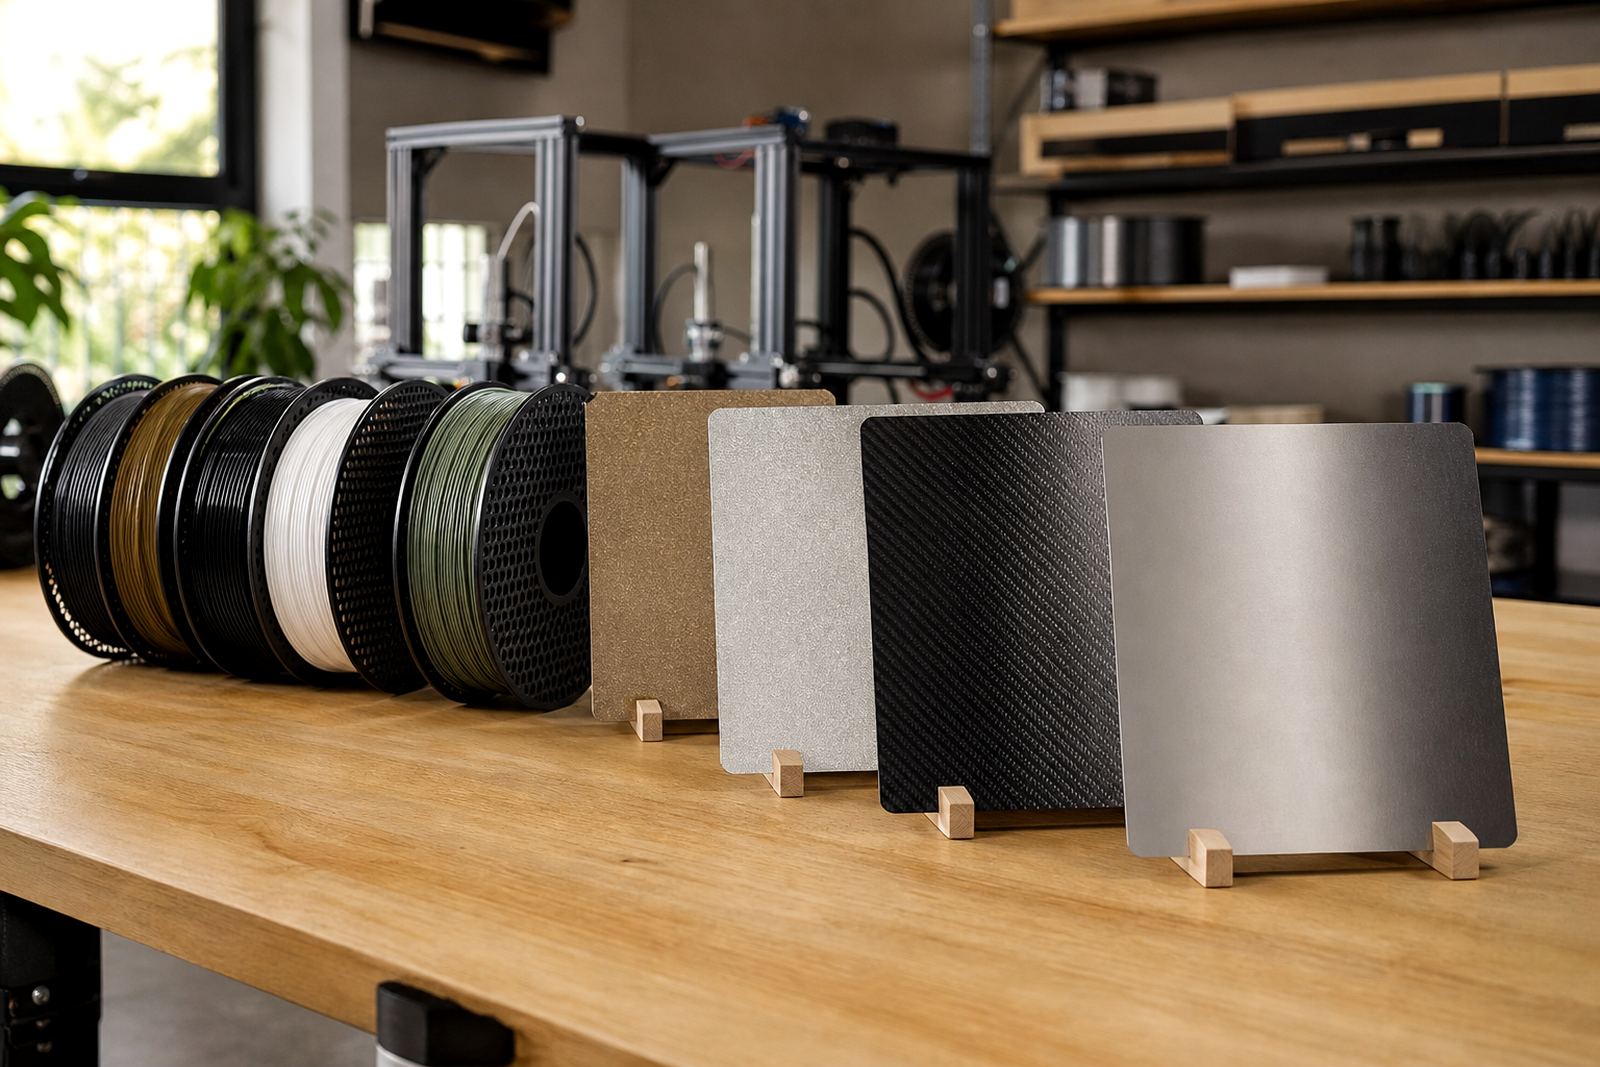
Not every print surface behaves the same in a workshop. Some garage users want easy release for large parts, while others need strong grip for small items with limited bed contact. PEI sheets are popular because they handle repeated use well, but they still need the right care to stay reliable.
A magnetic base can be useful if you swap build plates often, especially in print farms or school labs where time matters. If the bed is slightly uneven, a flatness check helps before you start chasing adhesion problems that are really mechanical rather than chemical.
- Use a surface that suits the materials you print most often.
- Check whether the plate needs smooth or textured grip.
- Replace worn sheets before the coating gets patchy.
- Keep a spare plate ready if the main one is being cleaned or refreshed.
A Pretoria East example from a shared workshop
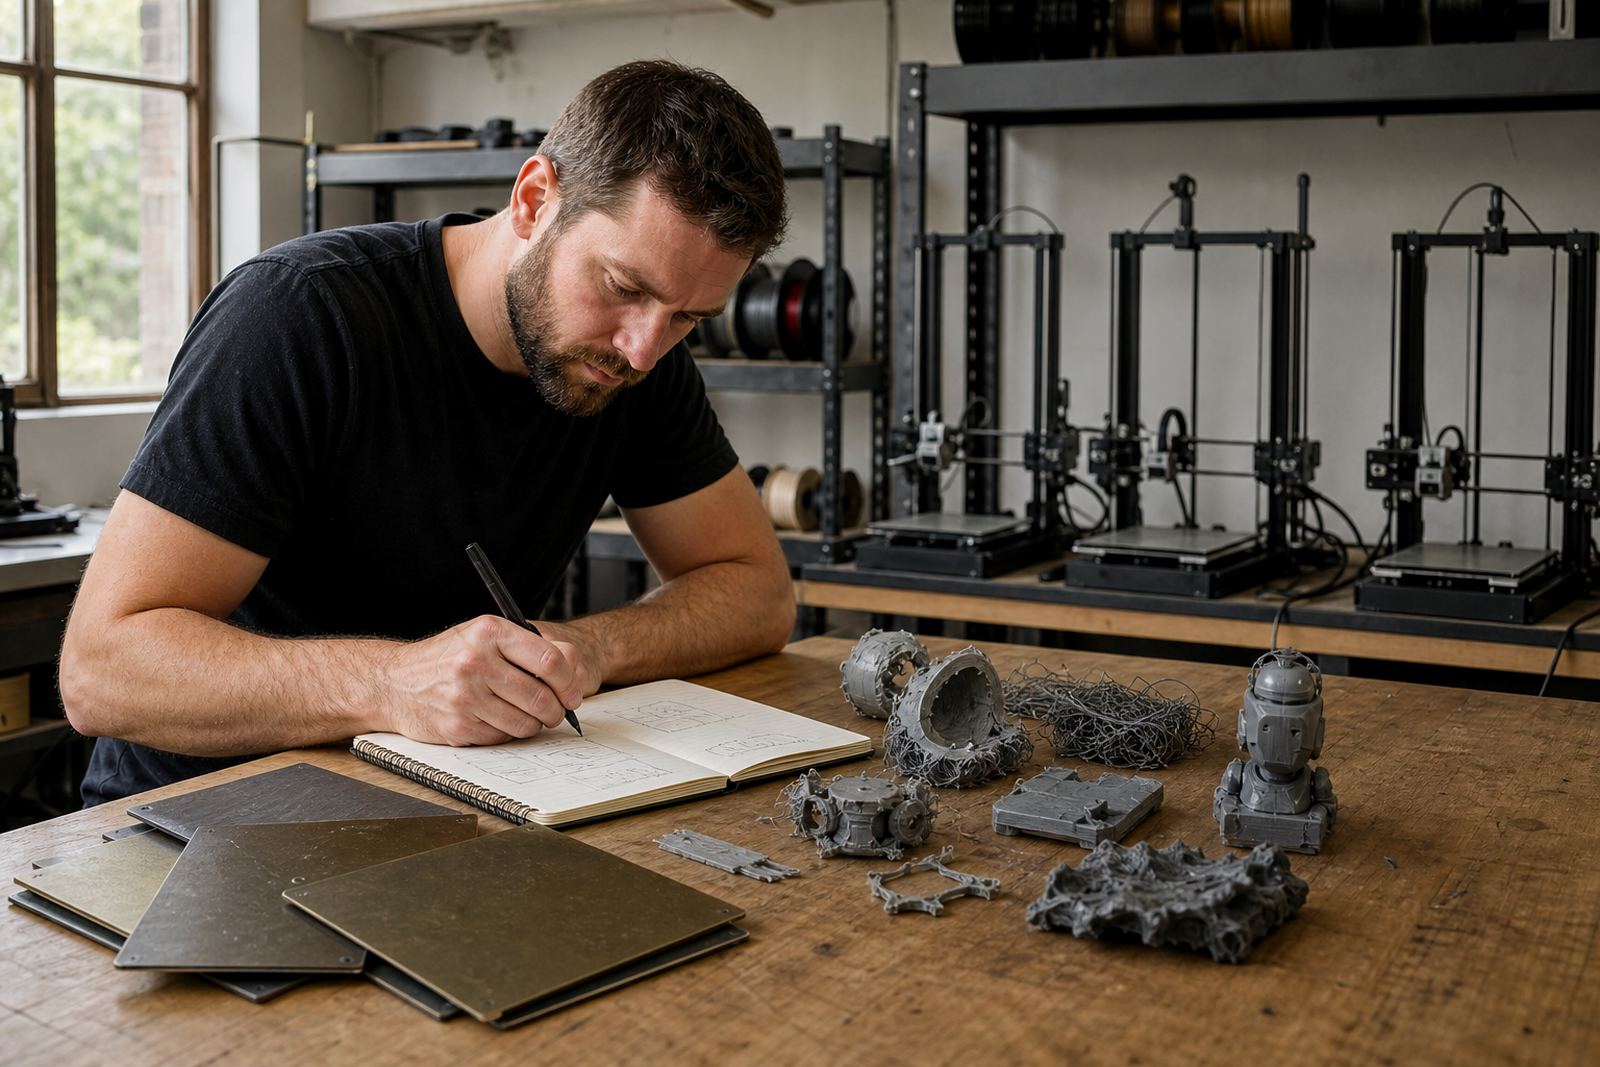
In a Pretoria East garage workshop, a maker who printed brackets and hobby enclosures kept losing the front left corner of the bed. The printer itself was fine, but the space also doubled as a tool room. Drill dust, chain lube and a bit of road grime from the car bay were landing on the plate during the week. The owner cleaned only when prints failed, not before each run.
Once the routine changed, the failure rate dropped. The plate was cleaned before every major print, the bed was checked for flatness, and the first layer was watched more closely. Nothing dramatic changed except discipline, which is often what garage spaces need most.
This is common across Gauteng, especially in places like Centurion, Midrand and Johannesburg where a workshop often serves more than one job. A little contamination may seem harmless, but over time it adds up.
Bed adhesion habits that save time and filament
Good adhesion is not only about the surface. It also depends on nozzle height, bed temperature and how the printer is set up after maintenance. If the nozzle is too high, the filament does not press into the surface. If the bed is too hot or too cold for the material, the first layer may either spread too much or lift too soon.
For garage users, load-shedding can make this worse. A print paused by a power cut may restart on a bed that has cooled and collected dust, so the next layer does not sit the same way. That is why a quick pre-print check is worth the few extra minutes.
- Confirm nozzle height before starting longer prints.
- Keep bed temperatures consistent for each material.
- Recheck the surface after outages or long pauses.
- Use adhesion troubleshooting before changing slicer settings at random.
When schools and print farms need tighter control
Garage printing habits often carry into school labs and small production rooms, but the stakes are higher there. A classroom in Bloemfontein or a print farm in Cape Town can lose several jobs at once if one bed is contaminated. Standardising the cleaning routine makes a real difference because each operator follows the same steps.
That can include plate installation, PEI sheet fitting, magnetic base fitting and replacement planning. For busy sites, consumables supply matters too, because a worn sheet left in service is usually more costly than replacing it on time.
LayerPad supports makers, schools and print farms across South Africa with build plates, PEI sheets, custom size cutting and practical bed care training. When garage dust starts affecting results, the answer is usually not a new printer. It is a cleaner surface, a steadier routine and a better fit for the job.