Why mixed material jobs need a reset, not a guess
In a busy print room, it is common to run one job in a standard material during the day and then move to a higher temperature or more demanding filament after hours. The problem is that many people treat the build plate as if it can simply carry on unchanged. It cannot. A surface that works well for one material may be too slick, too aggressive or too contaminated for the next one.
Mixed material printing is really about managing surface behaviour. Standard materials often forgive a slightly uneven bed or a little dust. More technical filaments usually do not. They need stable heat, clean contact and the right release characteristics once the part cools. If you run a school lab in Pretoria or a small print farm in Centurion, the first layer becomes your control point, not just a starting step.
That is why a proper workflow starts with a reset mindset. Check what was printed last, what temperature the bed reached, and whether the sheet has residue from glue, oils or repeated heating. A quick wipe is not always enough. If your workflow skips this, you end up chasing warping, lifting corners and inconsistent adhesion from one job to the next.
Match the surface to the material, not the other way round
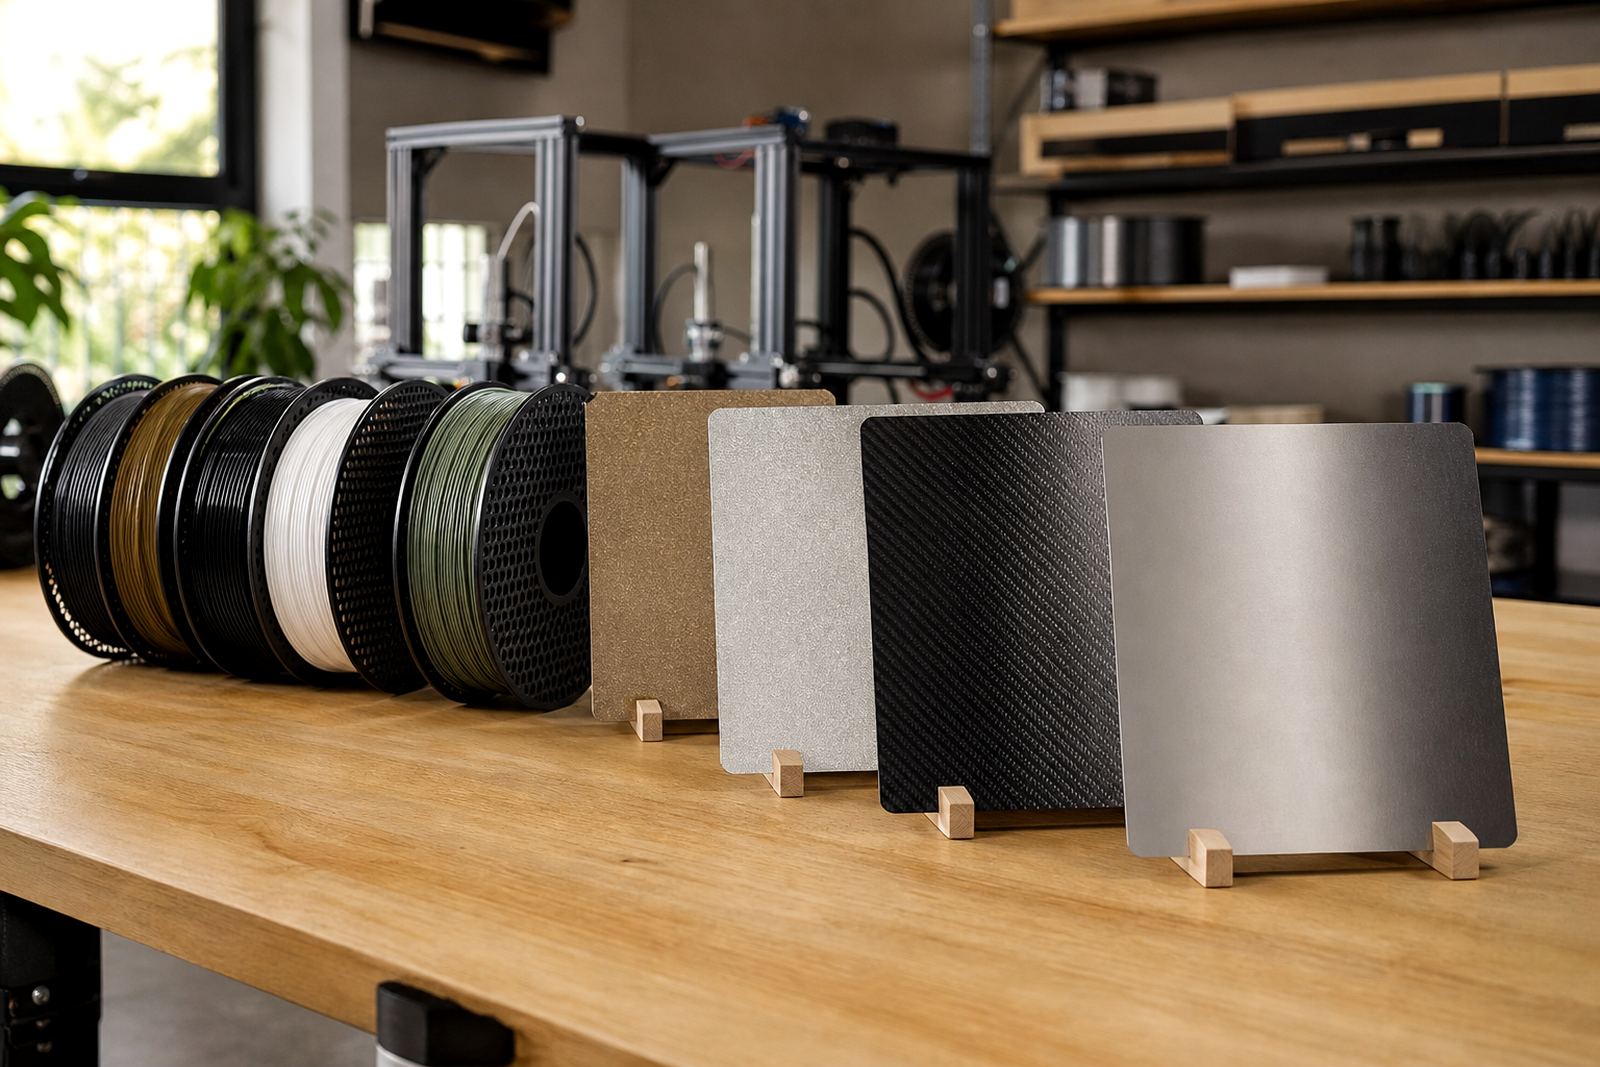
Different print materials ask different things from the bed. Standard everyday filaments often bond well to a clean PEI surface and release once the plate cools. More demanding materials may need a more careful approach, especially if the part has a small footprint or long edges that want to curl.
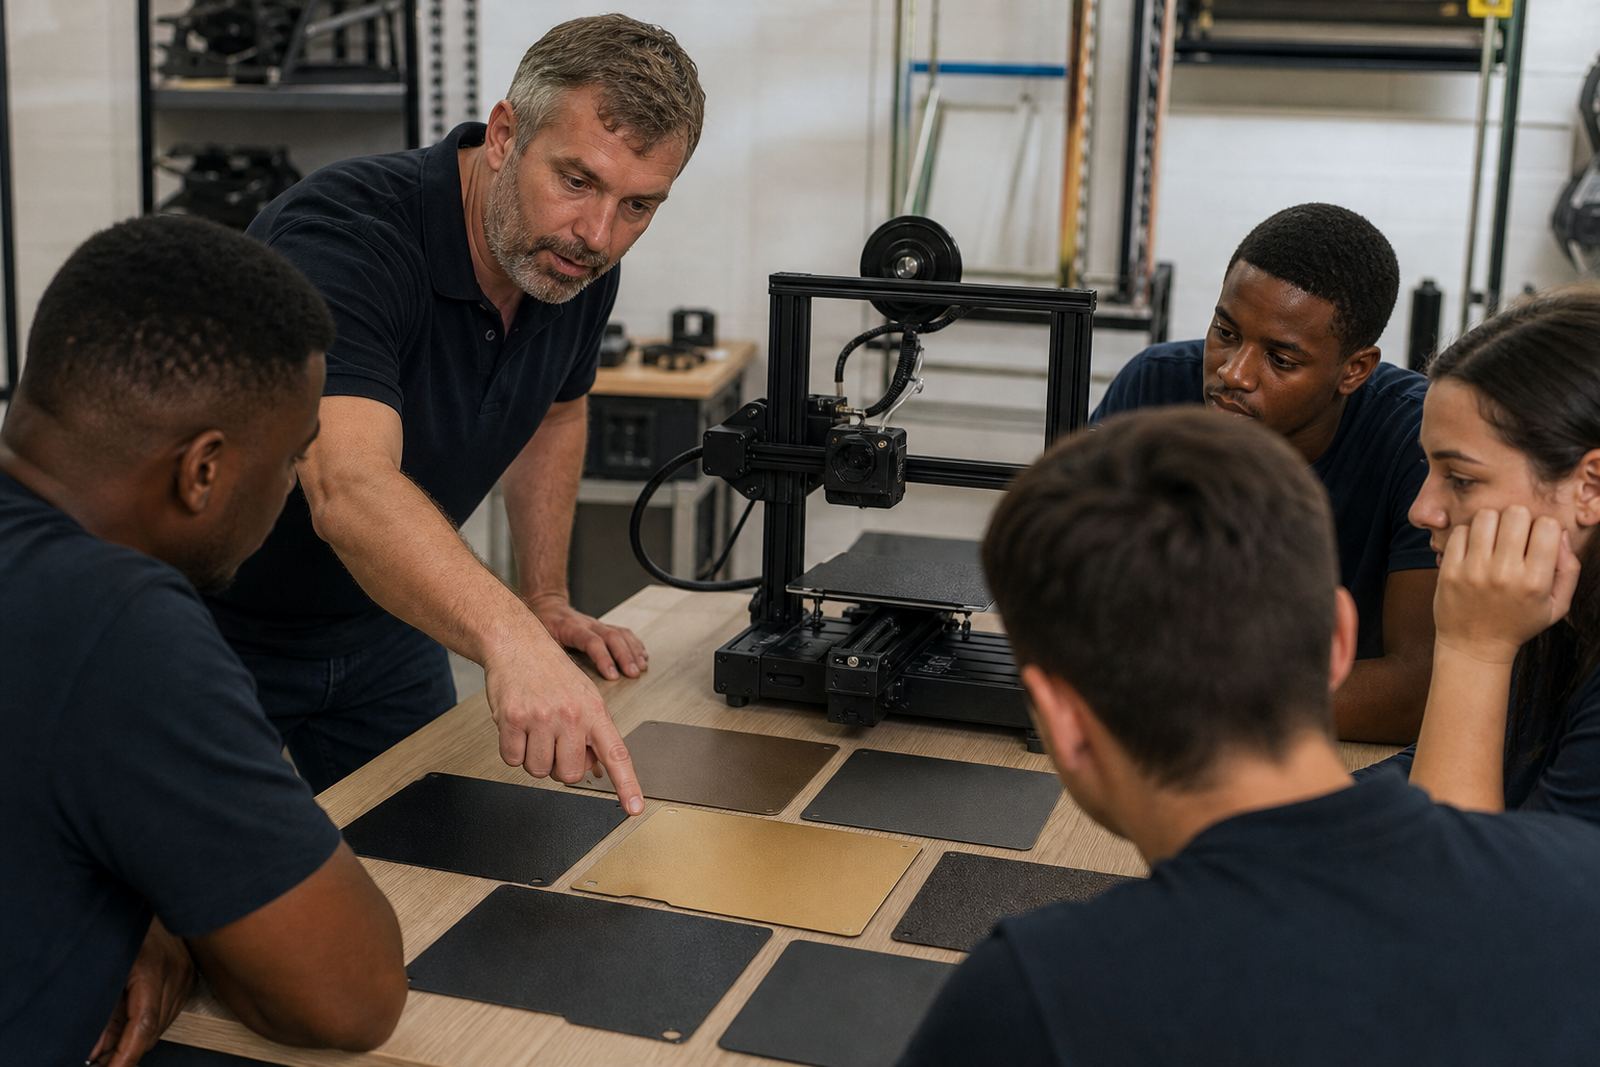
The useful habit is to keep a short surface plan for each machine. That plan should say which sheet is installed, what cleaning routine it needs and which materials are safe to print on it. In a mixed workflow, this is more reliable than relying on memory.
- Use one surface for general parts and another for higher adhesion jobs if your output justifies it.
- Keep the same bed temperature range for repeated jobs where possible.
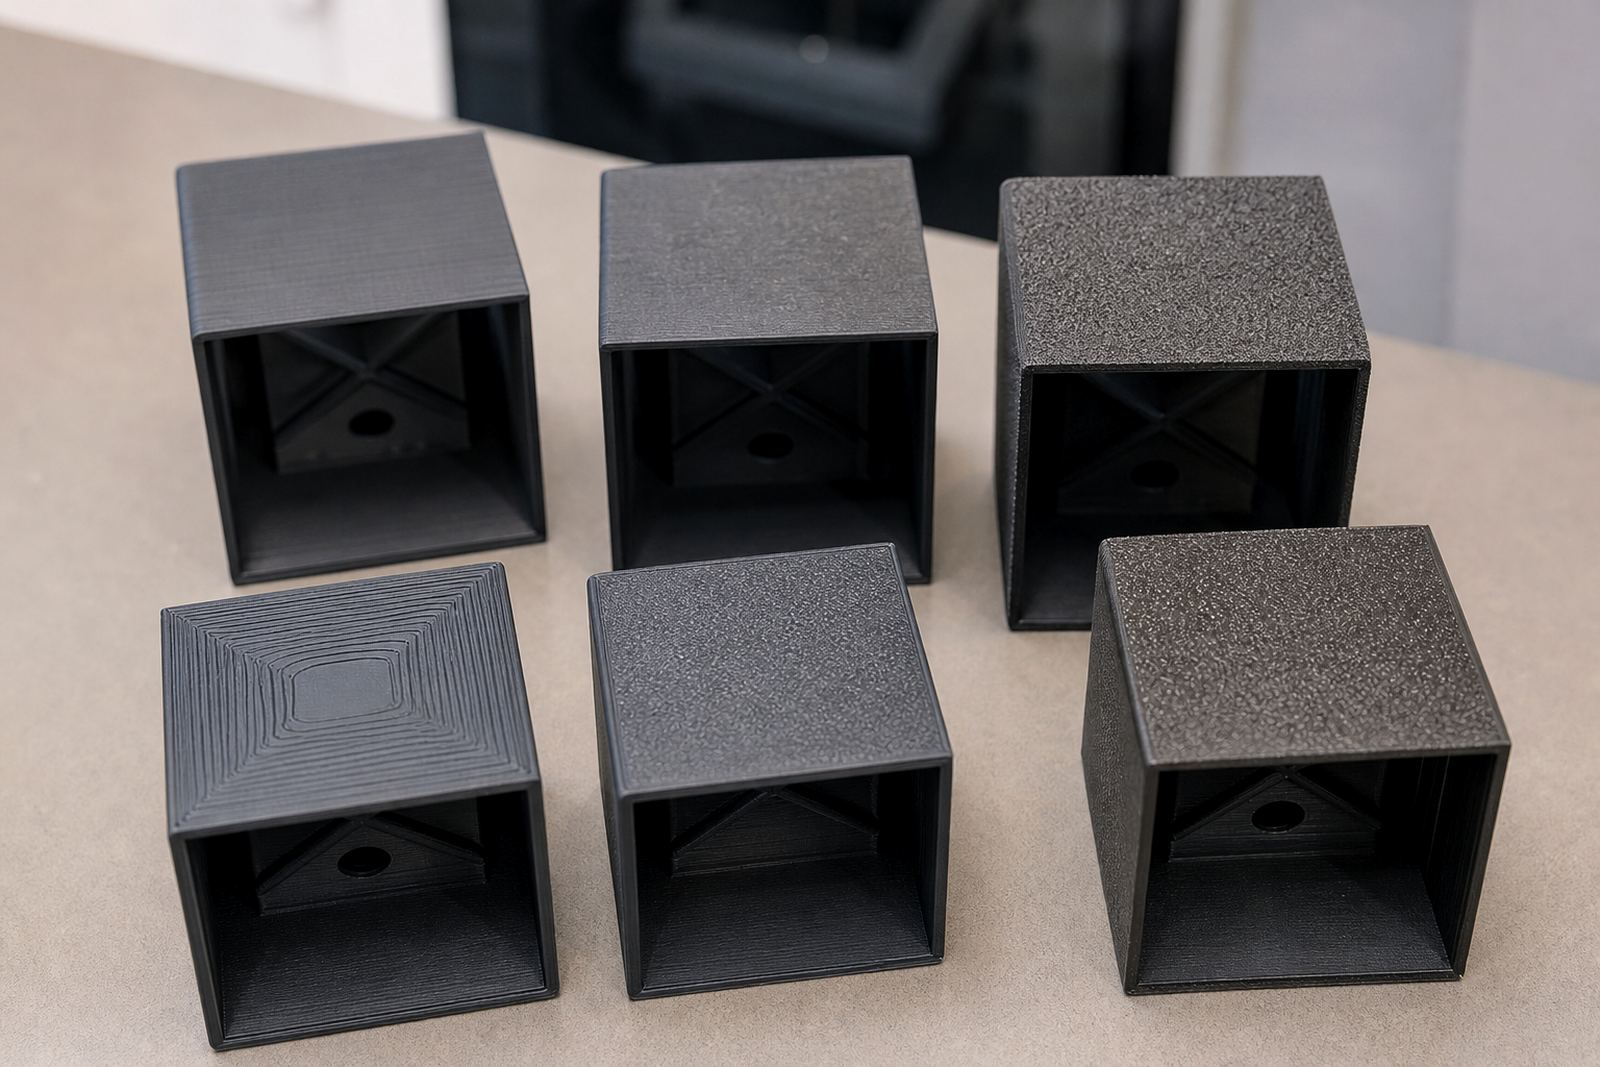
- Record which surface finishes give the best release after cooling.
- Replace a tired sheet before it starts causing first layer drift.
For a print farm in Johannesburg, that kind of standardising reduces operator guesswork. For a school in Bloemfontein, it also helps learners understand that bed prep is part of print quality, not an afterthought.
Changeover habits that stop contamination before it starts
Many adhesion problems are actually contamination problems. Finger oils, dust, old adhesive residue and plastic dust all change how the next print behaves. This matters more when you switch from a standard material to a more demanding one, because the stronger the requirement, the less room there is for surface mess.
A clean changeover does not take long, but it needs to be consistent. Use a routine that is easy to repeat even during load-shedding interruptions or busy classroom sessions. If the machine is switched off and left open, dust settles quickly, especially in drier inland areas and in coastal humidity where residue can become tacky.
- Allow the plate to cool before handling it for cleaning or removal.
- Use a suitable cleaning method for the sheet type, then dry it properly.
- Check the edges for scratches, lifting or hot spots before the next run.
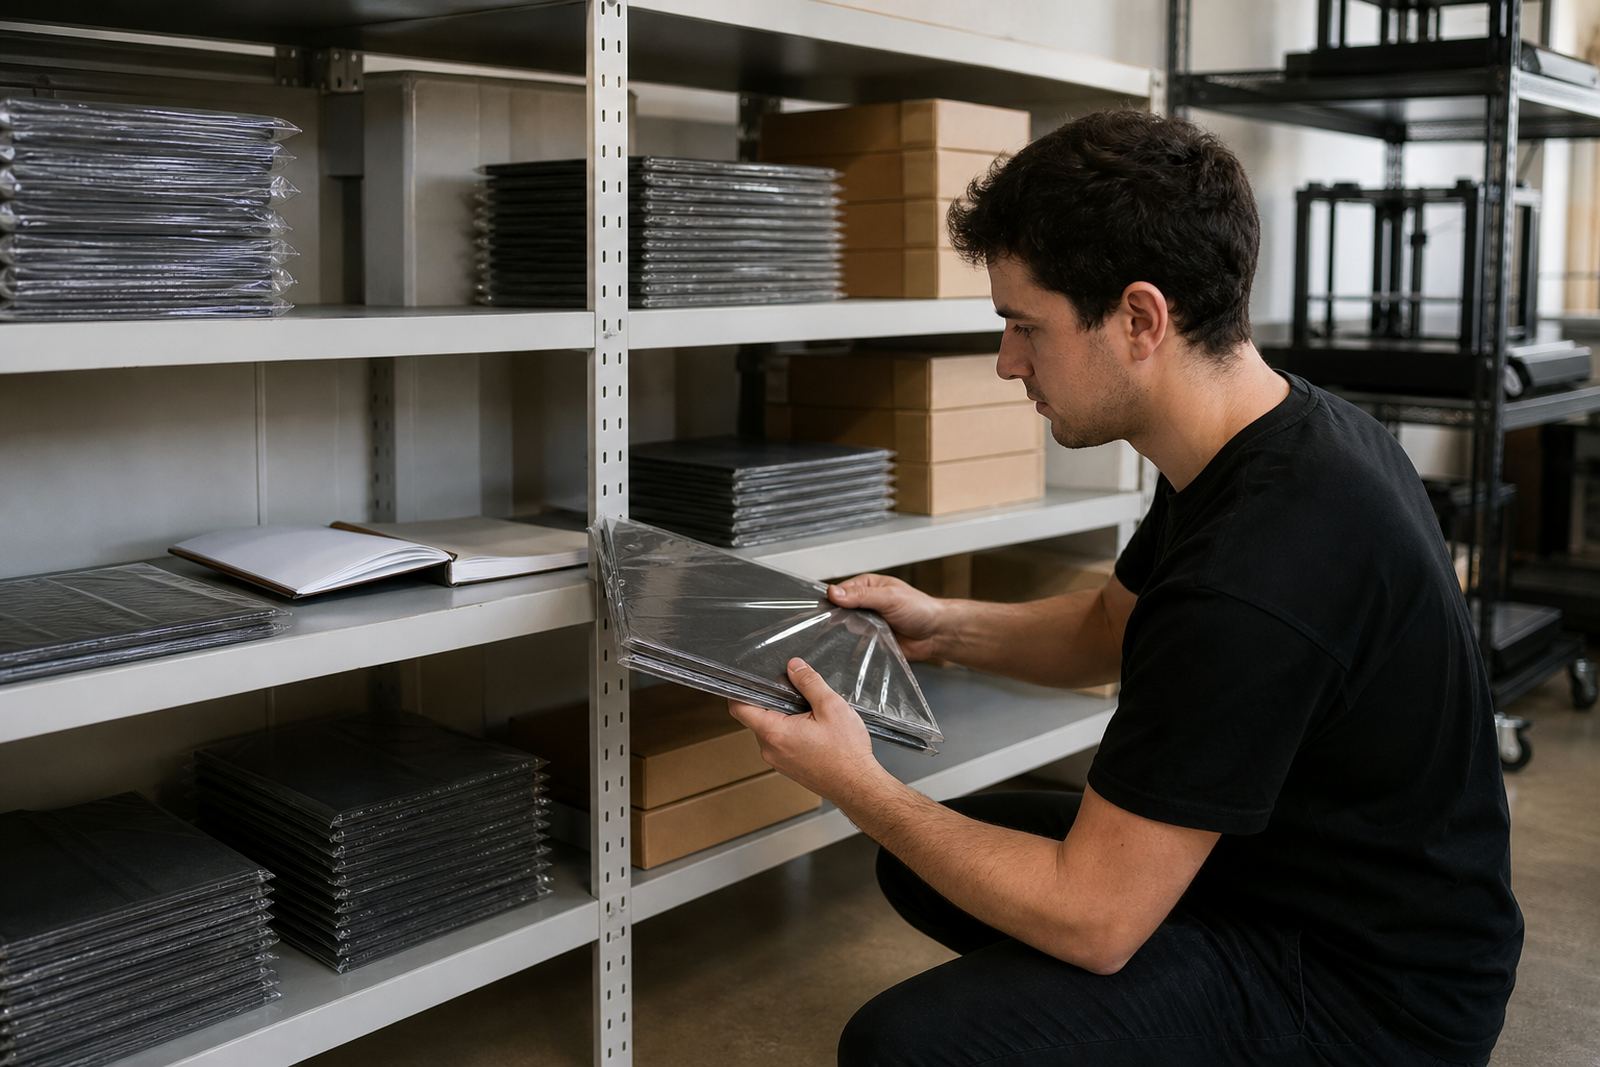
- Store spare sheets flat and protected from dust.
It also helps to keep one cloth or cleaning set dedicated to build plates only. Cross-use with general workshop wipes often leaves fibres behind. That sounds small, but on a fine first layer it can be enough to spoil the job.
Heat settings and flatness matter more on tougher jobs
When switching materials, the bed temperature is only part of the picture. Flatness and thermal consistency matter just as much. A sheet that is slightly warped can be tolerated on an easy print but the same flaw can cause corners to lift on a higher demand job. If the bed is uneven, the centre may bond while the edges lose contact.
This is where a proper bed flatness check pays off. It is not only for large machines. Small format printers in a classroom or office can still suffer from minor distortion, especially after repeated heating. If the base is magnetic, make sure it is seated correctly and that the plate sits evenly across the whole area.
On more demanding jobs, avoid changing too many variables at once. If you alter the material, the bed temperature and the layer height in a single move, it becomes harder to see what fixed the issue or what caused it. Keep one thing stable and change one thing at a time.
That approach is practical for teams in Gauteng and beyond. It saves time when a technician needs to diagnose a problem over a phone call or when a school coordinator is trying to keep several machines aligned for a term project.
A practical workflow for schools, makers and print farms
Different users need different levels of control, but the workflow can stay the same. A school lab may only need two surface profiles, while a print farm may need four or five. The point is to make the process repeatable so each operator knows what to do before the next print starts.
A simple mixed material workflow should include prep, print, inspect and reset. It sounds basic, but those four steps stop most problems from spreading across multiple jobs.
- Prep: confirm the material, surface type and bed temperature before loading the file.
- Print: watch the first layer closely, especially after a material change.
- Inspect: check for edge lift, uneven gloss or poor transfer after the job finishes.
- Reset: clean the sheet and log anything unusual before the next run.
For a maker space in Pretoria East, this keeps weekend users from inheriting a dirty bed from the previous session. For a production room in Cape Town or Durban, it helps the team switch quickly without guessing which plate was last used for which job.
When to refresh a surface instead of pushing it longer
There comes a point where cleaning is no longer enough. If a sheet has lost its grip, developed a patchy finish or started giving inconsistent results across the same bed area, it is time to refresh or replace it. Pushing a worn surface for too long usually costs more in failed prints than a new sheet would have cost in the first place.
Signs that a surface needs attention include repeated corner lift, poor first layer consistency, visible wear tracks and a change in how parts release after cooling. If you are doing ongoing farm standardising, keep a record of service life by machine and by material type. That makes replacement planning much easier.
For teams that support schools, this also helps with budgeting. A lab in Gqeberha or Bloemfontein can plan around term cycles instead of waiting for a plate to fail during a project week. It is better to refresh a surface on schedule than to lose a full batch on the day it matters.
A Centurion example: one surface plan for two very different jobs
A small team in Centurion might run standard prototypes during the morning and then switch to a more demanding part in the afternoon. Without a plan, the first job leaves light residue, the second needs stronger grip, and the operator starts changing temperatures by trial and error. That is where delays begin.
With a clear workflow, the changeover is simple. The operator checks the last material used, cleans the plate, confirms flatness and loads the next job with the right bed settings. If the sheet is due for replacement, it is swapped before the run instead of after a failure. The result is fewer scraps and a steadier print queue.
That is the real value of managing mixed materials properly. It keeps the machine predictable, which matters whether you are printing in a home workshop, a school lab or a busy commercial room. The less time you spend correcting the bed, the more time you spend producing usable parts.