Decide What the Bottom of the Part Must Look Like
Before you send a batch to the printer, decide what the underside needs to do. On some jobs, the bottom face must look neat enough for a visible assembly. On others, it only needs to release cleanly and hold dimensions. That choice drives everything from the plate surface to the bed temperature and first layer speed.
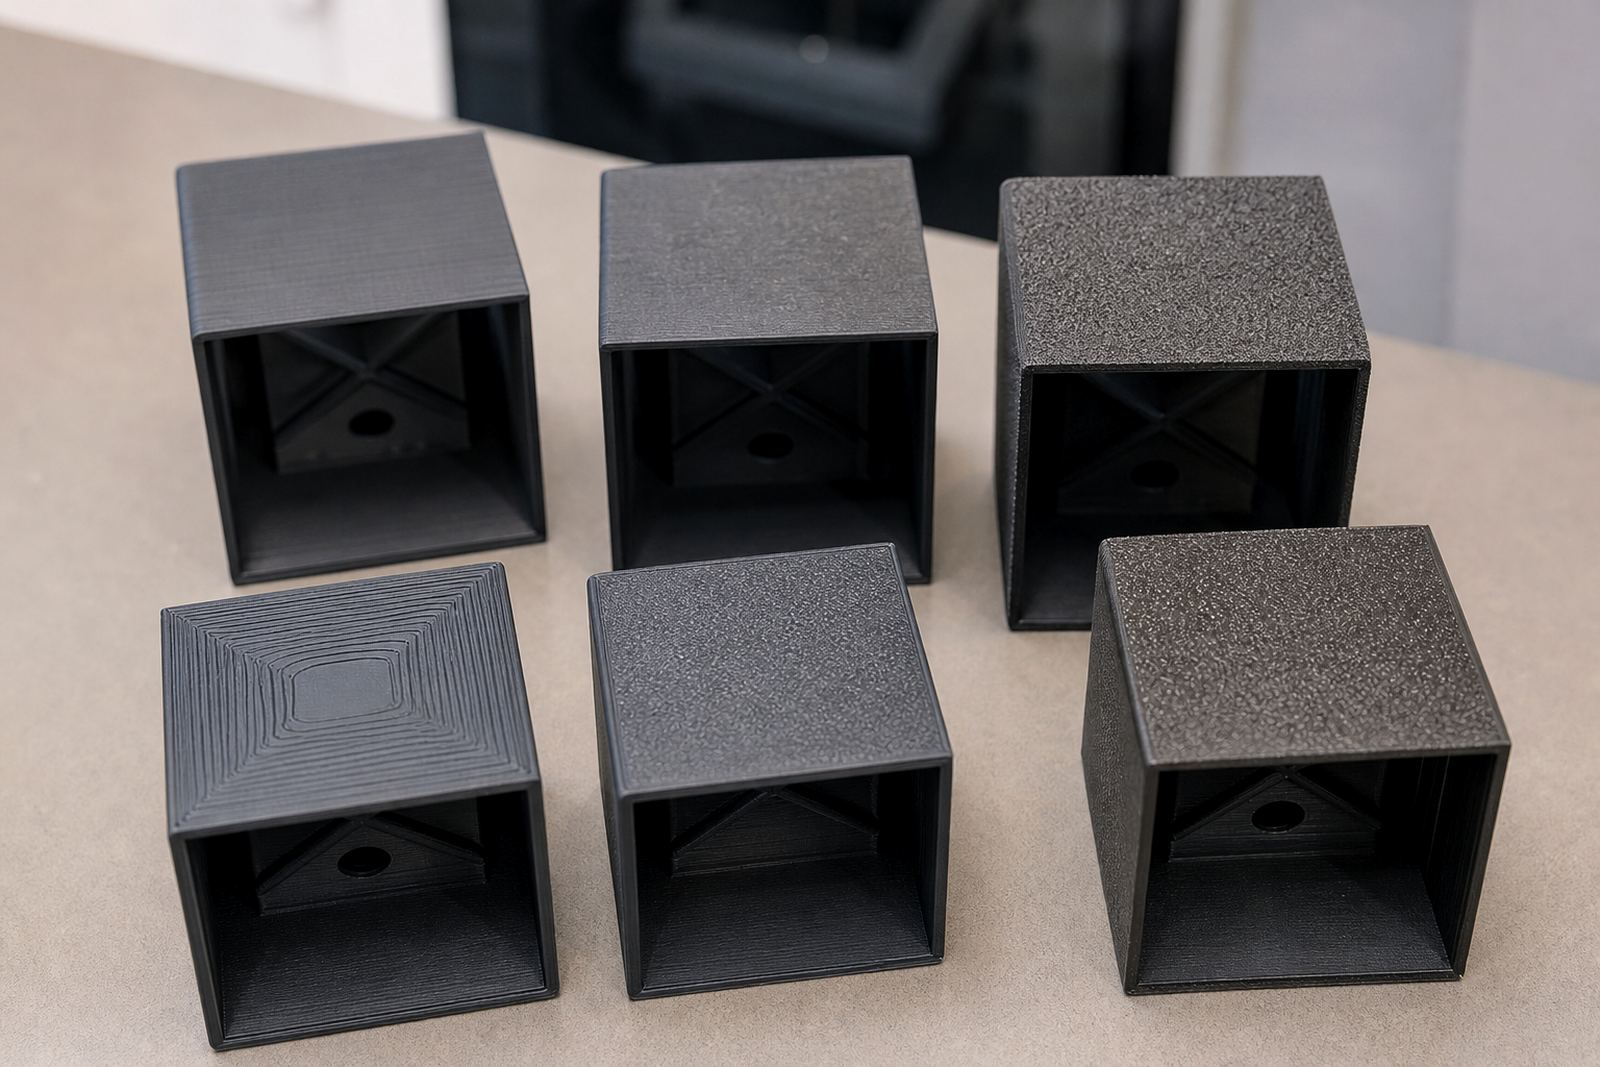
In a small production run, people often focus on the top finish and overlook the base. That is where trouble starts. A glossy surface, a satin surface and a textured surface each leave a different trace on the part, and each one suits a different use. If you are printing brackets for a school lab, the bottom may sit against a machine frame and need grip. If you are making presentation pieces for a client in Johannesburg, the underside may be exposed and need a cleaner appearance.
Think about the end use before the first layer goes down. It is cheaper to select the right plate than to sand 40 parts later.
How Plate Texture Changes the Final Look
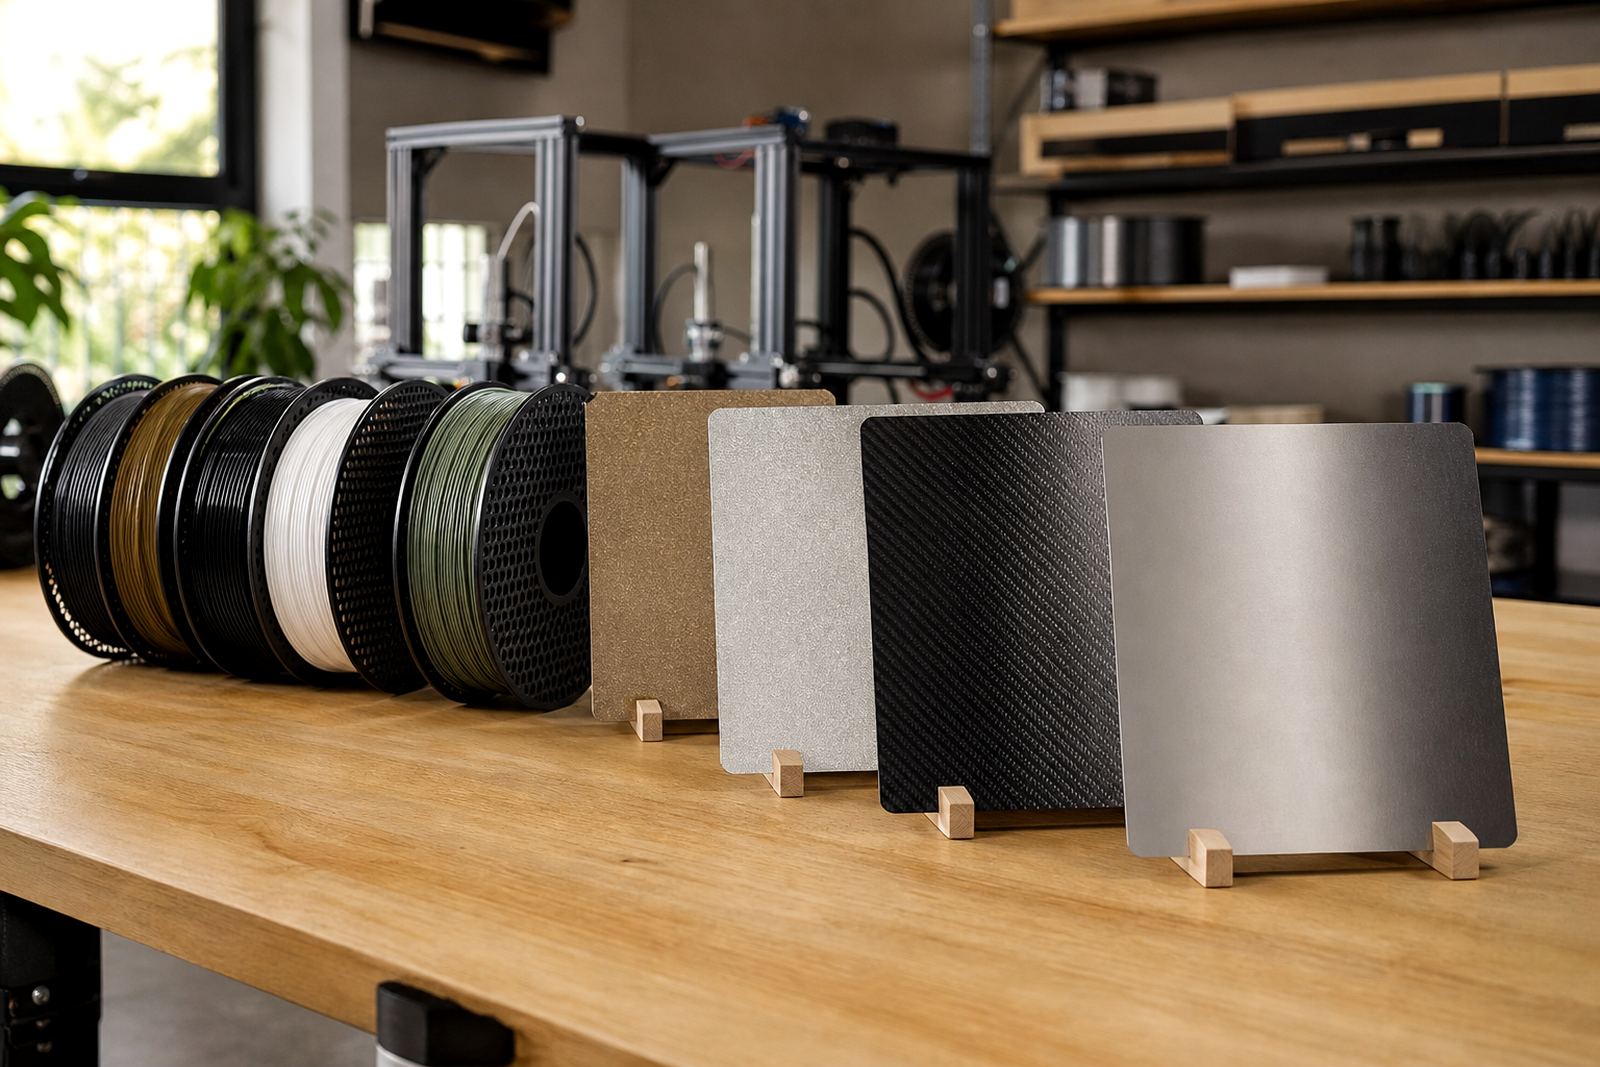
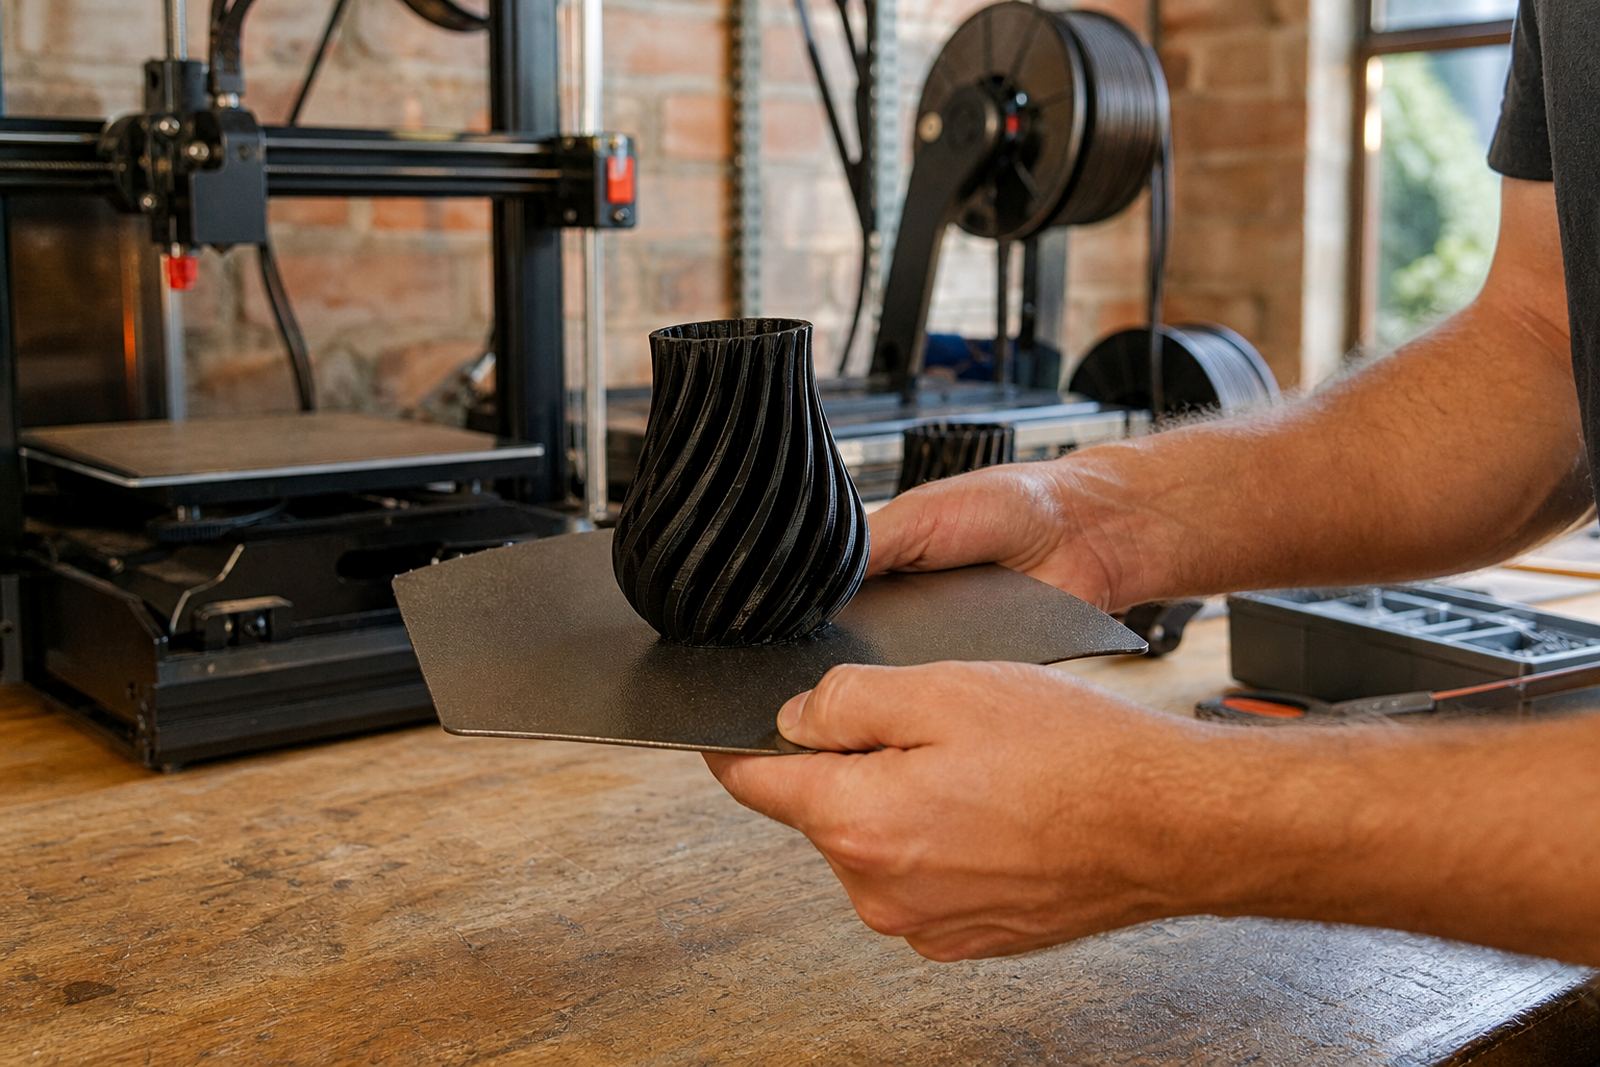
The build surface leaves its own signature on the part. A smooth plate gives a flatter, more polished underside, while a textured surface can hide minor blemishes and give a more even look on larger contact areas. For some materials, a slightly textured finish helps disguise the tiny marks caused by first layer flow and cooling. For others, a smooth release is the priority.
There is no single best answer. The right surface depends on the material, the part shape and how much post-processing you want to do. In humid coastal conditions such as Durban and Gqeberha, consistency matters even more because storage, ambient moisture and bed cleanliness can affect adhesion from one job to the next. A plate that works on Monday may behave differently on Friday if the room conditions shift and the bed has not been cleaned properly.
Use a plate finish that matches the final job, not just the easiest one to buy. The wrong choice can leave one side shiny and the other side uneven, and that can show up on client work or school demo parts.
- Smooth surface: best when the underside will be visible or lightly handled.
- Textured surface: useful when a more forgiving finish is needed on larger prints.
- Special adhesion layer: helpful when warp-prone materials need a secure first layer.
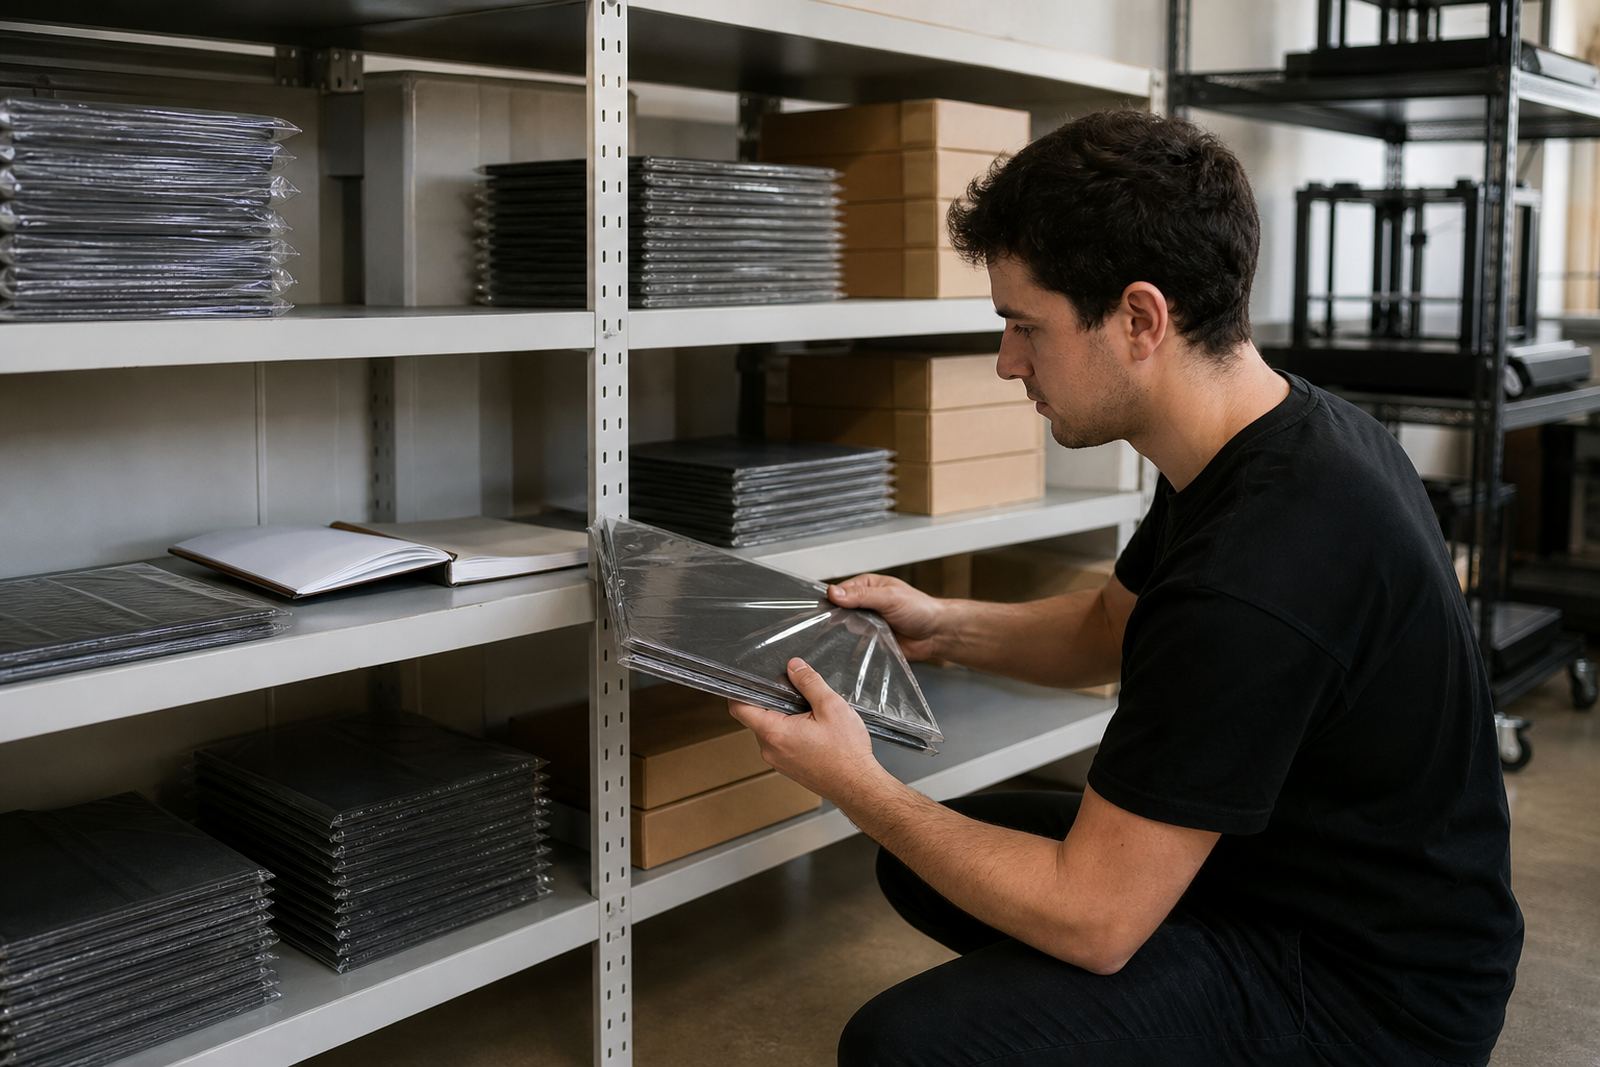
- Replace worn sheets early: scratches and residue can transfer marks to the part.
Match the Surface to the Material, Not Just the Printer
Different materials behave differently on the bed. A plate that grips well for one filament may hold too tightly for another, or release too soon once the bed cools. The safest approach is to match the surface to the print material and the part size. Small parts with fine detail often need a steadier first layer. Large flat parts need more even contact across the bed.
For print farms, this is where standardising helps. If every machine in the room uses a different plate condition, you spend too much time adjusting first layers and checking corners. A common surface setup across the farm makes results more predictable, which is important when you are working through school orders, prototype runs or repeated utility parts. It also helps when load-shedding disrupts schedules and the team has to resume jobs with limited time for setup checks.
When material changes are frequent, keep a simple record of what surface was used, which bed temperature gave the best release and whether the underside met the finish target. That record saves time on the next run, and it avoids guessing.
Set the First Layer for the Finish You Want
The first layer is where the finish is decided. Too much squish can leave ridges, rough edges and a shiny band around the part. Too little contact can give poor adhesion and a dull, patchy underside. If the print must look clean, the first layer needs enough contact to bond well, but not so much that it distorts the profile.
That means checking bed flatness, nozzle height and plate cleanliness before production starts. A plate in good condition gives you a more even finish across the full build area. If one corner is lower than the rest, the part may show a different sheen or thickness on that side. For a batch of 20 parts, that kind of variation becomes expensive very quickly.
Keep the glass, magnetic base or sheet free from dust, glue residue and fingerprints. A small amount of contamination can create a visible patch in the underside. Simple cleaning between runs is often enough to keep the surface looking consistent.
- Check the bed for level and repeatability before the first batch.
- Clean the sheet with the right method for the material in use.
- Confirm first layer width and speed on a test piece.
- Replace damaged sheets before they start imprinting defects.
When the Underside Must Be Clean Enough for Assembly
Some parts do not stay on the printer for long. They go straight into assembly, school teaching kits or customer-facing products. In those cases, the underside matters because it touches another part, sits on a flat surface or remains visible in use. A rough or uneven base can affect fit, and if the surface finish is inconsistent the part may need trimming before it can move to the next stage.
For a Pretoria East school lab, for example, students may print small brackets that must sit square on a frame. If the underside has too much texture or a warped edge, the fit becomes unreliable. The teacher then spends extra time explaining the problem instead of moving the class forward. In a production setting in Centurion, the same issue can delay packing and cause repeat work. One or two percent extra waste adds up fast when you are running a whole tray of parts.
If you know the underside will be seen or measured, choose a plate and adhesion approach that gives a predictable release and a clean base. That is usually the better trade-off than chasing an aggressive hold that tears the finish when the part comes off.
A Practical Setup Plan for South African Print Rooms
South African print rooms have to deal with warm afternoons, dust, power cuts and different humidity levels from place to place. A setup that works in Centurion may need a small adjustment in Cape Town or Durban. That is why it helps to choose the plate before you start production, then document the setting once it performs well.
A practical plan is simple. Decide the finish target, pick the surface, test the first layer, and then lock in the settings for that job family. If the parts are going to a school in Bloemfontein, a maker space in Johannesburg or a small print farm in Midrand, the same recorded setup reduces variation and saves time on site. It also makes training easier because everyone knows what finish to expect.
LayerPad supports that process with build plates, PEI sheets, installation help, bed flatness checks and adhesion troubleshooting. The aim is not to add more steps, but to choose the right surface once and then print with confidence. That is what keeps a surface finish goal from becoming a post-processing problem later on.