The Bloemfontein classroom brief
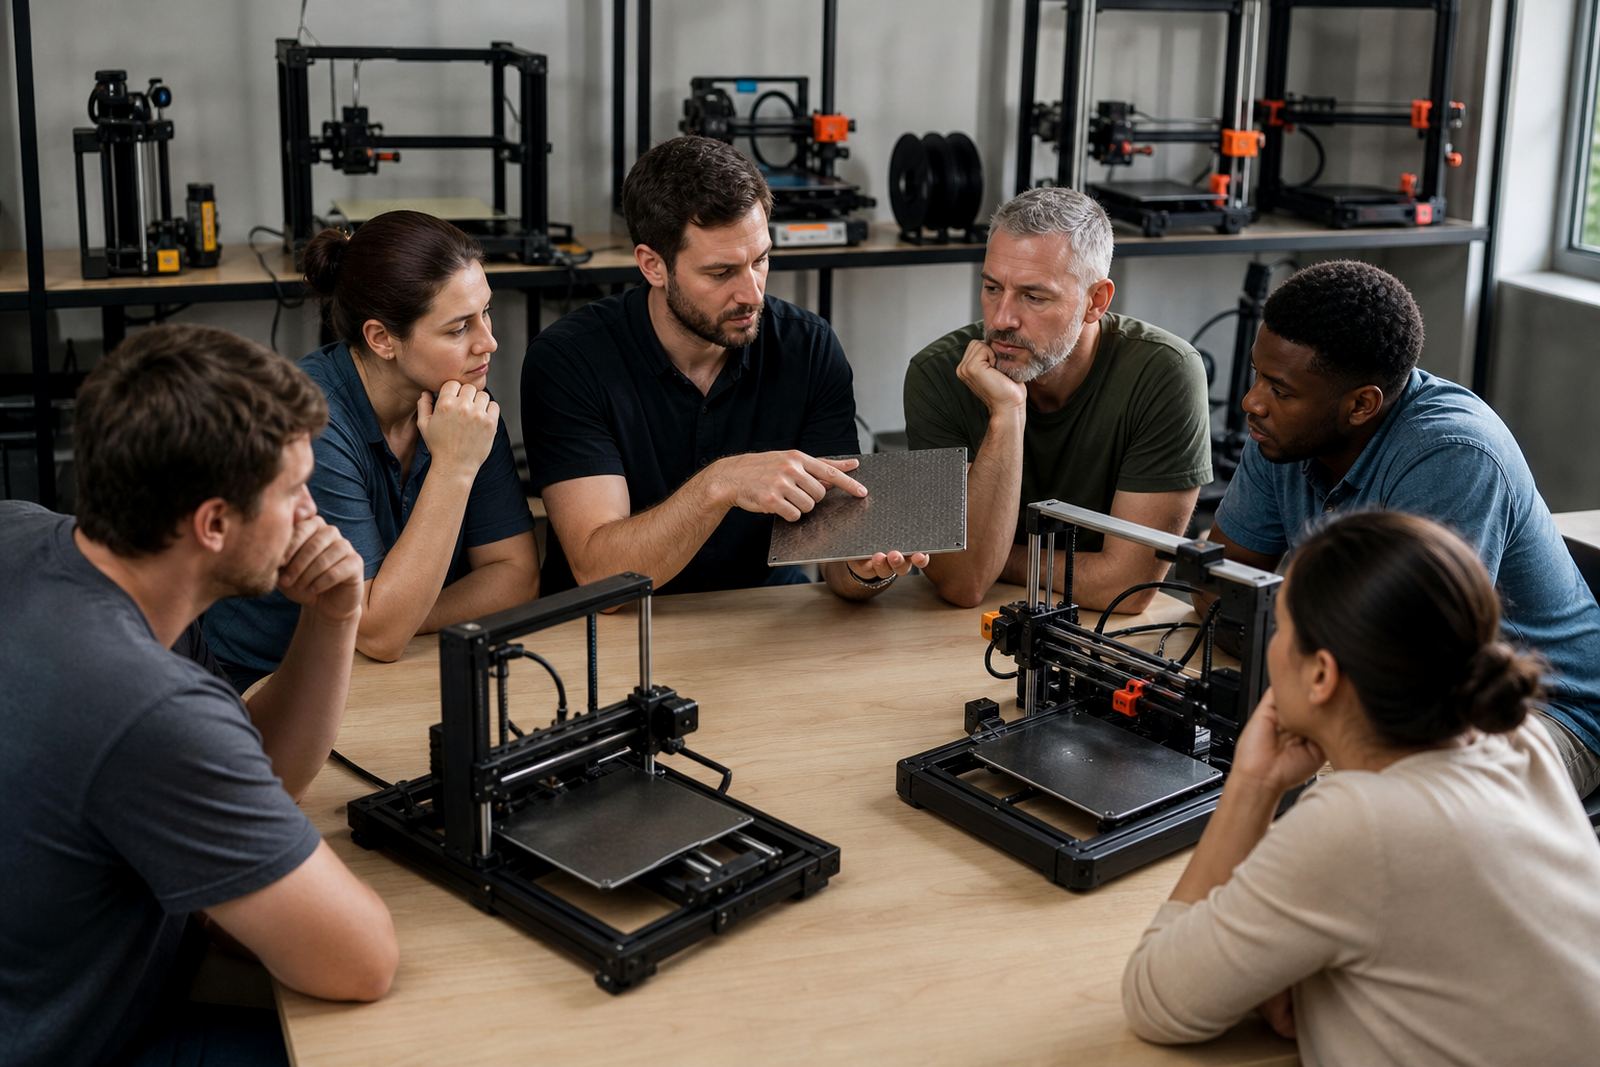
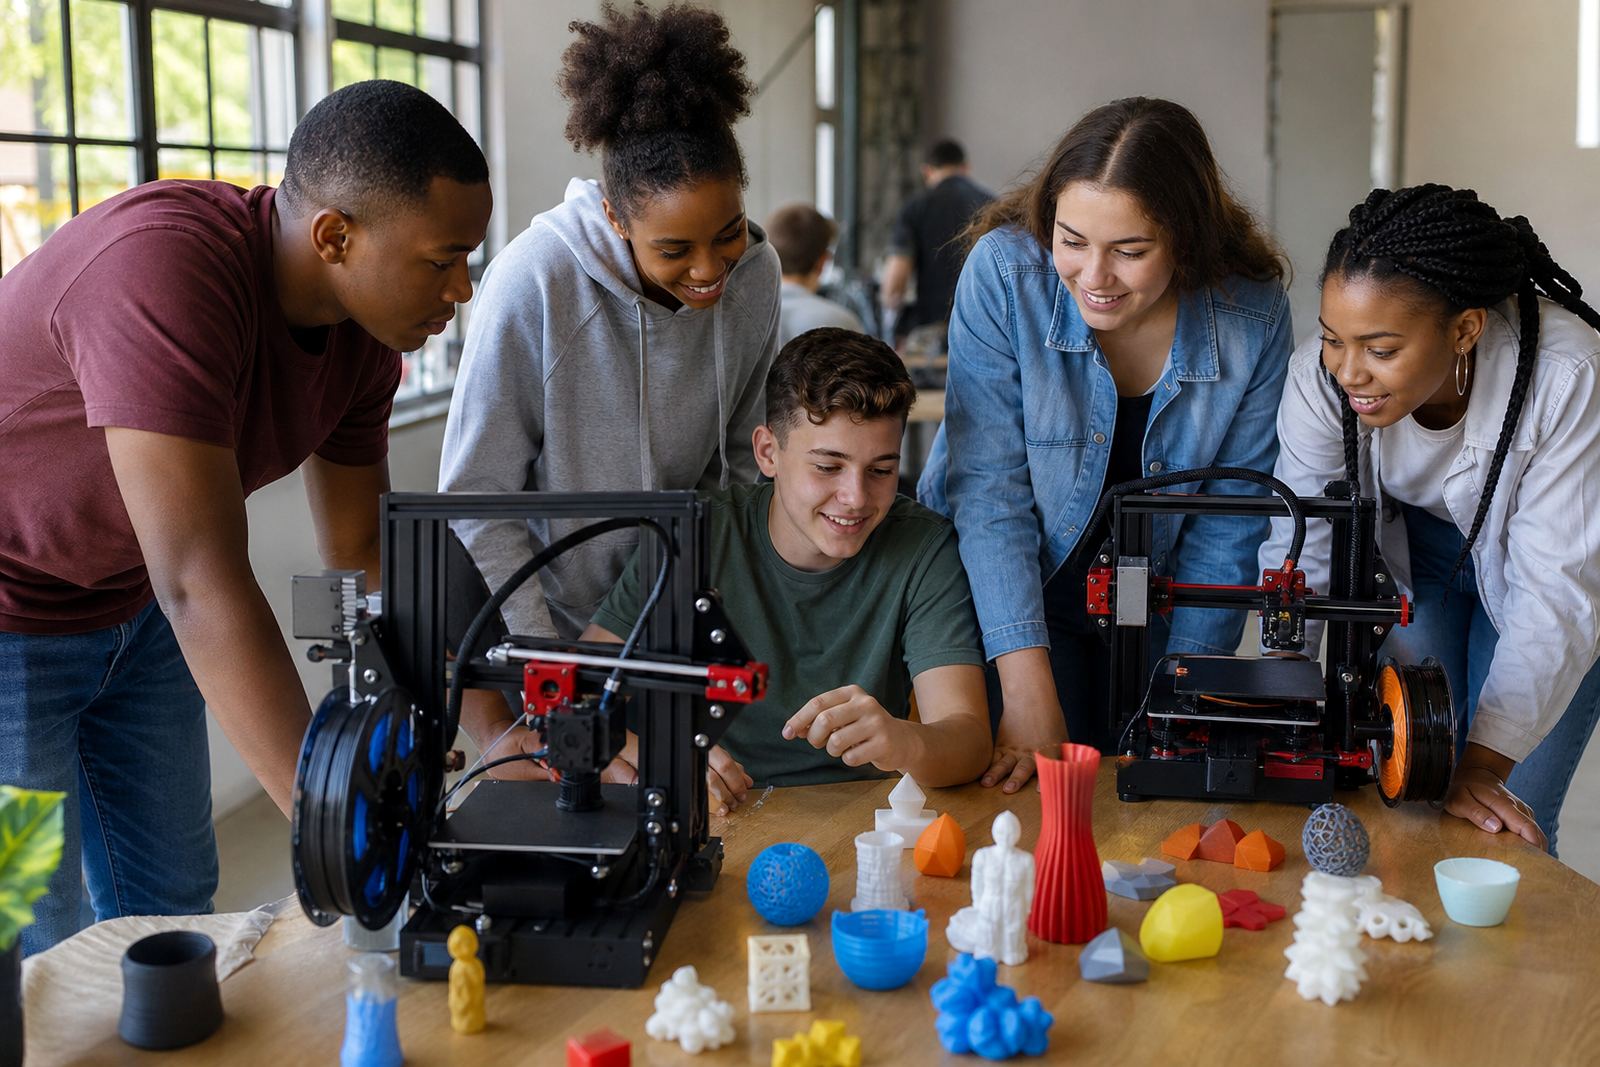
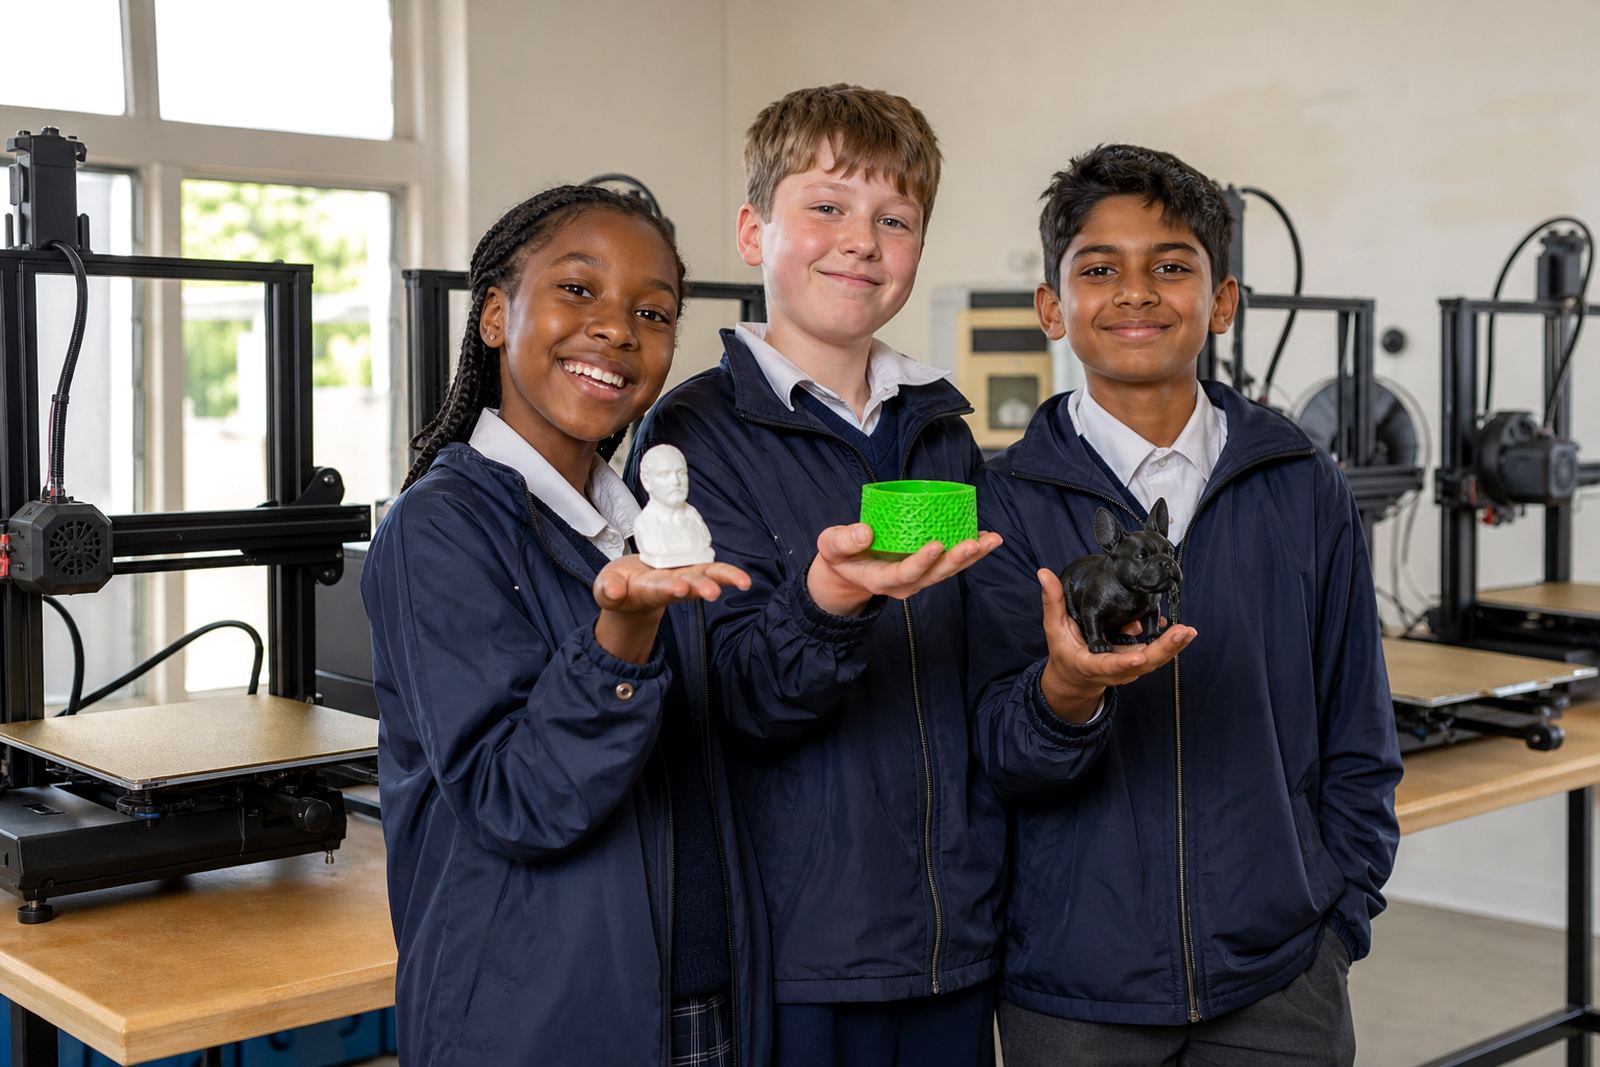
The project came from a STEM classroom in Bloemfontein that was using benchtop 3D printers for learner projects, prototypes and simple engineering tasks. The teaching team wanted fewer failed first layers, less time spent scraping beds, and a process that beginner learners could follow without constant intervention from the teacher.
The brief was straightforward. Improve bed adhesion, make the print surface easier to understand, and keep the setup suitable for repeated use by different classes. The classroom had mixed experience levels, so the solution had to be forgiving enough for first-time users yet reliable for more detailed prints. They also needed parts that could cope with frequent switching between PLA and PETG, plus the normal dust, fingerprints and wear that come with a busy school lab.
- Town: Bloemfontein, Free State
- User group: Grade learners, teachers and after-school makers
- Use case: Lesson prints, prototypes and competition entries
- Main goal: Better first-layer success with less supervision
Constraints we worked around
The classroom had a few practical limits. Print beds had seen regular use, some surfaces were already uneven, and the printers were placed in a shared room where time was limited between lessons. There was also a clear budget cap, so the school could not replace every printer bed at once. We had to work in stages and choose products that could be fitted quickly, with minimal disruption to teaching.
Another constraint was learner handling. Surfaces needed to be simple to clean and difficult to damage during day-to-day use. Because Bloemfontein has dry air for much of the year, we also considered static build-up and dust settling on the beds between sessions. That meant recommending a surface and cleaning routine that kept adhesion consistent without adding too many steps for staff. A complicated setup would not have lasted a term, never mind a year.
- Budget: Phased rollout instead of full replacement
- Environment: Dry indoor air and classroom dust
- Operation: Short lesson windows and shared printer use
- Skill level: Beginner learners with limited prior print experience
What LayerPad supplied and fitted
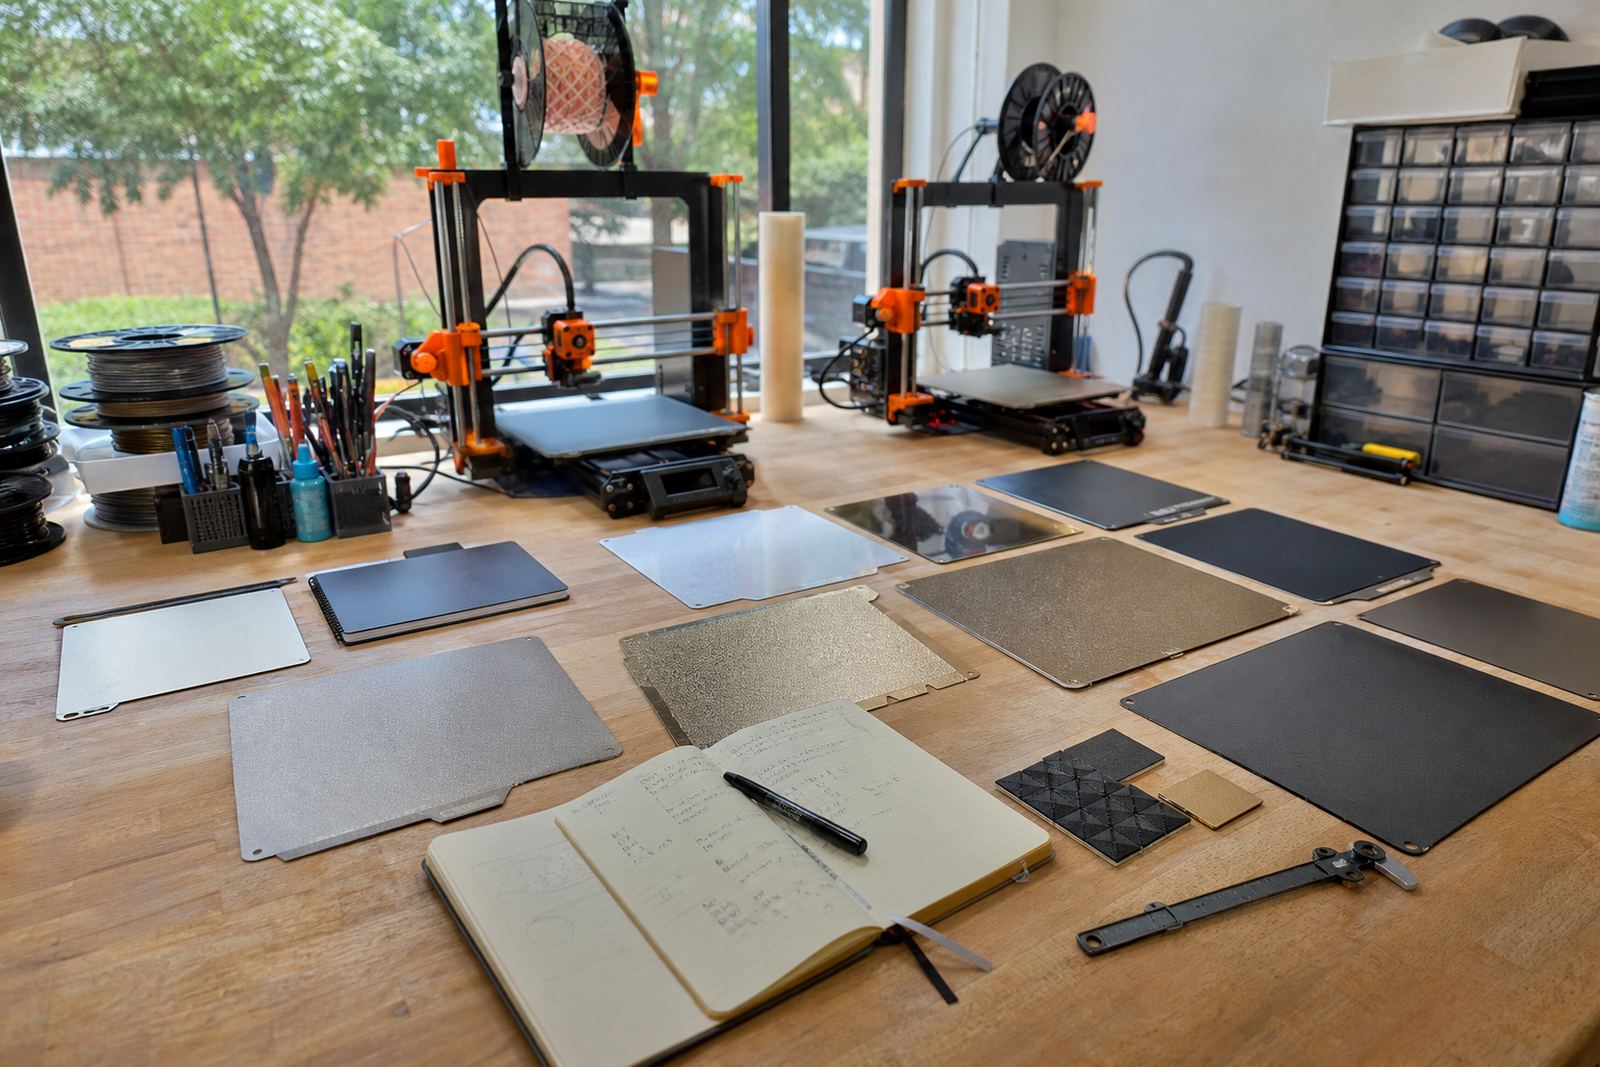
We supplied a set of medium-format PEI build surfaces, magnetic bases for selected beds, and adhesion support materials for calibration and maintenance. The classroom printers had bed sizes in the 220 x 220 mm to 235 x 235 mm range, so the cut sheets were prepared to match those dimensions with neat edges and aligned corners. Where the existing machine beds were sound, we used surface refresh work rather than full replacement. On the units with tired or warped surfaces, we did a full bed flatness check before fitment.
The technical work included PEI sheet fitting, magnetic base fitting on compatible machines, and a check of nozzle-to-bed spacing after installation. We also set up a simple cleaning routine using non-abrasive methods, which matters more than people think. One learner can ruin a good adhesion surface with one greasy fingerprint, so the teachers were shown how to handle the beds properly and when to re-clean them. The result was a more predictable first layer and less trial-and-error before each class run.
- Build surface type: Smooth and textured PEI options
- Bed sizes handled: 220 x 220 mm and 235 x 235 mm
- Fitment work: PEI sheet fitting and magnetic base fitting
- Checks: Bed flatness, nozzle height and first-layer adhesion
Three weeks from assessment to classroom use
The project ran over three weeks. In week one, we assessed the printers, checked bed condition, and identified which units could keep their existing bases. In week two, we cut and fitted the new surfaces, then carried out calibration on the first batch of machines. In week three, we spent time with the teachers and learner leaders on bed care training, adhesion troubleshooting and print start routines.
That timeline worked well because it allowed the classroom to keep functioning while the upgrades were rolled out. No entire lab had to be shut down. The school could still run lessons, then test the improved surfaces in the next printing session. By the end of the third week, the team had a repeatable process for loading filament, cleaning the bed, and confirming a clean first layer before leaving the printer unattended.
- Week 1: Assessment and bed condition review
- Week 2: Cutting, fitting and calibration
- Week 3: Training and live print support
- Result: Less downtime between class runs
What changed for the learners and staff
Once the new surfaces and routines were in place, the classroom saw fewer lifted corners, fewer failed starts, and less time lost to reprints. The teachers reported that learners could now understand the relationship between a clean bed, the correct height and a successful print. That sounds basic, but for beginners it is often the difference between confidence and confusion.
The staff also found the maintenance side easier. Instead of treating adhesion as a mystery, they had a short checklist they could use before every print session. It covered surface condition, bed temperature, and a quick visual check of the first layer. For school use, that kind of discipline pays off quickly. A small skip in bed prep used to waste a whole lesson, and it was frustrating for everyone. After the upgrade, the room became more productive and a lot calmer.
- Fewer failed first layers and edge lift
- More consistent results across different users
- Shorter reset time between lessons
- Better learner understanding of print basics
What we would repeat in another school setup
If we were doing the same kind of rollout again, we would follow the same pattern: assess the beds first, standardise the surfaces, then train staff before handing the room over fully. That approach is sensible for schools in Bloemfontein, Pretoria or Durban, because the printer habits matter as much as the hardware. A good surface helps, but the right routine is what keeps it working.
We would also keep the process simple enough for substitute teachers or after-school coordinators to use without confusion. Clear labels, a short cleaning method and one agreed print-start checklist made the difference here. For a classroom environment, that practical setup is worth more than a fancy spec sheet. The school got a result it could maintain, not just admire for a week and then forget. That is the sort of outcome we aim for every time.
- Start with bed condition, not just surface choice
- Keep the process simple for many users
- Train staff before full handover
- Use a repeatable checklist for every print session
Key facts
| Project type | STEM classroom adhesion upgrade |
|---|---|
| Town | Bloemfontein, Free State |
| Timeline | 3 weeks |
| Surface sizes | 220 x 220 mm and 235 x 235 mm |
| Products supplied | PEI build surfaces, magnetic bases, adhesion support materials |
| Services used | Plate Installation, PEI Sheet Fitting, Magnetic Base Fitting, Bed Flatness Check, Bed Care Training |