Why the lab needed a surface trial
The lab in Stellenbosch was working with a mix of engineering samples, classroom demonstration parts and small batch prototypes. Their team needed a surface that could handle repeated use across different print profiles, including higher temperature materials and lighter classroom filaments, without constant adjustment. The brief was not just about first-layer grip. It was about repeatability, easy changeover, and a setup that could be maintained by multiple users on different shifts.
They asked for a practical comparison of surface types, not a sales exercise. That meant testing how each plate behaved after several cycles, how much cleaning was needed, and whether adhesion stayed stable on beds that were not always perfectly flat. In a lab setting, one weak first layer can waste a whole run, so the team wanted fewer failed starts and fewer manual fixes.
- Client type: research and training lab
- Town: Stellenbosch, Western Cape
- Material focus: technical filaments and mixed-use teaching prints
- Challenge: consistent bed adhesion across several printers
What was on the brief
The brief covered both performance and handling. The lab wanted build plates that could be removed and refitted without damaging the print surface, plus a bed adhesion approach that would suit frequent switching between materials. They also wanted guidance on plate care, because once a surface gets contaminated with dust, fingerprints or old adhesive the results change fast. In summer, with warm rooms and open doors, that becomes a real issue.
We reviewed the printer beds in use and checked how the existing surfaces had worn. Some beds showed slight high and low spots, which is normal on busy machines, but it meant the first layer needed a bit more tolerance. The team also needed a solution that could be explained easily to new users. If a student or junior technician had to guess what to do next, the setup would not last long.
- Need for repeatable first-layer grip
- Easy release after cooling
- Simple cleaning routine for shared use
- Compatibility with a mixed printer fleet
What we supplied and installed
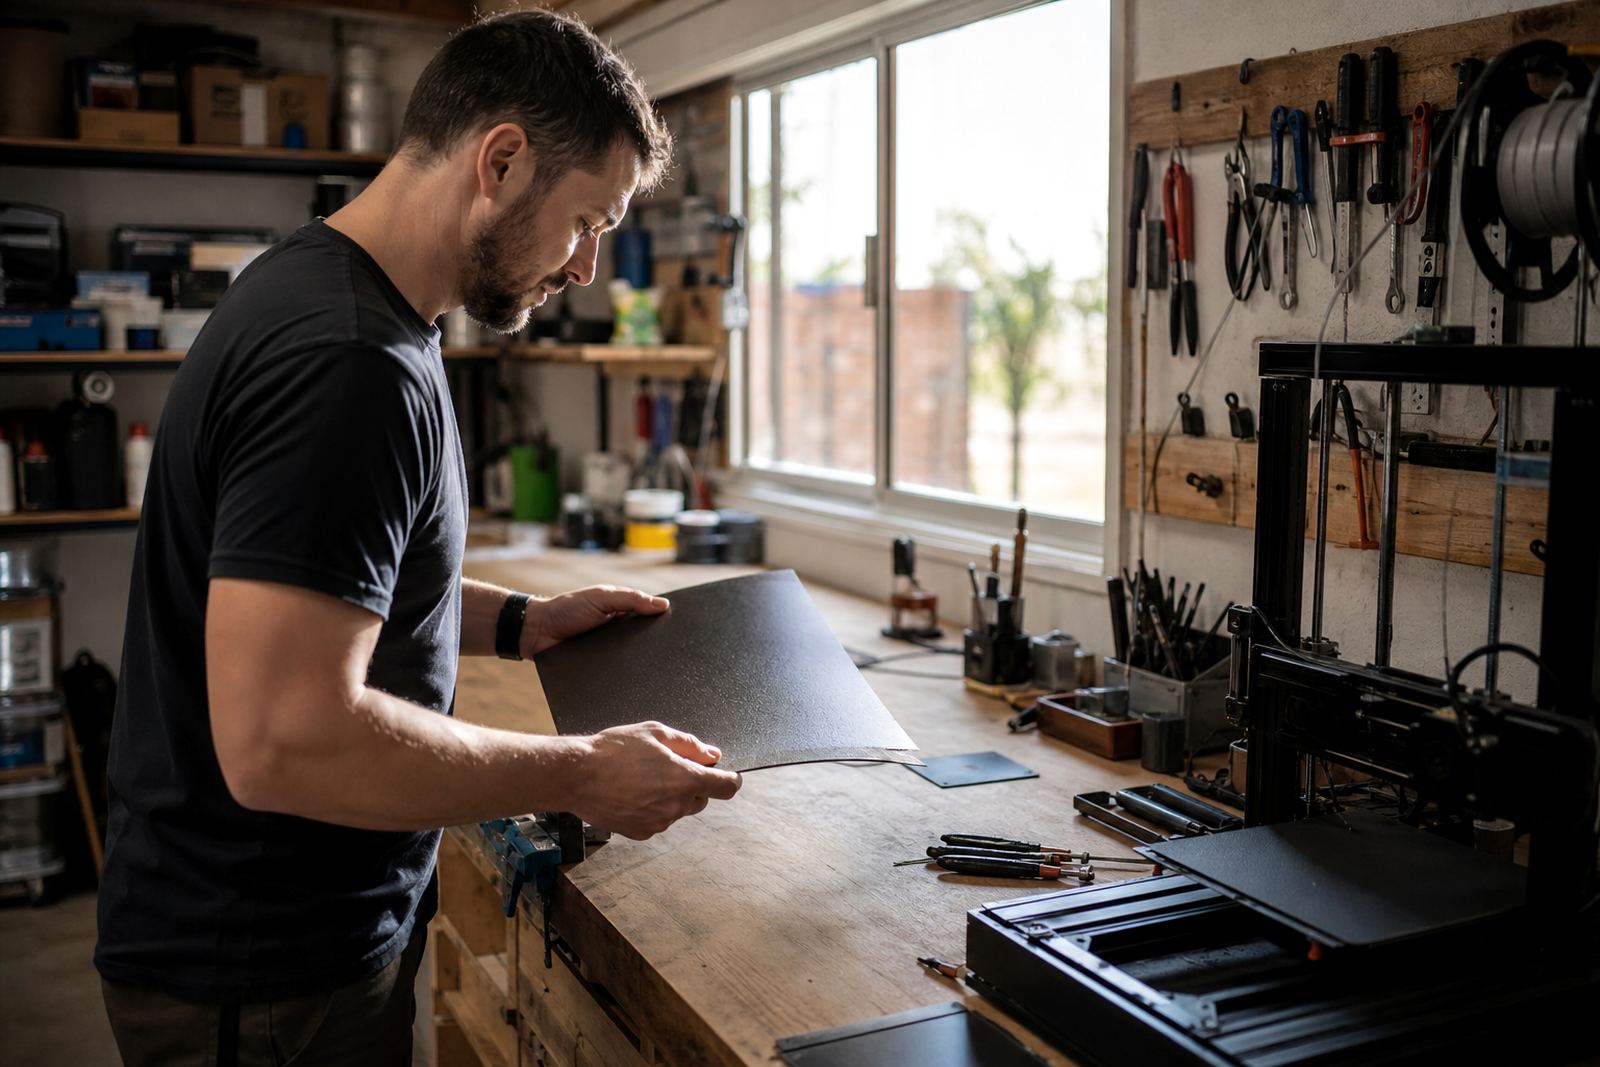
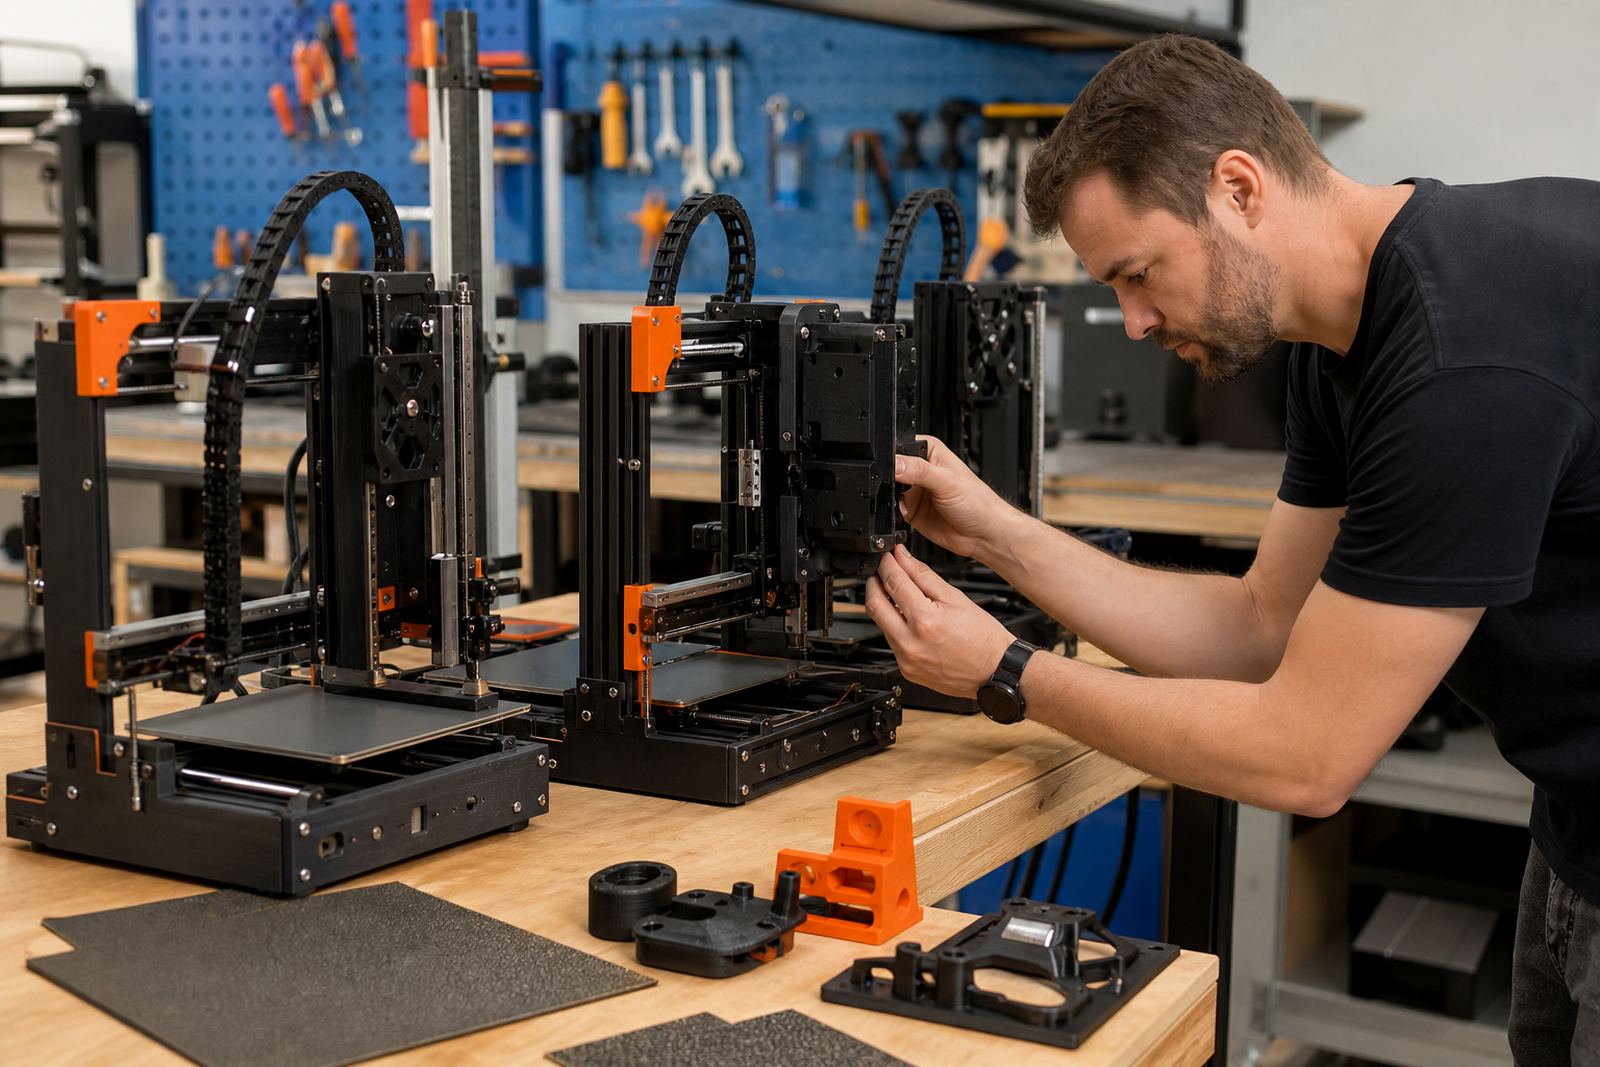
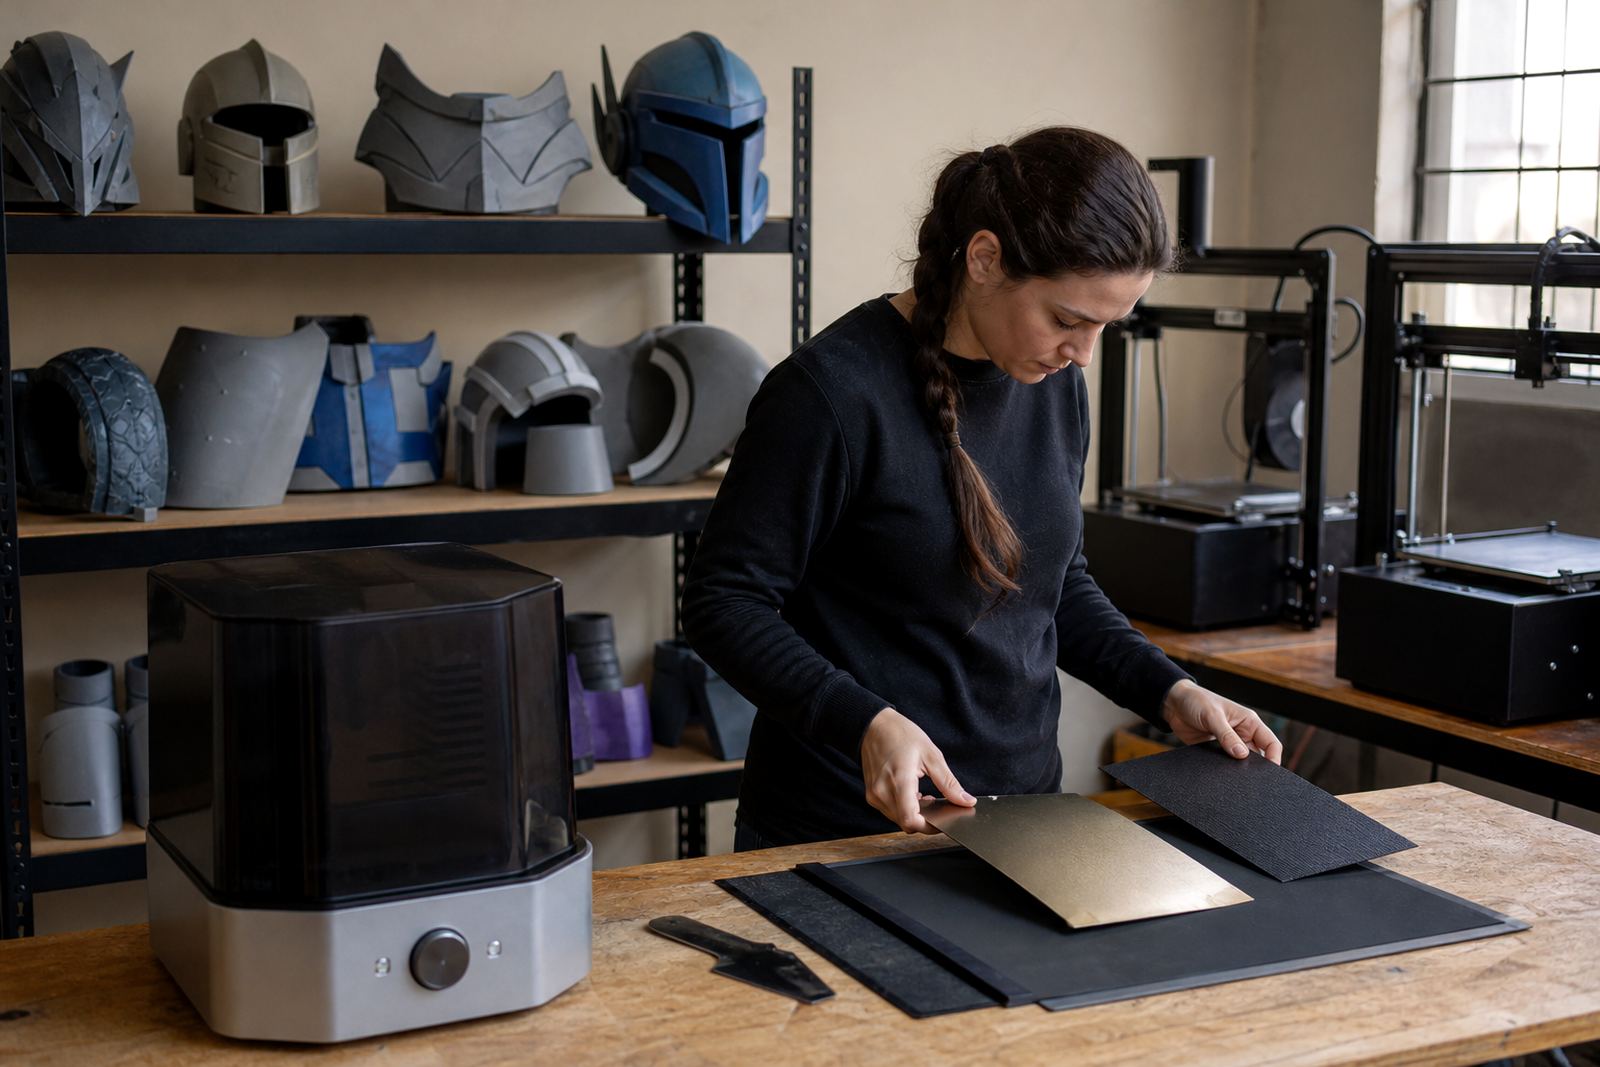
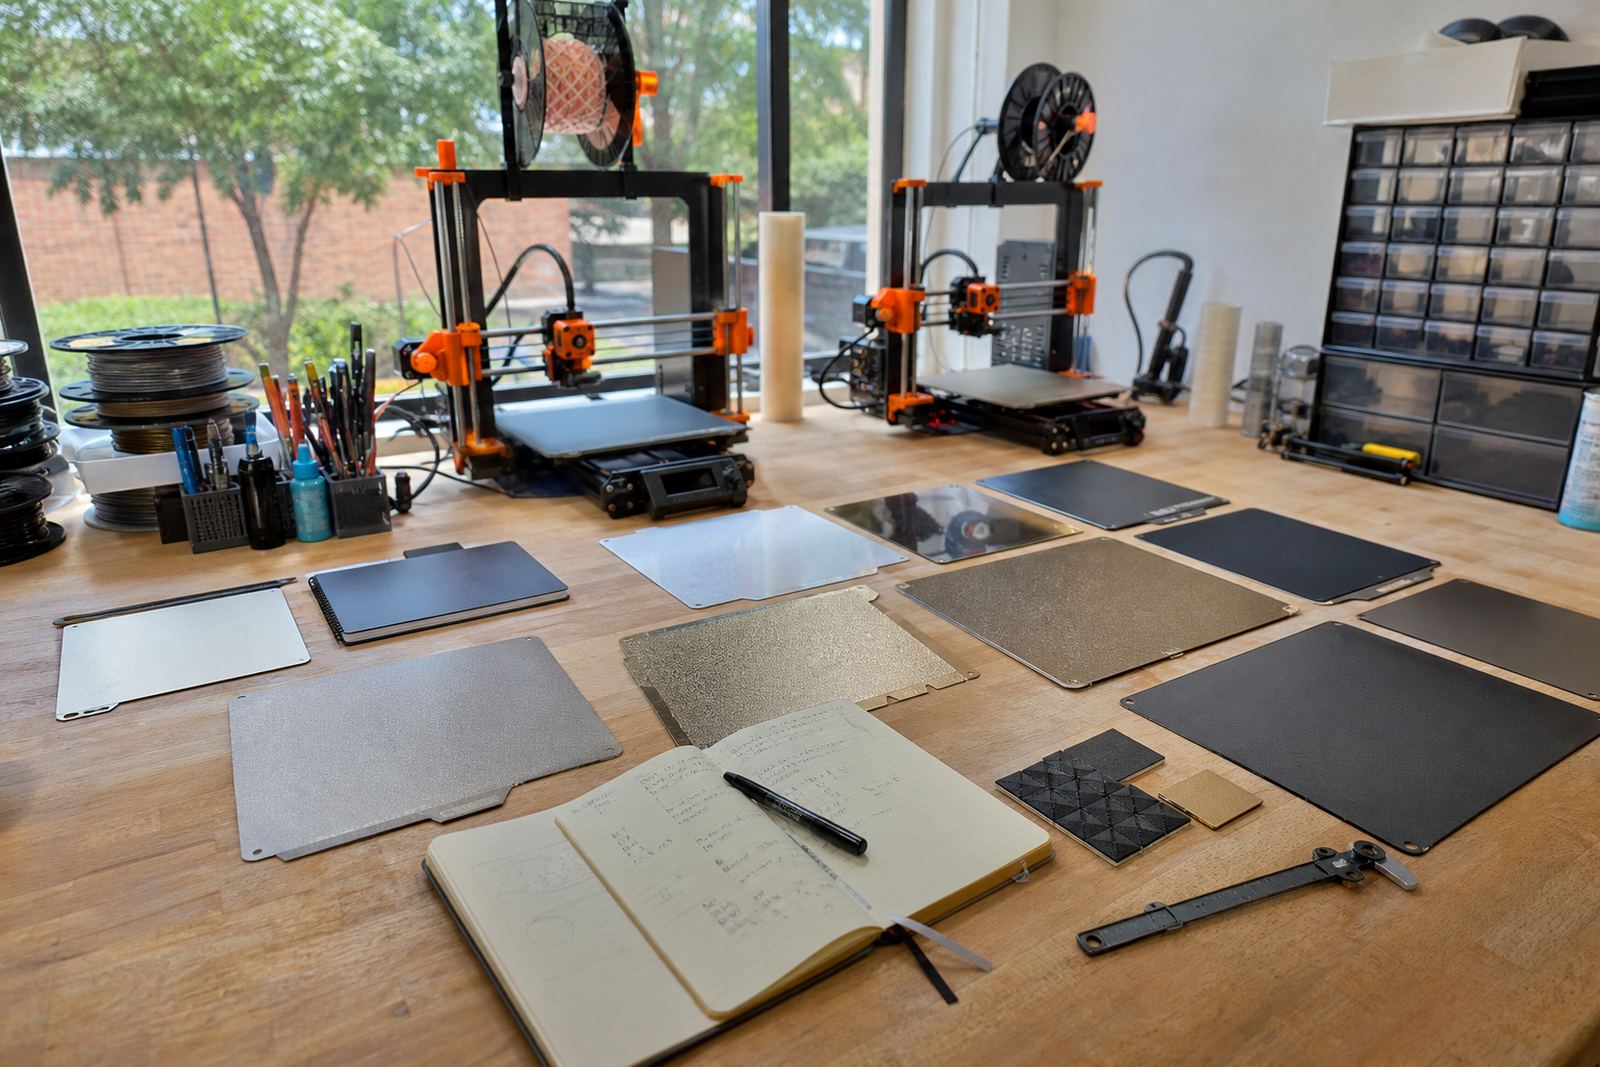
We supplied a set of PEI sheets, magnetic base fittings and selected build plates for side-by-side testing. The aim was to compare smooth and textured finishes as well as how each option handled different bed temperatures. We also fitted the surfaces on the test machines and checked flatness before the first trial runs. On a few beds, we had to do a small re-level and one plate needed trimming to match the bed size properly.
Our team completed the installation over two visits in a two week window. The first visit was for measurement, surface inspection and fitting. The second visit was for results review and to adjust the adhesion plan where needed. We also supplied cleaning guidance and a simple changeover routine so the lab could move between material types without mixing up settings. That saved them time straight away, and it reduced the number of failed first layers.
- PEI sheet fitting for test and working machines
- Magnetic base fitting where quick changeover was needed
- Custom size cutting for non-standard beds
- Bed flatness check before fitting
- Surface refresh and cleaning guidance
Test results after two weeks of use
After the first two weeks, the lab had enough data to see which surface types worked best for each material. The textured PEI option gave strong grip on the first layer and released reliably once the bed cooled. The smoother option was better for cleaner undersides on certain parts, but it needed closer temperature control. For the machines with slight bed variation, the magnetic base made changeover easier and kept the workflow moving.
The team reported fewer lifted corners and fewer parts popping free during long runs. They also found that a light cleaning routine made a noticeable difference, which is common in shared labs where dust and handling build up quickly. One of the test machines had a small hotspot near the front left area and we worked around that with a bed map and placement notes. It was not a dramatic fault, just enough to matter on a long job.
- Less edge lift on longer prints
- Cleaner release after bed cooldown
- Fewer restarts from poor first layers
- Better consistency across multiple users
How the lab now manages adhesion
Once the tests were complete, we put together a simple maintenance plan for the lab staff. It covers cleaning intervals, when to replace a worn sheet, and how to spot the early signs of adhesion loss before a print fails. That matters in a research setting because an issue caught early saves filament, time and machine wear. It also helps when a room is busy and people are moving between machines.
We also covered bed care training with the team. The main point was to keep the process consistent. Use the same surface prep, the same handling steps, and the same cooling rules across the lab. If one operator wipes with too much residue and another never cleans at all, results drift. With a shared standard, the prints are easier to compare and the equipment lasts longer.
- Weekly surface inspection
- Dry wipe before each job
- Full clean when grip changes
- Replace worn sheets before visible scoring builds up
What we would do again on a similar job
If we were doing the same job again, we would still start with a short surface trial across at least two machines before standardising the whole lab. That gives a clearer read on fit, heat behaviour and release characteristics. We would also recommend a written handling sheet for every user because research labs often have changing staff and students through the year. A good surface can fail fast if the handling is loose.
For a lab like this, the best outcome came from matching the surface to the task rather than forcing one plate to do everything. That approach worked because the team wanted reliable daily use, not just a good result on one print. The final setup suited their mix of technical parts, teaching samples and repeated test runs, and it gave them a repeatable base for future material trials. It also made the department easier to support over time, which is the part many people overlook.
- Start with a small side-by-side test
- Match the surface to the material and job type
- Keep a simple care routine for all users
- Check bed flatness before blaming adhesion
Key facts
| Project | Stellenbosch research lab surface trial |
|---|---|
| Location | Stellenbosch, Western Cape |
| Duration | 2 weeks |
| Supplied | PEI sheets, magnetic bases, build plates |
| Key services | Plate installation, bed flatness check, adhesion troubleshooting |
| Outcome | More consistent first layers and easier release after cooling |