What the centre needed from day one
The client was a training centre in Gqeberha working with mixed experience groups, from first-time users to learners already comfortable with slicing and calibration. Their main goal was to simplify machine setup across several printers so each station could be prepared in the same way, with fewer variations between users and less time lost between classes.
They wanted matched plate and magnetic base combinations that could be swapped in a controlled way, plus clear guidance for bed adhesion and care. The centre also needed a system that could cope with regular class cycles, student handling and the coastal conditions in Gqeberha where humidity can affect first-layer behaviour and storage of consumables.
- Client type: training centre serving learners and staff
- Town: Gqeberha, Eastern Cape
- Goal: faster setup and more consistent first layers
- Use case: shared printers in a learning environment
Constraints we worked around
The biggest constraint was consistency. The centre did not need one-off custom tinkering at every station, they needed a repeatable setup that different instructors could hand over without changing the method each time. Several printers also had different bed sizes and surface wear levels, so a single off-the-shelf answer would not have been practical.
We also had to work around limited downtime. The lab could not be offline for long and the team needed a tidy changeover that did not create loose parts or confusion for students. Because the site is in a coastal city, we also planned for moisture exposure and made sure the surface care advice suited a room that might be opened and closed often during the day, especially when load-shedding affected air movement and routine.
- Mixed printer bed sizes across the lab
- Limited downtime between teaching blocks
- Coastal humidity and storage care
- Need for simple, repeatable handover steps
Matched plate and base combinations we supplied
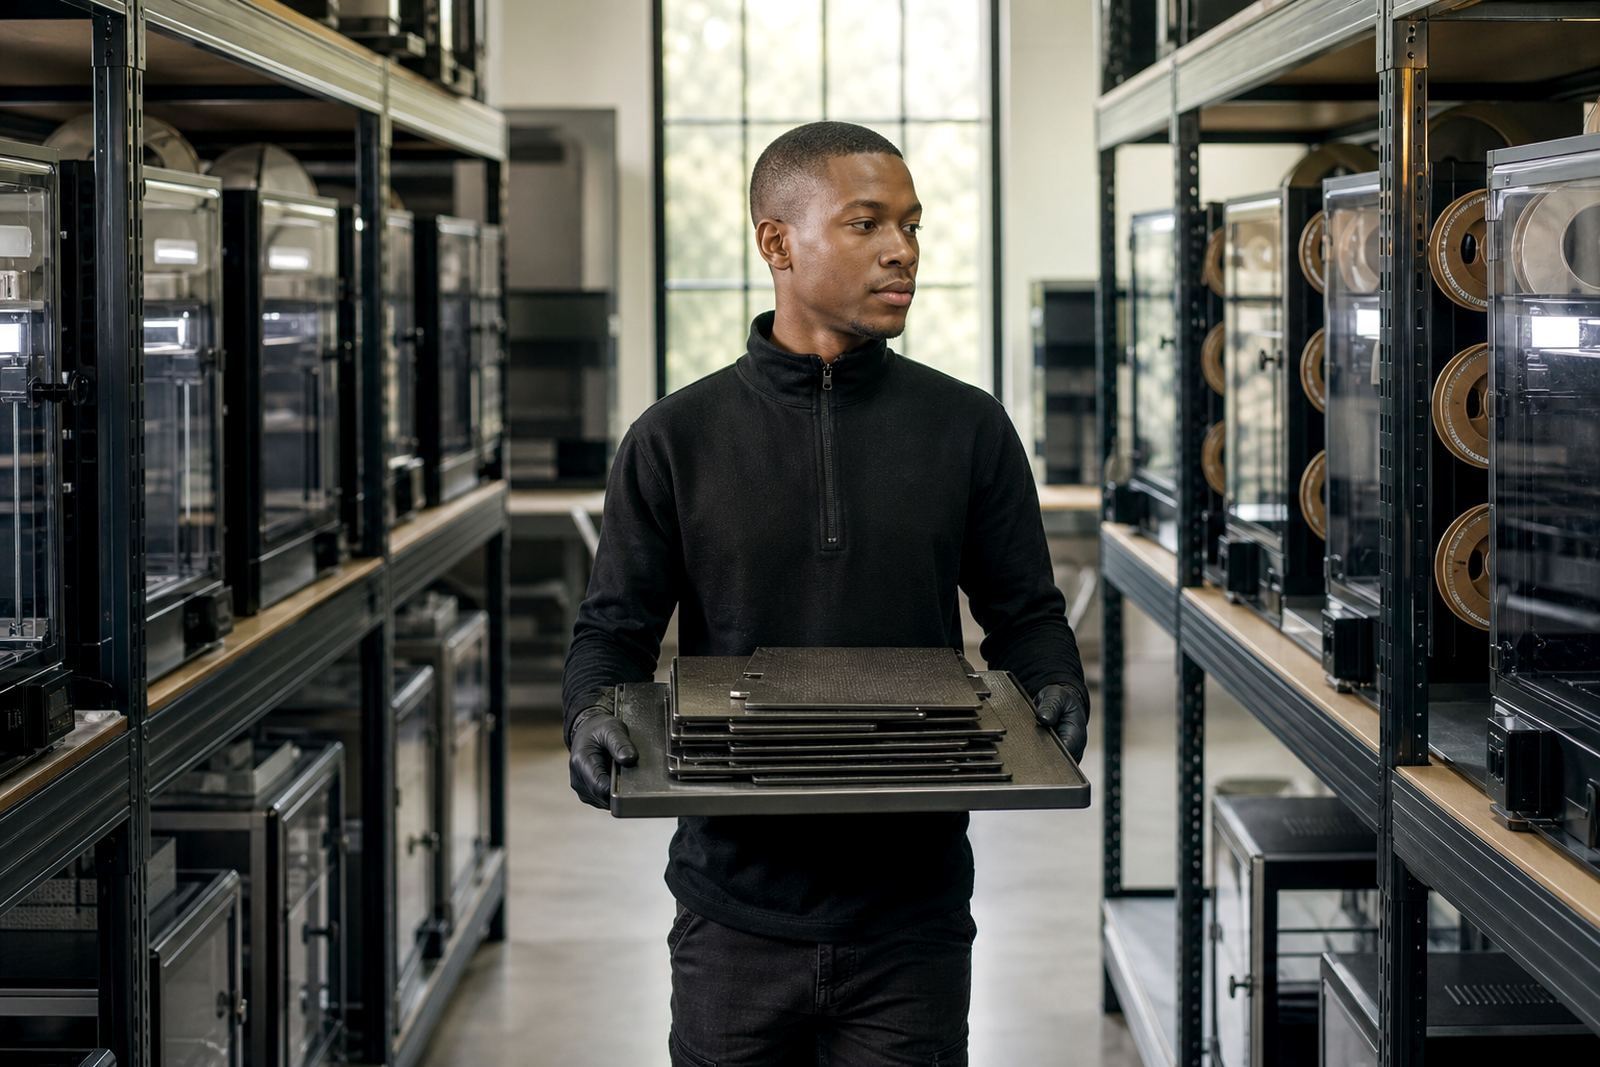
We supplied matched build plates and magnetic bases for the machines that needed a standardised approach. The parts were selected to suit the printer beds in use, with sizes confirmed before cutting and fitting so the surfaces would sit square and free of edge lift. Where needed, we carried out custom size cutting to match the centre's existing machines rather than forcing a compromise fit.
We also handled plate installation and magnetic base fitting, then checked bed flatness before finalising each station. That let us catch high or low spots early and correct the setup before the learners started using the machines. For the centre this meant fewer failed first layers and less time spent asking why one printer behaved differently from the next.
- Matched plate and magnetic base sets
- Custom size cutting for selected beds
- Bed flatness checks before handover
- Surface refresh on beds that had visible wear
Training delivered to the staff team
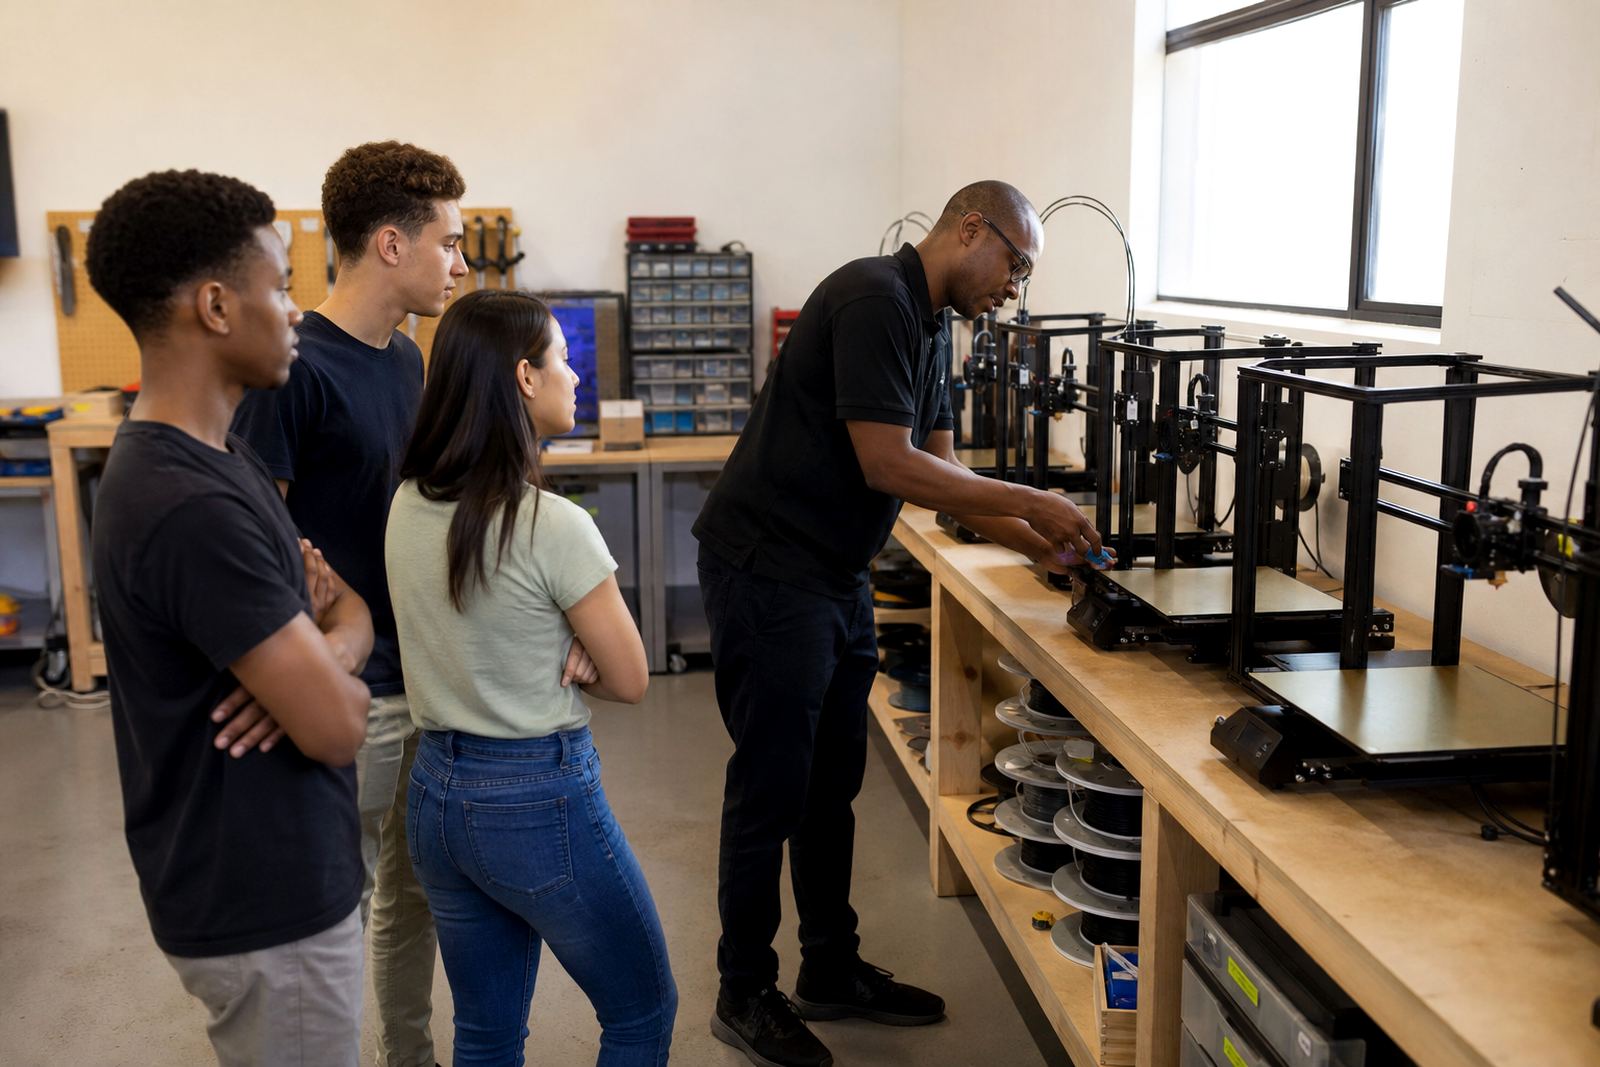
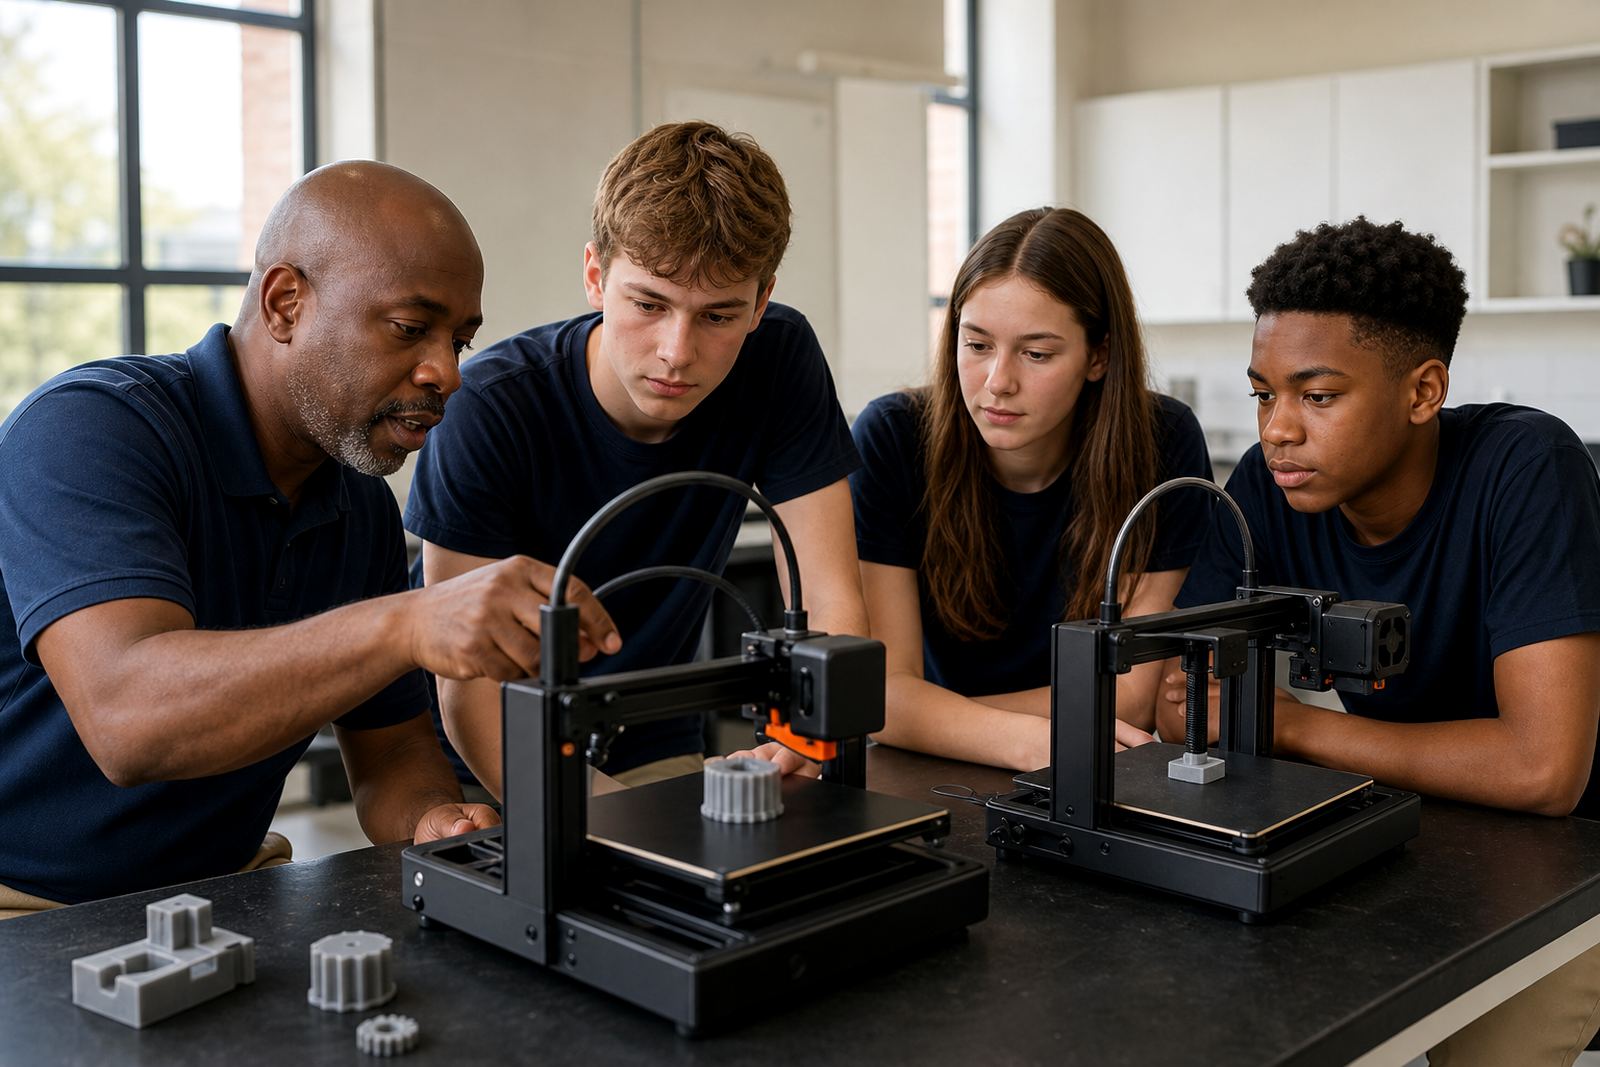
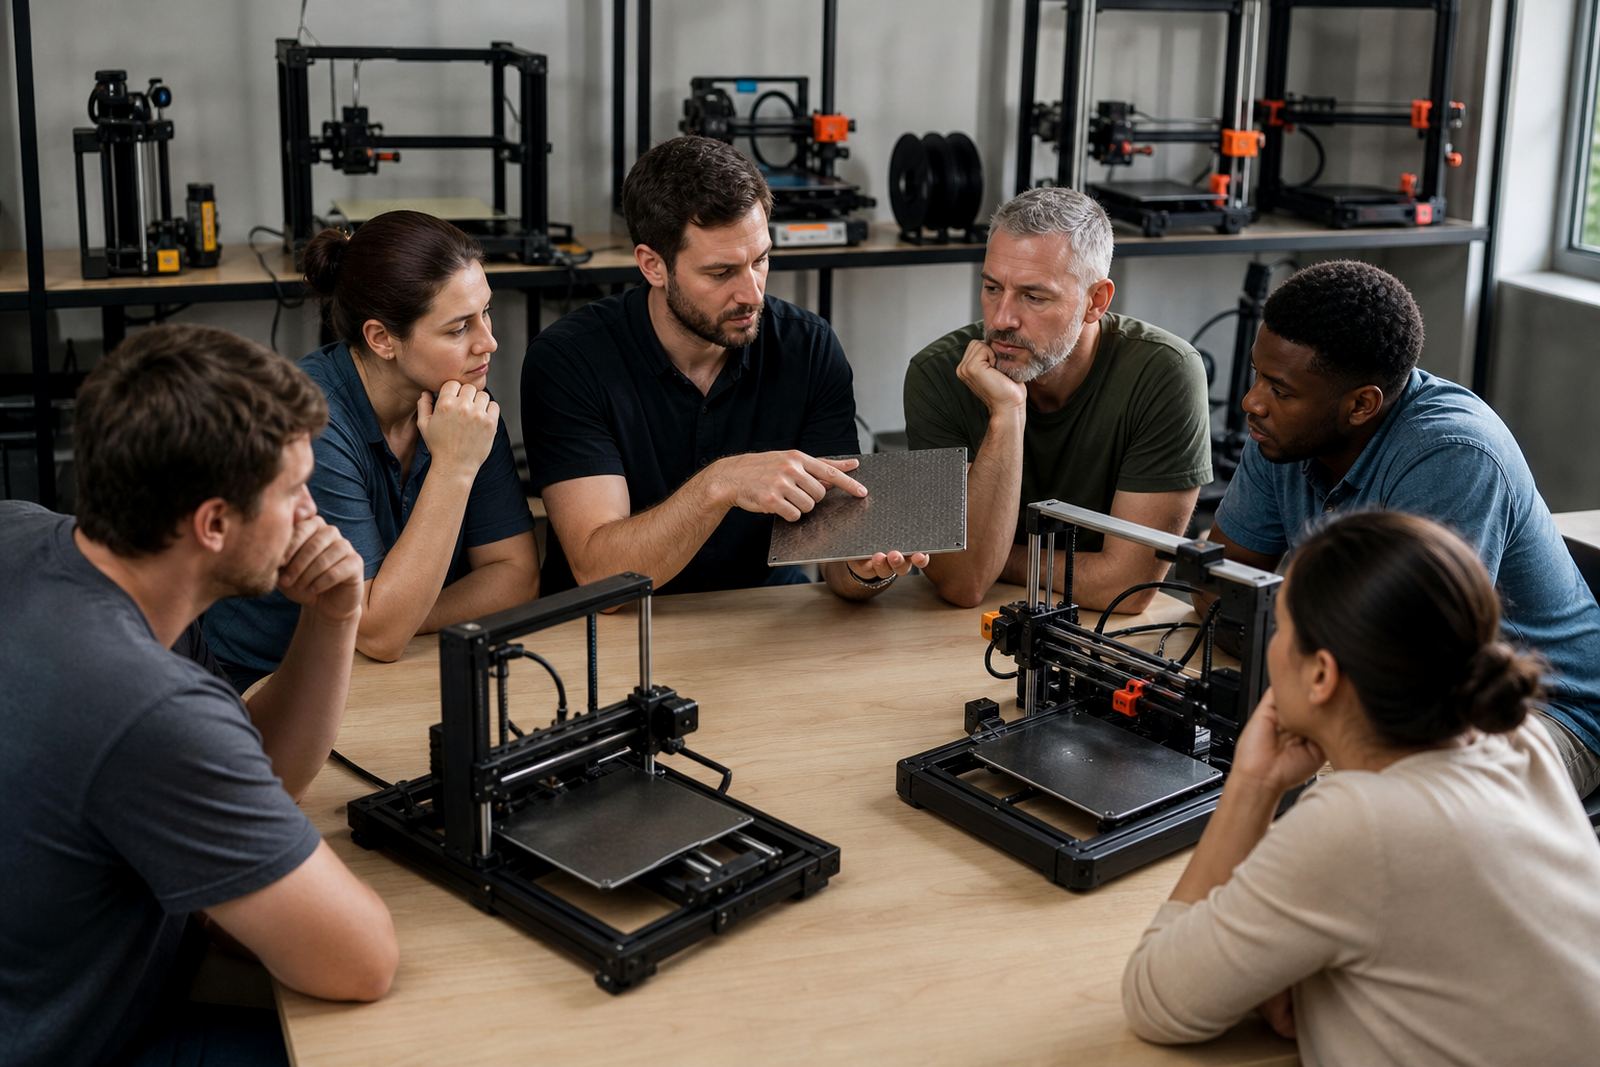
Once the hardware was fitted, we ran practical training with the centre team on how to keep each printer ready for use. The session covered how to fit and remove plates, when to clean the surface, how to inspect the magnetic layer and what signs to look for when adhesion starts dropping. We kept the process simple enough for a classroom setting but detailed enough for the technical lead to standardise it across the lab.
We also gave the team a bed care routine that could be followed between classes, plus a short troubleshooting guide for common issues such as corner lift, patchy adhesion and residue build-up. The aim was not just better prints, but a setup that could be supported by staff with different levels of experience. A small amount of structure saves a lot of time later, especially when the lab is busy and the next group is already waiting.
- Plate fitting and removal method
- Cleaning and inspection routine
- Adhesion troubleshooting basics
- Simple rules for shared-use printers
Timeline from first check to handover
The project ran over four weeks from initial assessment to final handover. The first week was spent confirming printer models, bed sizes and the daily use pattern in the lab. In week two we prepared the plate and base combinations and finalised the fit for each station. Week three covered installation and surface checks, while week four focused on staff training and a final review of the setup.
That timeline worked well because it allowed for corrections without delaying teaching. It also gave the centre time to test the new approach between classes and raise any issues while we were still close enough to adjust them. The end result was a smoother roll-out with no rush at the finish.
- Week 1: assessment and measurements
- Week 2: preparation and size confirmation
- Week 3: fitting and checks
- Week 4: training and handover
Results the centre could use immediately
After the handover, the centre had a more standardised way to prepare each printer and less variation between stations. The instructors could set up the beds faster, the learners had clearer guidance, and the print results became more predictable from one machine to the next. That matters in a training environment because students learn better when the machine behaviour is repeatable.
The centre also benefited from having a clear replacement plan for worn surfaces and a practical care routine they could use over time. Instead of reacting to adhesion problems after they happened, the team now had a process for prevention and early correction. For a lab with frequent use, that is often the difference between a smooth class and a morning spent reworking failed jobs.
- Faster station setup between sessions
- More consistent first-layer results
- Clearer maintenance routine for staff
- Better support for shared student use
What we would do again for a similar lab
If we were setting up a similar training centre again, we would follow the same sequence: confirm the bed sizes first, match the plate and magnetic base combinations to the actual machines, then train the staff on the exact care routine they will use every day. That order keeps the project practical and avoids over-complicating a shared lab.
We would also keep the focus on standardising across the room rather than chasing a different solution for every printer. In a school or training space, consistency is usually worth more than a complicated upgrade. Once the team can trust the setup, the centre can spend more time teaching and less time adjusting beds. That is the point of the system, after all.
- Measure before ordering or cutting
- Keep the fitting process the same across stations
- Train staff, not just learners
- Plan replacements before surfaces fail
Key facts
| Client type | Training centre |
|---|---|
| Town | Gqeberha, Eastern Cape |
| Project duration | 4 weeks |
| Core work | Matched build plates and magnetic base fitting |
| Support included | Bed flatness check, adhesion troubleshooting, bed care training |
| Outcome | Simplified machine setup with standardised stations |