A practical brief for beginner printers in Soweto
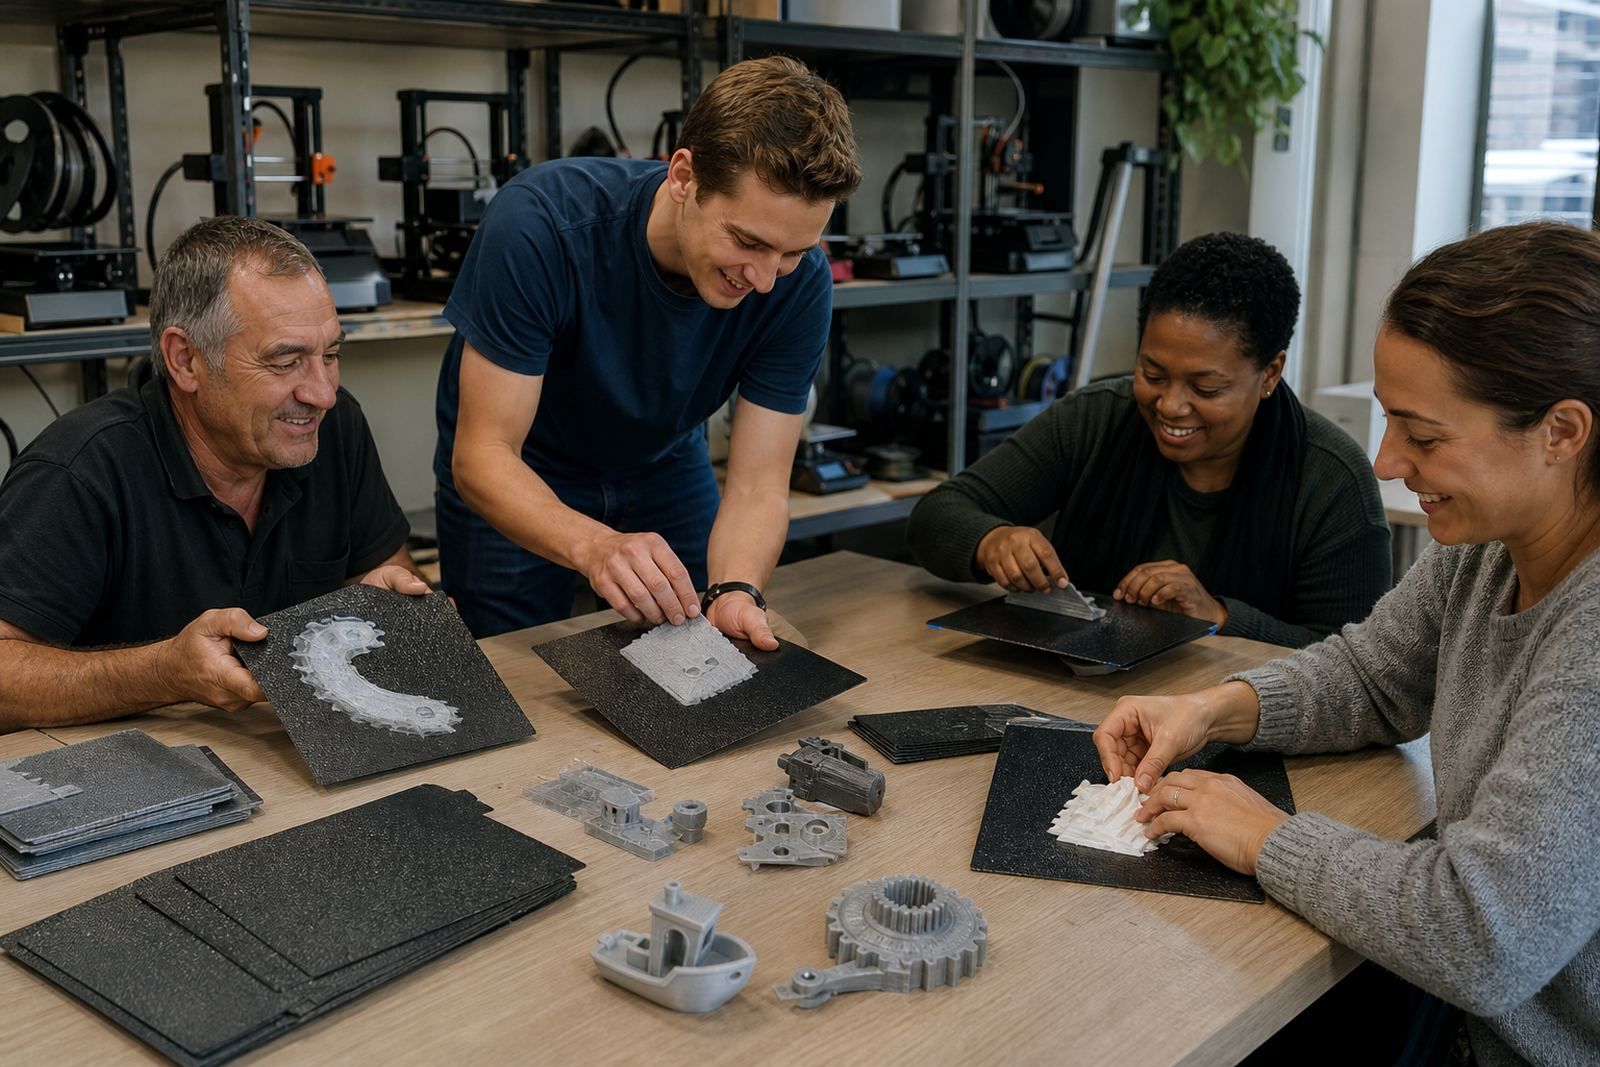
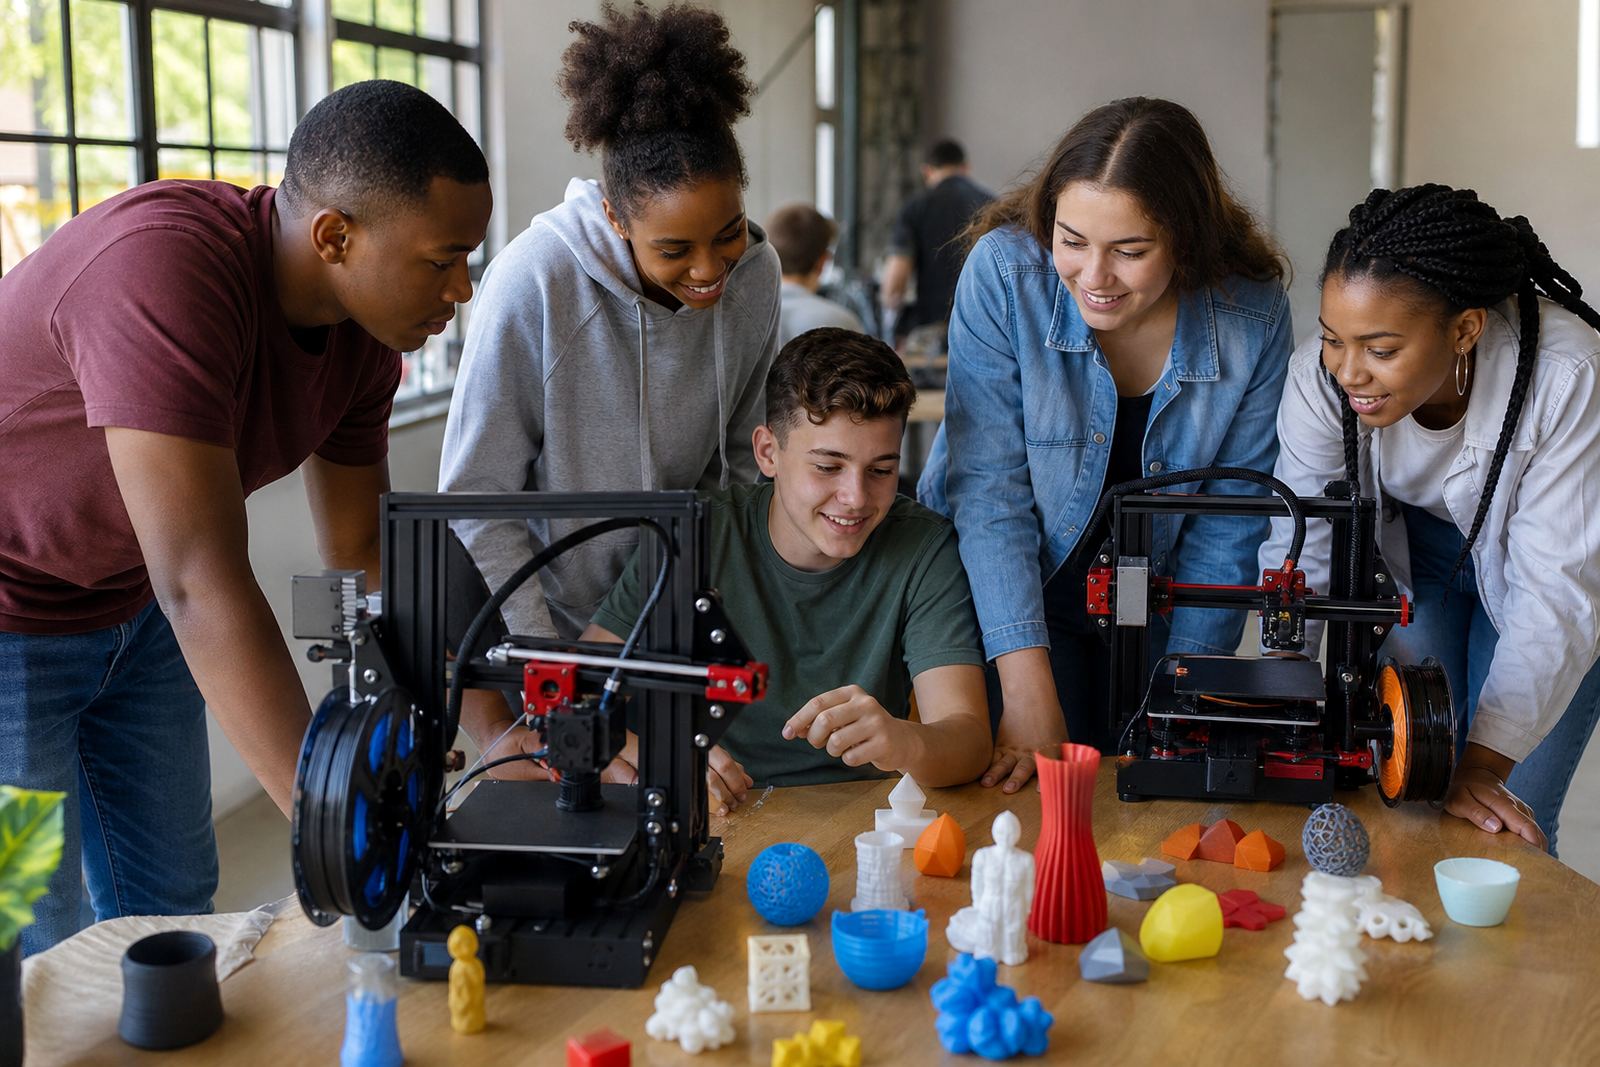
The workshop runs in Soweto and works with school leavers, young makers, and first time users who are learning on entry level and mid range 3D printers. Their main problem was simple: learners were losing time to warped corners, poor adhesion, and unclear prep steps. The team wanted a setup that could be taught quickly, used safely by beginners, and repeated from class to class without needing a lot of specialist know-how.
They asked us to review the build surface approach and recommend a method that would hold up in a busy training room. The brief was to reduce failed first layers, limit bed cleaning delays, and keep the process easy enough for rotating tutors and volunteers. In short, the goal was better first layer success with less fuss and no overcomplicated prep routine.
- Client type: youth training workshop
- Town: Soweto, Gauteng
- Need: simpler plate prep for beginners
- Priority: reliable first layers and repeatable results
What made the setup difficult
The workshop space had the usual challenges that come with community training rooms. Printers were being used by different learners through the week, sometimes after load-shedding recovery, and the bed surfaces were not being treated the same way every time. A few machines also had slightly uneven beds, which made the learning curve tougher for new users.
There was also a mix of filament types, from standard PLA to a few tougher materials used for demonstrations. That meant the surface solution had to work across different jobs without needing constant change-outs. The team needed something that could cope with warm afternoons, dust in the room, and students who were still learning how to level a bed properly. It had to be practical, not fussy.
- Mixed user levels from beginners to facilitators
- Different filament types in one training room
- Irregular printer use during power interruptions
- Need for a surface that was easy to clean and re-use
The plate prep system we put in place
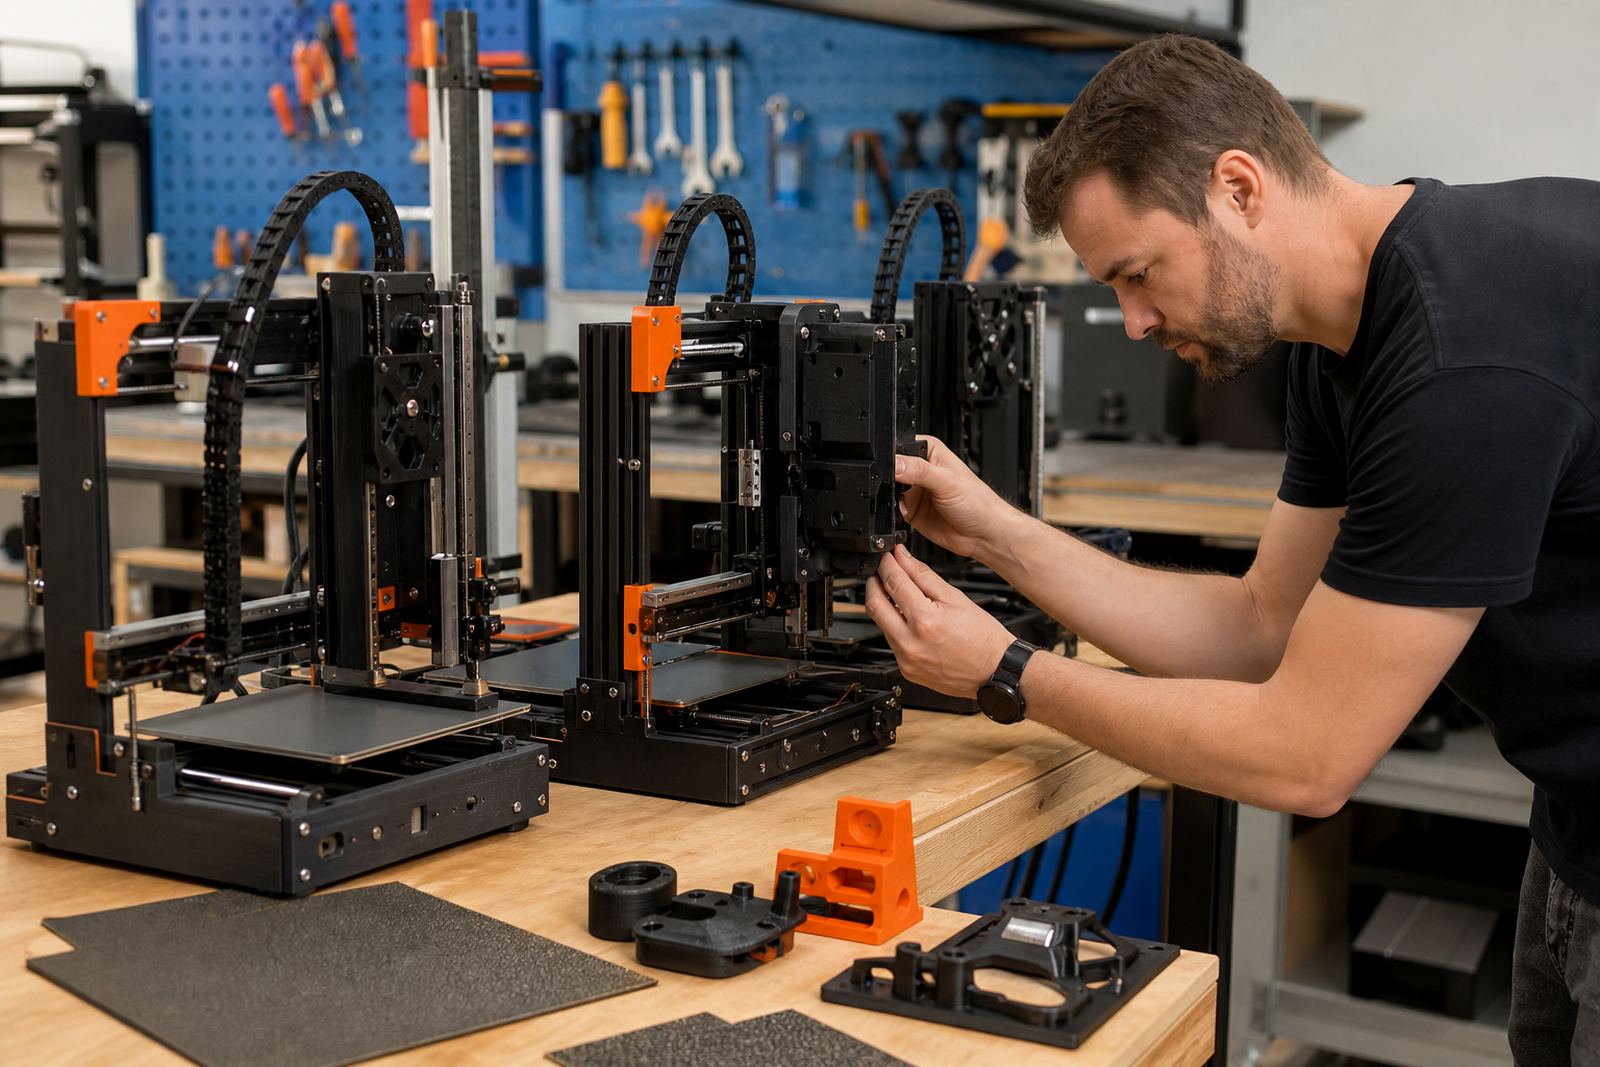
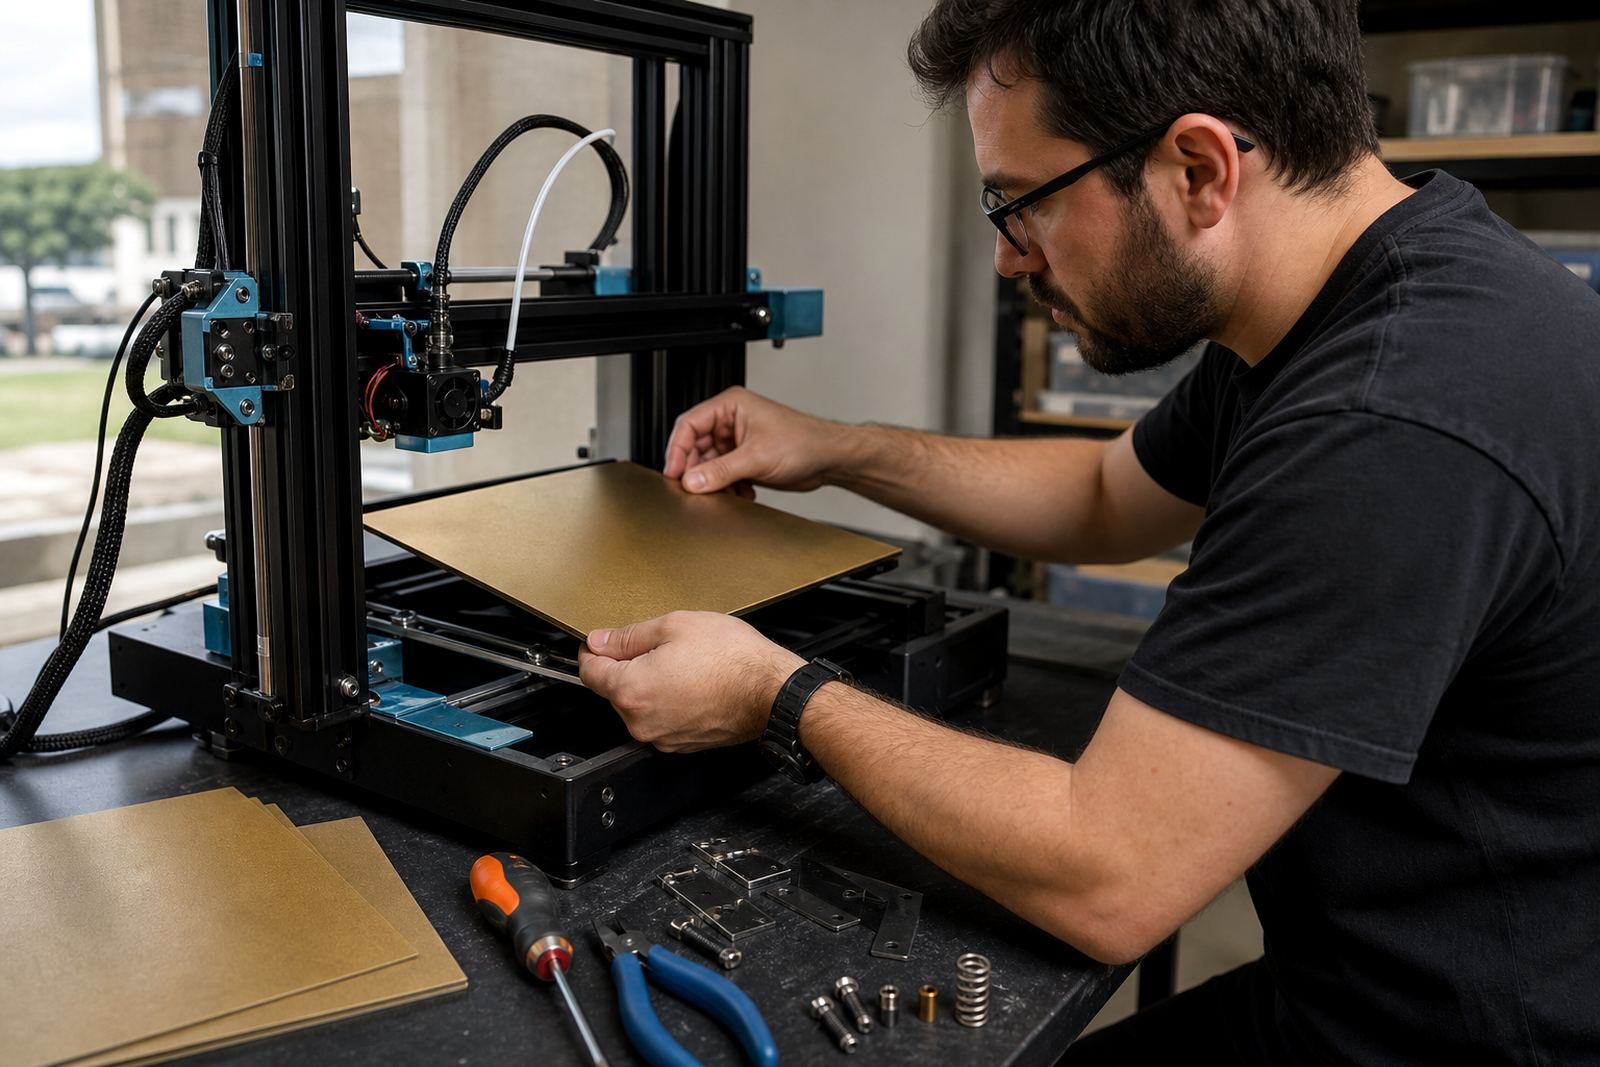
We supplied build plates and PEI sheets sized for the workshop printers, then fitted the surfaces so each machine started from the same baseline. Where needed, we carried out magnetic base fitting and a bed flatness check before the final install. The idea was to remove guesswork and give the trainers a process they could explain in one short lesson.
We also introduced a simple prep routine using surface refresh, bed care guidance, and a basic adhesion check before each print run. For the machines that were being used most often, we recommended a replacement planning cycle so the team knew when to rotate worn parts instead of waiting for prints to start failing. That saved time and reduced material waste.
- Build plates matched to the printers in use
- PEI sheets fitted for easier release after cooling
- Magnetic base fitting where quick swaps were needed
- Bed flatness check before final handover
- Basic prep routine for learners and facilitators
Training the workshop team in easy steps
The best part of the job was simplifying the process for the people actually using the machines. We ran the team through plate cleaning, first layer checks, and the difference between a surface that is too dirty and one that has been over handled. The facilitators picked up the routine quickly because we kept it hands on and clear.
We also covered adhesion troubleshooting for the common issues they were seeing: corners lifting, first lines not sticking, and prints releasing too early. The training was adapted for school style use, where one machine might be used by several learners in a day. That meant teaching them how to reset a bed properly between sessions, not just how to start a print.
- Bed adhesion basics for new users
- How to spot first layer problems early
- Simple cleaning and care between prints
- Resetting the bed for the next learner
Timeline and rollout over three weeks
The project ran over three weeks from first site discussion to final handover. In week one, we assessed the printers, the current bed surfaces, and the learning setup. In week two, we supplied the parts, completed the fitting work, and tested the first layer performance on a few sample models. In week three, we trained the team, checked the repeatability of the setup, and finalised the upkeep plan.
The speed mattered because the workshop had scheduled learner sessions and could not afford long downtime. We kept the rollout tight and practical, with each stage linked to the next. By the end of the process, the facilitators had a working routine they could carry into their next intake without needing extra support for every small issue.
- Week 1: site assessment and bed review
- Week 2: supply, fitting, and test prints
- Week 3: training and final handover
What changed after the upgrade
After the new setup was introduced, the workshop reported better first layer consistency and fewer failed starts during beginner sessions. Learners could see the difference more clearly because the first layer stopped being a guessing game. That meant less wasted filament and more time spent on design, slicing, and learning the basics of printer control.
The facilitators also found it easier to standardise their classes. Instead of each printer being treated differently, they had one shared process for prep, cleaning, and replacement planning. For a youth workshop, that kind of consistency is valuable because it lets new users focus on learning rather than battling the machine.
- Better first layer consistency
- Fewer failed prints during training
- Less filament waste and less downtime
- One shared process across the room
What we would repeat on the next youth training setup
If we were doing the same type of project again, we would use the same approach: start with the bed, keep the instructions short, and fit the surface to the skill level of the users. For a youth workshop, that means choosing parts that are forgiving, easy to maintain, and suitable for high turnover class use. It also means planning for spare surfaces from day one, not after the first batch of wear starts showing.
We would also repeat the standardising step across all printers in the room. Once the team has one known process, they can train new learners faster and spot issues before a print fails. That kind of setup works well for schools, community labs, and small print farms too. It is a simple approach, but it works when the aim is reliable printing rather than fancy extras.
- Start with the print bed, not the slicer
- Keep prep steps short for beginners
- Standardise across every machine in the room
- Plan spares and replacements early
Key facts
| Project type | Youth training workshop support |
|---|---|
| Town | Soweto, Gauteng |
| Timeline | 3 weeks from assessment to handover |
| Surface type | Build plates and PEI sheets |
| Main services used | Plate installation, bed flatness check, adhesion troubleshooting, training |
| Outcome | Improved first layer reliability and simpler prep for beginners |