What the school needed in Cape Town
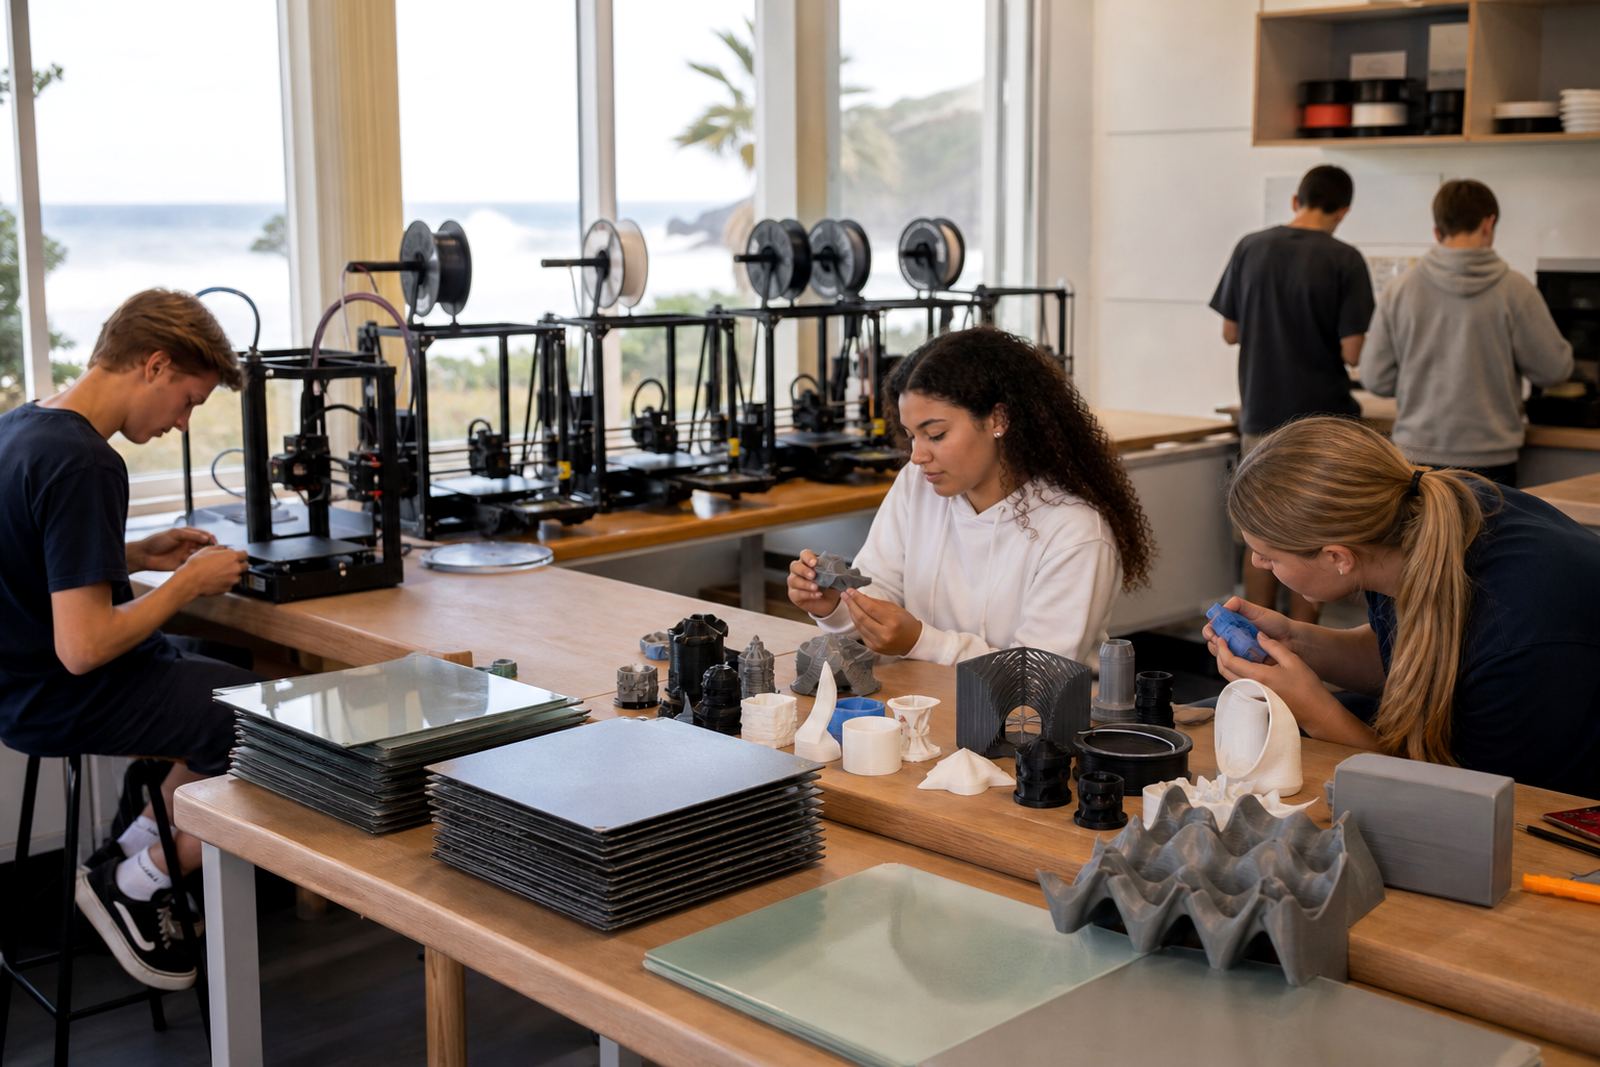
The client was a coastal school in Cape Town running a small fleet of 3D printers for class projects, STEM work and after-school maker sessions. The beds had become patchy and inconsistent, which meant first layers were sticking on some machines but lifting on others. Teachers were spending too much time scraping, checking and re-running prints.
The brief was straightforward: improve bed adhesion, make daily cleaning easier and keep the setup suitable for learner use. The school also wanted a cleaner routine that staff could follow without special tools or a long training session, especially with mixed skill levels in the lab.
- School type: Coastal public school
- Town: Cape Town
- Use case: Classroom printing, STEM projects and learner clubs
- Main issue: Worn build surfaces and inconsistent adhesion
Constraints we worked around
Coastal conditions matter in Cape Town. Salt air, humidity and general classroom wear can change how a build surface behaves over time. The school also had to work within normal term-time pressures, so we planned the change around class periods and kept downtime low. There was no room for a long stoppage or a complicated system that only one person could manage.
We also had to keep the setup practical for learners. That meant choosing surfaces that were easy to clean, quick to inspect and less likely to be damaged by regular use. A few of the beds were slightly out on flatness too, so we checked those before fitting anything new. It saved them chasing bed adhesion when the real issue was a surface that had aged unevenly.
- Coastal humidity and salt exposure
- Classroom use by multiple learners and staff
- Limited downtime between lessons
- Need for simple daily maintenance
What we supplied and fitted
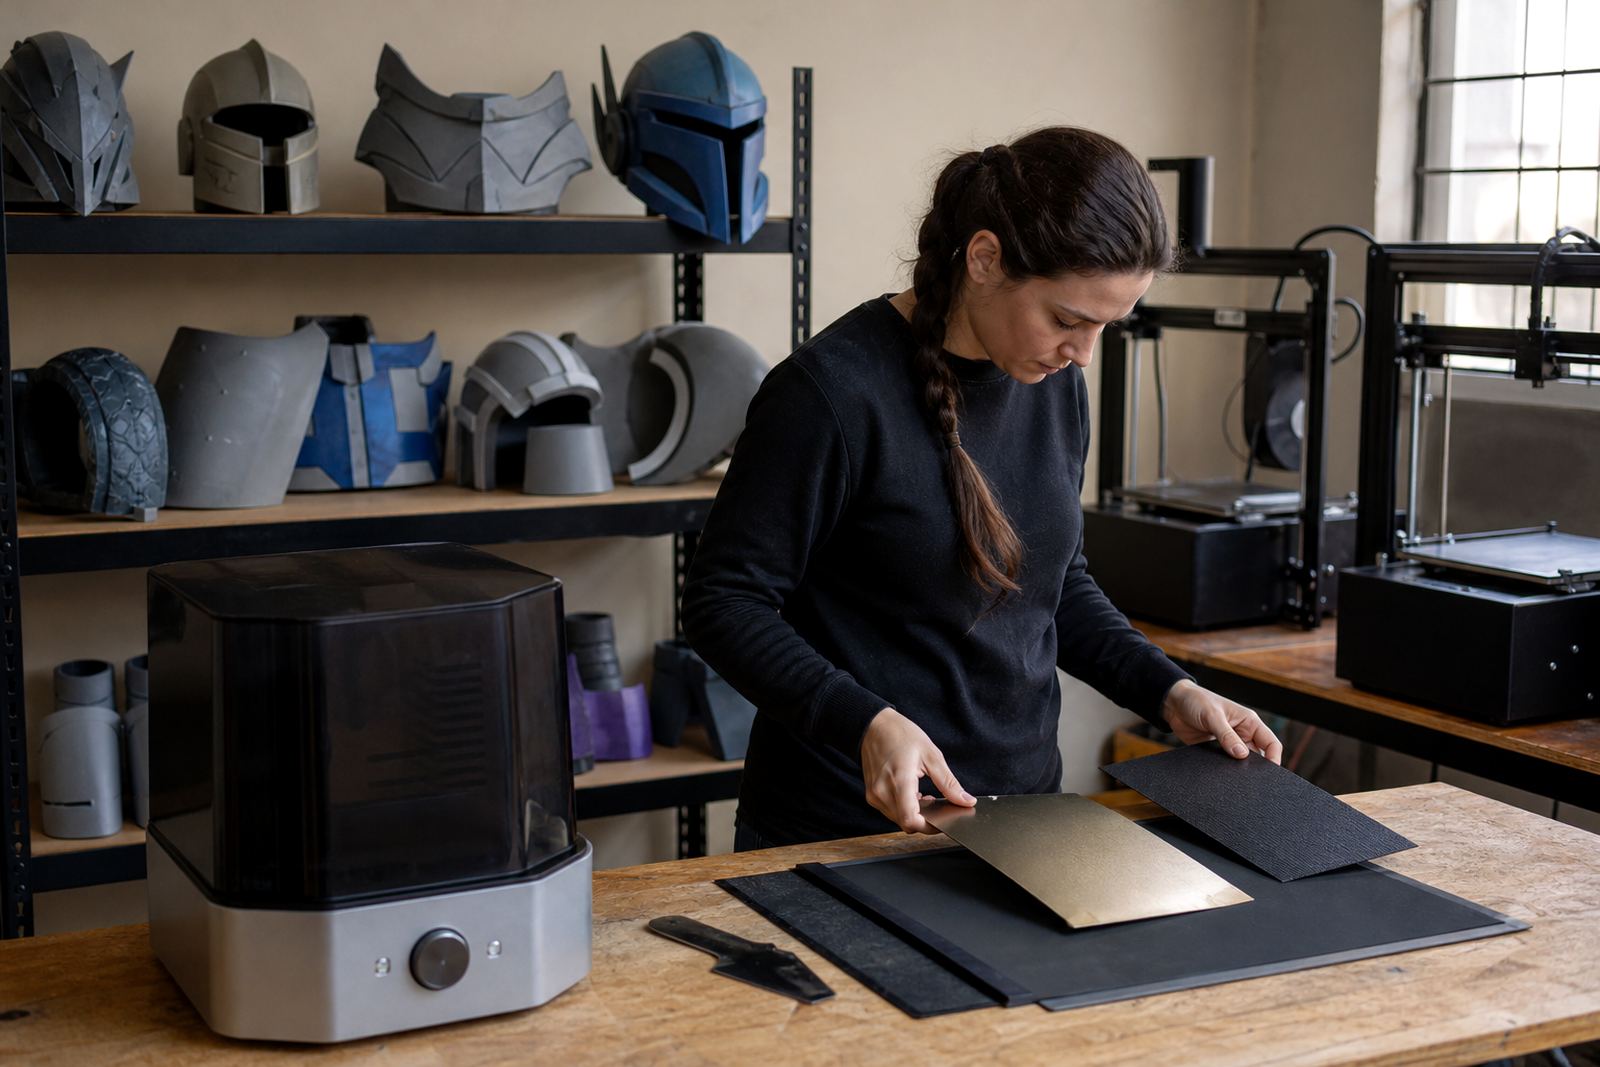
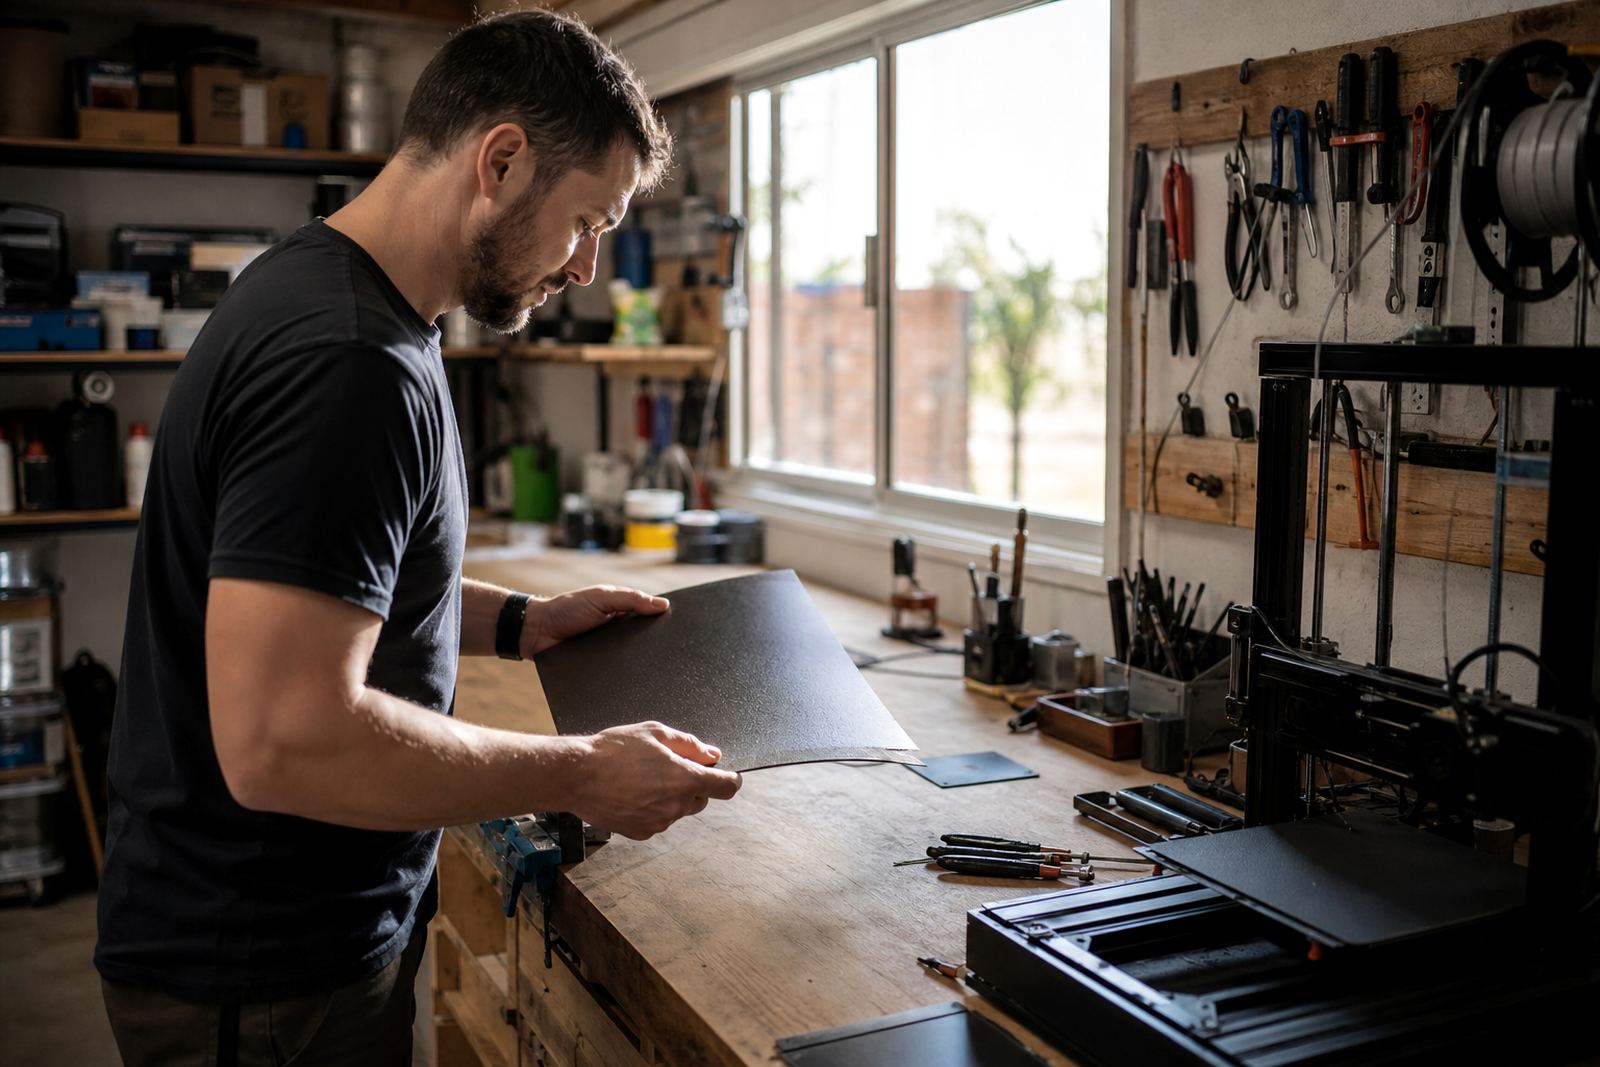
We supplied a mix of build plates and PEI sheets sized to suit the printers already in use, along with replacement adhesive and fitting support where needed. The school chose a standardised surface across the lab so learners could move between machines without changing their starting process each time. That made it much easier to teach one method and repeat it across the room.
Our team handled the fitting, bed flatness checks and alignment on site. Where a plate needed a better contact surface, we adjusted the base and replaced worn adhesive layers. We also marked each machine by size and surface type so staff could match consumables correctly. A few beds needed a small clean-up before fitting, nothing major but it made a difference to the finish.
- Build plates matched to existing printer sizes
- PEI sheet fitting for more reliable first layers
- Magnetic base fitting where required
- Bed flatness check before installation
- Surface refresh on the worst-worn machines
Timeline from first check to class ready
The work ran over two weeks from assessment to handover. In week one we inspected the printers, checked the beds and confirmed which surfaces could be refreshed and which needed replacement. In week two we completed the fitting, tested adhesion on a few standard school prints and trained staff on the cleaning routine. The school could keep most printers in service while we worked, so classes were not interrupted for long periods.
That timing suited the term schedule. It also gave staff enough time to see how the new surfaces behaved before the next round of learner projects started. The handover included a short, printed care guide with the points they needed to remember each day.
- Week 1: Inspection and surface selection
- Week 1: Flatness checks and prep work
- Week 2: Fitting and test prints
- Week 2: Staff handover and care routine
Results in the classroom
After the refresh, first layers were more consistent across the room and less time was spent on repeat prints. Teachers reported quicker setup before lessons and fewer calls to help with sticking issues. The cleaners could also follow the new wipe-down routine without having to worry about special products or confusing steps.
The biggest win was consistency. Once the surfaces were standardised, staff had fewer variables to manage and learners got a better experience from one machine to the next. It made the lab easier to run, and it gave the school a sensible base for future print work as class sizes grow. The team also said the new schedule was easy to keep up with, which matters when the lab is busy and short on time.
- Cleaner first layers across multiple machines
- Less time lost to failed starts
- Simple routine for staff and learners
- Better day-to-day control in a busy school lab
What we would do again for similar schools
If we were doing the same kind of school project again, we would still start with a bed check before fitting anything new. Too many print problems look like adhesion faults when the real issue is flatness or old adhesive. We would also standardise surfaces where possible, because it keeps classroom teaching simple and cuts down on confusion.
For coastal schools, we would keep recommending a regular cleaning schedule and a quick weekly inspection. That small habit helps protect the build surface and keeps the printers ready for the next lesson. In a school environment, simple usually works best.
We would also say yes to a short learner handover session every time. When students understand why they should avoid touching the print area with bare hands, the plates last longer and the results improve. It is a small thing, but it saves a lot of trouble later.
Key facts
| Project location | Cape Town, Western Cape |
|---|---|
| Client type | Coastal school with classroom 3D printing |
| Timeline | 2 weeks from inspection to handover |
| Supplied items | Build plates, PEI sheets, adhesive and fitting support |
| Services used | Plate installation, bed flatness check, surface refresh, bed care training |
| Outcome | More consistent adhesion and a simple cleaning schedule for class use |