Project snapshot: a garage workshop that needed quicker part release
George Maker Garage is a private home workshop in George, on the Garden Route, where one printer had become the main machine for everyday parts, brackets and small repair jobs. The owner was using a glass bed and liked the finish, but removal was slow and a little too much force was needed on some prints. That meant lost time, more risk of chipping edges, and the odd print that was damaged while lifting it off.
The brief was simple: keep the same print quality, make part removal faster, and reduce the amount of scraping and prying after each job. The workshop also runs in a space that sees coastal humidity and temperature swings through the day, so the new surface had to stay consistent without constant rework. We planned the change as a practical bed upgrade rather than a full machine rebuild.
This was a home garage job, not a factory line, so we had to work around the owner’s schedule, the machine’s existing setup, and the fact that he needed the printer back in service quickly. The aim was to improve the working rhythm of the garage, not just the surface itself.
What was holding the setup back
The original glass plate gave a neat top finish on many parts, but it was not the best fit for fast turnaround. Some prints held on very tightly once the bed cooled, while other jobs lifted at the corners if the first layer was not tuned just right. The owner wanted fewer failed starts and less handling after the print was done.
There were a few practical constraints:
- The machine needed a surface that could handle repeated daily use without constant adhesive re-application.
- The workshop is in a coastal town, so humidity can affect adhesion and consistency from one day to the next.
- The user wanted easier part release for small components, especially when printing more than one item in a batch.
- The upgrade had to work with the current bed size and not interfere with movement, clips or levelling.
We also looked at load-shedding planning because any bed change is only useful if the printer is easy to restart after a stop. The new setup had to be simple enough to heat, print and clear without extra steps once power came back.
Surface change: from rigid glass to flexible steel
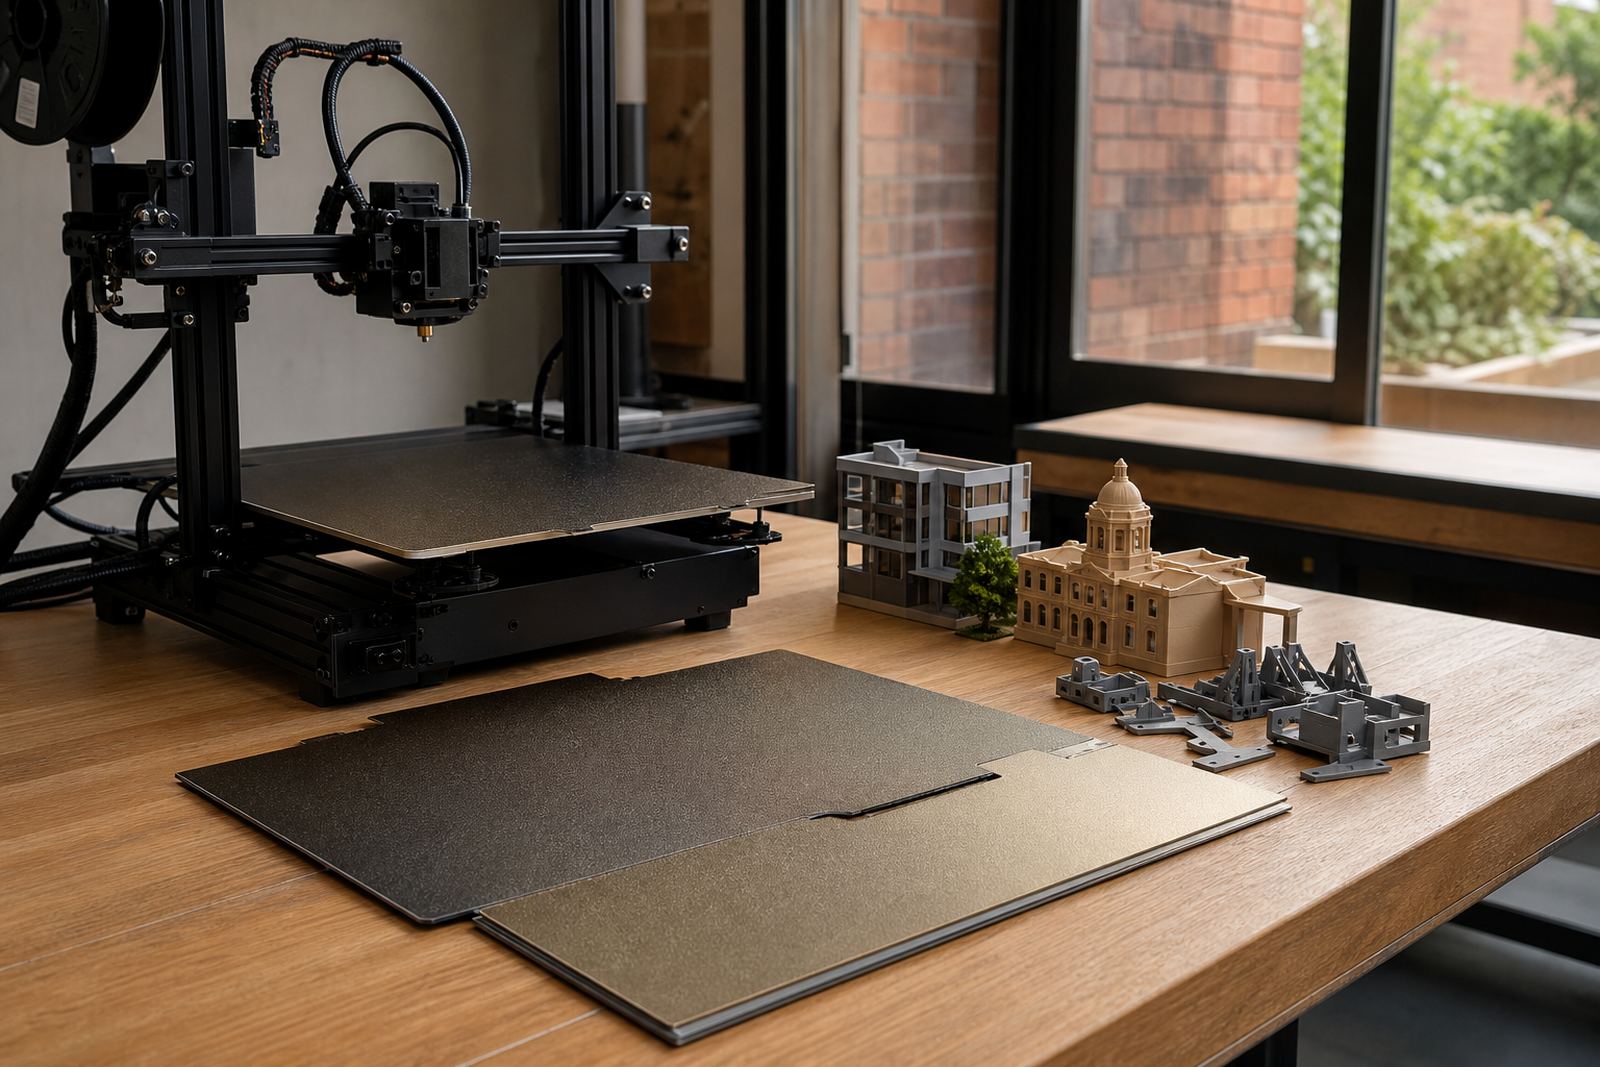
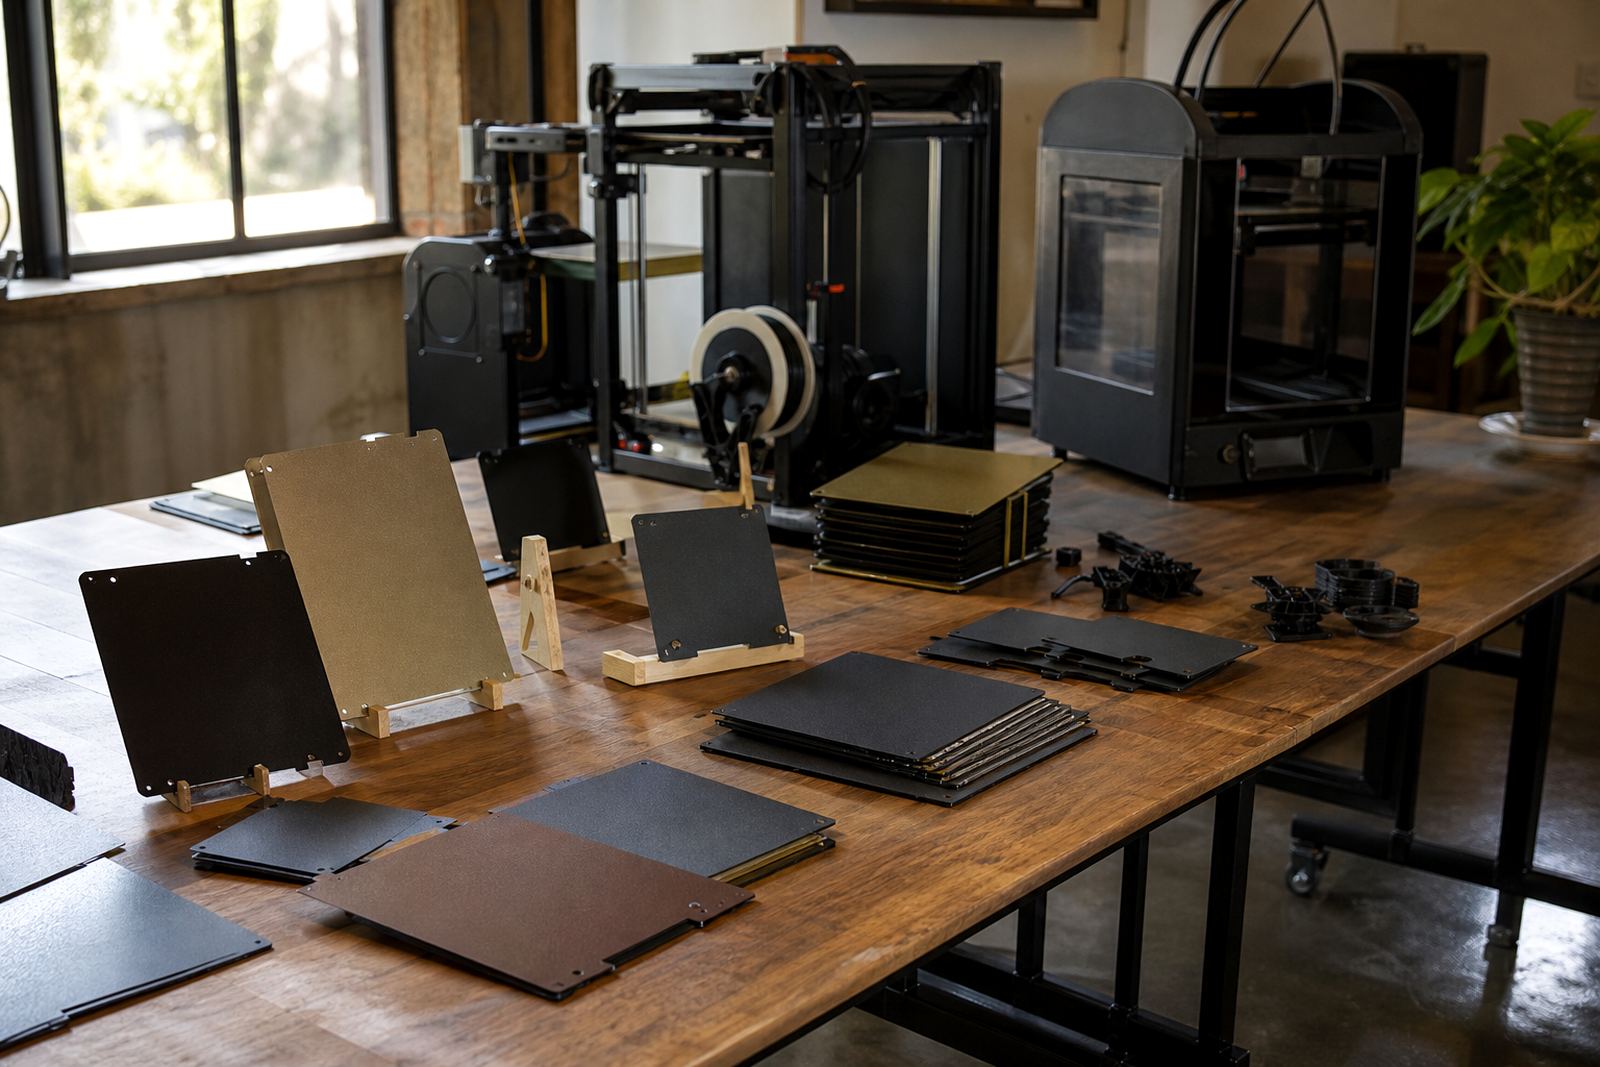
We supplied a flexible steel build surface with a magnetic base layer and a PEI top sheet suited to the printer’s bed size. The plate was chosen for reliable grip during the print and easier release once the bed cooled. For this job, the main improvement was not only adhesion during printing, but the quick lift-and-bend removal that saves time on every job.
The installation included a bed flatness check, alignment of the magnetic layer, and a careful surface clean before fitting. We checked the usable print area and made sure the edges sat cleanly without lifting or catching. The bed surface was then tested with a few common part shapes to confirm first-layer contact across the plate.
Key items supplied and fitted were:
- Flexible steel build plate sized for the machine’s bed.
- Magnetic base fitted to the heated bed.
- PEI surface layer for consistent grip and clean release.
- Bed flatness check before and after fitting.
- Adhesion test prints for corner hold and centre contact.
The owner also asked for advice on surface care, so we gave a short cleaning routine that works well in a garage setting: wipe down with a suitable cleaner, avoid greasy handling, and let the bed cool before removal. It sounds simple, but that routine makes a big difference in day to day use.
Installation and testing over two weeks
The job ran over two weeks from first review to final sign-off. In week one, we assessed the current bed, measured the print area and confirmed the right surface format. We then installed the magnetic base and flexible plate, followed by initial levelling and first-layer checks. In week two, we reviewed how the surface behaved after repeated heating cycles and made small adjustments to print settings where needed.
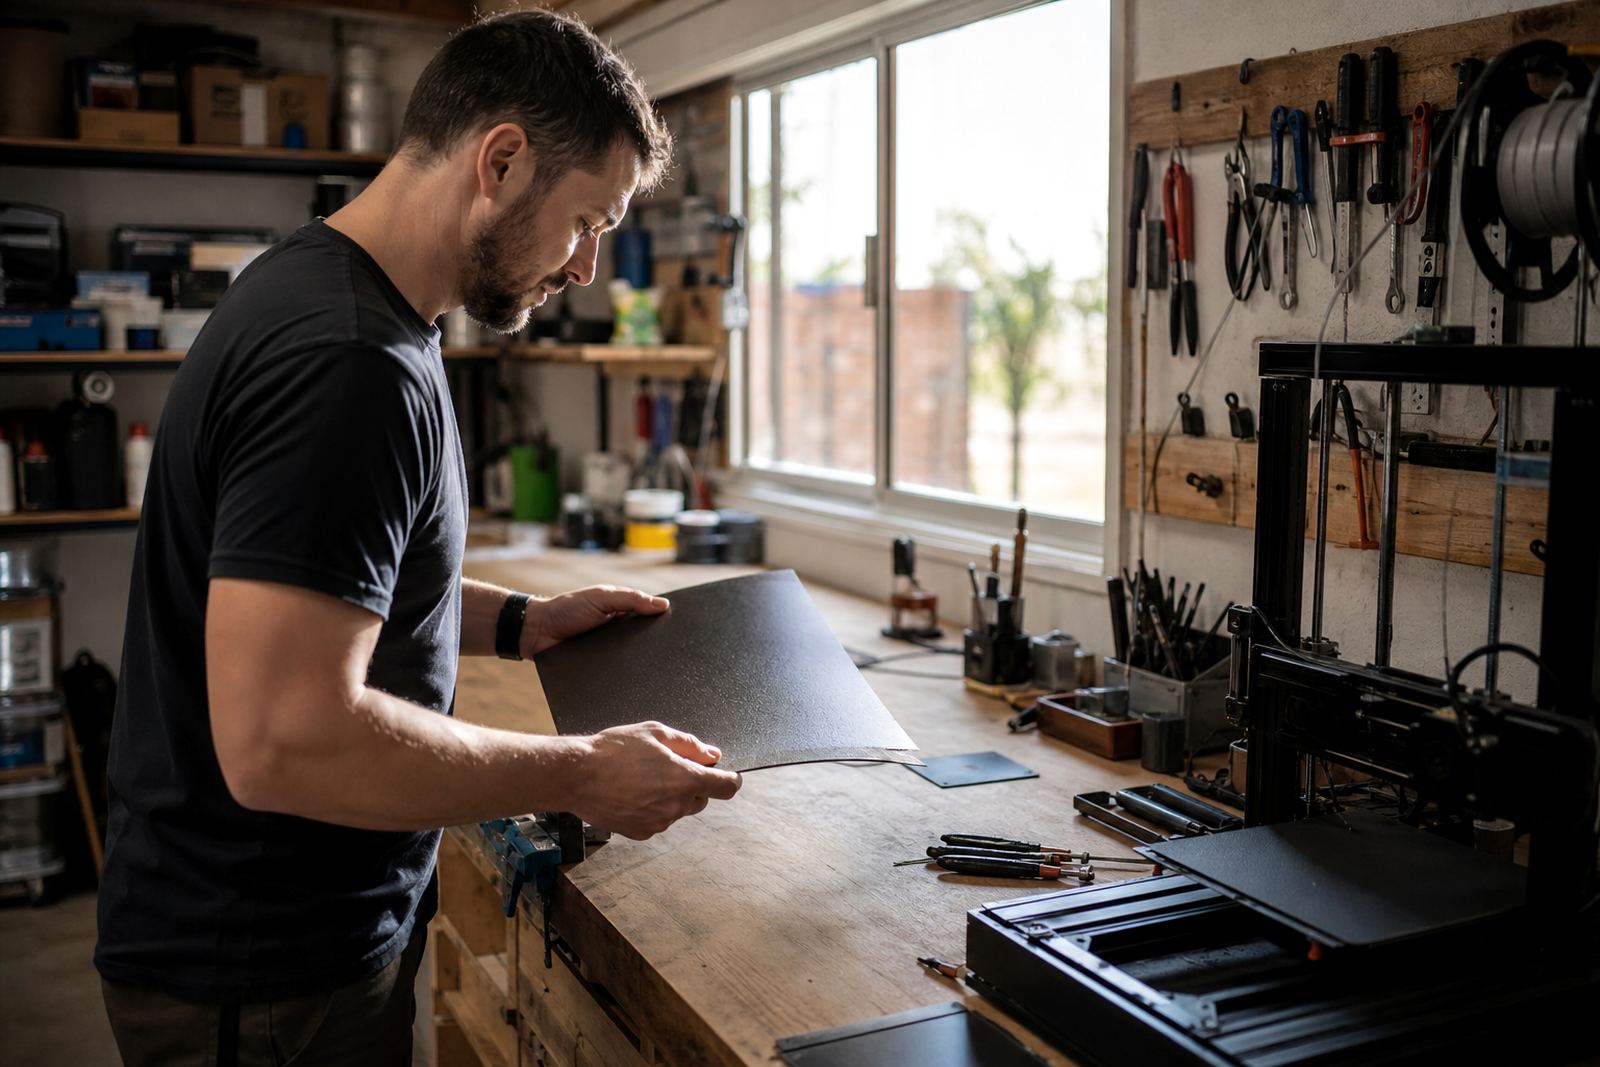
The most useful test was part release. Once the bed cooled, the owner could lift the plate, flex it gently and remove parts without tools. That was the change he wanted most. There was also a noticeable reduction in time spent cleaning up edges after removal because the parts were coming off with less stress on the base layer.
A couple of print runs were used to confirm that the new surface still held smaller pieces properly. The grip stayed stable, and the owner did not need to add extra adhesive for normal work. In a garage that sees morning chill and afternoon warmth, that kind of consistency matters more than people think.
Results for a busy home maker
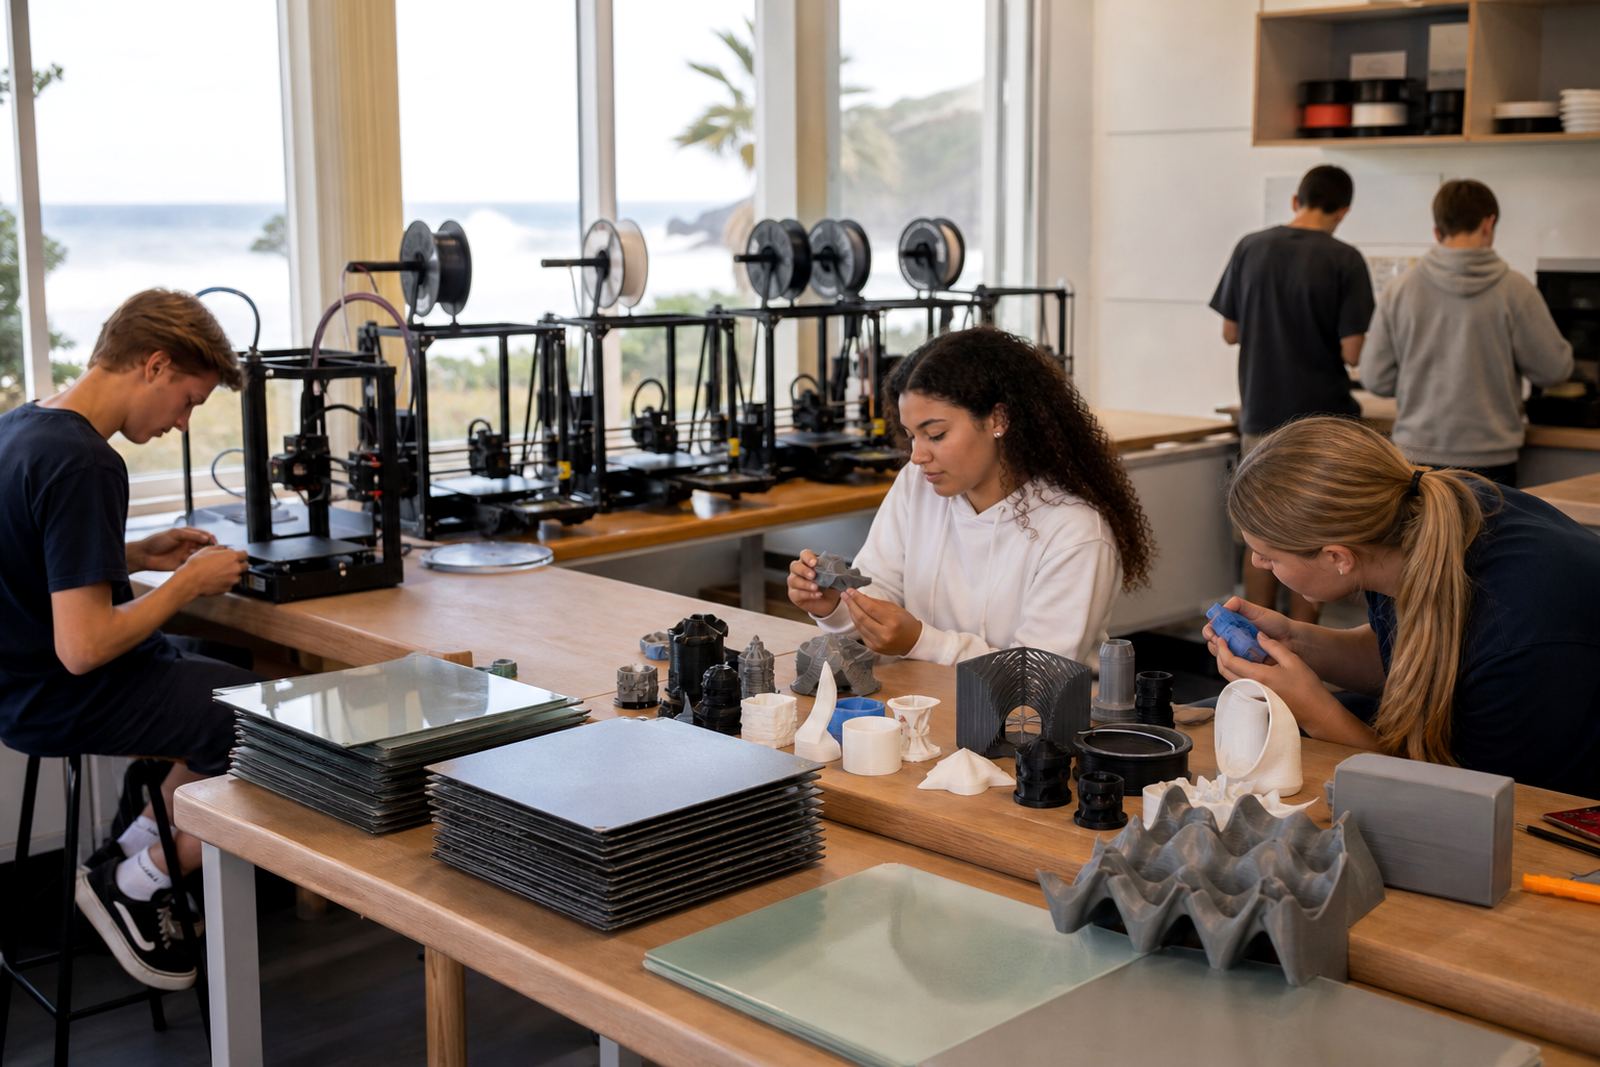
After the change, the workflow in the garage became quicker and cleaner. The printer no longer needed scraping to free most parts, and the owner could move from print to next job in less time. That is especially useful when doing batches of brackets, clips or prototype pieces where the aim is steady output, not fancy presentation.
The new setup also improved confidence in longer prints. With better release and a more predictable first layer, the owner could leave the machine running and come back to a bed that was easier to handle. There was less chance of accidental damage during removal and less chance of spending extra time on cleanup after a run.
- Faster part removal after cooling.
- Less risk of damaging corners and thin edges.
- More consistent first-layer grip across the bed.
- Less routine maintenance between prints.
- Better day-to-day use in a humid coastal workshop.
For a home garage, those gains are practical. They do not sound dramatic on paper, but they save time every week and help the printer stay in use instead of sitting idle because the last part was a struggle to remove.
What we would repeat on the next garage upgrade
If we were doing the same project again, we would keep the process tight: confirm the bed size first, check the surface condition second, and match the plate to the owner’s usual material profile before fitting. That approach avoids surprises and keeps the printer in service with minimum downtime.
We would also repeat the short training handover. Showing the owner how to clean the surface, when to remove parts, and how to watch for first-layer changes makes a real difference. A good build plate helps, but a simple routine keeps it working properly.
For makers in George, Pretoria, Johannesburg, Cape Town, Durban and Bloemfontein, the lesson is the same: if part release is slowing you down, a proper bed surface change can be a better use of money than chasing random fixes. In this case, the upgrade was clean, practical, and suited to a home workshop that needs steady output without extra faff.
Key facts
| Project name | George Maker Garage |
|---|---|
| Town | George, Western Cape |
| Client type | Home garage maker workshop |
| Upgrade supplied | Flexible steel build plate with magnetic base and PEI surface |
| Timeline | 2 weeks |
| Main outcome | Faster part removal and more consistent bed adhesion |