What the studio needed in Fourways
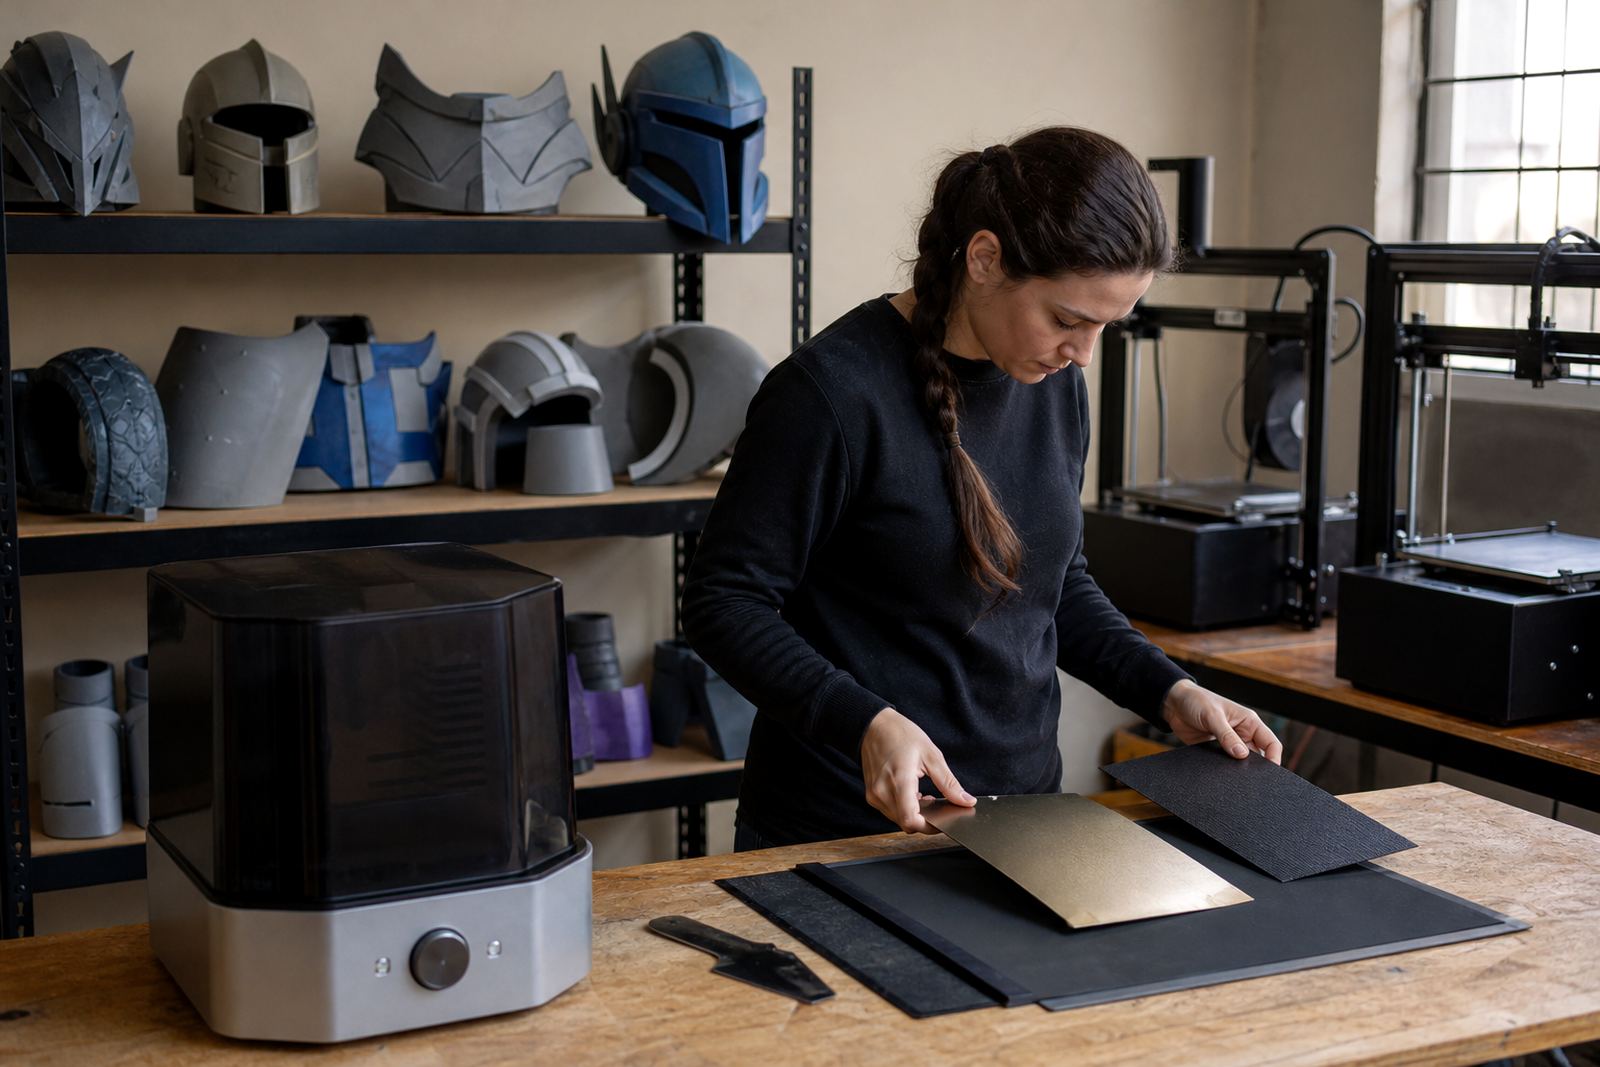
The client was a prop-making studio in Fourways, Johannesburg, working on cosplay helmets, chest plates, gauntlets and other large-format costume parts. Their printers were doing the heavy lifting well enough on smaller items, but bigger jobs were lifting at the corners, shifting during long runs and wasting material when a print came loose after several hours.
The brief was practical. Improve bed adhesion on a mixed set of printers, make first layers more dependable, and reduce the time spent re-running failed parts. They also wanted a setup that would work for both show pieces and repeat runs for customers, with fewer surprises when the weather turned dry or the room warmed up during a load-shedding cycle.
- Large parts were lifting on the outer edges
- Some beds were not flat enough for wide footprints
- The team needed a cleaner, repeatable prep routine
- They wanted less sanding and less post-print repair on the underside
The pressure points on the print floor
The workshop was running a mix of benchtop FDM printers with different bed sizes and surface conditions. A few beds were in fair shape, but the coating had worn in patches and one or two plates had small inconsistencies that only showed up on wide prints. That is common in a busy studio where one machine runs helmets in the morning and smaller parts in the afternoon.
The constraints were clear. They could not afford long downtime, they needed a solution that would fit existing machines, and they wanted a process the team could follow without guesswork. The studio also asked for a setup that would handle South African conditions, especially in Gauteng where dry air can affect adhesion and where municipal power interruptions can leave a bed cooling at the wrong moment.
- Mixed build volumes across the printer fleet
- Different nozzle and bed temperatures across materials
- Limited downtime between commission runs
- Need for reliable adhesion on large flat surfaces and curved helmet sections
What we supplied and fitted
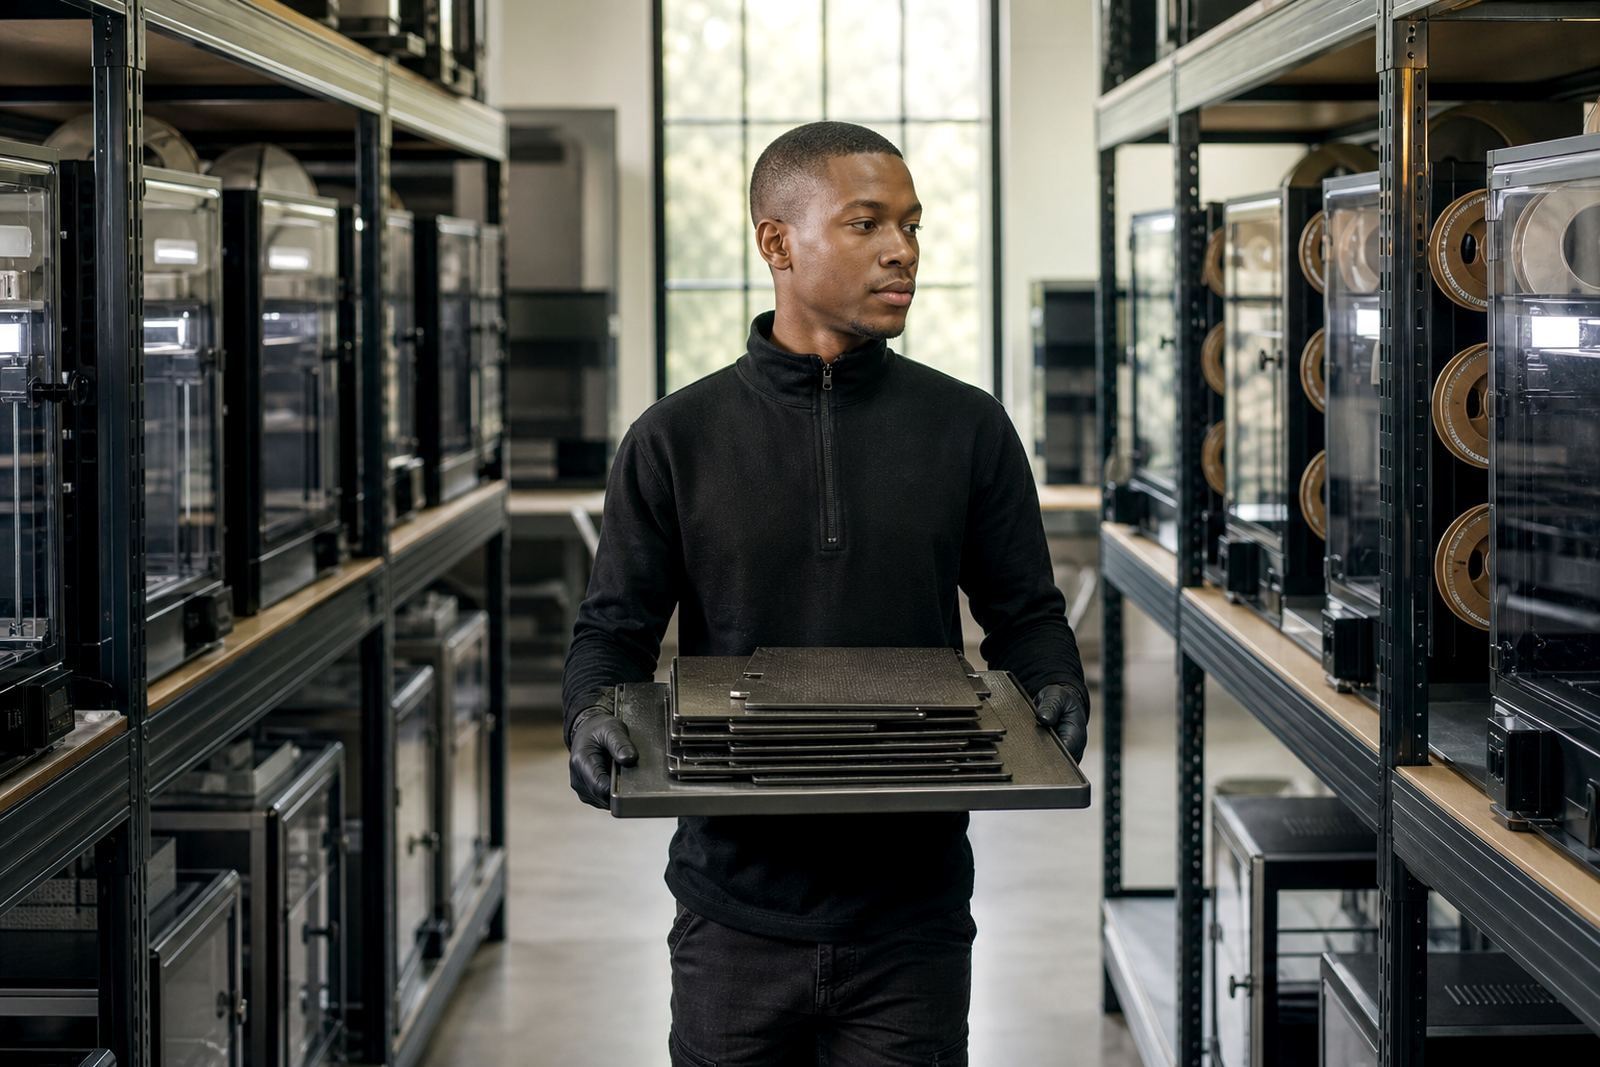
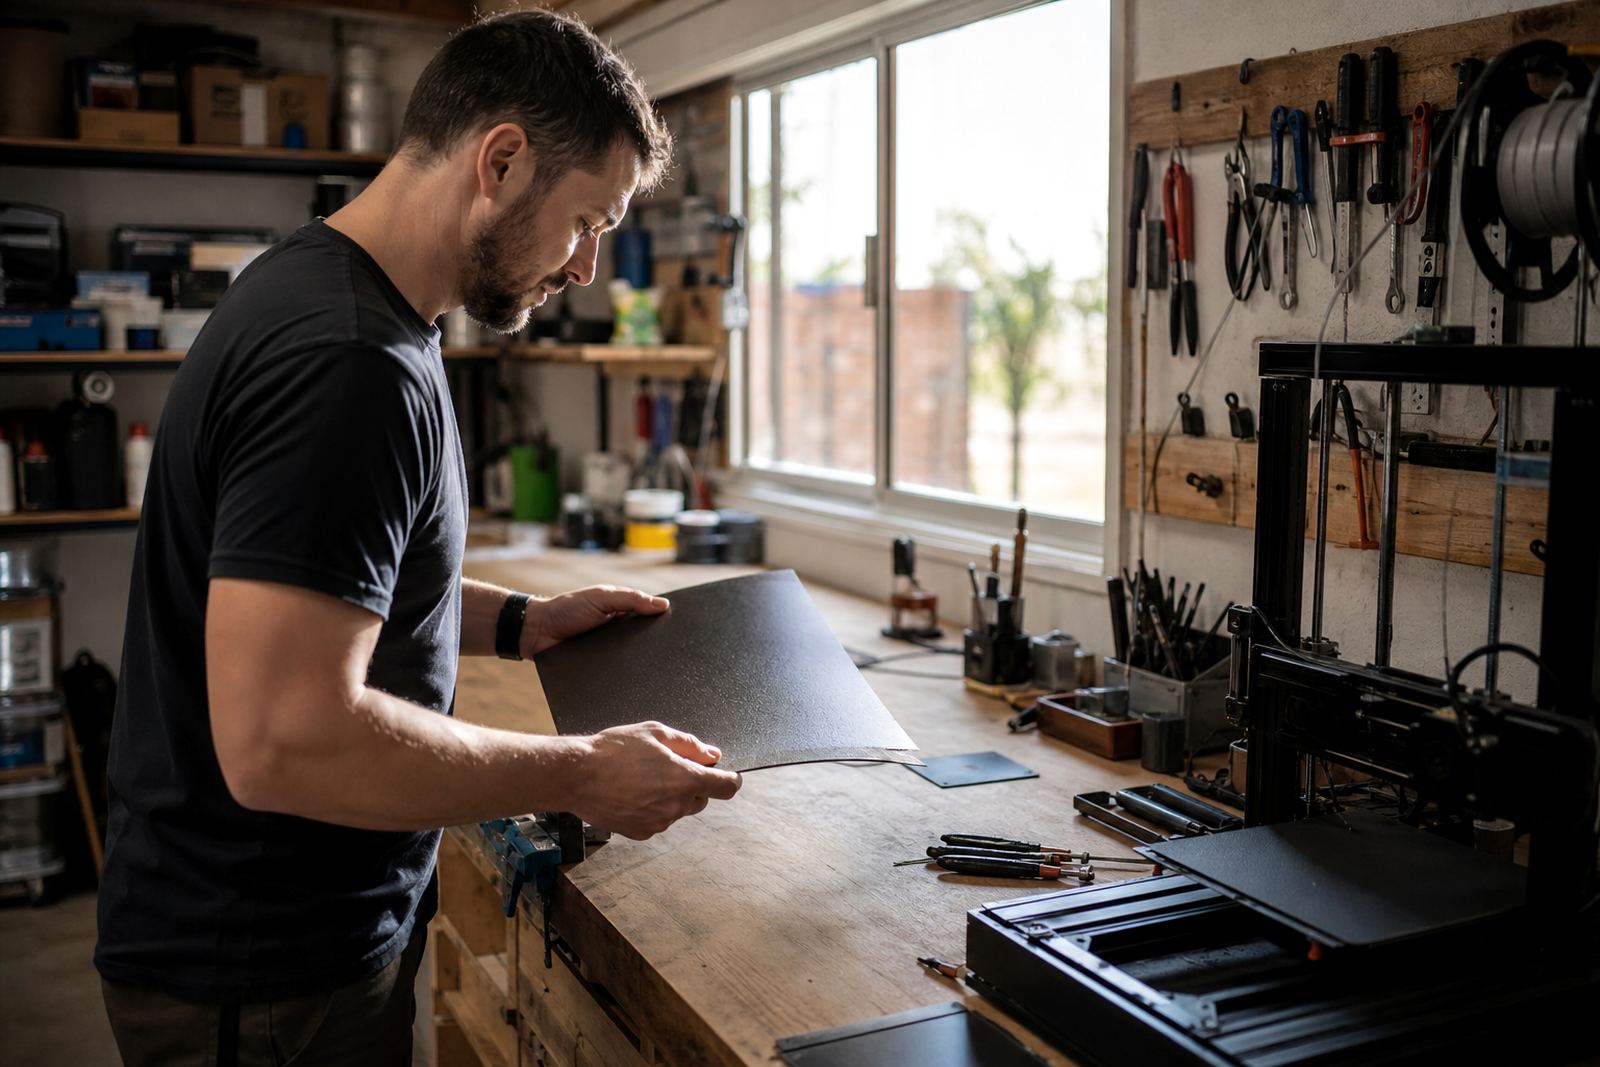
We supplied high-quality build plates and PEI sheets sized for the machines in use, then carried out fitting and setup across the most active printers. Where needed, we added magnetic base fitting so the studio could swap surfaces faster and keep maintenance simpler. We also checked bed flatness before final fitting, because a good surface still struggles if the base is not level across the print area.
The team received a practical setup that matched the way they print. We refreshed worn surfaces, checked for high and low spots, and matched the adhesion approach to the type of part being run. For the larger helmets and armour sections, we focused on first-layer consistency across the full plate so corners stayed down during long prints and cooldown.
- PEI sheet fitting for the active printers
- Magnetic base fitting on selected machines
- Bed flatness check and surface refresh
- Custom size cutting where the plate footprint needed a neat fit
How the job ran over three weeks
Week 1 was assessment and measurement. We mapped the print fleet, checked the state of each bed and noted which machines were best suited to large costume components. Week 2 covered supply and fitting, with the main build plates and PEI surfaces installed in stages so printing could continue while work was underway. Week 3 was tuning, including adhesion testing on representative parts and a short training session with the studio team.
That approach kept disruption low. The studio did not lose a full week of production, and the staff had enough time to see the difference on real jobs rather than test squares only. It also gave us a chance to compare adhesion on helmet shells, curved panels and flatter armour plates, which all behave a bit differently on the bed.
- Week 1: inspection, measurement and planning
- Week 2: supply, cutting and fitting
- Week 3: testing, troubleshooting and handover
Results on helmets, armour and long runs
The clearest improvement was on the first layer. Large parts stayed put more reliably, especially pieces with wide footprints that had previously lifted at the edges. The studio reported fewer aborted runs and less wasted filament, which mattered on long prints where a failed part can take many hours before the problem shows.
They also found the underside finish improved. With a better matched surface, parts released more cleanly once the bed cooled and there was less scraping or prying needed after removal. That cut down on marks at the base of the costume pieces and reduced the time the team spent cleaning plates between jobs. In a studio like this, that time adds up quickly.
- Better edge hold on wide helmet shells
- Fewer warped corners on flat costume sections
- Cleaner release after cooldown
- Less rework and fewer wasted spools
What we would repeat for another studio
If we were doing the same project again, we would take the same measured route: inspect the beds first, match the surface to the job mix, then test on real parts before signing off the setup. That order matters because a cosplay studio is not only printing one shape or one material. It needs dependable adhesion across different part sizes, different print times and changing room conditions.
We would also keep the support practical. A short bed-care routine, a clear fitting method and a standard check for flatness go a long way. For studios in Fourways, Midrand or Pretoria East, that sort of routine helps keep print quality stable when the workload shifts from one commission to the next. The goal is simple: fewer failed jobs, steadier output and a cleaner finish on parts that are meant to be worn on stage or at a convention.
- Keep a flatness check in the setup routine
- Refresh worn surfaces before problems spread
- Standardise prep across the printer fleet
- Train the team on release, cleaning and bed care
Key facts
| Client type | Prop-making studio for cosplay and costume production |
|---|---|
| Town | Fourways, Johannesburg |
| Timeline | 3 weeks |
| Primary work | Build plate supply, PEI sheet fitting and bed adhesion setup |
| Parts handled | Helmets, armour panels, gauntlets and large costume components |
| Service areas | Centurion, Pretoria, Johannesburg, Cape Town, Durban and Bloemfontein |
| Project lead | Mpho van der Merwe with the LayerPad technical team |