School Lab Brief in Centurion
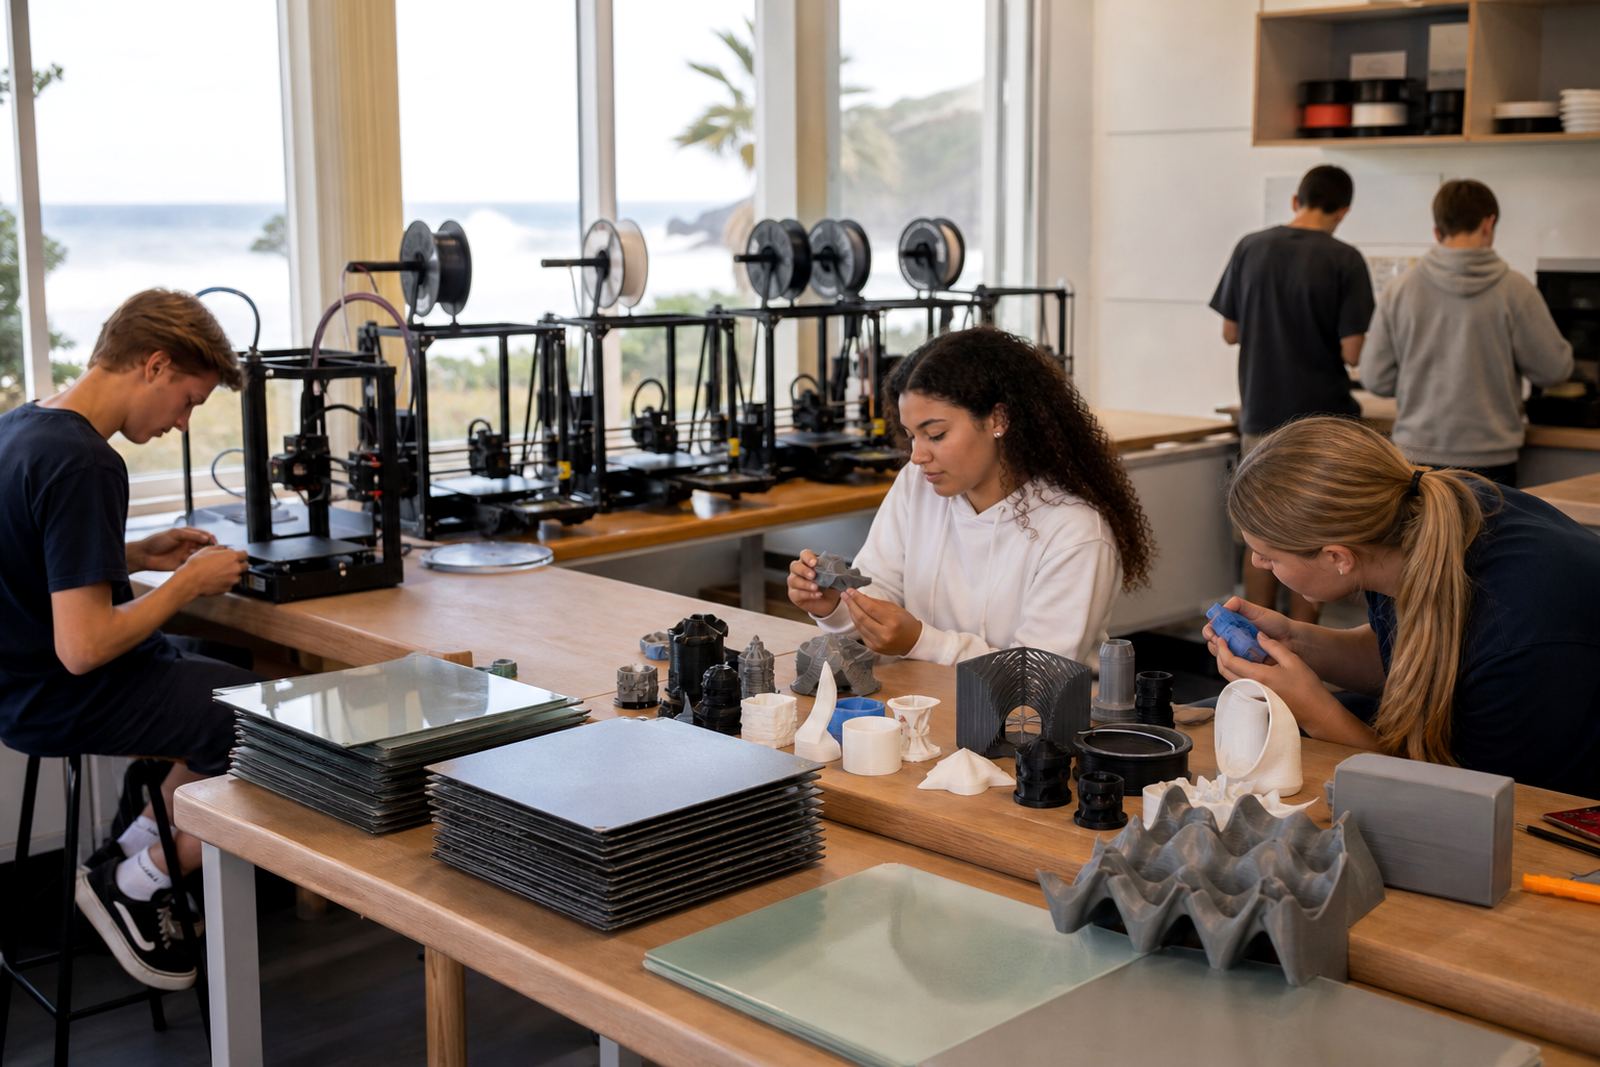
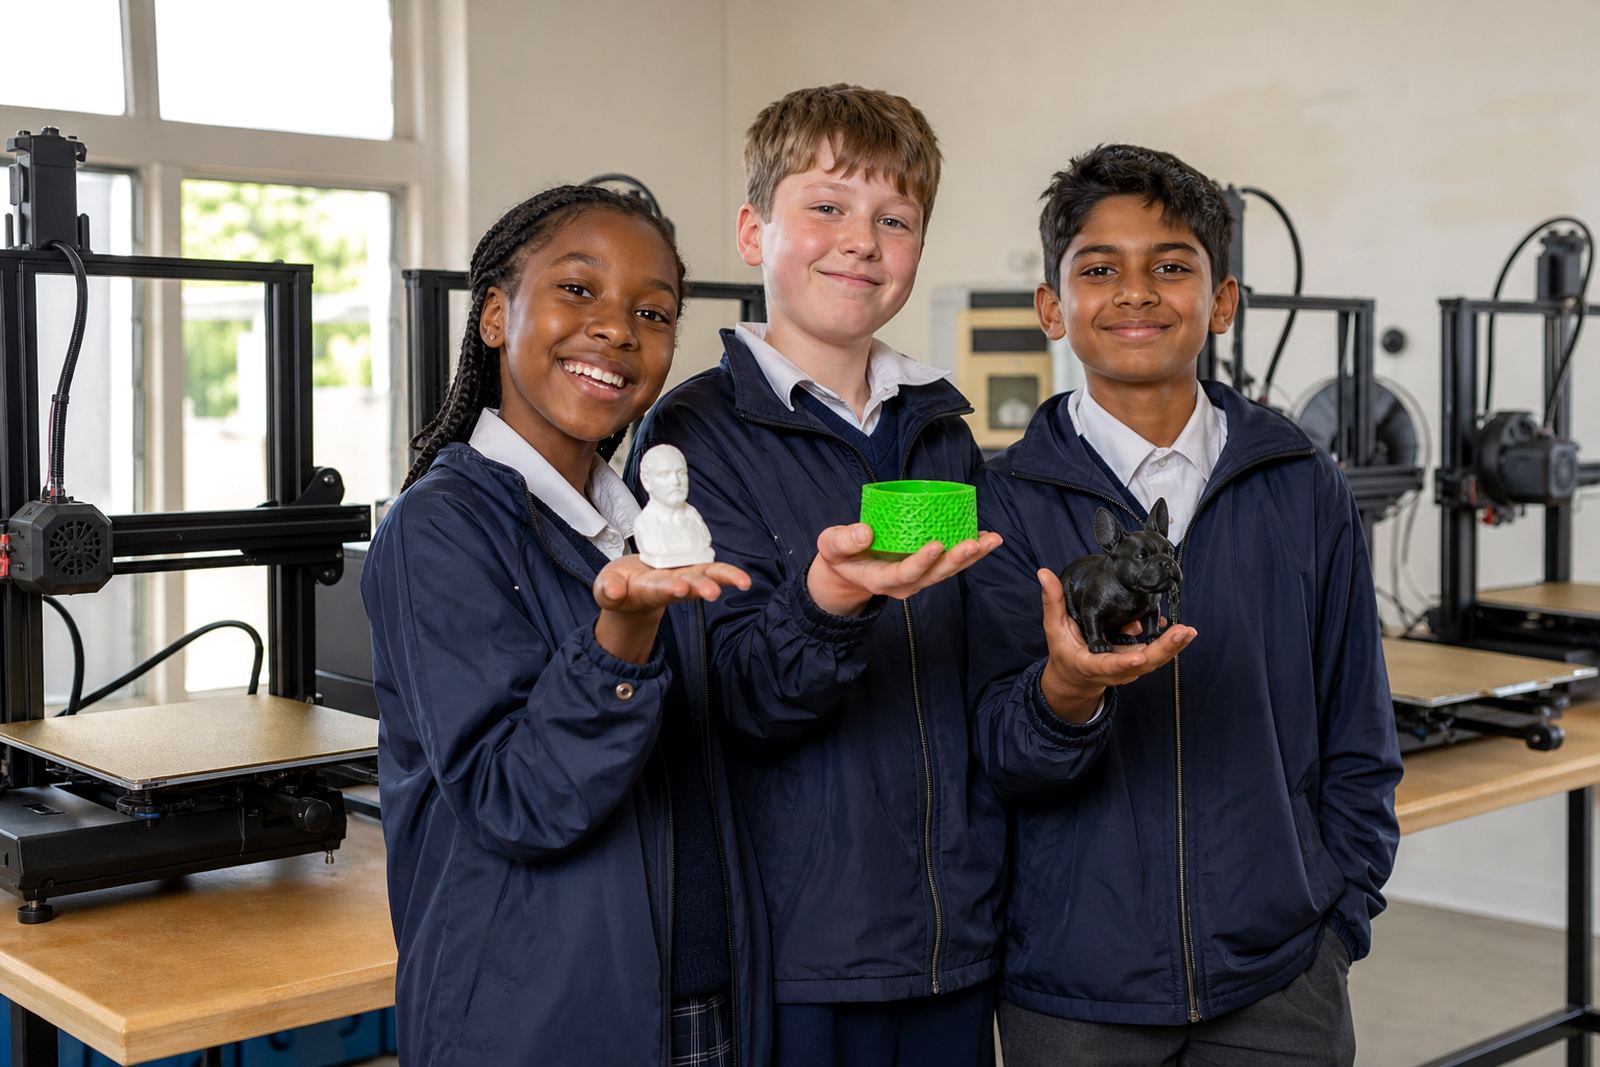
The lab was used for technology classes, after-school maker sessions and small prototype runs, so the printers had to work for different users through the week. The team wanted a surface that would grip well during the print, then release the part without prying, scraping or repeated rework.
The brief was straightforward: improve print success rates, reduce damage to parts, and make the beds easier to clean between classes. The school also asked for a solution that would suit a mixed fleet of benchtop FDM printers already in the lab, with students ranging from beginners to more advanced users.
- Location: Centurion, Gauteng
- User group: school learners, lab staff and after-school project groups
- Use case: general classroom printing, design and technology tasks, small parts and classroom demos
- Main issue: poor first-layer adhesion and slow bed cleaning
What Was Getting in the Way
The lab was dealing with a few common issues. Some plates had uneven wear, some were difficult to clean after repeated use, and a few printers were running with different surface types which made results hard to standardise. In a busy school environment that creates confusion, especially when one class gets a clean release and the next class spends time fighting the bed.
Centurion’s dry winter air and summer dust also played a part. Small bits of debris on the plate were enough to affect the first layer, and the staff needed a surface that could be wiped down quickly between sessions. The school also wanted to avoid any setup that needed constant fine tuning or special handling by learners.
- Uneven first-layer performance across multiple machines
- Surface contamination from dust and handling
- Slow turnaround between lessons
- Need for a more uniform lab standard
Flexible PEI Plates and Fitting
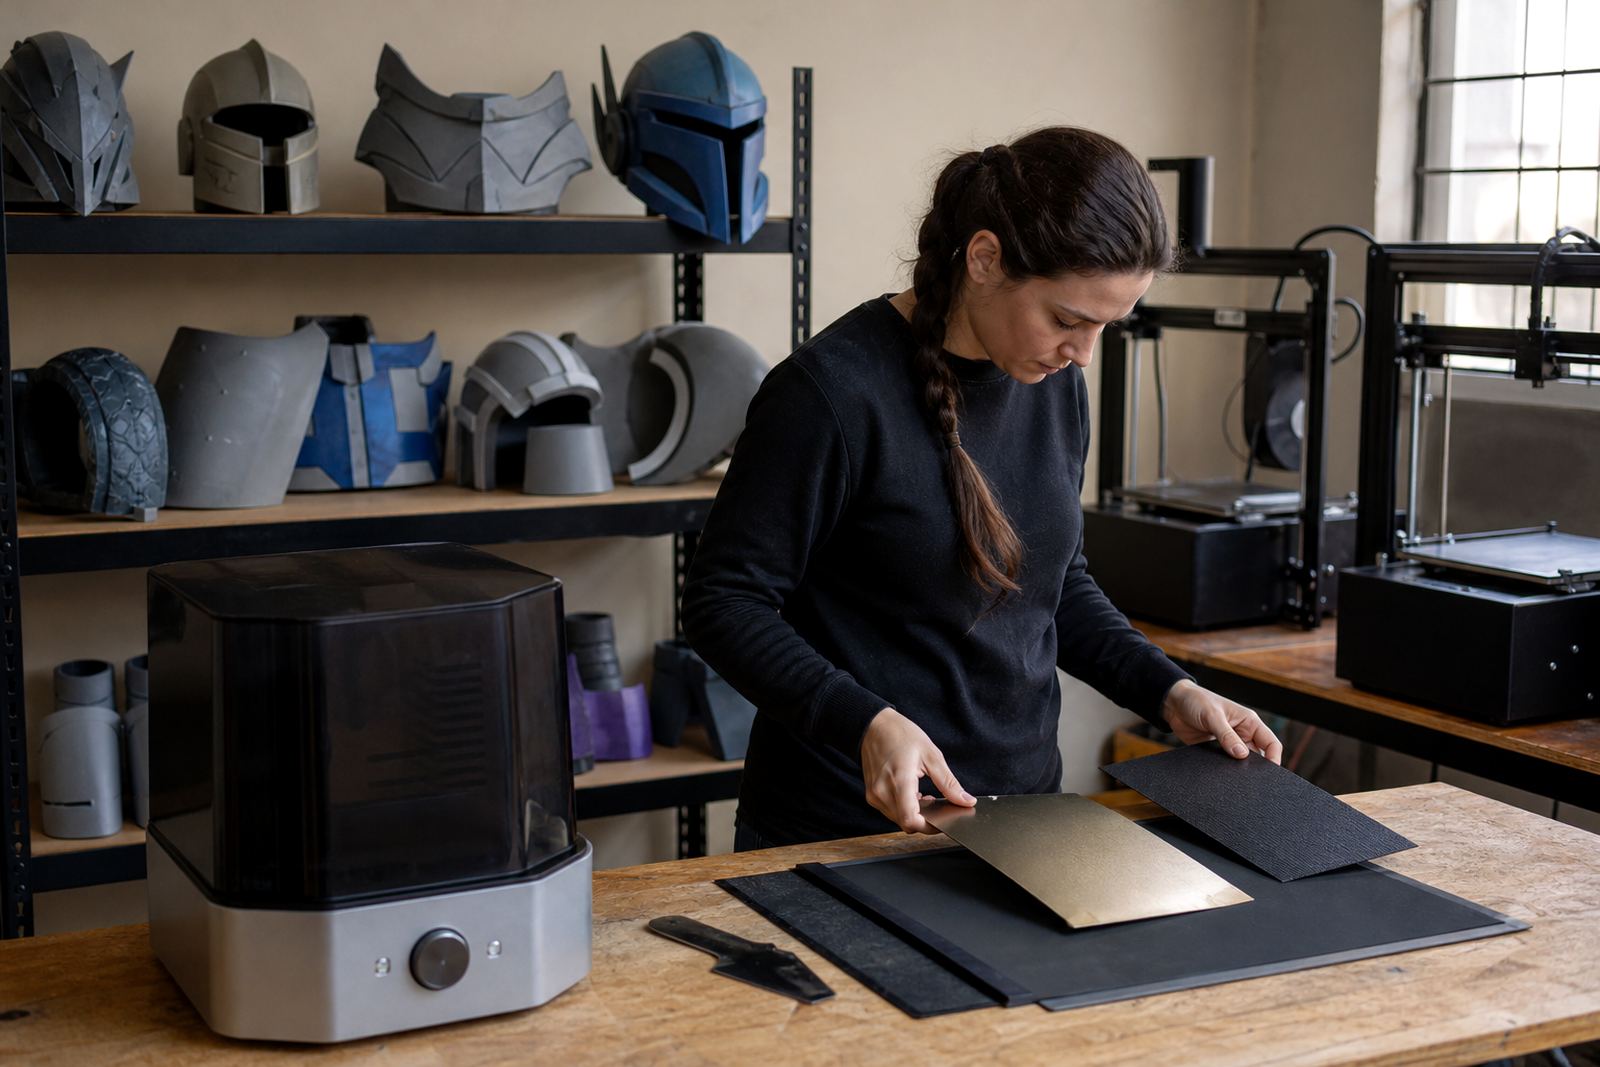
We supplied flexible PEI build plates sized to match the printers already in the lab, together with magnetic base fitting where required. The aim was to give the school a consistent print surface that could handle regular classroom use and still keep release simple once the bed cooled.
Each plate was checked for fit, flatness and bed contact before installation. Where needed, we completed a bed flatness check and adjusted the first-layer approach so the new surface worked as intended. The school did not need a complicated process, just a repeatable one that staff could apply across the lab.
- Flexible PEI surface for reliable adhesion and easier part removal
- Matching plate sizes for the printers in use
- Magnetic base fitting on selected machines
- Bed flatness check and first-layer setup
How the Project Ran Over Three Weeks
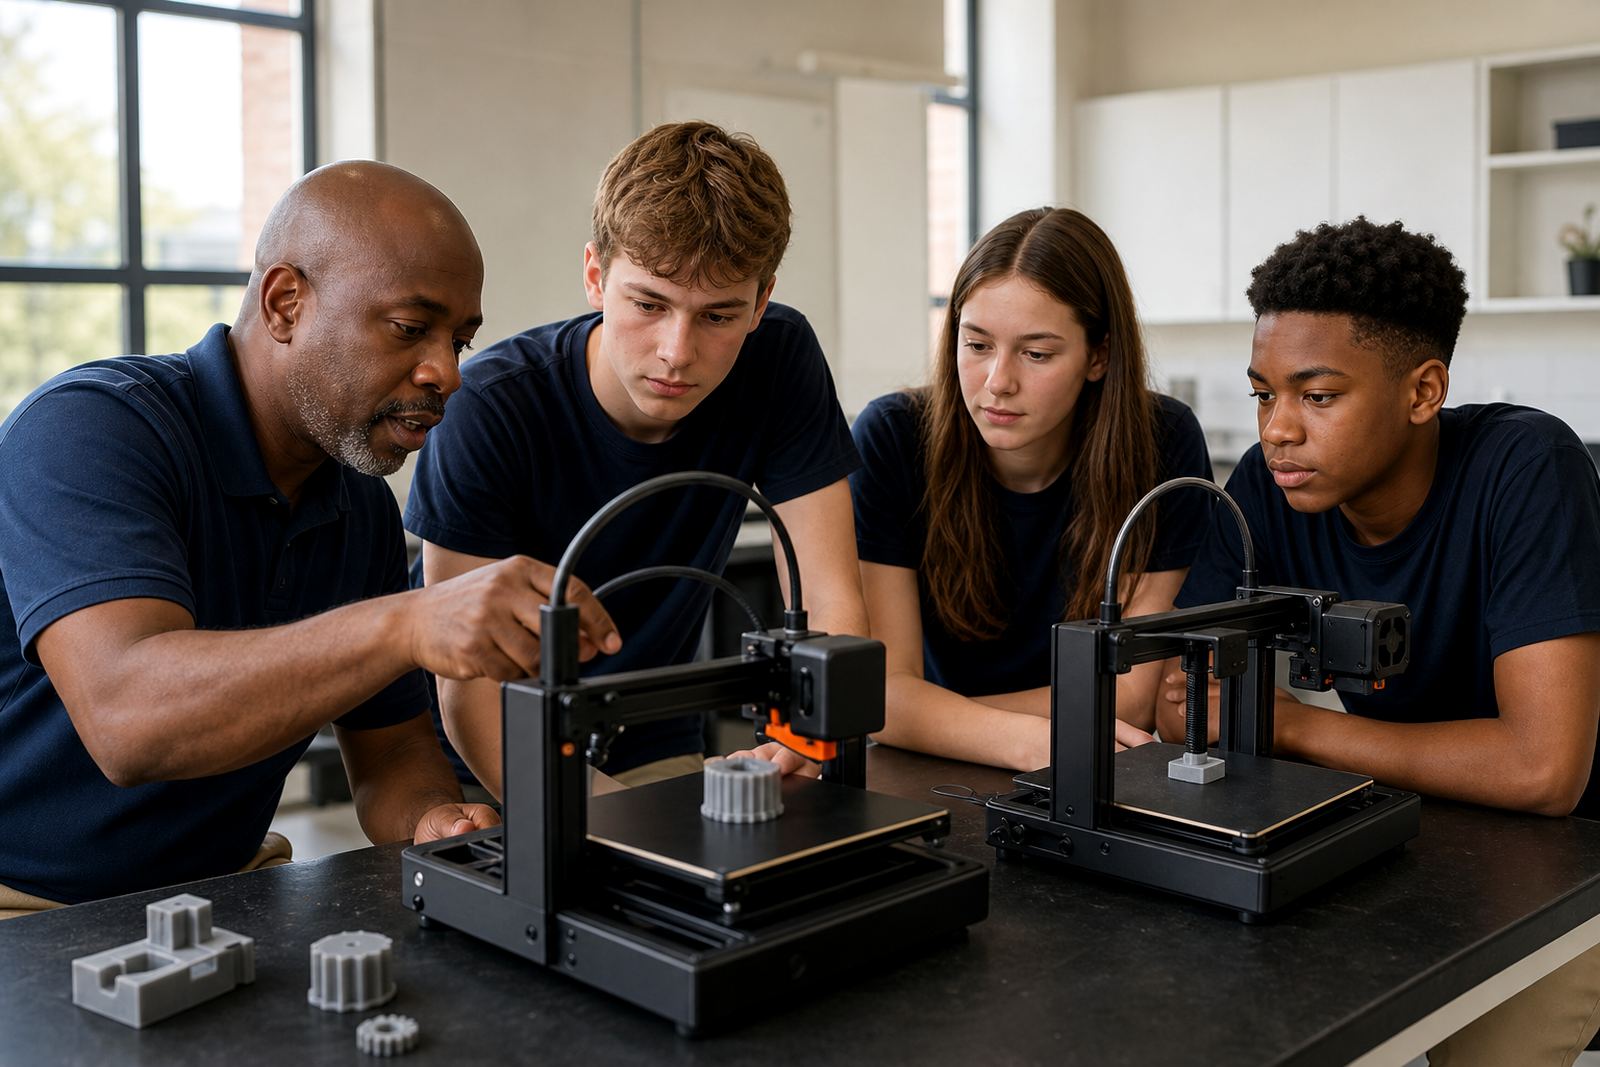
The work was completed over three weeks so the lab could stay open during teaching hours. In week one, we assessed the printers, confirmed plate sizes and checked the bed condition on each unit. In week two, we fitted the plates and sorted the machines into a standard setup. In week three, we worked with staff on cleaning, removal and basic care so the whole team used the same method.
The staged approach helped the school avoid a full shutdown and gave the staff time to compare results as each machine was brought onto the same surface standard. It also meant that small issues were caught early, rather than after the next class had already started.
- Week 1: assessment and measurement
- Week 2: plate fitting and machine setup
- Week 3: handover, cleaning method and care training
Results in Class and After School
Once the new plates were in use, the lab saw fewer failed first layers and less time spent cleaning and scraping between jobs. Parts released more cleanly after cooling, which reduced handling damage and cut down on wasted material. Staff also reported that learners could see the difference more clearly, because the process became easier to explain and repeat.
The change was especially useful for class groups that shared printers on the same day. Instead of adjusting each machine differently, the lab could follow one cleaning and print-start routine. That gave the team more confidence when running back-to-back sessions and helped keep the printers productive even when the schedule was tight.
- Higher print success rate from the first layer onward
- Cleaner removal after the bed cooled
- Less downtime between classes
- Better consistency across multiple printers
What We Would Repeat for Another School Lab
For another school or maker space, we would use the same approach: standardise the plate type, check the bed first, then train the users on care and cleaning. That order matters because a good surface still needs a level machine and a clear routine. If the lab is running across several printers, it is worth setting one standard across all of them instead of trying to manage different surfaces and habits.
We would also recommend planning for replacement and spare plates up front, especially in busy labs where the printers run daily. Schools in Pretoria East, Midrand, Johannesburg and even coastal centres like Cape Town or Durban benefit from having a simple stock plan, since humidity, dust and frequent use all affect long-term bed condition. A small amount of planning now saves a lot of interruption later.
- Standardise the surface across the whole lab
- Keep a spare plate or two for busy weeks
- Train staff on cleaning and release when the bed has cooled
- Review bed condition each term, not just when prints fail
Key facts
| Project type | School 3D printing lab upgrade |
|---|---|
| Town | Centurion, Gauteng |
| Surface supplied | Flexible PEI build plates |
| Installation scope | Plate fitting, magnetic base fitting, bed flatness check |
| Timeline | 3 weeks |
| Outcome | Improved adhesion, easier cleaning and fewer failed first layers |