Why The Team Asked For A Surface Change
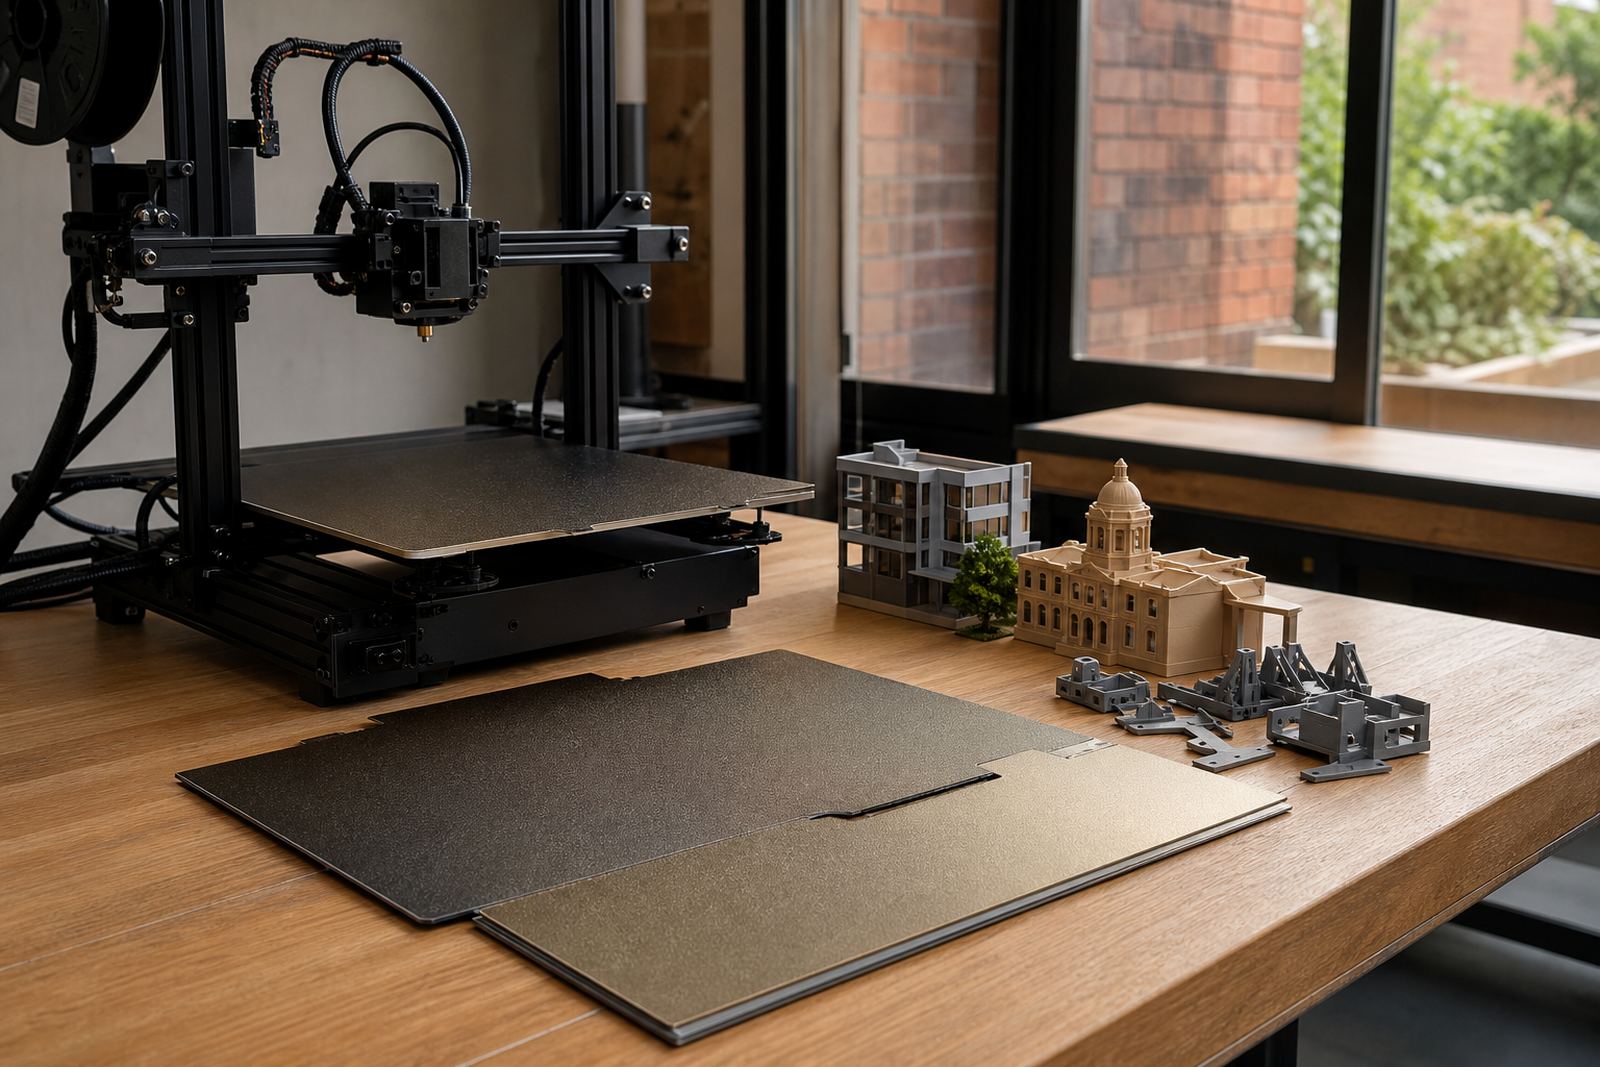
The client was a small model-building team in Roodepoort working on detailed presentation pieces, architectural mock-ups and one-off display parts. Their prints were coming off the bed, but the bases needed too much trimming and sanding, which was eating into finishing time and making some parts look rough around the edges.
The brief was simple on paper: get cleaner bottoms, reduce failures on long prints, and make the setup easier for different team members to use on the same machines. They also wanted a solution that would work in Gauteng conditions, where dry winter air, dust and load-shedding can all affect consistency. We spent the first week looking at the print bed condition, current build plate sizes, and how the team cleaned and stored parts between jobs.
What Limited The Results Before We Started
The biggest problem was that the original surfaces had become uneven from repeated use and scraping. On finer parts, one corner would stick hard while another corner lifted slightly, so the team was always balancing adhesion against release. On a few prints, the first layer looked acceptable but the underside showed witness marks that were not ideal for display pieces.
There were a few practical constraints as well. The team did not want anything that needed constant re-tuning, because different operators handled the machines across the week. They also needed a surface that would cope with normal workshop cleaning, including light dust, filament residue and the occasional rushed restart after a power cut. In a Roodepoort workshop, that kind of reality matters as much as the spec sheet. They needed parts that fit, stuck properly, and came off without drama.
- Mixed part sizes from small detail pieces to larger presentation bases
- Frequent operator changes across the week
- Load-shedding interruptions and restarts
- Need for cleaner undersides with less sanding
The Build Plate And PEI Setup We Supplied
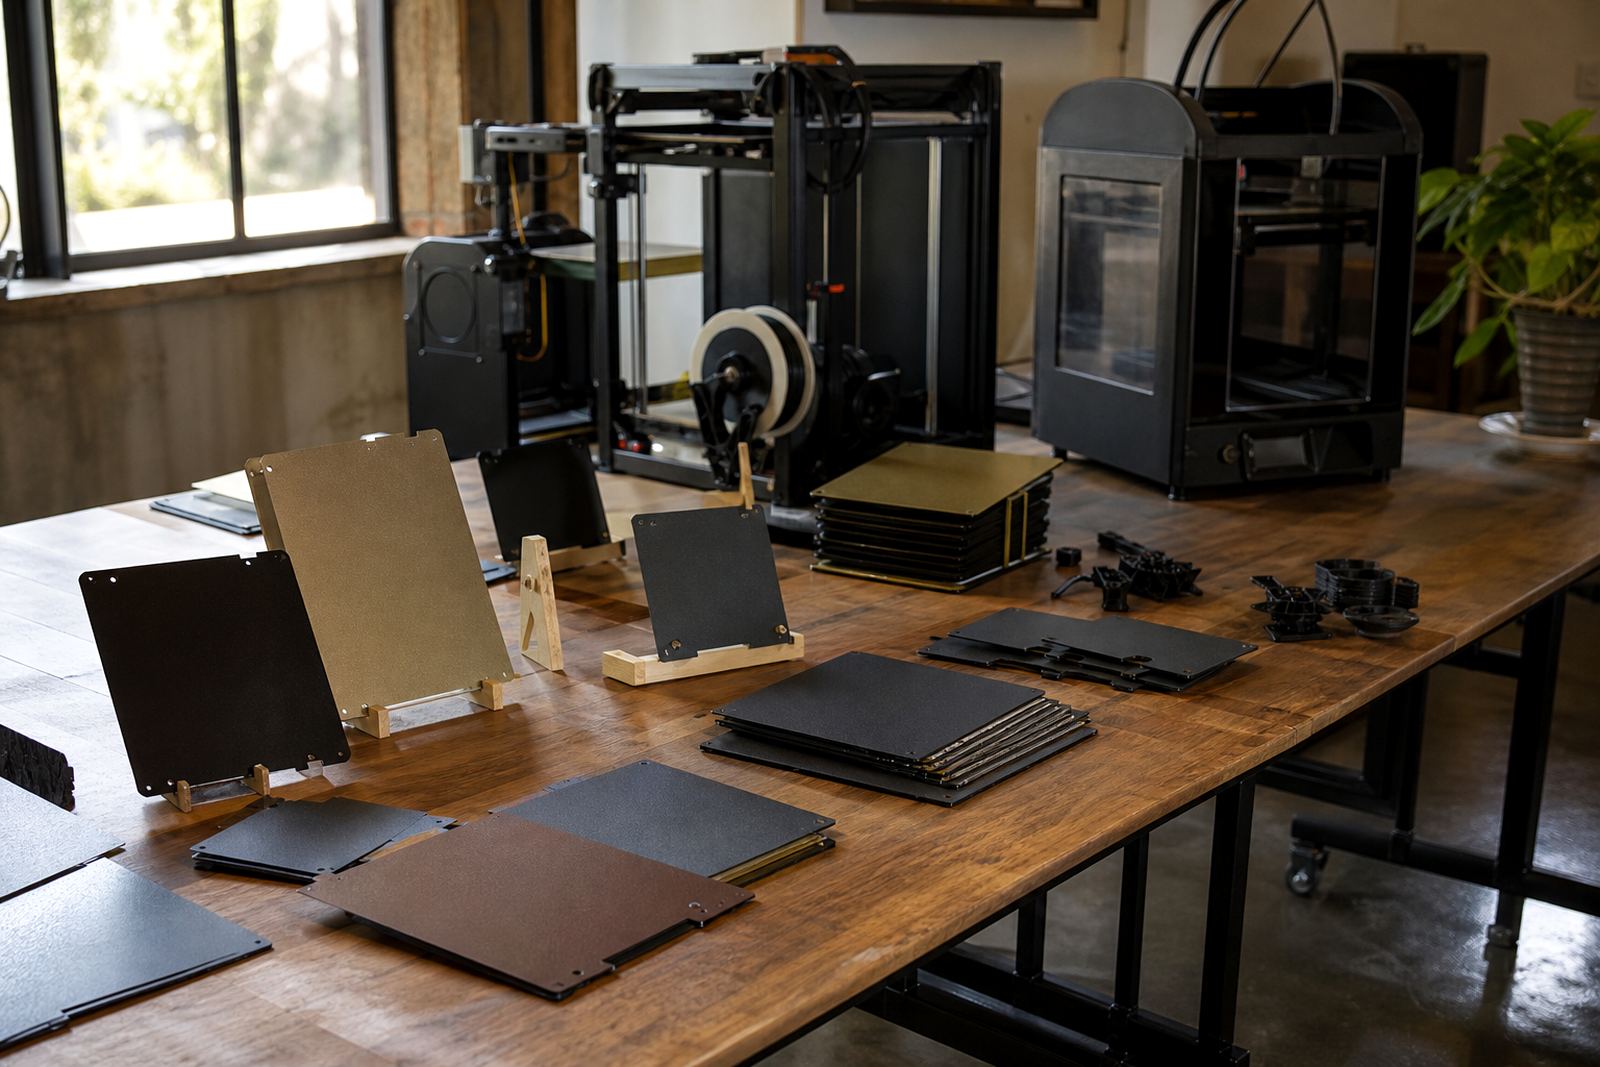
We supplied new build plates sized for the team’s main machines and matched them with PEI sheet options suited to the materials they run most often. The installation included plate fitting, bed flatness checks and a careful first-layer test on each machine so the team could see where adjustment was needed before production resumed.
Where the bed needed it, we fitted magnetic bases and checked that the plate sat evenly across the full surface. We also refreshed a few older beds with new working surfaces instead of replacing entire assemblies, which saved money and kept the machines in use. The final setup gave them a more reliable grip on the first layer, cleaner release after cooling, and a more even finish on the underside of display parts. One machine had a slight high spot near the rear left corner, which we marked and adjusted around so it would not cause repeat issues.
- Build plate sizes matched to the team’s main printer beds
- PEI sheet fitting for better adhesion and cleaner release
- Magnetic base fitting where the bed needed quicker plate changes
- Bed flatness check and first-layer confirmation on each machine
How We Worked Through The Job In Three Weeks
Week one was the assessment and measurement stage. We checked bed condition, looked at surface wear, and tested a few sample prints to see where the first layer was behaving badly. Week two was installation and tuning. That included fitting the new surfaces, confirming temperatures and checking how each printer behaved on the first layer after the change. Week three was the handover and training stage, where we showed the team how to clean the plate, when to refresh it, and how to avoid scratching the working surface during part removal.
The team also asked for a simple standard they could apply to all their machines, so we set one up with a short checklist for start-up, cleaning and shutdown. That cut the chance of one operator leaving residue on the plate while another started a fresh print on the same bed later that day. It sounds small, but for a busy model team it saves a lot of time. The handover was practical and quick, with enough detail for newer staff to follow without guesswork.
- Week 1: assessment, measurements and sample tests
- Week 2: installation, tuning and first-layer checks
- Week 3: handover, cleaning method and operator training
Results On Display Parts, Fit And Finish
After the change, the team saw cleaner undersides on display pieces and fewer prints needing base rework. Parts released more consistently once the bed cooled, so they were spending less time prying at the plate and more time finishing the actual model. On larger pieces, the first layer held better across the bed, which reduced edge lift and helped keep dimensions more predictable. That mattered on presentation models where a neat base can make the whole piece look more professional.
The result was not only better adhesion but a more controlled workflow. The team could repeat the same setup across machines and between operators, which reduced the number of failed starts. They also reported less wear from aggressive scraping because the surface did more of the work for them. In practical terms, the job delivered cleaner bases, steadier production and less wasted time on post-processing. That is the kind of change that shows up in a workshop within the first few jobs, not months later.
What We Would Repeat For Similar Roodepoort Projects
If we were doing the same type of job again, we would still start with a bed flatness check before any surface swap. Too many adhesion problems are really bed condition problems, and the quickest fix is not always the right fix. We would also standardise the cleaning process from day one, because fingerprints, dust and old adhesive residue can undo a good surface surprisingly fast.
For a team working on display parts, schools projects or short production runs, we would keep the solution simple: the right plate size, the right surface finish, and a clear way to maintain it. If the machines run in a room where power cuts happen or the air gets dusty, that needs to be planned for too. We have found that a careful setup usually beats a fancy one, especially where the team needs parts to perform the same way on Monday and Friday. That consistency is what the Roodepoort crew needed, and it is what they got.
- Start with bed condition before changing surfaces
- Use a repeatable cleaning method for every operator
- Match plate size and finish to the actual parts being made
Key facts
| Project location | Roodepoort, Gauteng |
|---|---|
| Client type | Model-building team |
| Project duration | 3 weeks |
| Main products | 3D-printer build plates and PEI sheets |
| Services used | Plate installation, bed flatness check, surface refresh, adhesion troubleshooting |
| Key result | Cleaner bases, fewer reprints, faster post-processing |