What the prop team needed for Umhlanga event work
The client was a small event props and scenic finish team based in Umhlanga, serving corporate functions, mall activations and private launches along the North Coast. Their work involved oversized decorative pieces, repeated reprints and a steady flow of flat parts that had to come off cleanly, look neat and be ready for paint or vinyl finishing soon after printing.
The problem was not one single failure. It was a pattern of first layers letting go on the outer edges, especially on longer jobs where the bed sat hot for many hours. A few prints survived fine, then the next one would curl at a corner or lose grip halfway through the run. In a busy prop shop that means wasted filament, missed handover times and a lot of staff waiting around.
They wanted a fix that could support everyday production, not just a quick tweak. The brief was to improve adhesion on large-format prints, reduce the need for constant babysitting, and keep the surface easy to clean between jobs. They also needed a setup that would cope with Umhlanga’s coastal humidity and the stop-start power conditions that many local print rooms know too well.
The constraints we worked around
We started by checking the actual printing conditions rather than guessing. The team was running a mix of benchtop and mid-size machines, with bed sizes ranging from 220 x 220 mm up to 300 x 300 mm. Their jobs included PLA for display props, PETG for tougher parts and the occasional higher-temperature material for functional supports and fixtures.
There were three main constraints. First, the existing surfaces were tired and uneven in spots, so first layers were not behaving consistently. Second, some of the larger parts had wide contact areas and long print times, which made bed temperature control important. Third, the team did not want a solution that needed complicated prep every time. They needed something repeatable that a production assistant could handle after a short handover.
Because the job flow changed from week to week, we also had to keep maintenance simple. If a surface needed special solvents, a long cure time or delicate handling, it would slow the whole shop down. The prop team needed a surface that could take frequent use, wipe down easily and still release finished parts without damage.
What we supplied and fitted
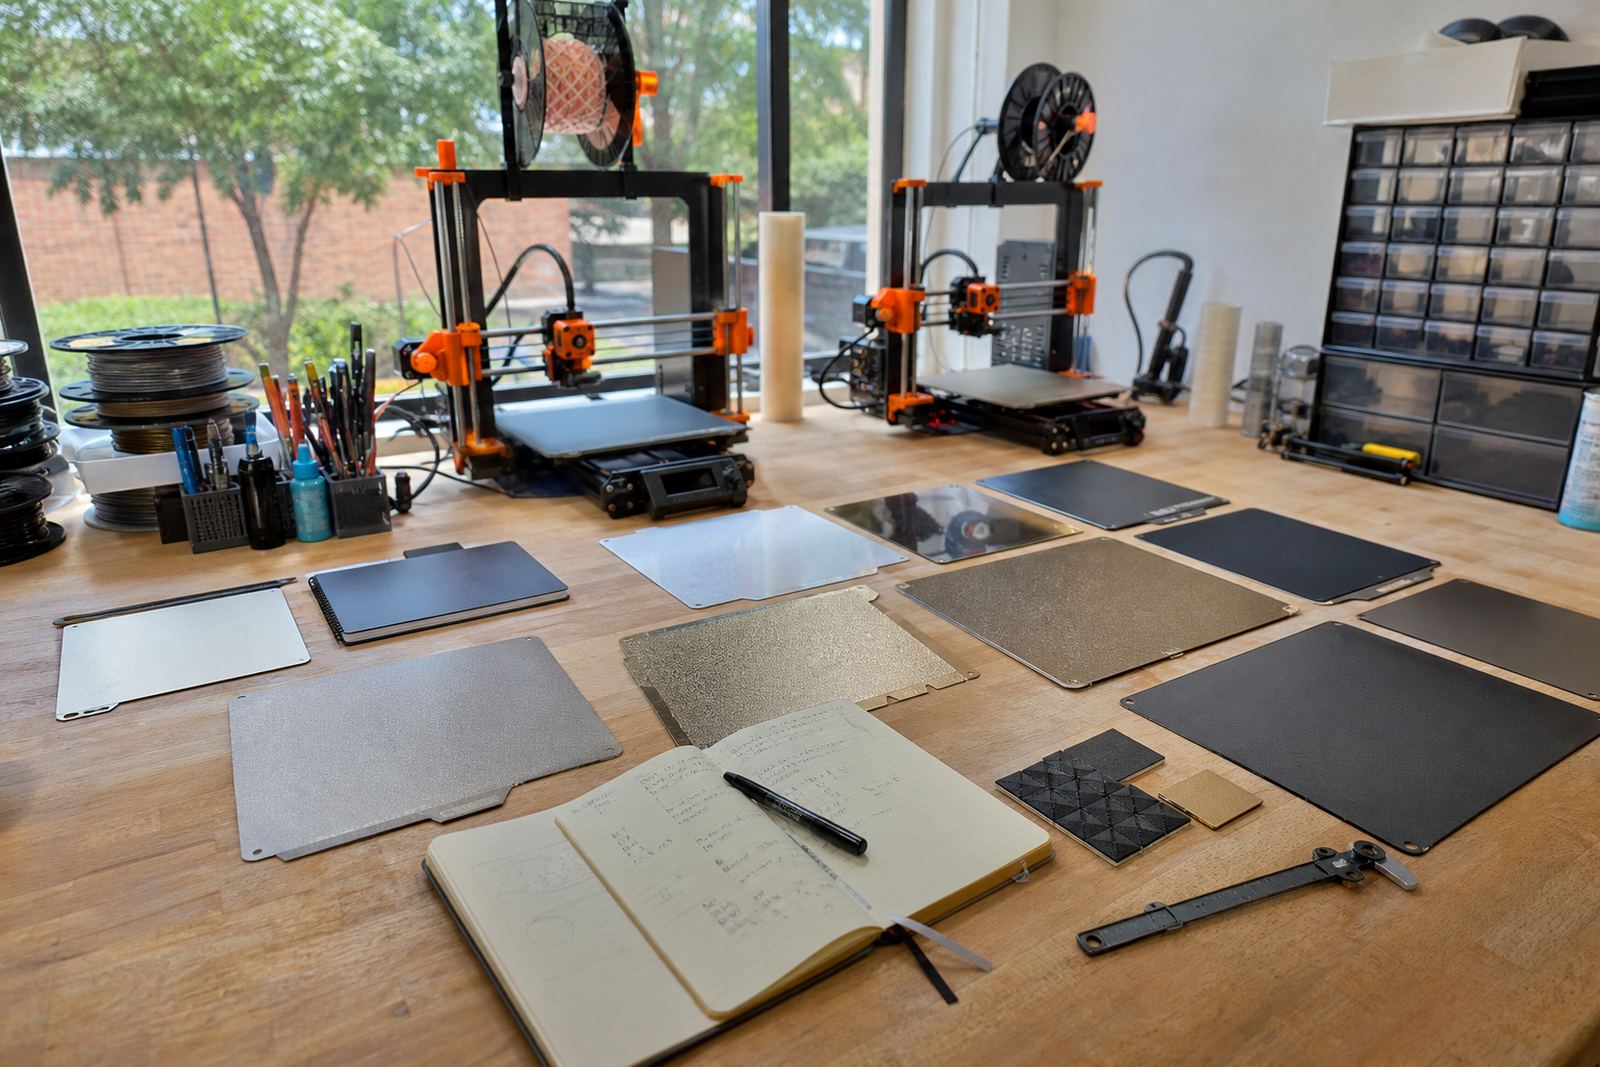
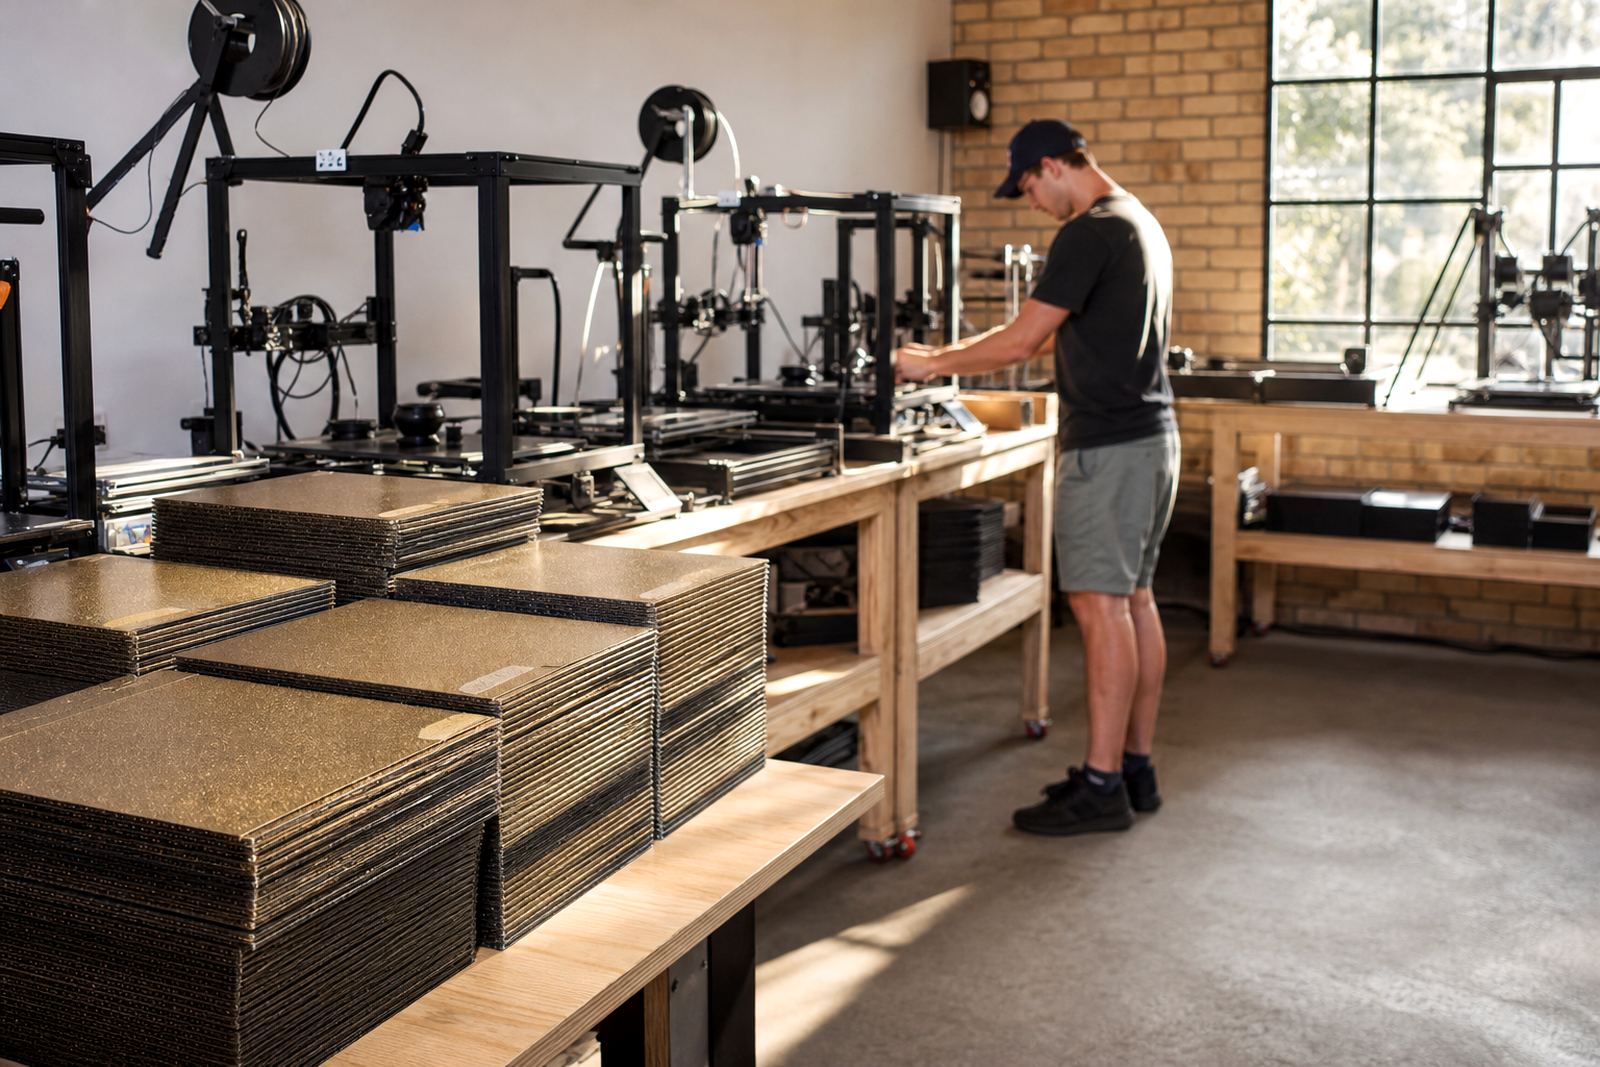
We supplied new build plate surfaces with PEI for the main production machines, plus magnetic base fitting on the units that needed quicker changeovers. For the larger beds we cut to size so the active print area was fully covered, with clean edges and proper alignment against the carriage. Where the base plate was still sound, we refreshed the top surface instead of replacing everything.
We also carried out bed flatness checks before fitting, because a good surface cannot fix a warped bed on its own. On the machines that showed low spots, we mapped the corners and centre, then adjusted the fitting order so the new surface sat as evenly as possible. That made a clear difference on the first layers of large flat decorative pieces.
- PEI sheet fitting on selected machines for better first-layer grip
- Magnetic base fitting for faster plate changes between jobs
- Custom size cutting for large-format build areas
- Bed flatness check and basic corrective setup
- Surface refresh on serviceable plates to extend working life
We also gave the team a short bed care routine to follow. That covered cleaning between prints, when to use a light adhesive aid and when to leave the surface dry. For a busy prop workshop, those small habits matter just as much as the hardware.
Timeline and delivery from Centurion to Umhlanga
The project ran over two weeks from first enquiry to final handover. In week one we reviewed the printer list, the bed sizes and the common job types. We then confirmed which machines needed new surfaces, which only needed fitting work and which ones could be kept in service with a refresh.
In week two we completed the cutting, fitting and setup work, then checked the machines on test prints before final release back to the team. A few adjustments were made after the first dry runs, mainly around plate alignment and the cleaning routine. Nothing dramatic, just practical tuning that saved them time once production started again.
Because the team was working to live event deadlines, we kept the handover simple and direct. The workshop lead could see exactly which plate belonged on which machine, and the support notes were written so any staff member could follow them without confusion. That matters when one person is on a delivery run and another is loading the next print at the same time.
What changed once the new setup was in use
The immediate result was better first-layer hold across the larger prints. Corners stayed down more reliably, and the team reported fewer restarts after the first few layers. That gave them more confidence running long pieces overnight or across a load-shedding window, since they were not starting from scratch as often.
There was also a practical gain in finish quality. Parts came off the bed cleaner, with less scraping and less surface scarring on the underside. For decorative work that still needs sanding, filling or paint prep, that saved real time. The workshop could move pieces through finishing faster, which was the whole point.
- More stable first layers on wide, flat parts
- Less edge lift on long print runs
- Cleaner part release after cooling
- Fewer wasted prints and less operator intervention
The team also found the new setup easier to standardise. Once the surfaces were matched to the printers, they could repeat the same bed care steps across the room instead of adjusting on a machine by machine basis. That reduced mistakes and made it simpler to train new staff.
What we would repeat for similar prop shops
If we were doing the same kind of job again, we would still start with the bed itself, not only the surface. A lot of adhesion problems come from uneven plates, old magnets or rushed setup, and those issues show up fast on large decorative prints. The combination of a flat base, proper surface choice and a simple care routine gave the best result here.
We would also recommend the same approach for schools, maker spaces and print farms that run mixed materials on long jobs. A well chosen build surface does not need to be complicated, but it does need to match the size of the bed and the way the team actually works. If the surface is awkward to clean or tricky to replace, it usually ends up ignored.
For coastal towns like Umhlanga, we would keep humidity and storage in mind from day one. Sheets and plates should be handled cleanly, stored flat and kept away from dust and oily residue. That kind of basic discipline protects print consistency and stretches the life of the setup. It is simple, but it works.
Key facts
| Project type | Event prop adhesion upgrade |
|---|---|
| Location | Umhlanga, KwaZulu-Natal |
| Timeline | 2 weeks |
| Bed sizes covered | 220 x 220 mm to 300 x 300 mm |
| Materials used | PEI sheets and magnetic base fittings |
| Main outcome | Stronger first-layer hold on long decorative prints |