When presentation models cannot afford damaged edges
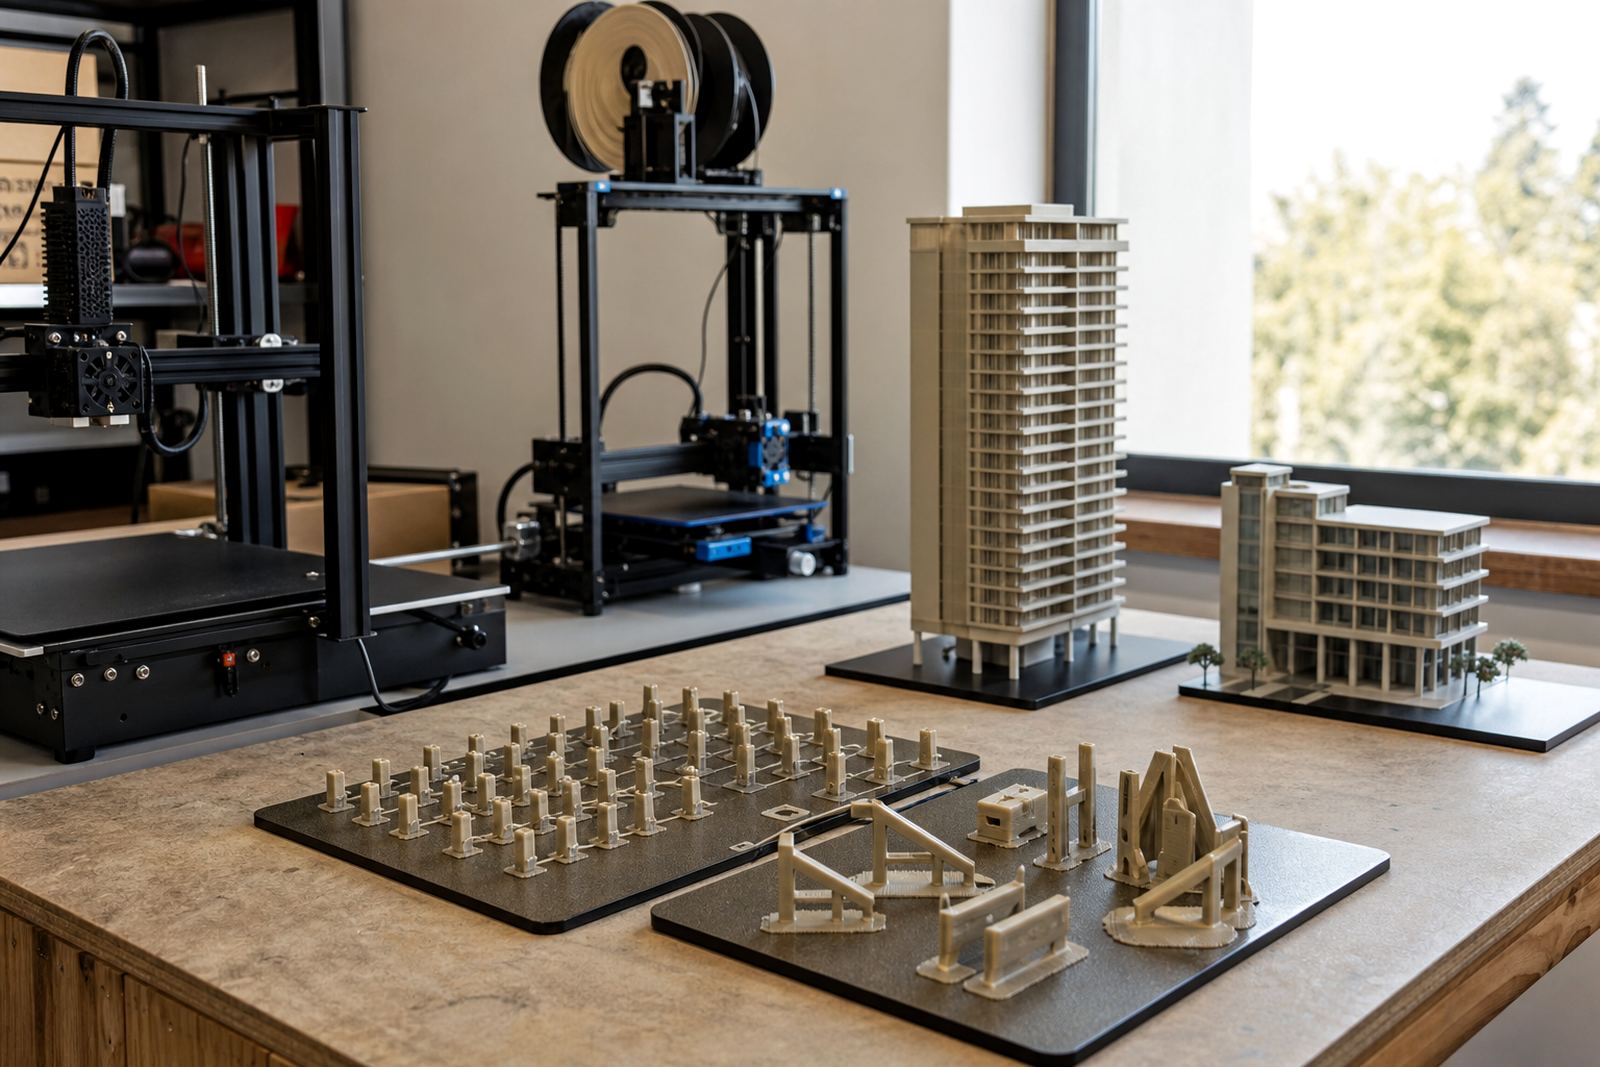
Architectural model work asks for neat corners, smooth underside finish and parts that come off the bed without tearing away detail. That matters whether you are printing a cluster of facade panels for a client pitch, small roof components for a competition model, or repeated parts for a school exhibition. If the plate surface is inconsistent, the first layer can look fine on one print and fail on the next, which wastes time and material.
For teams in Pretoria, Johannesburg, Cape Town, Durban and Bloemfontein, the real pressure is not only print quality but turnaround. Many model jobs run alongside studio deadlines, open days and client reviews. A build plate that releases cleanly after cooling can save a lot of hand finishing. It also helps when the same machine is used by different people during the week, because the process stays predictable.
LayerPad works with teams that need repeatable adhesion and reliable release, not guesswork. That is useful in humid coastal areas, in dusty workshop spaces, and in rooms where printers sit through load-shedding changes and long overnight runs.
Typical setup for an architectural model table
Most architectural model teams do not need one single exotic solution. They need the right combination of flatness, surface type and mounting method for the printer they already use. A practical setup usually includes one or more build plates, a PEI surface matched to the machine, and a magnetic base where quick removal is important.
- Rigid build plates for stable first layers on medium and large format printers
- PEI sheets for clean release on PLA, PETG and similar model materials
- Magnetic bases for teams that swap plates often during a busy week
- Bed adhesion products for tricky geometry, tall thin parts and small contact areas
- Replacement plates for print farms that need standardised spares on hand
For finer models, the surface must support small footprint parts without over-gripping them. Too much hold can chip corners during removal. Too little hold gives lifting, shifting or curled edges. The right plate should let you print a repeated window detail this morning and another one this afternoon without changing the rest of the setup.
Planning the print room around model work
A good print room layout is about flow. Model teams often move between slicing, printing, cleaning, assembly and presentation prep, so the bed system should support that movement. Keep active printers together, with a small recovery area for cooling and removal. If plates are changed often, store them flat and clearly labelled by machine or material. That stops confusion when two people are working at once.
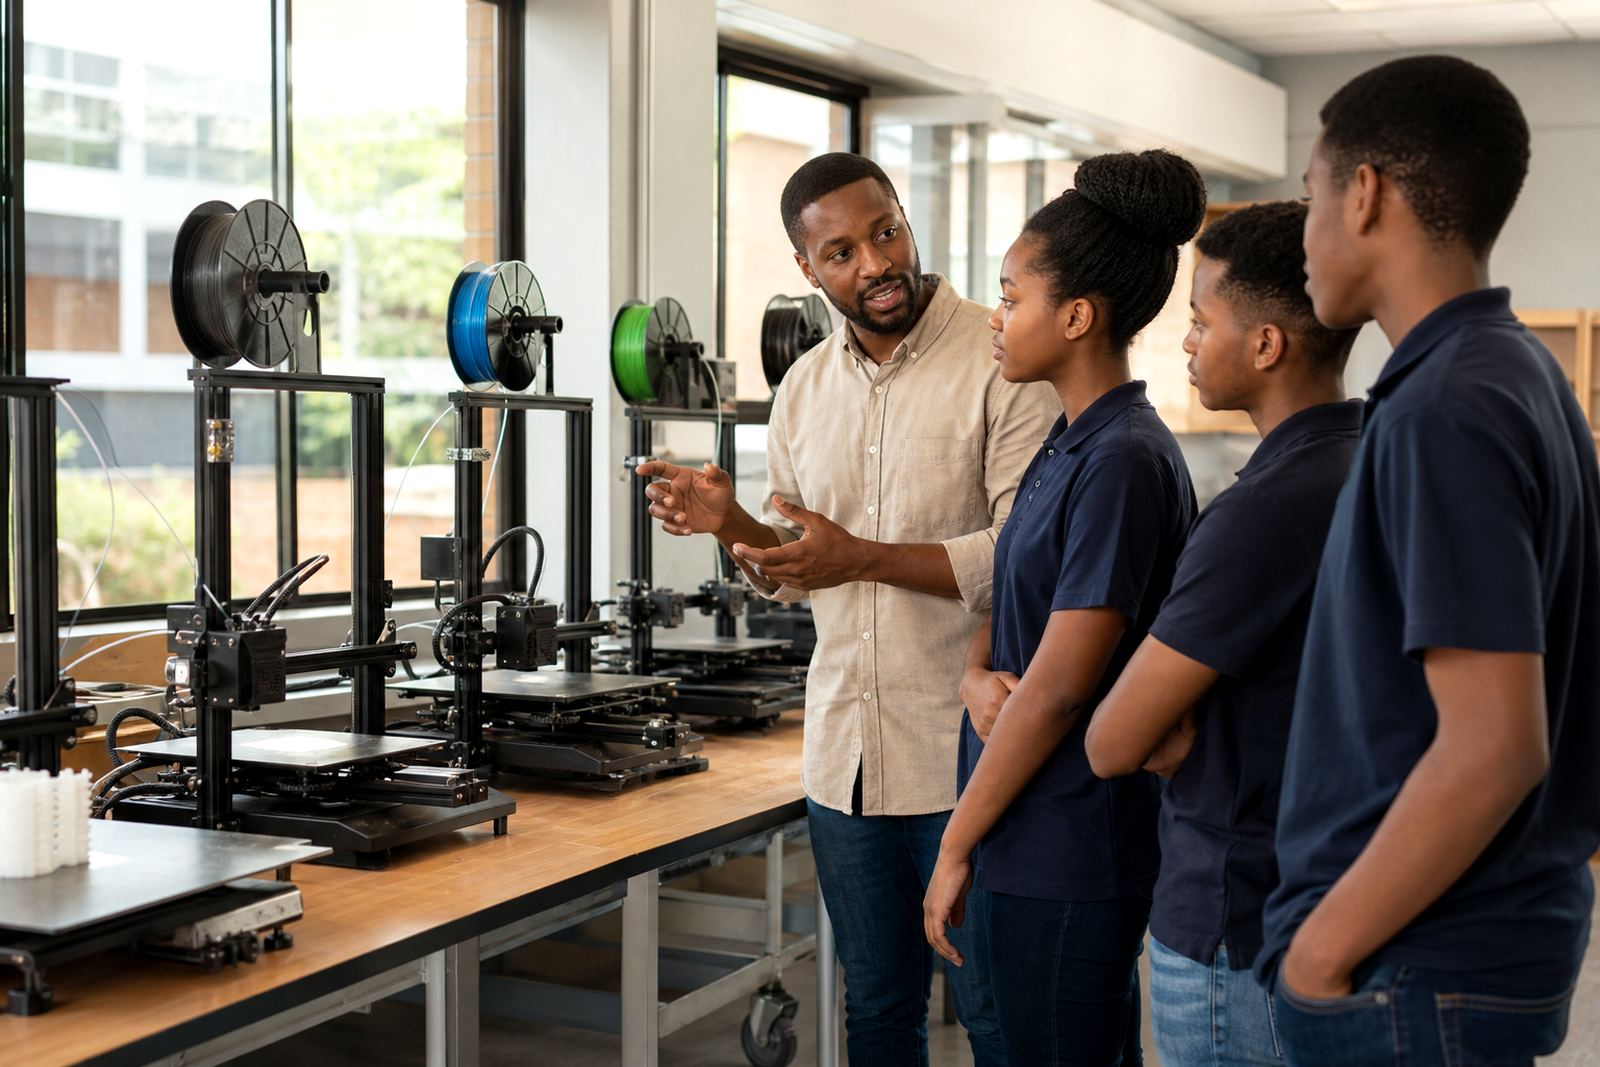
In a school lab or design studio, set a simple rule: one plate type per printer unless there is a clear reason to swap. This reduces variation and makes troubleshooting easier. For a print farm, standardising plate sizes and fittings can cut downtime when a unit needs attention. It also makes replacement planning easier because you know which spares fit which machines.
Where power interruptions happen, as they do in many parts of Gauteng and beyond, it helps to keep the process simple. After a failed print or pause, a clean and flat plate gives you a better chance of restarting without extra prep. That matters when a model has a deadline and the team is already working late.
Common mistakes that cost time and material
Many teams blame the printer when the problem is actually the bed surface or the way it is being handled. One common mistake is using the same adhesion method for every material and every part. A small architectural column and a wide floor tile do not behave the same, so the plate setup should not be identical either.
Another issue is uneven bed flatness. If the centre is fine but the corners lift, the model may look acceptable on the first layer and still fail halfway through. Some teams also clean plates too aggressively and damage the surface. A scratched or contaminated bed can cause patchy grip, poor first-layer finish and repeated reprints. Thats expensive when a project has dozens of parts.
- Do not force parts off while the plate is still hot if the surface is meant to release on cool-down
- Do not mix old adhesive residue with a fresh PEI surface
- Do not assume one plate suits every filament and every part size
- Do not ignore small lift at the edges, because it usually gets worse overnight
- Do not skip a bed flatness check after moving a printer or swapping mounts
Budget ranges for schools, studios and print farms
Budget planning depends on how many printers you run and how often you change plates. For a small model studio or school lab, a basic plate and surface refresh approach might start from a few hundred Rand per machine. Once you add magnetic bases, custom cutting or multiple spare plates, the spend rises but the workflow becomes easier to manage.
As a guide, many teams should plan for the following ranges:
- Entry level plate or surface replacement: about R250 to R650
- Magnetic base fitting or plate upgrade: about R450 to R1 200
- Custom size cutting or special fit work: about R350 to R900 depending on size
- Small lab standardisation packs: about R1 500 to R4 500
- Print farm replacement planning with multiple units: from about R5 000 upward
If you are buying for a school or municipality-funded project, it helps to plan for spares as well. Model work often carries short deadlines and a single damaged plate can stall a class or a client prototype. The cheaper route on paper is not always the cheaper route after repeat failures.
Support for repeatable results across South Africa
LayerPad supports architectural model teams from Centurion and the wider Gauteng area through to Cape Town, Durban and Bloemfontein. That includes collection in Centurion, coverage for Pretoria East and Johannesburg, dispatch support for Midrand, and wider coverage for Gqeberha as well. The focus is practical: fit the right plate, solve adhesion problems, and keep the printers ready for the next brief.
We also help teams with plate installation, PEI sheet fitting, magnetic base fitting, replacement planning, farm standardising and school lab setup. If a model team is struggling with bed release, corner lift or surface wear, the issue is usually easy to trace once the printer, material and plate condition are checked together. A short review can save several failed prints and a lot of hand work.
For architectural presentations, the goal is simple. Clean release, clean underside finish, and less time scraping or sanding. That is what keeps a model moving from the printer to the boardroom on time.