When costume prints start taking over the whole bed
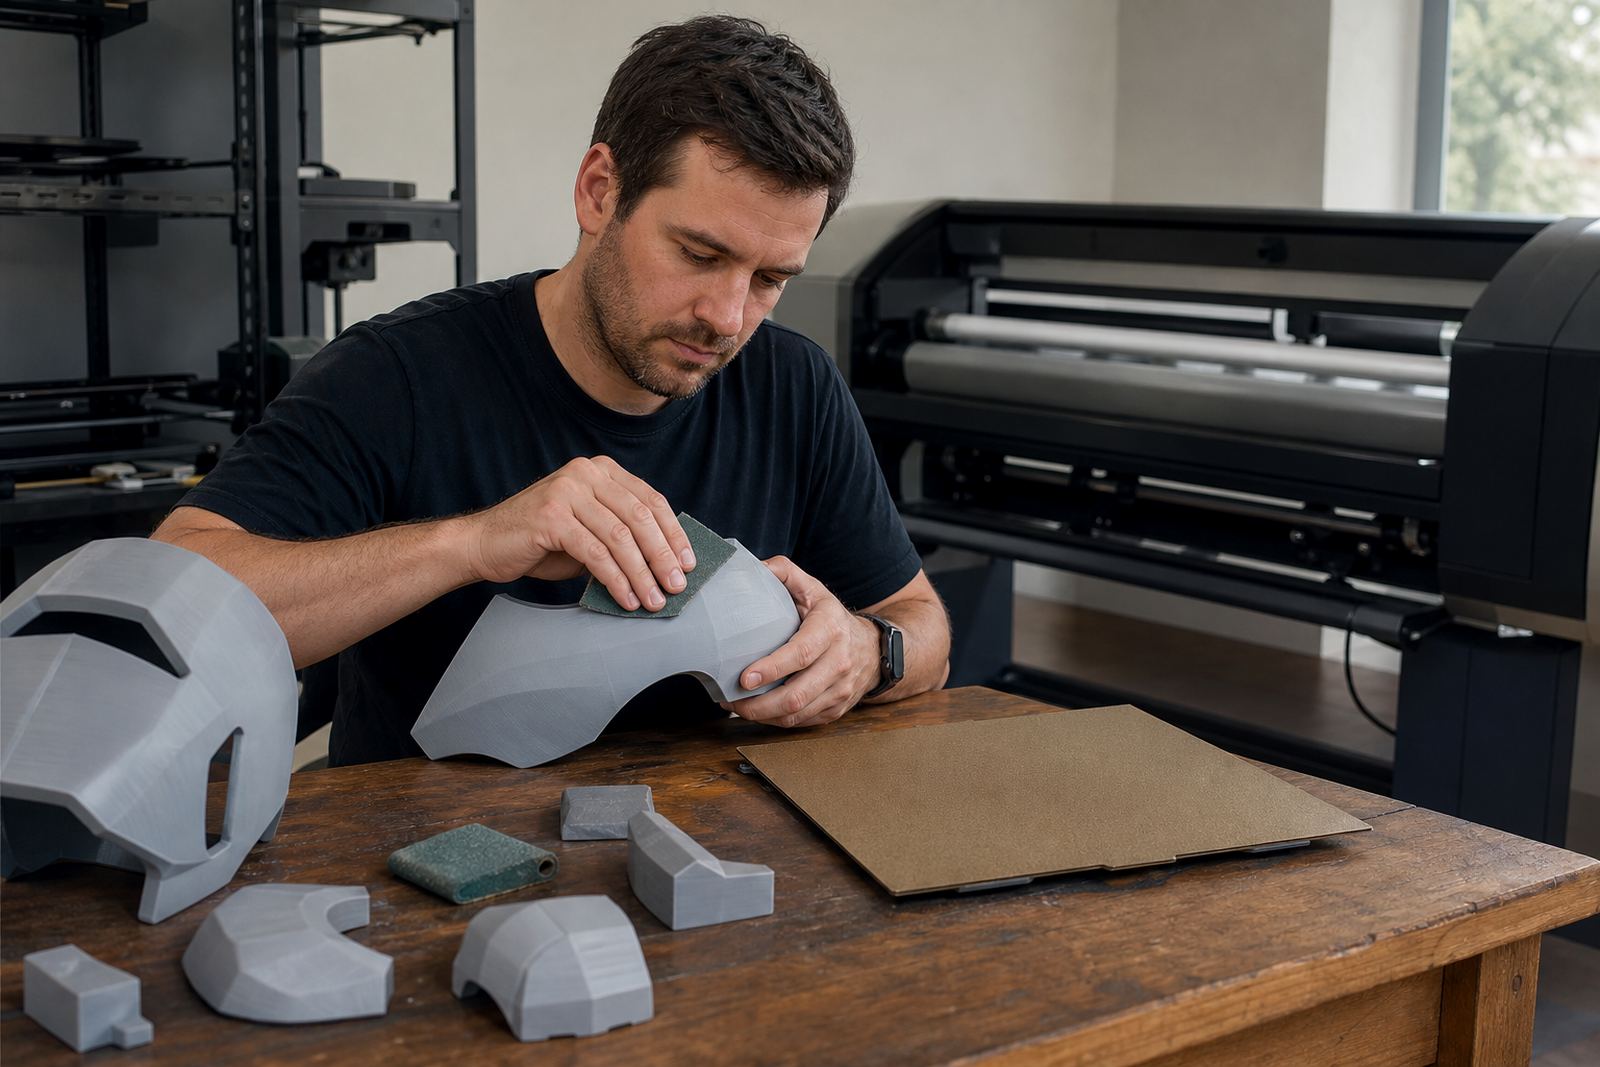
Cosplay work is not like printing a small bracket or a test cube. A helmet shell, chest plate, gauntlet or prop housing can sit on the bed for hours and if the first layer lifts, the whole job is at risk. For makers in Centurion, Pretoria, Johannesburg and beyond, the bed surface matters just as much as the printer itself. A good surface gives you grip while the job is hot, then lets go cleanly once the plate cools.
That is especially important when you are printing in sections and joining pieces later. Costume builders often need repeatable results across a batch of parts, not just one lucky print. If the bed is uneven or the surface has worn patches, you will see it in the corners first. On long runs that waste time and filament add up fast, especially when power cuts mean you want fewer restarts and less babysitting.
Typical cosplay printer set-up and what the bed needs to handle
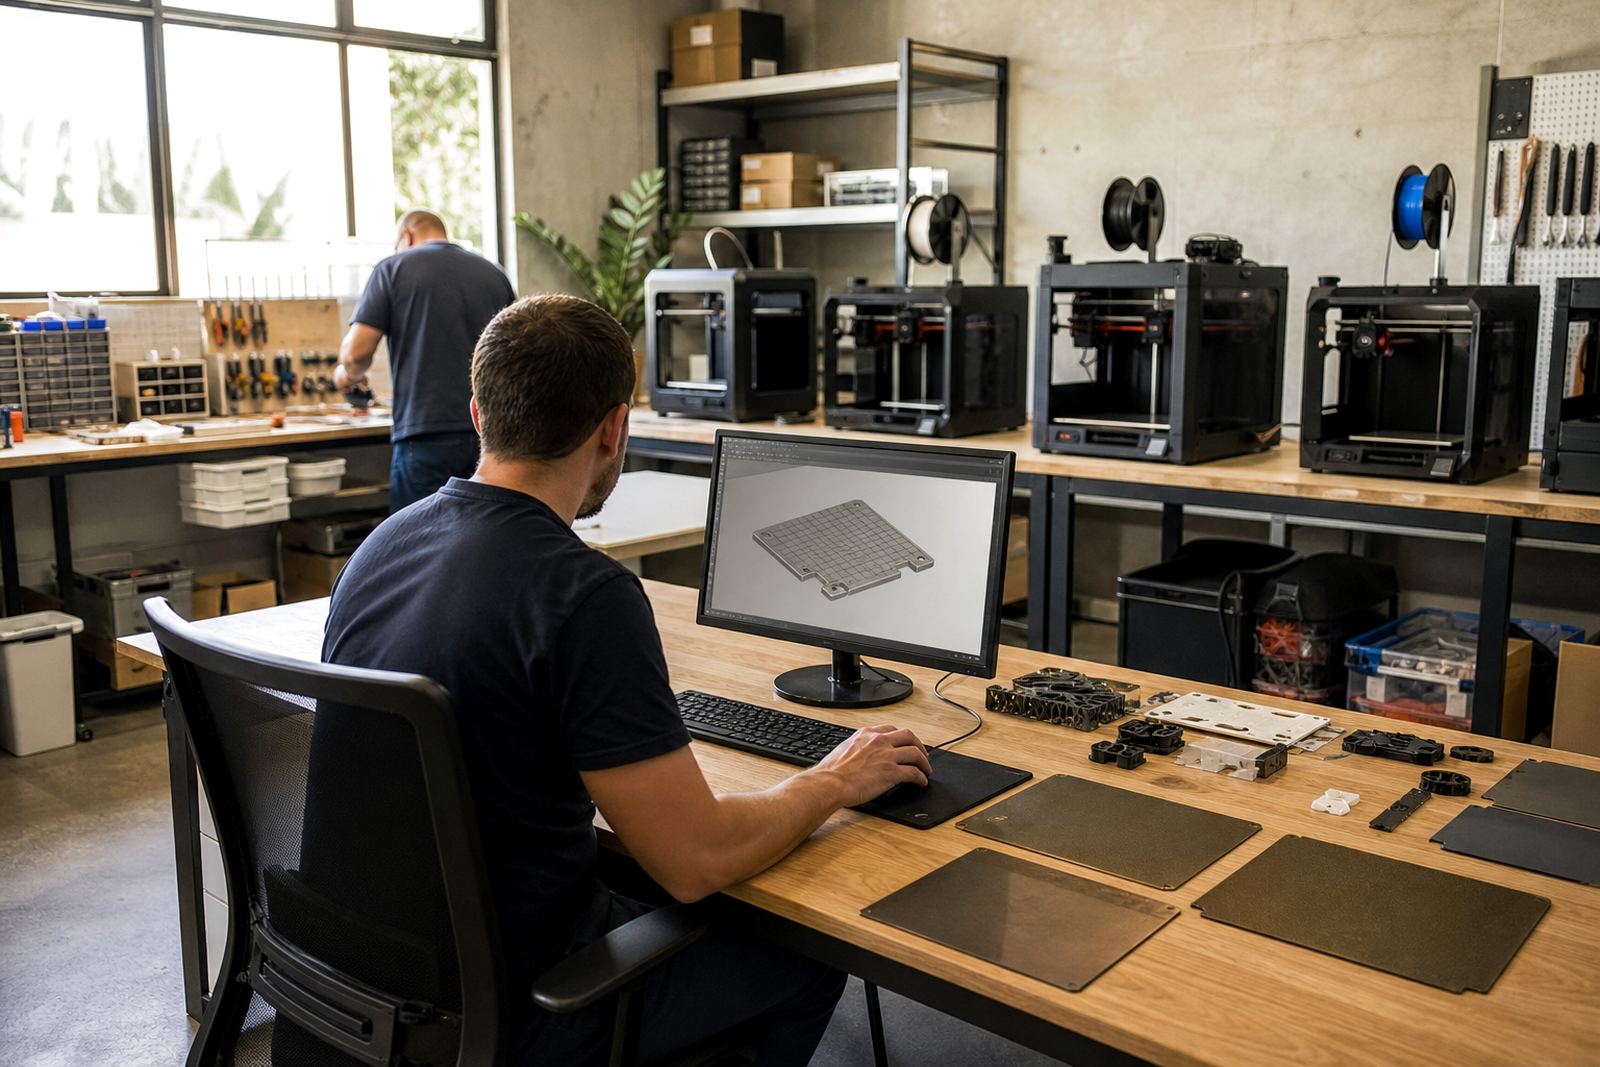
Most cosplay makers use a mix of printers depending on the size of the build. Some run compact machines for detail parts, while others use larger-format printers for helmets, shields and armour panels. In South Africa, that usually means a setup that needs to cope with PLA for easy shaping, PETG for stronger parts, and sometimes ABS or ASA for heat resistance. Each material behaves differently on the bed, so the surface has to suit the job.
A sound bed set-up normally includes a flat build plate, a suitable PEI sheet or other adhesion surface, and in some cases a magnetic base for easier removal and replacement. If the printer is used in a garage, classroom, or small workshop, dust and humidity also become part of the equation. Coastal towns such as Cape Town and Durban can see more moisture in the air, while inland spaces may deal with dry conditions and dust. Either way, the bed has to stay clean and level.
- Large costume shells need even grip across the full plate, not just in the centre.
- Fine prop details need a surface that releases without tearing edges.
- Long print jobs benefit from stable first-layer behaviour across repeated runs.
- Schools and maker spaces often need easy cleaning between different users.
Layout planning for helmets, armour and prop parts
Good bed planning starts before the slicer settings. Cosplay parts often have awkward curves, thin edges and broad flat areas that can warp if they are placed badly. A helmet half laid flat may look efficient on the screen but it can trap heat and lift at the edges. Sometimes rotating the part 10 to 20 degrees, or splitting it into sections, gives a better result and saves material. It also helps to keep the heaviest side of the model where the bed adhesion is strongest.
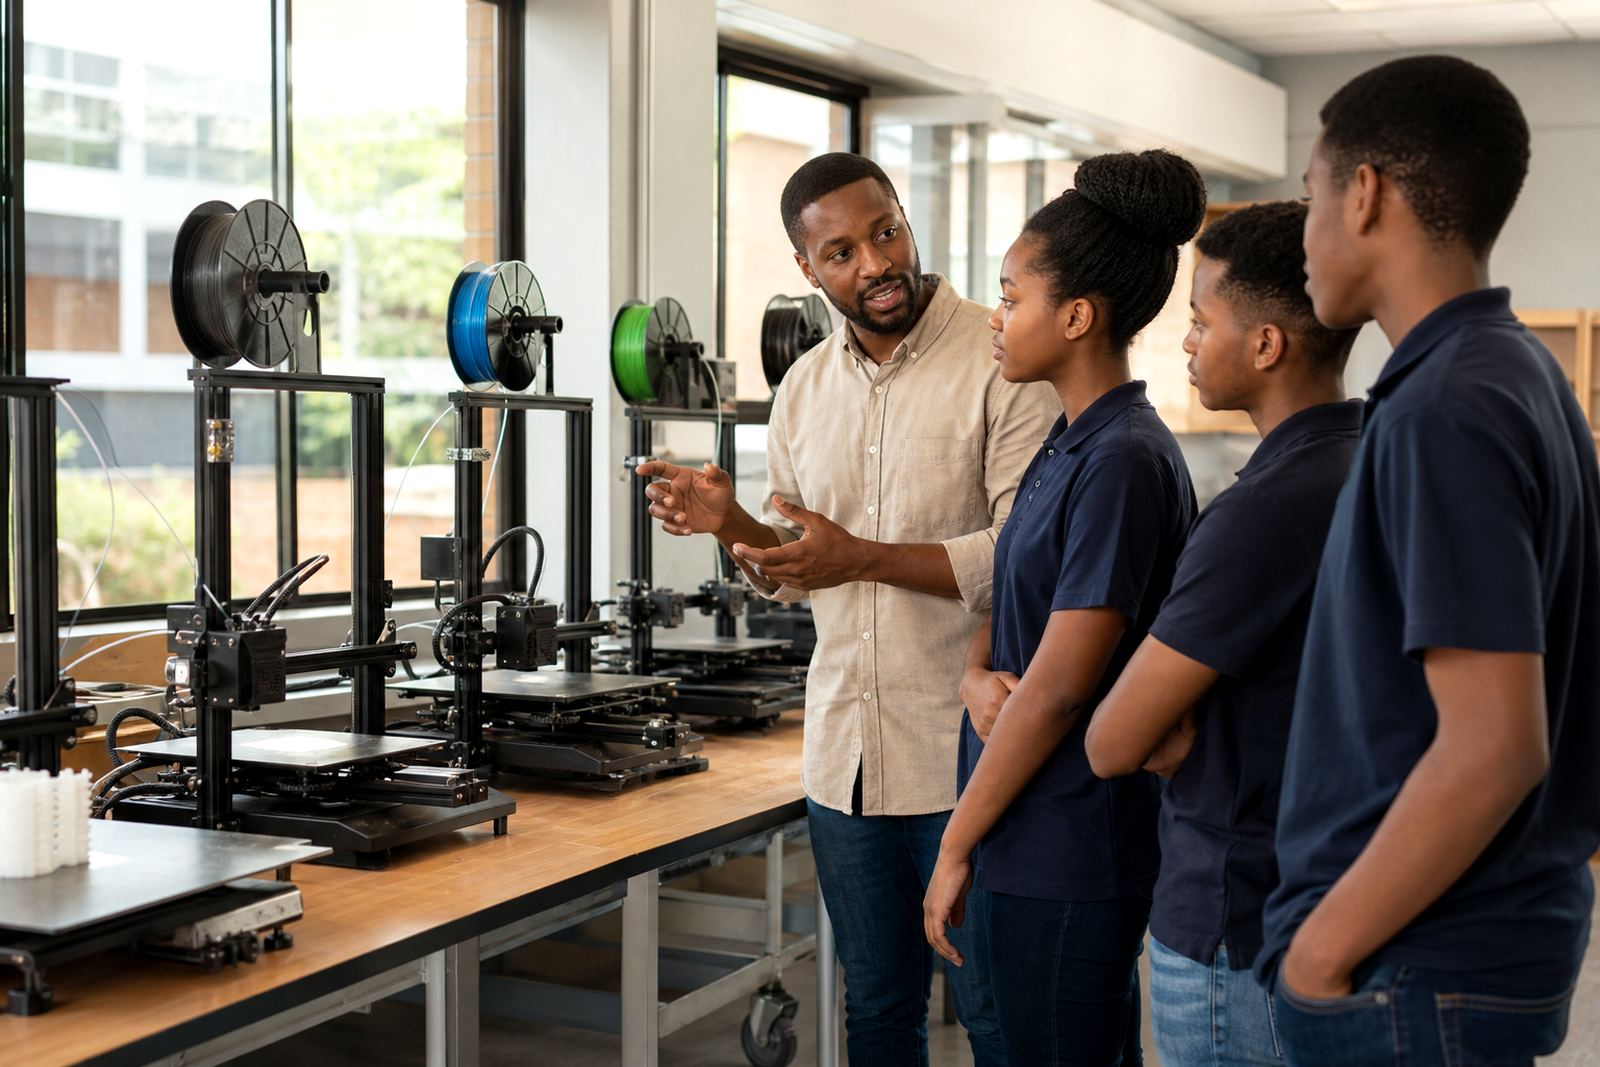
For print farms and school labs, standardising plate sizes and print profiles saves a lot of repeat work. If every machine uses the same surface type and the same cleaning routine, team members can swap jobs with fewer mistakes. That matters when a class is printing prop parts for a performance or a club is working toward an event deadline. It is also worth leaving enough space around each part for a brim or small skirt, especially on machines that run with temperature swings during load shedding.
- Keep long, thin pieces away from the edges unless the plate is known to be flat.
- Use a brim for tall parts that may rock during the first few layers.
- Place curved armour sections so the largest contact area sits on the bed.
- Leave room for part labels if several makers are sharing one printer.
Common mistakes that ruin cosplay print runs
The biggest mistake is assuming any clean plate will do. A surface that worked last month may now be polished smooth, scratched, or contaminated with finger oils and glue residue. Another common error is using the same adhesion approach for every material. PLA may stick well with a fresh PEI surface, but a more demanding material may need a different temperature and a more careful first layer. If the bed is too hot, the part can bond harder than expected and become difficult to remove without damage.
People also underestimate how much surface prep matters. A quick wipe with the wrong cleaner can leave a film behind, and that film can ruin adhesion. On bigger prints, even a small patch of poor grip can turn into a corner lift after several hours. For schools and shared spaces, rough handling is another issue. Scraping too hard, bending the plate before it has cooled, or storing it face down on a dusty shelf all shorten the life of the surface. A bit of training goes a long way here, and it prevents costly reprints. Some jobs only need a small adjustment, not a full replacement.
Budget ranges for cosplay makers, schools and small print farms
Budgets vary a lot depending on printer size and how often the bed is used. A hobby maker printing a few props a month can often start with a sensible mid-range surface plan. A school lab or a small farm printing armour parts every week may need several plates, spare sheets, and a replacement schedule. It is usually cheaper to plan for wear than to keep trying to rescue failed prints.
As a broad guide, a basic build-plate and sheet setup may start from about R350 to R900 for smaller machines. Mid-size and more specialised surfaces can sit in the R950 to R1 800 range. For larger machines, custom sizes, magnetic base fitting, or more than one spare plate, it is sensible to budget R2 000 to R4 500 and sometimes more depending on the size and setup. Schools often do well by setting aside a yearly consumables budget for cleaning, replacement sheets and training. That keeps the lab running instead of waiting for parts at the last minute.
If your team works across Centurion, Pretoria East, Midrand or Johannesburg, it helps to keep one standard surface type across all printers. That makes support easier and reduces confusion when parts move between sites. For Cape Town, Durban, Bloemfontein and Gqeberha users, it also helps with reorder planning because the same plate can be kept in service while a spare is ready.
What LayerPad supplies for costume and prop work
LayerPad supports makers who need dependable bed adhesion for detailed costume parts and long print jobs. The focus is on build plates, PEI sheets and practical fitting work that helps a printer perform the same way from job to job. For cosplay creators, that means better control over first layers, cleaner part removal, and fewer lost hours when a large print fails at the edge.
Clients reach us through the enquiry form on the contact page, and support can be arranged for collection, dispatch and setup advice across South Africa. Services include plate installation, PEI sheet fitting, magnetic base fitting, bed flatness checks, surface refresh, custom size cutting, replacement planning, farm standardising, school lab setup, adhesion troubleshooting, bed care training and consumables supply. If you are printing props for a convention, a stage production or a fan build, the right bed surface is one of the simplest ways to improve reliability.
In real workshop conditions, the aim is not fancy promises. It is a bed that stays flat, grips when it should, and releases without drama when the print is done.