Why jewellery prototyping needs a different approach
Jewellery work is not like printing brackets or brackets for a machine frame. The parts are smaller, the detail is finer, and any lift at the corners can ruin a wax master, casting pattern or presentation sample. In Centurion, Pretoria and Johannesburg we usually see the same issue: the printer is capable, but the bed surface is not giving a consistent first layer on tiny parts.
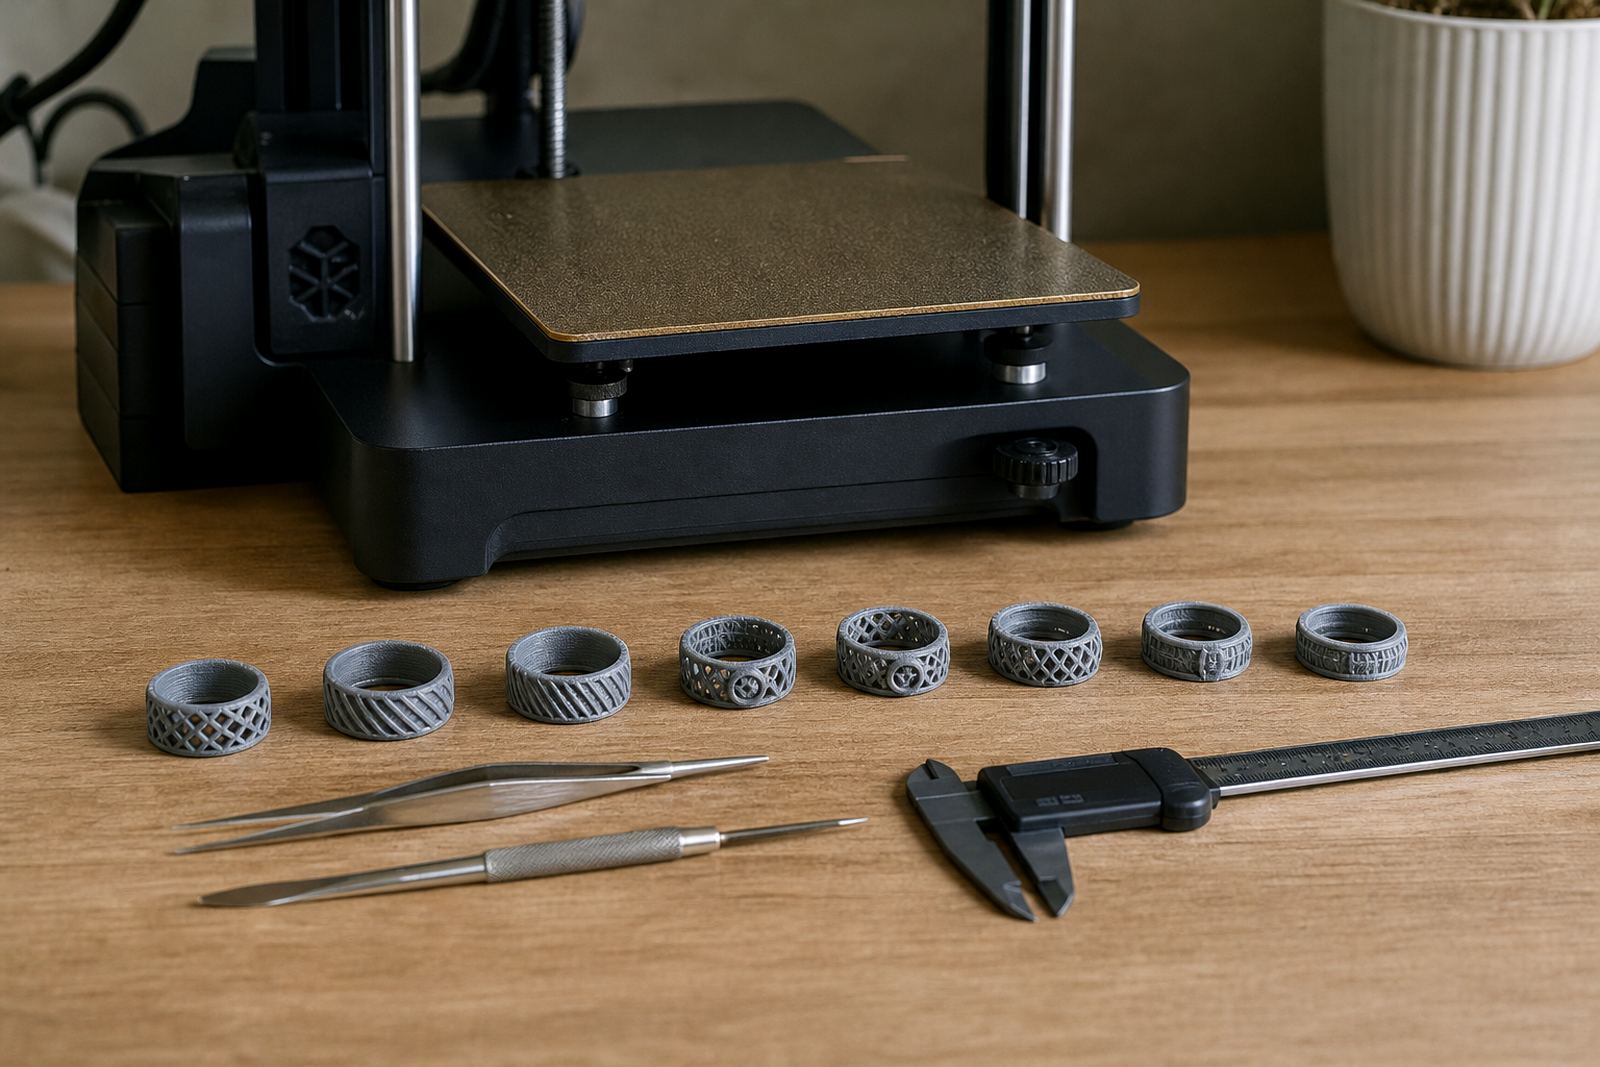
For jewellery prototyping the aim is simple. You want sharp edges, clean holes, accurate wall thickness and very little post-processing. A good build plate and the right PEI sheet help the first layer grip without fighting the print later. That matters when you are making one-off concept pieces for a client meeting, or a batch of small items for a school design class.
Humidity in coastal areas like Durban and Gqeberha can change how filaments behave, while winter dryness in Gauteng can make static and dust more of a problem. Small parts show these changes quickly, so the bed setup has to be predictable.
Typical printer setup for small detailed parts
Most jewellery prototyping jobs use a compact FDM printer for fast concept work, test fits and form studies. Some makers also run resin printers for ultra-fine detail, but a lot of shops still start with a clean, well-tuned filament machine for speed and safer handling in a busy workshop or classroom.
A practical setup usually includes a flat magnetic base, a smooth or lightly textured PEI sheet and a plate size that suits the part count. For small rings, pendants and miniature tooling you do not need a huge bed. What you need is stable contact across the whole surface and easy removal once the plate cools.
- 220 x 220 mm beds for smaller studio printers and school labs
- Textured or smooth PEI for different surface finishes
- Magnetic base fitting where quick plate swaps are needed
- Bed flatness check before fine-detail runs
- Consumables supply for frequent short prints
If you are printing in a print farm, standardising one plate type across all machines helps a lot. It reduces training time and makes it easier to keep settings consistent between operators. That is useful for universities, craft schools and small production teams in Pretoria East, Midrand and Bloemfontein.
Layout and planning advice for rings, charms and masters
Small parts should be arranged with airflow, cooling and removal in mind. Jewellery prototypes often have thin arms, sharp corners and tiny contact points, so packing the bed too tightly can cause warping or failed adhesion. Leave enough gap for the nozzle to travel without brushing delicate features.
For multi-part jobs, group similar heights together. This keeps the first layers more uniform and helps with a cleaner finish. When you are producing a series of ring forms or pendant variations, it is better to run fewer pieces per plate and keep the success rate high, rather than crowd the bed and risk three failed parts out of ten.
- Keep small parts at least 10 to 15 mm apart where possible
- Place the most detailed faces away from supports if the design allows it
- Use a bed flatness check before starting any batch with thin walls
- Plan for cooling time before removal so edges do not distort
- Do a short test print after changing sheet type or adhesive method
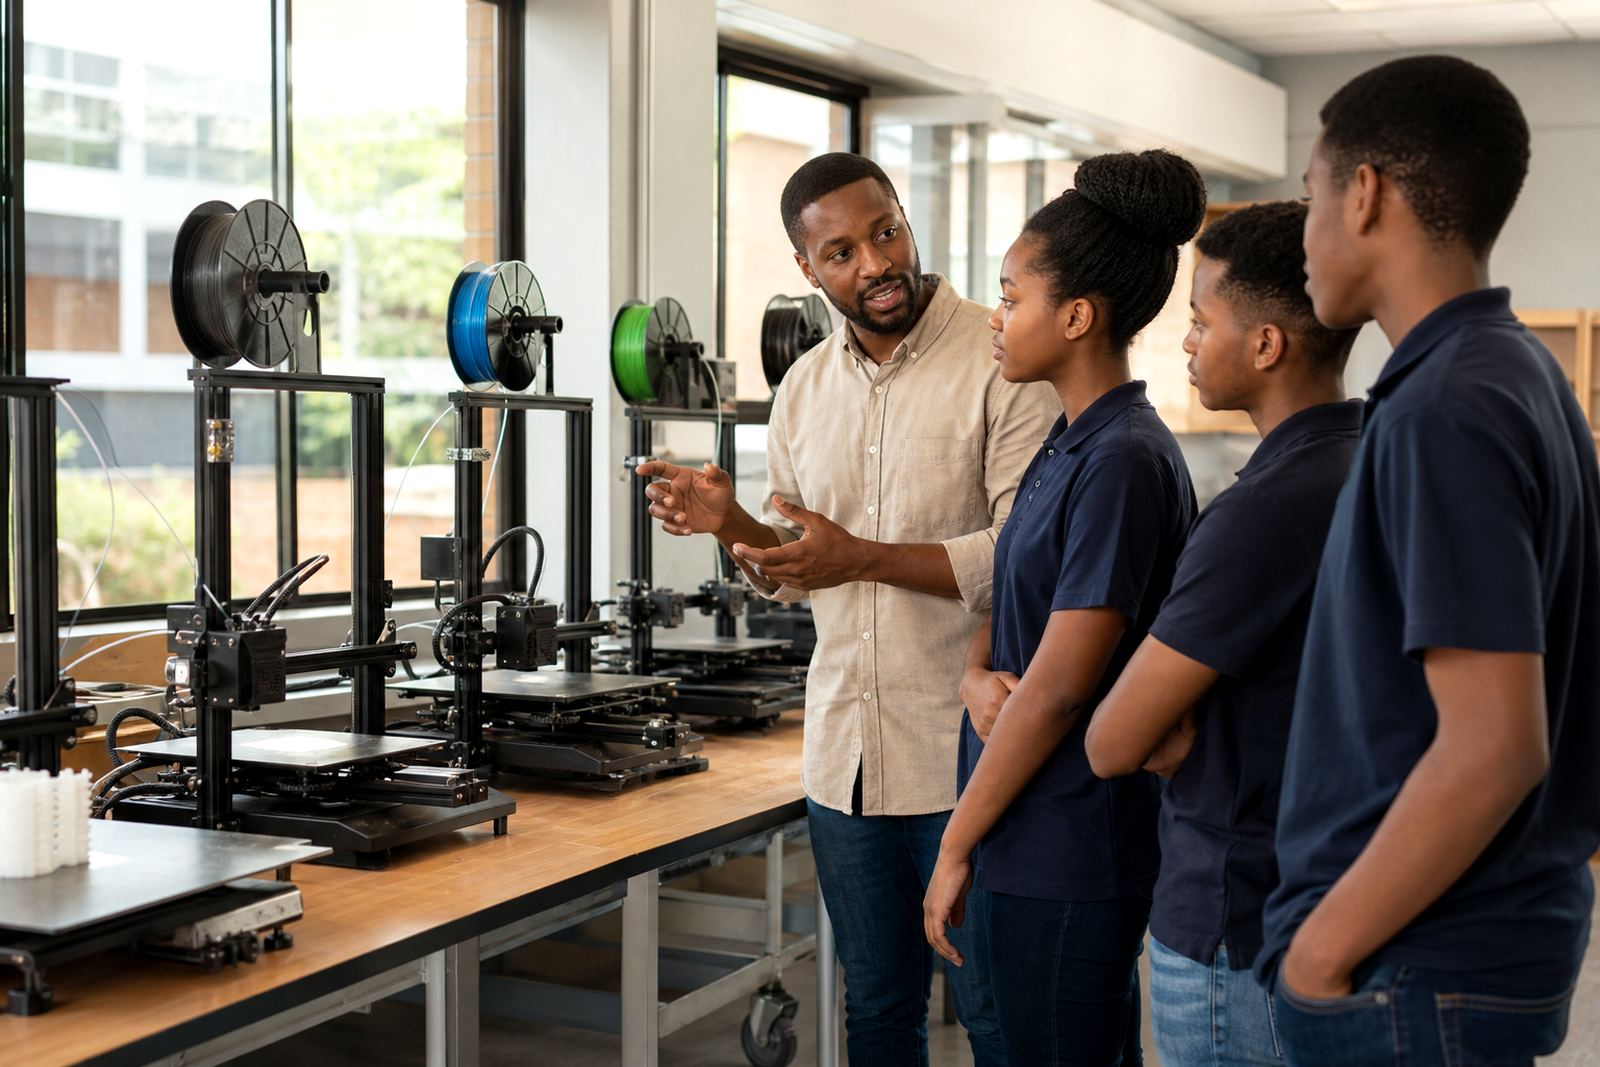
For school labs, it helps to prepare a simple layout sheet for each class group. That way learners know how many parts fit on one plate, how long the print will take and when to remove the finished pieces. It also cuts down on mistakes when several students are using the same machine.
Common bed adhesion mistakes we see with jewellery jobs
The biggest mistake is assuming a tiny print needs less attention than a large one. In practice it needs more. A small part can lift from one corner and still look mostly fine until the second or third layer, then the whole print starts to skew. That wastes material and time, especially on jobs where only a few grams of filament are used but the detail matters a lot.
Another common issue is a worn surface. If the PEI sheet is scratched, oily or lifted at the edges the first layer will not behave the same across the plate. On fine work, even a small bump can show in the finished piece. Regular surface refresh keeps the plate predictable and cuts down on the need for glue sticks, sprays or improvised fixes.
We also see people changing temperatures too often. A jewellery prototype does not always need aggressive heat or fast speeds. Start with a good base, confirm the filament settings and adjust one thing at a time. That makes troubleshooting much easier, especially when a school or maker space has several users sharing the same machine.
Watch out for:
- Dust on the plate before printing
- Oil from fingers after handling the sheet
- Uneven bed levelling on the front corners
- Too much adhesive on smooth plates
- Removing parts while the bed is still hot
What a good job plan looks like from design to first sample
A sensible jewellery prototyping workflow starts with the printer, not the final polish. Check the plate, confirm the bed is flat, fit the right PEI sheet and print a small sample before committing to a full batch. This is especially important when the model has tiny prongs, engraving or clasp features that must fit later hardware.
For teams in Centurion and Johannesburg, we often suggest a simple three-step plan. First, test one part. Second, confirm surface release after cooling. Third, move to a small batch once the adhesion is repeatable. That saves material and helps the operator see whether the plate needs a fresh surface or a change in first-layer height.
For schools and design studios, bed care training is often just as valuable as the hardware itself. Learners should know how to clean the plate, when to replace a worn sheet and how to spot a bad first layer before it becomes a failed print. A few minutes of training can prevent a day of rework.
Budget ranges for jewellery prototyping setups
Budgets vary depending on whether you are setting up a home workshop, a school lab or a small production line. For basic jewellery concept work, a plate upgrade and PEI sheet fitting can start from about R450 to R1,200 for smaller machines. If you need a magnetic base fitting and a better quality build surface, allow around R1,200 to R2,800.
For a more organised setup with replacement planning, custom size cutting and standardised consumables, many small businesses spend between R3,000 and R7,500 per printer area. That usually covers the plate, sheet, fitting and some spare consumables so the machine stays available when a client needs a quick revision.
If you are fitting multiple machines for a school lab or a print farm, the budget can sit from about R8,000 upward depending on the number of printers and the surface type. It is usually cheaper in the long run to standardise early than to keep repairing mixed, worn surfaces later. In our experience that is where most of the hidden cost sits.
For jewellery prototyping the goal is not to overspend. It is to get repeatable first-layer behaviour and a clean release every time.