Why miniature jobs need a steadier first layer
When you are printing terrain, tokens, weapon racks or base inserts, the problem is not size alone, it is repeatability. A 20 mm figure base that lifts on one corner can waste a full plate of parts, and on long print runs that becomes costly fast. In Centurion, Pretoria East and Johannesburg, we often hear from makers running evening jobs during load shedding windows, where there is no time to babysit a plate that is not gripping properly.
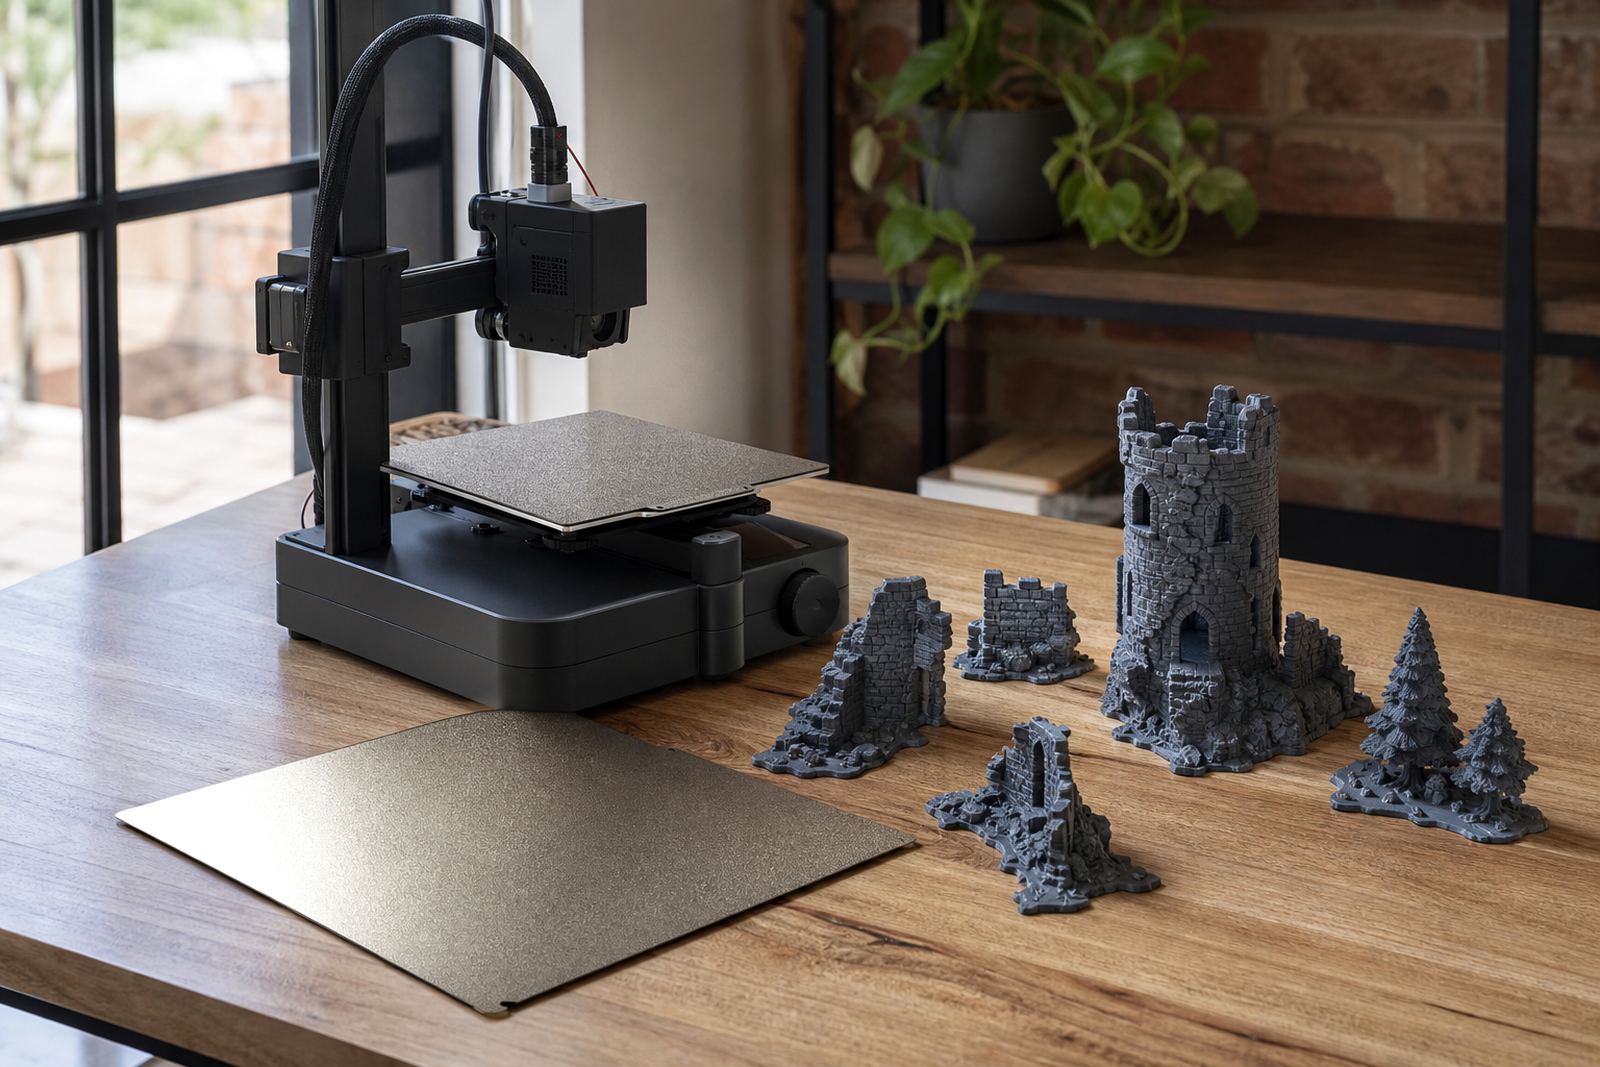
Miniature work needs a surface that starts flat, holds light parts evenly and releases cleanly once the bed cools. That matters for resin washed parts too, but on FDM printers the build surface is often the difference between a sharp brim and a warped edge. For schools, hobby clubs and small print farms, a better surface also means less scraping, less downtime and fewer lost batches.
- Gaming scenery with thin walls needs consistent edge grip.
- Small accessories need clean release so you do not damage details.
- Batch work benefits from fewer restarts and less manual cleanup.
Typical equipment used for gaming miniatures
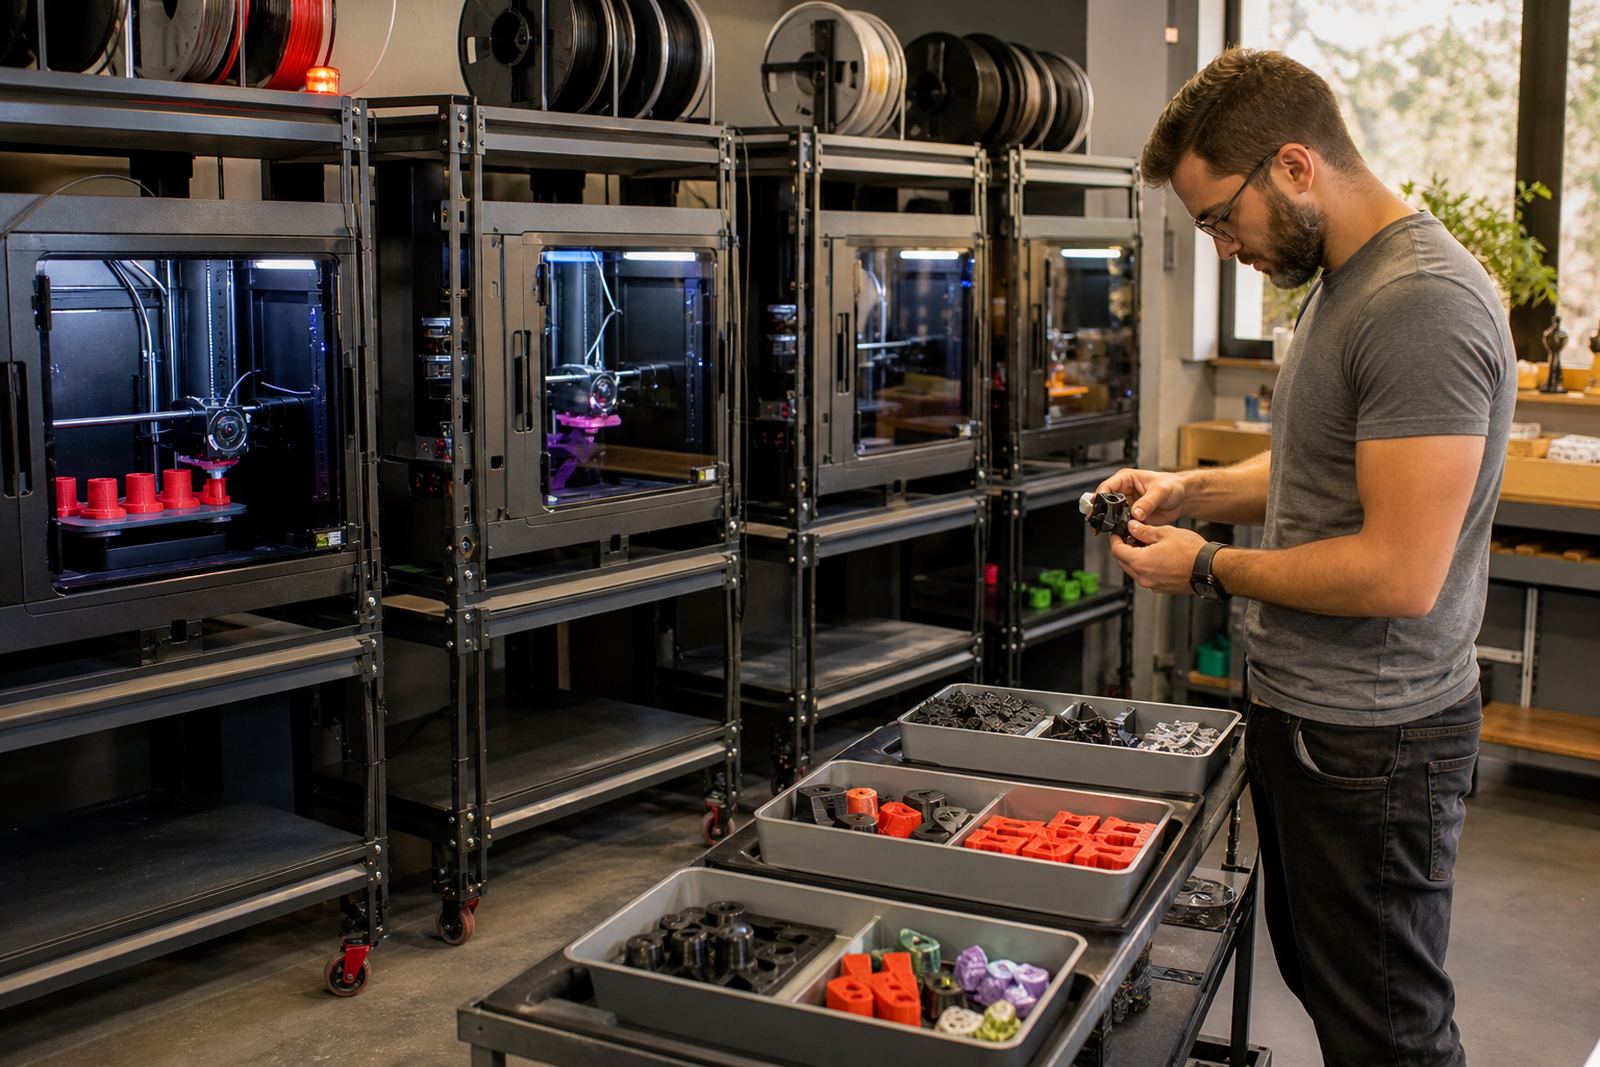
Most miniature makers are using compact benchtop printers, sometimes one machine at home and sometimes three to ten units in a small farm. We also see school makerspaces and clubs using mixed setups, with one printer for test pieces and another for full scenery runs. The plate choice has to suit that mix, because a beginner machine and a farm unit do not always behave the same way.
Common setups include glass or spring steel style plates, magnetic bases, PEI sheets and a simple scraper for removal. Some users print directly onto textured surfaces for scenery pieces, while others prefer a smoother finish for parts that need less sanding. If the printer sits in a garage in Durban or near an open window in Cape Town, humidity and dust also play a part, so the surface needs regular care.
- Compact FDM printers for terrain, token trays and accessory parts.
- Magnetic bases for quick plate swaps between batches.
- PEI sheets for reliable grip with easy part release after cooling.
- Bed adhesion aids for stubborn corners, tall spires and thin connectors.
Layout and planning tips for a cleaner print run
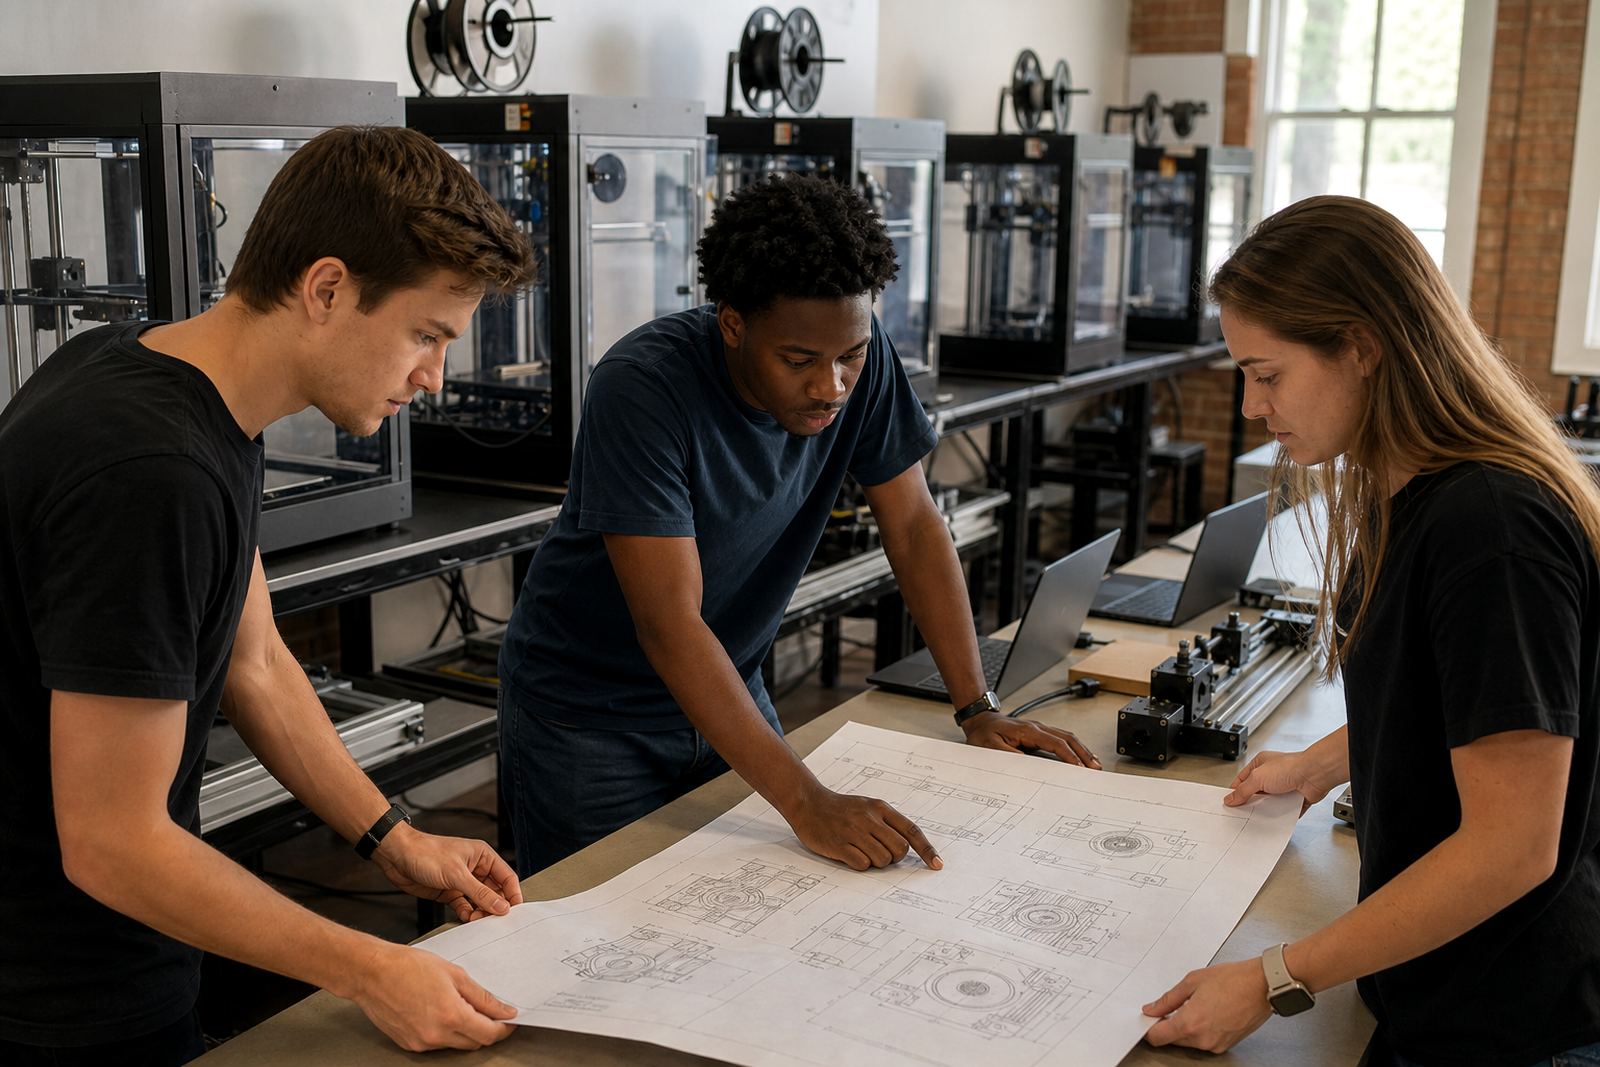
For miniature production, layout starts with the plate, not the slicer. Keep smaller parts grouped by height so the bed heats evenly and the nozzle does not spend too much time travelling across open gaps. If you are printing in school terms or on weekend club days, plan the plate so the quick wins come off first and the longer parts can keep running without being disturbed.
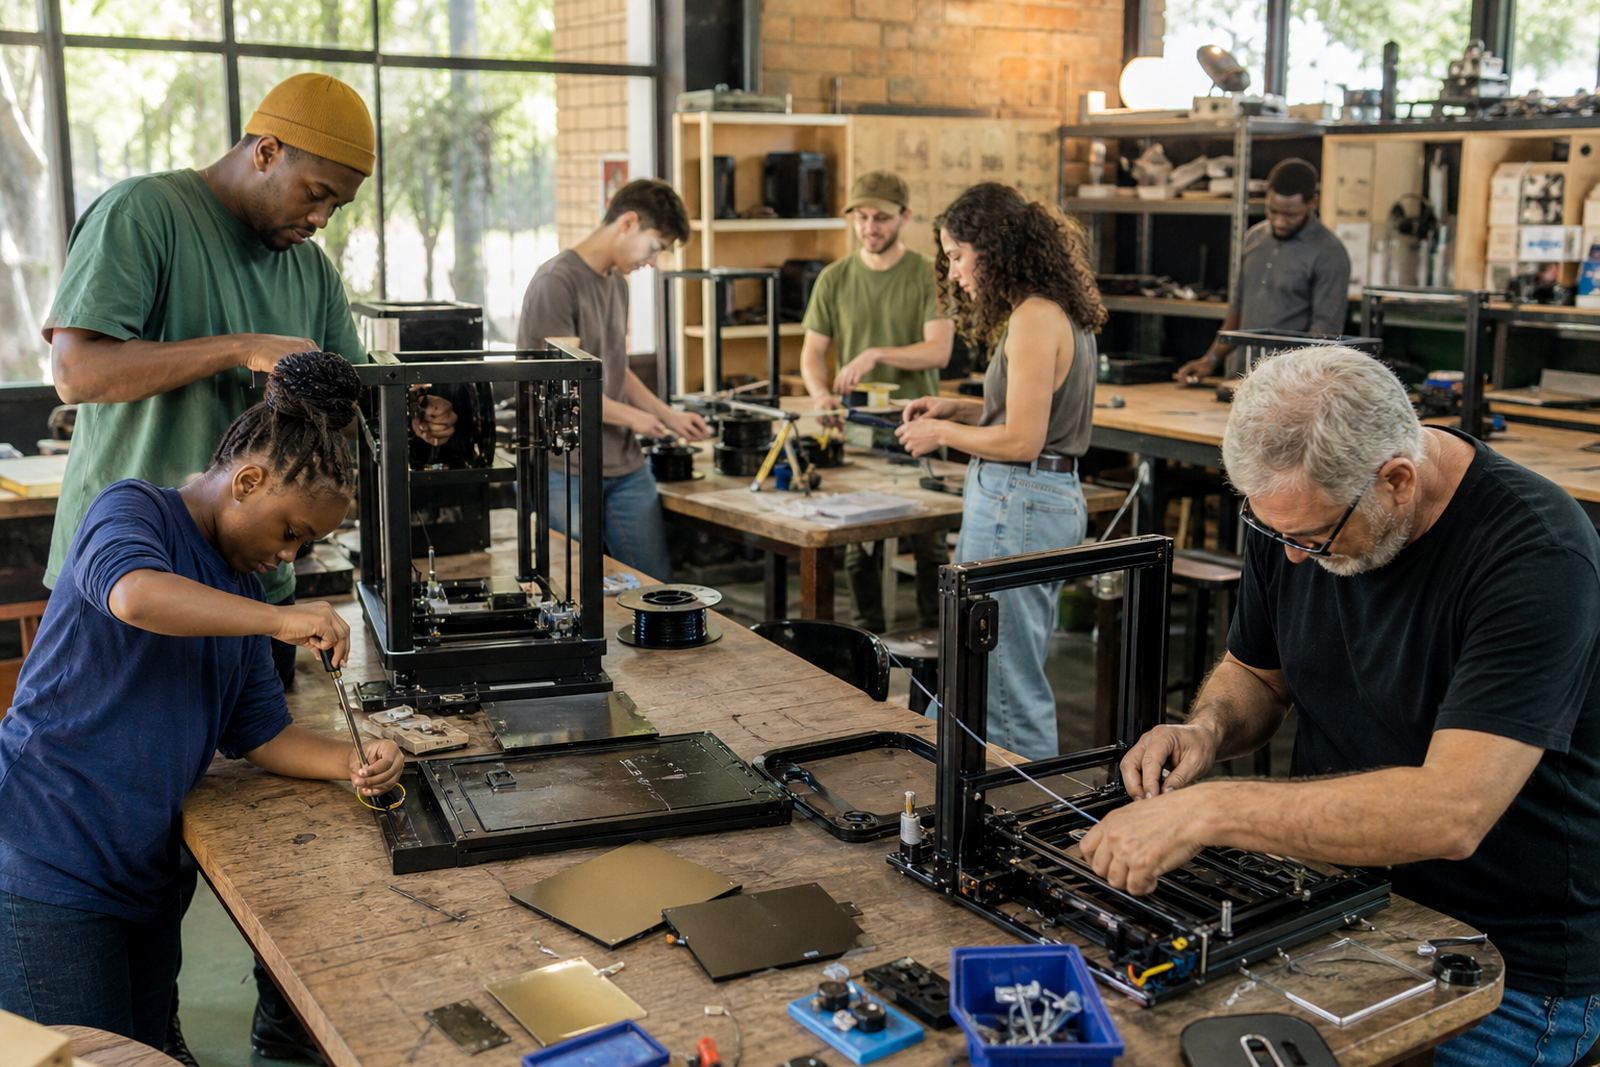
A flat, properly set bed makes the whole process easier. We advise checking bed flatness before fitting a new sheet or magnetic base, because a warped plate will make a fine PEI sheet work harder than it should. On larger print farms in Gauteng, standardising the same plate type across machines also saves training time. One operator can move from machine to machine without guessing which surface needs what kind of prep, which is useful when the queue gets busy.
- Group prints by height and material type where possible.
- Check flatness before fitting new surfaces or magnets.
- Keep one cleaning routine for all machines in the room.
- Label plates if you use more than one surface type.
Common mistakes that cost time and parts
One of the biggest mistakes is assuming that more adhesive means a better result. With miniatures, too much glue or spray can leave residue in fine detail and make the next batch harder to clean. Another problem is using a worn sheet for too long. Once the surface is glazed or scored, small parts begin to lift in the same areas, and you may not notice until three jobs are already affected.
We also see users skipping proper bed cleaning after a failed print. Leftover bits of filament, dust from a workshop and oily fingerprints all change the first layer. In coastal areas such as Cape Town and Gqeberha, moisture can also affect the bed surface and storage of consumables so it helps to keep spare sheets in a closed container. A simple wipe-down before each run usually saves more time than a full reprint later.
- Using too much adhesive and clogging fine details.
- Running with a scored or glazed sheet for months.
- Ignoring dust, oil and tiny leftovers on the bed.
- Skipping a flatness check after changing a plate or magnet.
Budget ranges for hobby rooms, schools and print farms
For a single hobby printer, a replacement build plate or PEI sheet often sits in the low hundreds of Rand, depending on size and surface type. A small upgrade package for better adhesion and easier release can run from about R350 to R950. If you need a custom cut sheet or a magnetic base fitting, the total can move higher, especially on less common bed sizes.
Schools and community labs usually spend more because they need consistency across several machines. A sensible starter budget for one room is often between R1 500 and R5 000, depending on how many printers need attention and whether the team wants training as well as hardware. For print farms, planning for replacement sheets, spare magnets and a standard cleaning kit is the smarter move. It costs less than losing a day of production to a sticky bed or a warped plate.
- Single printer refresh: about R350 to R950.
- School lab starter setup: about R1 500 to R5 000.
- Farm standardising and spare consumables: budget for ongoing replacement, not once-off buying.
How LayerPad supports miniature makers across South Africa
LayerPad works with makers in Centurion, Pretoria, Johannesburg, Cape Town, Durban and Bloemfontein, with collection and dispatch options suited to different areas. We help with plate installation, PEI sheet fitting, magnetic base fitting, surface refresh and custom size cutting. If the goal is cleaner starts and easier part removal, the first step is usually checking what your current bed surface is doing under load.
For miniature work, that support can include adhesion troubleshooting, bed care training and replacement planning for schools, clubs and print farms. If you are scaling up for a tabletop event or a school project, standardising your plates early makes the rest easier. One good surface on one machine is useful, but the real saving comes when every machine behaves the same and the batch comes off without drama.
From first test prints to regular scenery runs, the right build plate setup gives you fewer failed corners and less cleanup between batches.