What a repair workshop needs from a print bed
When a shop prints knobs, clips, brackets, hinge covers or small housings, the bed has to behave predictably. A replacement part job does not leave room for guessing, so the build surface needs to grip during the first layers and release cleanly once the part cools.
In many South African repair workshops, the printer sits next to a workbench, a label printer and a parts rack. Jobs come in through the day and may be printed between customer callouts, so the setup must handle short runs, repeat jobs and different filament types without constant tinkering. That is where a proper PEI surface and a sensible bed care routine pay off.
For shops in Centurion, Pretoria East, Midrand and Johannesburg, the bigger issue is usually not the printer itself but the time lost to failed first layers. A sheet that is worn, warped or dirty can turn a simple bracket into an extra hour of rework.
Typical equipment in a repair shop print setup
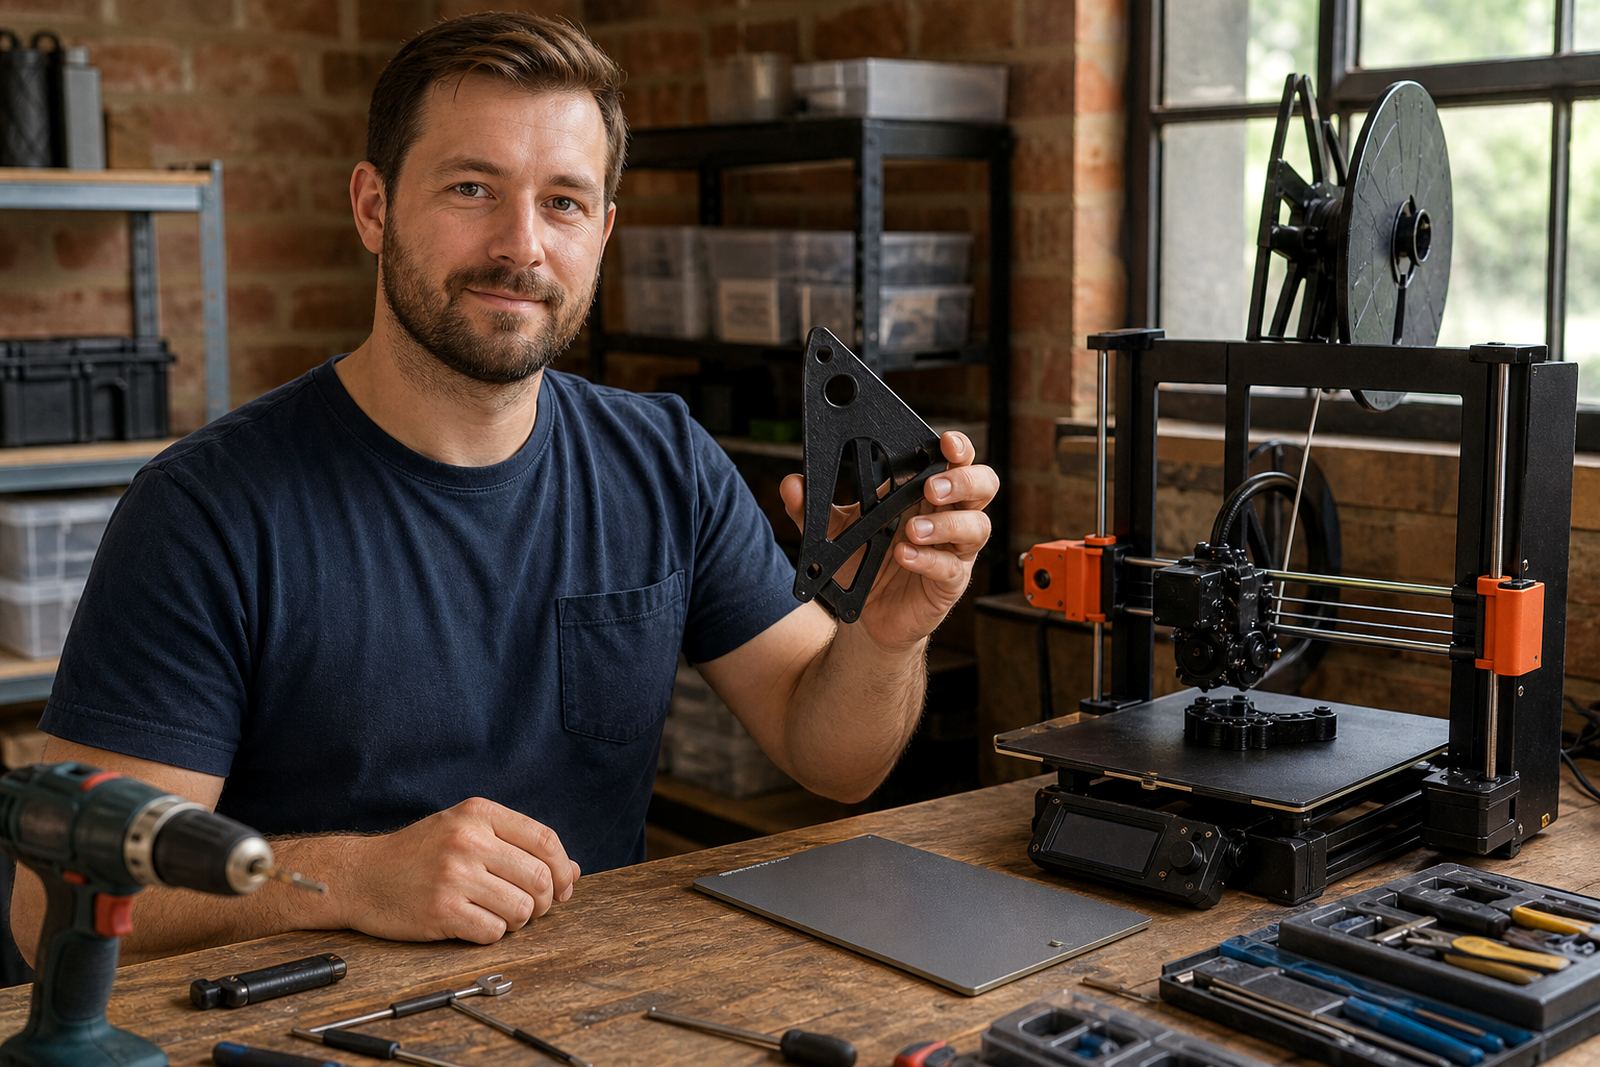
Most repair workshops run one or more benchtop FDM printers, usually with removable build plates and heated beds. Common formats include 220 x 220 mm, 256 x 256 mm and similar sizes, with a mix of standard nozzles and occasional larger nozzles for stronger parts.
For practical work, the surface choice matters more than fancy extras. A smooth PEI sheet works well for clean bottom faces on small covers and clips. A textured or satin finish can help on parts that need a bit more grip and less cosmetic fuss. Magnetic bases are useful where staff remove plates often, especially if different shifts share the same machine.
- Removable build plates for quick part turnover
- PEI sheets for reliable grip on common materials
- Magnetic base fittings for faster plate changes
- Bed flatness checks before critical jobs
- Surface refresh options when adhesion drops off
If your printers run in a dusty room or near an open roller door, keep spare sheets and a cleaning routine on hand. Coastal humidity in Durban and Gqeberha can also change how filament behaves, so the same settings that work in winter may need a little adjustment in summer.
How to plan the layout for faster turnaround
A repair workshop does best when the printing area is planned around the work flow, not the other way around. Keep incoming jobs, active printers and finished parts in separate spots so labels, job cards and spares do not get mixed up.
A simple layout can save a lot of time: one bench for prep, one area for printers, and one clean shelf for cooling parts. If the shop runs during load-shedding, make sure the printer table is stable, the power backup is sized for the actual machines in use and the bed surface can survive repeated stop-start cycles without shifting out of alignment.
- Place printers away from direct sun and open dust paths
- Keep spares, nozzles and plates grouped by machine size
- Use a clear cool-down area so parts release without force
- Mark one person responsible for bed cleaning and checks
For shops doing regular replacement parts, standardising the plate type across similar printers is often worth it. It reduces mistakes, makes training easier, and helps staff swap plates without slowing down the day. A small bit of planning here saves a lot of swearing later.
Common adhesion mistakes that cost time and material
The most common mistake is treating every bed problem like a slicer problem. If the surface is worn, oily or uneven, no amount of setting changes will fully fix it. Another frequent issue is using the same first-layer settings for every filament when PLA, PETG and tougher materials each behave differently.
We also see people press too hard on cleaning with rough tools, which scratches the surface and shortens its life. Then there is the habit of peeling parts before they are ready, which can warp the part or damage the sheet. In a busy workshop that sort of damage adds up fast.
- Using a tired or scratched surface for critical jobs
- Skipping bed levelling after moving the printer
- Cleaning with harsh scrapers or coarse pads
- Running the same first-layer settings for every material
- Ignoring humidity and filament storage
If the workshop handles service jobs for schools, offices or municipalities, consistency matters even more. A part that sticks on Monday and fails on Wednesday is bad for deadlines and bad for confidence.
Budget ranges for practical workshop upgrades
For a small repair counter with one printer, a sensible surface upgrade can start at about R350 to R900 for a quality build plate or PEI sheet, depending on size and finish. Add R250 to R600 for fitting supplies or magnetic base components where needed.
A more active workshop with two to four printers may spend R1 200 to R4 500 to bring all the machines onto a standard surface setup, especially if bed checks and replacement plates are included. If the shop wants custom size cutting, training, and a stock plan for replacement cycles, the budget can move higher but it usually pays back in reduced downtime.
For print farms and school repair labs, planning is better than emergency buying. Set aside a small annual amount for surface wear, since the cost of a failed batch is usually greater than the cost of replacing a tired sheet.
Support for shops, schools and multi-machine teams
LayerPad works with repair workshops that need predictable bed adhesion for day-to-day jobs, not test pieces. That includes plate installation, PEI sheet fitting, magnetic base fitting, bed flatness checks, surface refresh, custom size cutting, replacement planning, farm standardising and adhesion troubleshooting.
From Centurion, support is arranged for Pretoria, Johannesburg, Midrand, Cape Town, Durban, Bloemfontein and Gqeberha through the enquiry form on the contact page. If your team needs to standardise several printers or train staff on bed care, that can be worked through with the same practical approach used on the workshop floor.
Repair jobs are supposed to move quickly. A good bed setup helps the printer keep up with the rest of the shop, and it saves everyone from repeating the same part twice.